
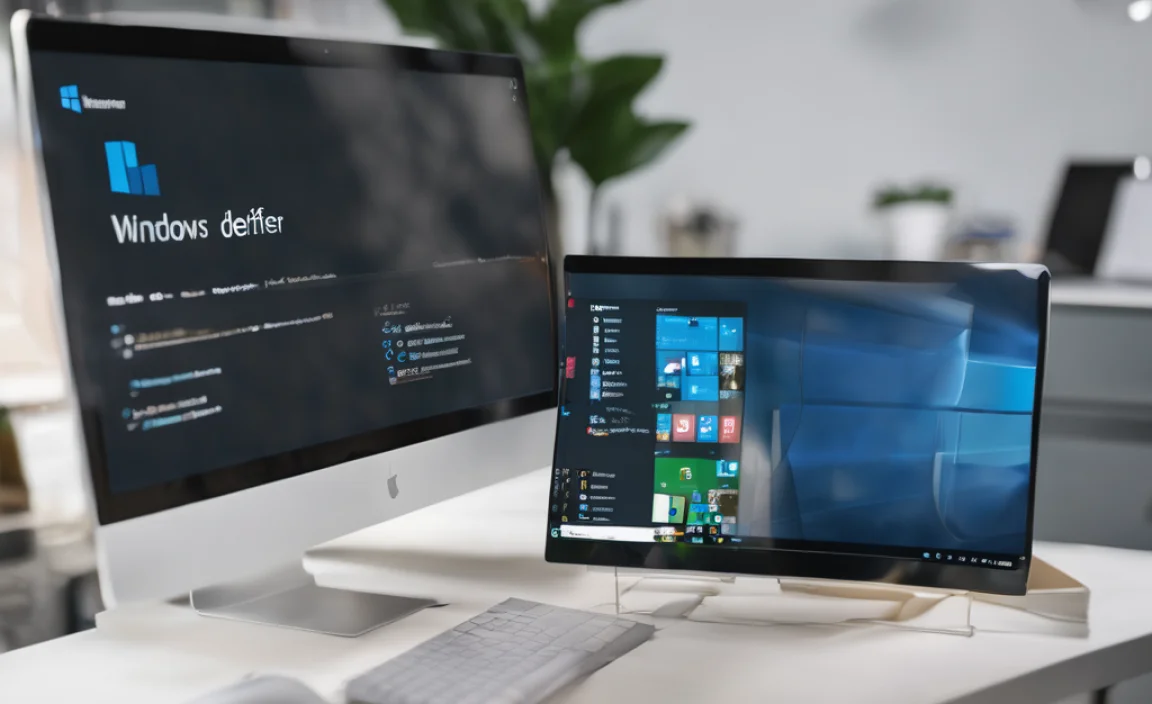
Have you ever wanted to keep your computer safe from harm? Using Windows Defender can help you do just that. It’s like having a shield that protects your files. But did you know you can make it even better with an ISO file?
Imagine you have a powerful tool right at your fingertips. You might wonder, “How do I use Windows Defender with an ISO file?” It sounds tricky, but it’s easier than you think! By using Windows Defender with an ISO, you can scan files before using them. This way, you can avoid unwanted surprises on your computer.
Fun fact: ISO files are like digital boxes that hold lots of information. They can store programs or even entire operating systems. Isn’t that cool? By learning how to use Windows Defender with these files, you can ensure your computer stays safe and sound. Let’s dive into this simple yet essential guide to get you started!
How To Use Windows Defender Using Iso: A Step-By-Step Guide

Using Windows Defender with an ISO file may sound tricky, but it’s quite simple! First, you’ll need to mount the ISO file on your computer. This lets Windows access the files inside. Next, open Windows Defender and navigate to the threat history. Here, you can scan the mounted ISO. It helps protect your system from hidden threats in the ISO. Did you know that ISO files can sometimes carry malware? Keep your device safe by using these steps!
Preparing the ISO File

Steps to create or download a Windows Defender ISO file. Ensuring the ISO is from a trusted source.
First, create or download the ISO file of Windows Defender. You can find it on the official Microsoft website. Always choose trusted sites to avoid harmful software. Follow these steps:
- Visit the official Microsoft site.
- Look for Windows Defender ISO.
- Click on the download link.
- Save the file on your computer.
This ensures safety and security when using Windows Defender. Remember, trust is key.
How do I download Windows Defender ISO safely?
To download Windows Defender ISO safely, always use the official Microsoft website. This ensures you get the latest and most secure version.
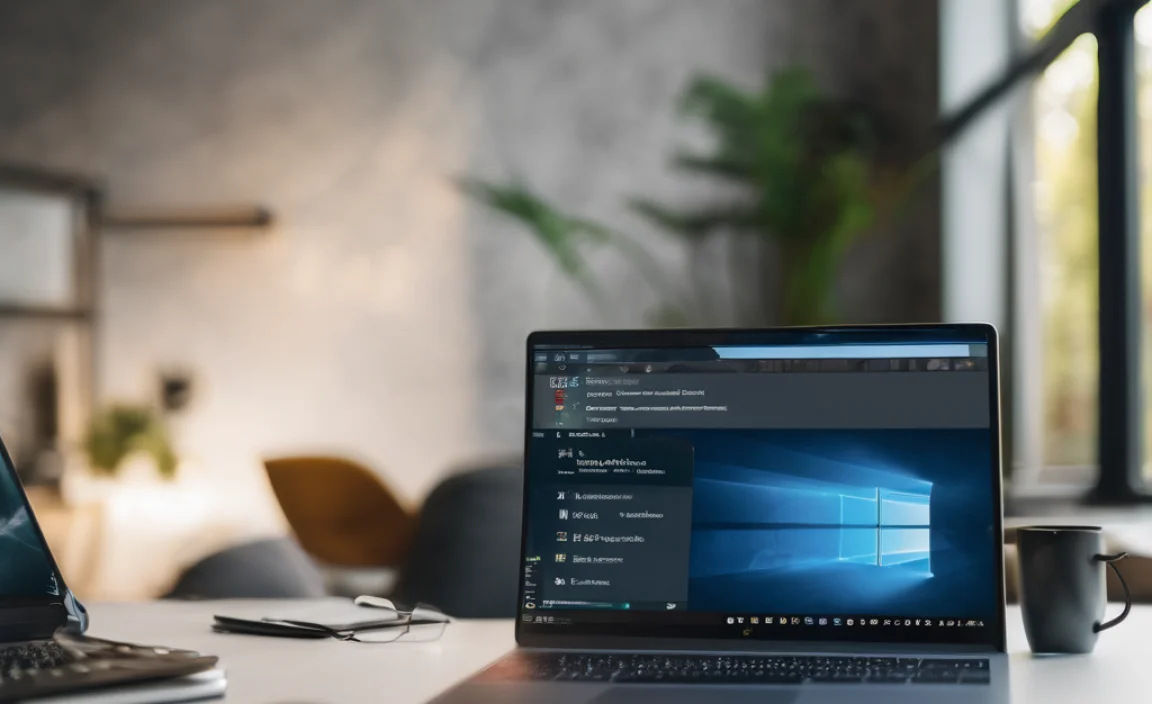
Installing Windows Defender from ISO
Stepbystep guide to mount the ISO file. Running the installer and initial setup procedures.
First, grab your ISO file. Right-click it and choose “Mount.” This action opens the contents like magic! Next, find the setup.exe file inside. Double-click it to start the installer. Follow the on-screen prompts; it’s easy! Once installed, don’t forget to run normal checks. That way, you’ll keep your computer safe! Just like eating veggies keeps your body strong, running Windows Defender keeps your PC healthy.
| Step | Action |
|---|---|
| 1 | Right-click the ISO file and select “Mount.” |
| 2 | Find and double-click setup.exe. |
| 3 | Follow the prompts to install. |
| 4 | Run Windows Defender for a health check. |
Configuring Windows Defender Settings
Adjusting realtime protection settings. Scheduling scans for optimal performance.
Windows Defender helps keep your computer safe. You can change its settings to make it better for you. First, adjust the real-time protection settings. This lets Windows Defender watch your files and programs all the time. It stops threats as soon as they appear. Next, schedule scans for times when you are not using your computer. This keeps your device running fast. You can set scans for weekly or monthly. This way, you get the best protection without slowing down your work.
What are real-time protection settings?
Real-time protection settings allow Windows Defender to check for threats instantly. This means it scans files, apps, and downloads as they happen. Keeping this feature on adds a layer of security to your computer.
How can I schedule scans?
- Open Windows Defender settings.
- Select the “Scan Schedule” option.
- Choose a time that suits you; weekends are great!
Using Windows Defender for Specific Scans
Performing quick, full, and custom scans. Understanding and interpreting scan results.
Using Windows Defender for scans is simple. You can choose three types: quick, full, and custom scans. A quick scan checks the most common threats. A full scan looks at everything on your computer. A custom scan lets you choose what to check. Understanding the results is key. If it finds something, you’ll see messages that explain what it is. You can then decide to fix it or ignore it.
What are the types of scans?
- Quick Scan: Fast check of common problems.
- Full Scan: Complete check of all files.
- Custom Scan: Select specific folders or files to check.
Troubleshooting Common Issues
Identifying installation or compatibility issues. Solutions for common errors encountered.
Installing Windows Defender can be tricky, like trying to teach a cat to fetch. First, keep an eye out for installation issues. These can pop up if your system isn’t compatible or you forgot to update Windows. If something goes wrong, try not to panic! Common errors usually have simple fixes. Below is a quick guide to help you:
| Error | Solution |
|---|---|
| Installation failed | Check your Windows version is up to date |
| No internet connection | Restart your router or check your network settings |
| Unexpected crashes | Reinstall Windows Defender or check for software conflicts |
Sometimes, you might feel like you’re playing hide and seek with problems. But with a bit of patience and these tips, you’ll have Windows Defender running smoothly in no time!
Regular Maintenance and Updates
Importance of keeping Windows Defender updated. How to manually check for updates within the ISO environment.
Keeping Windows Defender updated is like giving your computer a superhero cape. It helps protect against the latest threats! Regular updates ensure your defenses are strong and ready. In an ISO environment, checking for updates is a breeze. Simply navigate to the settings, find the updates section, and give it a click. Your computer will happily fetch the latest safety gear!
| Steps to Check Updates | Description |
|---|---|
| Open Settings | Click the start menu and select the gear icon. |
| Select Update & Security | Find the option for updates in the settings. |
| Click Check for Updates | Let Windows Defender do its magic! |
So, don’t forget these updates, or your computer might feel a little underdressed! Always keep it stylish with the latest version!
Enhancing Protected Environment
Additional security measures alongside Windows Defender. Recommendations for thirdparty tools to complement protection.
Staying safe online is important. Windows Defender is a great start, but adding more tools can really help. Think of it as having extra locks on your door. Here are some recommended tools:
- Malwarebytes – Great for catching tricky malware.
- CCleaner – Cleans up unwanted files and protects your privacy.
- ZoneAlarm – Offers a strong firewall for better protection.
Using these can create a more secure environment while you browse. Stay safe and enjoy your time online!
What other tools can boost security with Windows Defender?
Using programs like Malwarebytes, CCleaner, and ZoneAlarm can boost protection. These tools work well alongside Windows Defender to keep your computer safe from bad software and threats.
Conclusion
In summary, using Windows Defender with an ISO file is simple. You can download the ISO, start your computer from it, and then run Windows Defender for better protection. Remember to keep your antivirus updated. For more tips, explore Microsoft’s official support page. We hope you feel ready to improve your device’s security today!
FAQs
Certainly! Here Are Five Related Questions On The Topic Of Using Windows Defender With An Iso:
Windows Defender is a program that helps keep your computer safe. An ISO is a special type of file that holds a copy of a CD or DVD. You can use Windows Defender with ISO files to check for viruses. To do this, just right-click the ISO file and choose to scan it with Windows Defender. This helps make sure the file is safe to use.
Sure! Please go ahead and ask your question, and I will give you a short and simple answer.
How Can I Install Windows Defender From A Windows Iso File?
To install Windows Defender from a Windows ISO file, you first need to download the ISO file. Once you have it, you can open it by double-clicking it. Then, look for the setup file inside and double-click it. Follow the instructions on the screen to complete the installation. After that, Windows Defender will be ready to protect your computer!
What Steps Do I Need To Follow To Enable Windows Defender After Installing Windows From An Iso?
To turn on Windows Defender after you install Windows, start by clicking the “Start” button. Then, look for “Settings” and click on it. Next, choose “Update & Security,” then click on “Windows Security.” Now, find “Virus & threat protection” and click on it. If you see a big button that says “Turn on,” click it to enable Windows Defender. You’re all set!
How Do I Update Windows Defender Definitions Using An Iso Installation?
To update Windows Defender using an ISO file, you first need to download the ISO. An ISO is like a digital copy of a CD or DVD. Next, open the ISO file on your computer. Look for the “Windows Defender” folder inside it. Then, you can follow the instructions there to update the definitions. Finally, restart your computer to finish the update.
Can I Access Windows Defender Settings Through The Windows Recovery Environment After Booting From An Iso?
No, you cannot access Windows Defender settings in the Windows Recovery Environment. The Recovery Environment helps fix problems but does not let you change Defender settings. It’s mainly for repairing your computer. If you need to change settings, you should do it in regular Windows. Try to boot back into Windows to see those options.
Are There Any Tools Or Utilities Within The Windows Iso That Can Help Troubleshoot Issues With Windows Defender?
Yes, there are tools in the Windows ISO that can help fix problems with Windows Defender. One useful tool is called the “Windows Security” app. It checks for issues and helps you solve them. You can also use the “Command Prompt” to run simple commands that can help fix things. These tools can make sure Windows Defender works well again.