
Imagine you’re watching your favorite funny cat video on your computer. Suddenly, the sound glitches and you can’t hear a thing. Is it not frustrating? To fix this, you might need to download the Realtek audio driver for Windows 11. Have you ever wondered why some computers sound amazing and others don’t? It’s not magic. Often, it’s the driver that holds the secret.
Drivers tell the computer how to talk to the hardware, like speakers. Without the right driver, your computer might whisper instead of roar. This is where the Realtek audio driver helps. It lets your Windows 11 computer sing your favorite songs in clear, crisp sound. Don’t you want the best sound from your machine? Downloading the Realtek audio driver can make a huge difference.
How To Download Realtek Audio Driver For Windows 11
In The Constantly Evolving World Of Technology, Having The Right Set Of Drivers Is Crucial For Optimal Performance. The Realtek Audio Driver Is Essential For Ensuring High-Quality Sound Output On Windows 11. This Guide Will Walk You Through The Steps To Download And Install This Critical Driver, Offering A Seamless Audio Experience On Your Device.
Understanding Realtek Audio Drivers
Realtek Audio Drivers Are Vital Software Components That Enable The Communication Between Your Operating System And Audio Hardware. They Ensure That Your Computer’S Audio Hardware Is Correctly Utilized To Provide High-Quality Sound Output. If You Face Issues With Sound Or Audio Performance On Your Windows 11 Device, Updating Or Reinstalling The Realtek Audio Driver Is Often A Recommended Solution.
Steps To Download Realtek Audio Driver For Windows 11
1. Access The Realtek Website
To Get The Official Realtek Audio Driver, You Should First Visit The Realtek Official Website. Accessing The Manufacturer’S Website Ensures That You Are Downloading Authentic, Up-To-Date Drivers Compatible With Windows 11.
2. Navigate To The Downloads Section
Once On The Realtek Website, Navigate To The ‘Downloads’ Or ‘Support’ Section To Find The Audio Driver Suitable For Your Operating System.
3. Choose The Right Driver Version
Make Sure That You Select The Appropriate Driver Version For Windows 11. Realtek Provides Various Versions, So It’S Crucial To Download The Driver That Matches Your System’S Specifications And Ensures Compatibility With Windows 11.
4. Follow The Download Instructions
After Selecting The Correct Driver, Click On The Download Link And Follow The On-Screen Instructions. This Process Typically Involves Accepting Terms And Conditions And Choosing A Download Location On Your Computer.
Installing The Realtek Audio Driver
Once The Download Is Complete, Follow These Steps To Install The Driver:
1. **Locate The Downloaded File:** Navigate To The Folder Where The Downloaded File Is Saved.
2. **Run The Setup File:** Double-Click On The Setup File To Initiate The Installation Process.
3. **Follow Installation Prompts:** Follow The Prompts In The Installation Wizard. This Will Typically Involve Agreeing To The License Agreement And Selecting Installation Preferences.
4. **Restart Your System:** After The Installation Completes, Restart Your Computer To Ensure The Changes Take Effect And The New Driver Is Fully Operational.
Troubleshooting Common Issues
If You Encounter Any Issues During The Download Or Installation Process, Consider The Following Troubleshooting Tips:
– **Verify Compatibility:** Ensure That You Are Downloading A Version Compatible With Your Windows 11 System.
– **Check Internet Connection:** A Stable Internet Connection Is Essential For A Successful Download.
– **Disable Antivirus Temporarily:** Sometimes, Antivirus Software Can Interfere With Installations. Temporarily Disabling It Might Help.
– **Consult Support:** If Problems Persist, Consult Realtek Support Or Seek Help From Online Forums Specializing In Windows 11 Issues.
Conclusion
Downloading And Installing The Realtek Audio Driver For Windows 11 Can Significantly Enhance Your Audio Experience, Providing Clearer And More Reliable Sound. Following This Guide Will Help You Navigate The Process Smoothly, Ensuring That Your System’S Audio Performance Meets Your Expectations. Enjoy Your Enhanced Audio Experience With The Right Realtek Audio Driver On Your Windows 11 Device.
Download Realtek Audio Driver for Windows 11
Discover how to download the Realtek audio driver for Windows 11 easily. These drivers make your music or games sound awesome. Did you know that without the right driver, your computer might not play sound at all? Start by checking if your PC needs an update. Downloading the driver feels like a treasure hunt but is straightforward. Imagine all your favorite tunes playing perfectly with a simple download!
Why You Need Realtek Audio Driver for Windows 11
Enhances audio performance and sound
quality. Ensures compatibility with Windows 11 updates.
Do you want better sound from your computer? The Realtek audio driver makes it happen. This driver improves sound quality on Windows 11. You’ll hear clearer music and sharper movie sounds. Plus, it keeps your audio system working with updates. Compatibility means no surprises. So, your computer and Windows 11 play nice together.
How does the Realtek audio driver improve sound?
The Realtek audio driver boosts sound detail and clarity. It reduces noise, making voices and music stand out. Your listening experience gets more exciting and fun!
Why is it important for updates?
Realtek drivers ensure smooth updates with Windows 11. They prevent conflicts and keep audio working well. So, you enjoy seamless audio without issues.
Checking Your Current Audio Driver Version
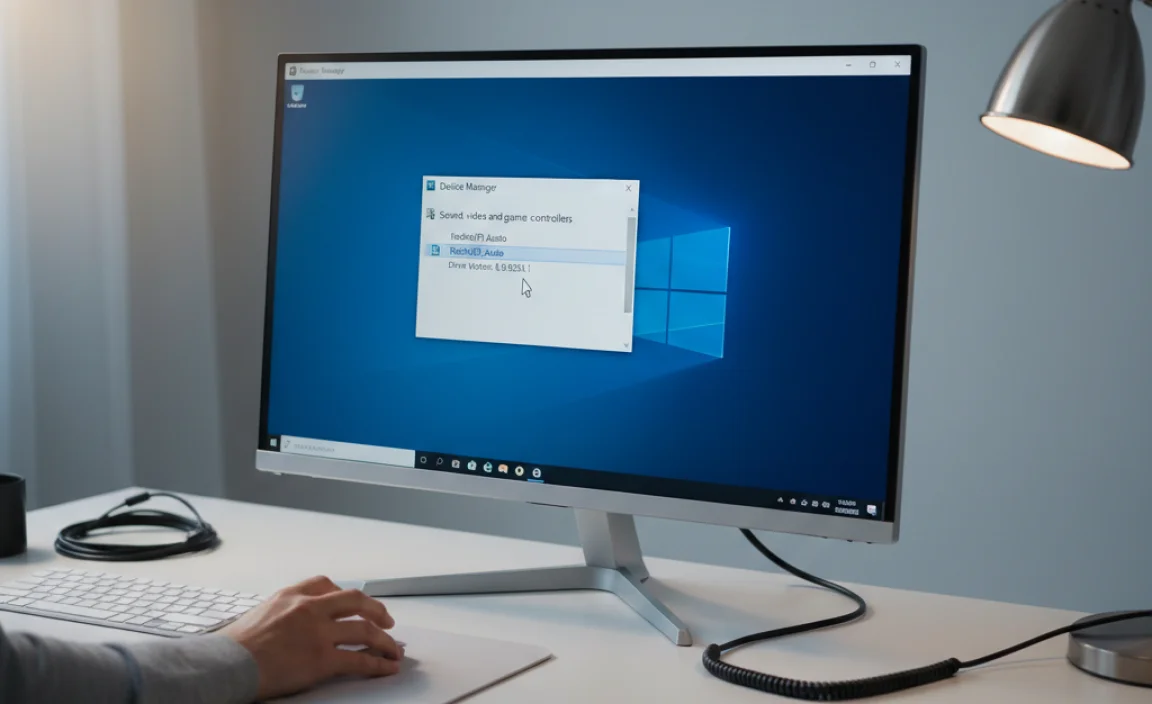
How to access Device Manager in Windows 11. Identifying your current audio driver version.
Want to know your audio driver version? Let’s find out! First, open the Device Manager on Windows 11. You can do this by typing “Device Manager” in the search bar and clicking on it. Once it opens, look for “Sound, video, and game controllers.” Click on it, and you’ll see your audio device listed. Right-click on your audio device and select “Properties.” Now, go to the “Driver” tab. You will see your current driver version there.
How often should you check your driver version?
It’s a good idea to check your driver version every few months. Updated drivers can improve sound quality and fix bugs. So, keeping track helps your computer work better!
- Search: Type “Device Manager” in the search bar.
- Access: Open “Device Manager” from the list.
- Find Audio Device: Scroll to “Sound, Video & Game Controllers.”
- Properties: Right-click and select “Properties.”
- Check Version: Click on the “Driver” tab to see the version.
Fun fact: “Keeping drivers updated is like updating your smartphone; it keeps things running smoothly and provides security enhancements too,” says tech expert Sarah Harding. Now you’re ready to go!
Where to Download the Realtek Audio Driver for Windows 11

Official Realtek website download instructions. Alternative sources: Motherboard manufacturer websites.
Want to get the Realtek audio driver for your Windows 11? You can find it on the official website. Here’s how:
- Visit the Realtek official site.
- Navigate to the downloads section.
- Pick the driver for Windows 11.
- Hit download and follow install prompts.
What if I cannot find it there?
Motherboard makers can help!
Check their sites if you face trouble. They may have the right drivers ready for you.
Are you wondering what to do if the sound isn’t right? First, check the connections. If it’s still off, reinstalling the driver might help. Don’t worry! Getting it from these sites is safe and reliable. You’ll be hearing sound in no time!
Preparing Your System for Driver Installation

Backing up important settings and data. Disabling antivirus software temporarily.
Before installing new drivers, keep your data safe. Utilize external storage to back up important files. Store copies of settings, in case something changes. During installation, disable antivirus software to prevent interruptions. This step ensures a smooth process without security blocks. Once done, remember to enable your antivirus again.
Why should I disable antivirus software during installation?
Your antivirus might see the driver as a threat. By disabling it, you prevent any blockage during the installation. Ensures a smooth download.
Step-by-Step Guide to Installing Realtek Audio Driver
Executing the downloaded file. Navigating through the installation process.
How do you execute the downloaded file?
After downloading the Realtek Audio Driver, locate it in your downloads folder. Double-click the file to open it. A new window will pop up. Follow these on-screen instructions. This might include clicking “Next” or agreeing to terms. Just remember to read each step!
What are the steps to navigate the installation process?
Installing can be simple! Once you execute the file, you may see a setup wizard. Here’s a quick guide:
- Click “Next” to start.
- Agree to the license terms by checking the box.
- Select the installation folder or leave it as default.
- Let the installation run. It could take a few minutes.
- Finish by clicking “Finish” at the end.
Remember, having the Realtek Audio Driver helps your computer produce sound. Isn’t it cool? Now you can enjoy videos or songs on your computer with ease! If things go wrong, check the Realtek website or ask an adult for help.
Troubleshooting Common Installation Issues
Resolving driver conflicts. Solutions for failed installation attempts.
Having trouble with a driver? Sometimes it won’t install because of a conflict. If you see this, try these tips:
- Check if another driver is causing problems. Remove it.
- Restart your computer to clear any bugs.
Still stuck? Try these:
- Make sure your Windows is up to date. Updates can fix issues.
- If it fails, download the driver again. The file might be broken.
If you need more help, ask someone who knows computers, or look for help online. Following these steps can often solve your problems.
How do I fix a failed Realtek driver installation on Windows 11?
If the Realtek driver installation fails, restart your computer. Then, uninstall any older drivers. Finally, try to reinstall the driver.
Why do Realtek drivers sometimes not install?
Realtek drivers might not install because of conflicts with other drivers or bugs in the system.
Post-Installation Configuration
Setting default audio device in Windows
11. Adjusting sound settings for optimal performance.
After installing Realtek audio driver, tweak some settings for the best sound experience. Start by choosing your main audio device. Follow these steps:
- Click on the sound icon in the taskbar.
- Select Playback devices.
- Right-click your device and set it as default.
Next, optimize sound. Open Sound Settings and tweak volume levels to your liking. Want a fun fact? Studies show that well-adjusted sound improves focus! Use these tips, and make your Windows 11 sound awesome!
How do I make my audio device default in Windows 11?
Set your audio device as default by right-clicking on the sound icon. Choose Playback devices, right-click your desired device, and make it default.
Updating Realtek Audio Driver Automatically
Enabling automatic driver updates in Windows 11. Using thirdparty software for driver updates.
Keeping your audio drivers updated is important. You might not want to dig around in tech jargon every time, right? Windows 11 comes with a handy tool for this. You can enable automatic updates! This means your Realtek audio driver will stay fresh without any extra effort.
But wait, there’s more! Some folks prefer using third-party software. These tools simplify updates even further, ensuring you get the latest driver with minimal clicks. It’s like having a personal tailor for your computer needs! Here’s a quick comparison of both approaches:
| Feature | Windows 11 Automatic Updates | Third-Party Software |
|---|---|---|
| Convenience | Built-in, no setup needed | User-friendly interfaces |
| Update Frequency | Routine checks by the system | Manual triggered scans |
| Control | Limited options | More customization features |
For tech newbies or those short on time, auto-updates can be a blessing. Meanwhile, tech-savvy users might enjoy exploring third-party options. Either way, keeping your audio driver up-to-date is as simple as pie! 🎧✨
Uninstalling Realtek Audio Driver Safely
When to consider uninstalling the driver. Steps to safely remove the driver from your system.
Sometimes, your audio feels more “silent movie” than “blockbuster.” This could be the moment to think about uninstalling your Realtek audio driver—especially if you’re hearing nothing but static or experiencing weird sounds like a robot symphony. When your driver acts out, follow these simple steps to safely remove it.
Begin by opening the Control Panel. Navigate to Device Manager, where all drivers like to hang out. Locate your sound controllers section—you’ll see Realtek there, quietly waiting. Right-click on it, and choose Uninstall. A little pop-up will appear. Don’t panic! Check the box that says, “Delete the driver software for this device.” Click OK, and your computer will handle the breakup for you.
Poof! Your driver is now history, but your computer will handle the changes with grace. A restart is usually a good idea. It’s like waking up fresh, ready to tackle a new audio adventure!
| Step | Action |
|---|---|
| 1 | Open Control Panel |
| 2 | Go to Device Manager |
| 3 | Find and select Realtek Audio Driver |
| 4 | Click Uninstall and confirm |
| 5 | Reboot your system |
After removing the driver, don’t worry. Either Windows will automatically search for a new driver, or you can manually download the Realtek audio driver for Windows 11 for a fresh start.
Conclusion
Downloading the Realtek audio driver for Windows
11 is simple. It ensures your sound system works well. First, check compatibility with your device. Next, download it from Realtek or your device manufacturer’s website. Follow installation steps carefully. For more help, explore online tutorials. Enjoy improved sound quality today!
FAQs
How Do I Manually Update The Realtek Audio Driver On Windows 11?
To update the Realtek audio driver on Windows 11, first open Device Manager. You can find it by typing “Device Manager” in the search bar. Then, look for “Sound, video and game controllers” and click the arrow next to it. Find your Realtek audio device in the list, right-click it, and choose “Update driver.” Next, select “Search automatically for drivers” and follow the instructions to finish.
Where Can I Find A Reliable Source To Download The Latest Realtek Audio Driver For Windows 11?
To get the latest Realtek audio driver for Windows 11, go to the official Realtek website. You can also check your computer maker’s website, like Dell or HP. They often have drivers you can download. Always ask an adult to help you download and install the driver. This makes sure you stay safe online.
What Are The Steps To Install The Realtek Audio Driver On A Windows System?
First, go to the Realtek website on your computer. Click to find and download the Realtek audio driver. Once it’s downloaded, open the file and follow the instructions to install it. After that, restart your computer so the new driver works correctly. Now, you should be able to hear sound better!
Are There Compatibility Issues With Realtek Audio Drivers And Windows 1And How Can They Be Resolved?
Sometimes, Realtek audio drivers don’t work well with Windows 11. This can make sound problems happen. To fix this, we can try updating the drivers. You find the newest version online and install it. Also, restarting the computer can help solve problems.
Can I Roll Back To A Previous Version Of The Realtek Audio Driver On Windows If Issues Arise?
Yes, you can go back to an older version of the Realtek audio driver if you have problems. First, open “Device Manager” on your computer. Then, find “Sound, video and game controllers” and click on “Realtek Audio.” Next, right-click and choose “Properties.” Go to the “Driver” tab and click “Roll Back Driver.” This will install the older version again.