
Essential Shortcut Key For Print Screen In Windows 11
Have you ever wanted to capture a fun moment on your screen? Maybe a funny meme or a high score in your favorite game? Knowing the shortcut key for print screen in Windows 11 can help you do just that.
With just a few simple clicks, you can save any image you see. Picture this: you’re in a video call with friends and someone shares a funny picture. Instead of explaining it, you can show it right away!
Surprisingly, many people don’t know how easy it is to take a screenshot. Just think about all the times you wanted to save something quickly. Using the print screen shortcut saves you time and effort.
This article will guide you through using the shortcut key for print screen in Windows 11. By the end, you’ll be a screenshot expert, ready to capture memories with just a click!
Shortcut Key for Print Screen in Windows 11
Learning the shortcut for taking screenshots in Windows 11 can save time and effort. To capture your screen, simply press the “PrtScn” key. This captures the entire screen. Want just the active window? Press “Alt + PrtScn” instead. Did you know these shots can be pasted into any document? This simple trick lets you share important information quickly. Now, you can easily save memories or work projects with just a few keystrokes!
Default Print Screen Shortcut Keys
Explanation of the standard Print Screen key functions (PrtScn, Alt + PrtScn, Win + PrtScn). How each shortcut saves screenshots in different formats.
Need to capture your screen? Windows 11 makes it easy with Print Screen shortcuts. The PrtScn key grabs everything on your screen. Want just the active window? Press Alt + PrtScn instead. It’s like taking a selfie, but for your computer! Lastly, hit Win + PrtScn to save the screenshot directly in your Pictures folder. It’s like magic, but with less sparkles!
| Shortcut Key | Function |
|---|---|
| PrtScn | Takes a screenshot of the entire screen. |
| Alt + PrtScn | Captures the active window only. |
| Win + PrtScn | Saves the screenshot directly to the Pictures folder. |
Alternative Screenshot Methods in Windows 11
Utilizing Snipping Tool for customizable screenshots. Using Snip & Sketch for quick edits and annotations.
Windows 11 offers great ways to take screenshots. You can use the Snipping Tool for custom snapshots. It lets you select specific areas of your screen. This makes it perfect for capturing only what you need. Next, try Snip & Sketch for quick edits. It allows you to add notes or highlights directly on your screenshots. With these tools, sharing your ideas becomes easy and fun.
How can I use Snipping Tool for customizable screenshots?
You can launch the Snipping Tool easily. Press Windows + Shift + S to start making your selection. Then, drag to capture the desired area.
Quick tips for Snip & Sketch:
- Take a screenshot quickly.
- Edit right after taking the shot.
- Save or share your finished image with ease.
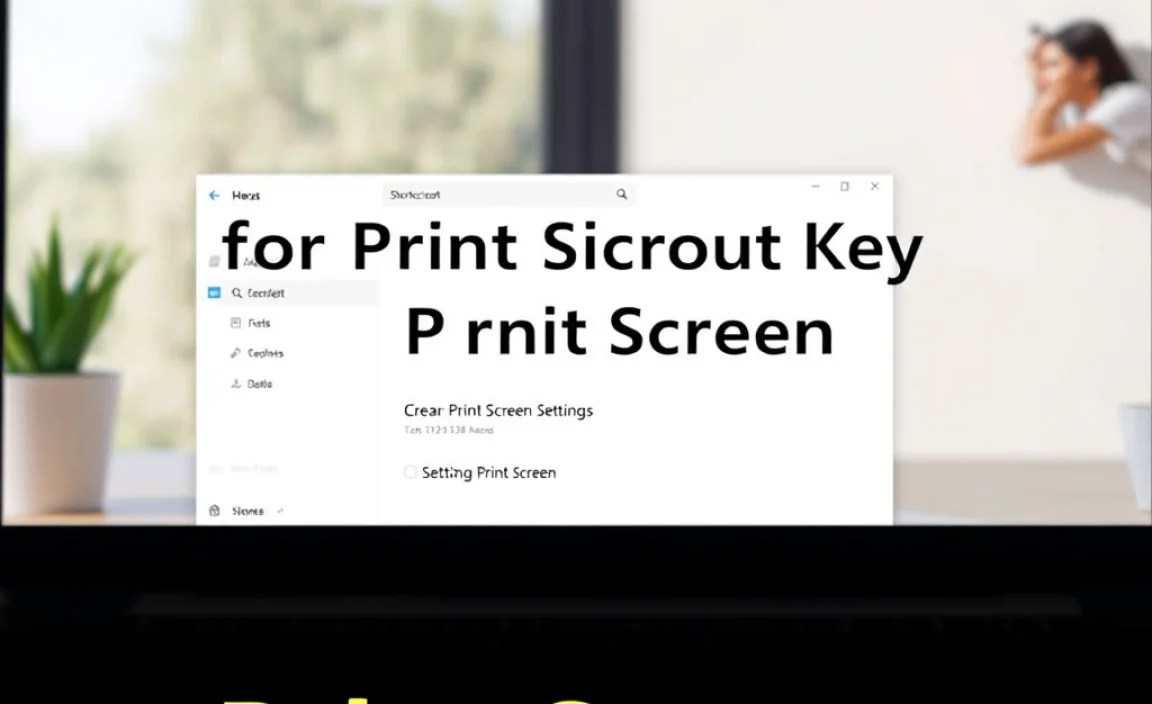
Configuring Print Screen Settings
Steps to change print screen key settings in Windows 11. How to enable or disable the Print Screen key to launch Snipping Tool.
Changing your Print Screen settings in Windows 11 can be super simple! First, click on the Start menu and go to Settings. Next, choose Ease of Access. Then, look for ‘Keyboard’ on the left side. Here, you can enable or disable the Print Screen key to launch the Snipping Tool. If you want to catch your screen like a ninja, don’t forget to save your changes!
| Step | Action |
|---|---|
| 1 | Open Start Menu |
| 2 | Go to Settings |
| 3 | Select Ease of Access |
| 4 | Choose Keyboard |
| 5 | Enable/Disable Print Screen |
Troubleshooting Print Screen Issues
Common problems users face with Print Screen functionality. Solutions and tips to resolve these issues.
Many users face problems while using the Print Screen feature. Sometimes, it may not work at all. Other times, the screenshots might not save correctly. It can be frustrating! Here are some common issues and simple solutions:
- Check if your keyboard is functioning.
- Ensure the Print Screen shortcut is enabled in Windows settings.
- Try restarting your computer.
- Update your keyboard driver if needed.
These steps can often fix the issues. Remember, sometimes a small change can make a big difference!
Why Doesn’t Print Screen Work?
Print Screen may not work if the keyboard shortcuts are not set up correctly. Make sure they are active in your settings. Restarting your computer can also help solve the problem.
Best Practices for Effective Screenshot Management
Organizing and storing screenshots for easy access. Tips for naming and categorizing screenshots efficiently.
Keeping screenshots organized helps you find them quickly. Start by creating folders for different topics. Use clear names that describe each screenshot. This way, you won’t waste time searching. Consider these tips:
- Use dates in the file name, like “2023-10-15-Math-Notes”.
- Group similar images in one folder, such as “School Projects” or “Travel.”
- Delete unneeded screenshots regularly to keep things tidy.
Good organization allows for easy access to your important images. It makes life so much simpler!
How can I store my screenshots efficiently?
Storing screenshots efficiently means using cloud storage or folders on your computer. This keeps them safe and easy to find.
Conclusion
In Windows 11, the shortcut key for print screen is easy to use. You can press “Windows + Print Screen” to capture your screen quickly. This saves the image directly to your Pictures folder. You can also use “Alt + Print Screen” to take a picture of just one window. Now, you can try these shortcuts and explore more ways to capture your screen!
FAQs
What Are The Different Methods To Take A Screenshot Using The Print Screen Function In Windows 11?
To take a screenshot using the Print Screen function in Windows 11, you have a few options. First, you can press the “PrtScn” button on your keyboard. This will copy the whole screen to your clipboard. Next, press “Alt” + “PrtScn” to capture just the active window. Finally, you can press “Windows” + “Shift” + “S” to select a specific part of the screen. After each method, you can paste the screenshot into a program like Paint or Word.
How Can I Use Keyboard Shortcuts To Capture A Specific Window Or Area On My Screen In Windows 11?
To take a picture of a specific window in Windows 11, press “Alt + Print Screen.” This will save a screenshot of the active window. If you want to capture a part of your screen, press “Windows + Shift + S.” Your screen will go gray, and you can drag to select the area. After you release the mouse, the image is copied to your clipboard. You can then paste it in a program like Paint or Word using “Ctrl + V.”
Are There Any Built-In Tools In Windows That Enhance The Screenshot Experience Beyond The Basic Print Screen Functionality?
Yes, Windows has some cool tools for taking screenshots! You can use Snipping Tool or Snip & Sketch. These tools let you choose what part of the screen you want to capture, not just the whole screen. You can also add notes or drawings on your screenshots. This makes it easier to share your ideas!
Can I Change Or Customize The Print Screen Shortcut In Windows To Suit My Preferences?
Yes, you can change the Print Screen shortcut in Windows. To do this, you can use a program called “AutoHotkey.” With it, you can set your own keys to take screenshots. It’s a bit like making your own special button. Just be careful when setting it up!
What Should I Do If The Print Screen Key Is Not Working Properly On My Windows Device?
If your Print Screen key isn’t working, don’t worry! First, try restarting your computer. Then, check if you are pressing the right key or using the “Fn” key with it. You can also use the Snipping Tool to take screenshots instead. If it still doesn’t work, you might need to update your keyboard settings.


