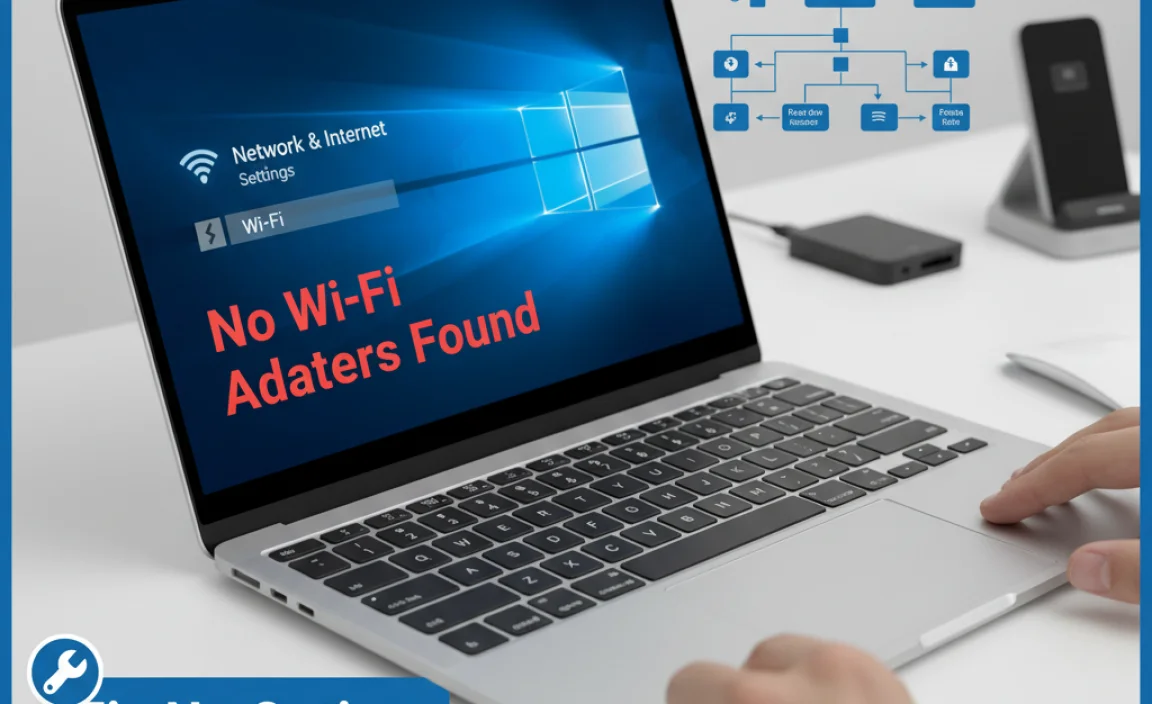
Imagine sitting down to enjoy your favorite game or movie on your Windows 10 computer. You click connect, but wait—there’s no option for WiFi! How frustrating! Many users face this problem. They wonder, “Why can’t I connect to my WiFi?” It’s a common scenario.
Did you know that millions of Windows 10 users experience this issue? It can happen to anyone. You could be working on an important project and suddenly find that you can’t access the internet. This situation can lead to stress and confusion.
In this article, we will explore the reasons why there may be no option for WiFi on Windows 10. We will also guide you through some simple steps to fix it. So if you’re tired of searching for answers, you’re in the right place. Let’s dive in and find a solution together!
No Option For Wifi On Windows 10: Troubleshooting Guide
Are you struggling to find the WiFi option on your Windows 10? You’re not alone! Many users face this issue, often due to simple settings changes or driver problems. It can be frustrating when your device won’t connect to the internet. Checking the network settings or updating drivers usually helps. Did you know some hidden network settings might even block WiFi? Understanding these solutions can get you back online quickly!
Understanding the Issue
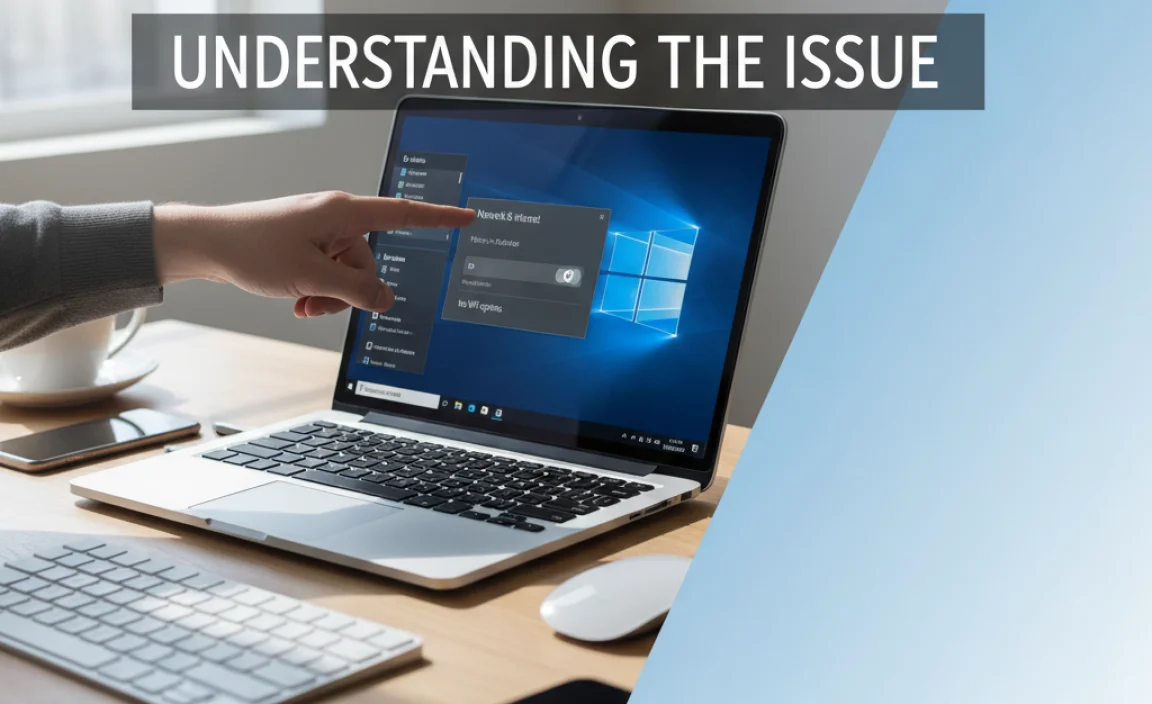
Definition of “No Option for WiFi” on Windows 10. Common scenarios leading to the problem.
Sometimes, a computer shows “no option for WiFi” on Windows 10. This means the computer cannot find any wireless networks. It can be frustrating! Several things might cause this issue:
- Your WiFi is turned off.
- WiFi drivers are outdated or not working.
- Airplane mode is activated.
- Network settings need resetting.
Understanding these causes helps in fixing the problem quickly and getting back online!
What does “No Option for WiFi” Mean?
No option for WiFi means your device is not connecting to any wireless networks.
Common Causes of WiFi Issues
- WiFi is disabled on your computer.
- Incorrect settings prevent connections.
- Hardware issues with the router.
Check Basic Settings
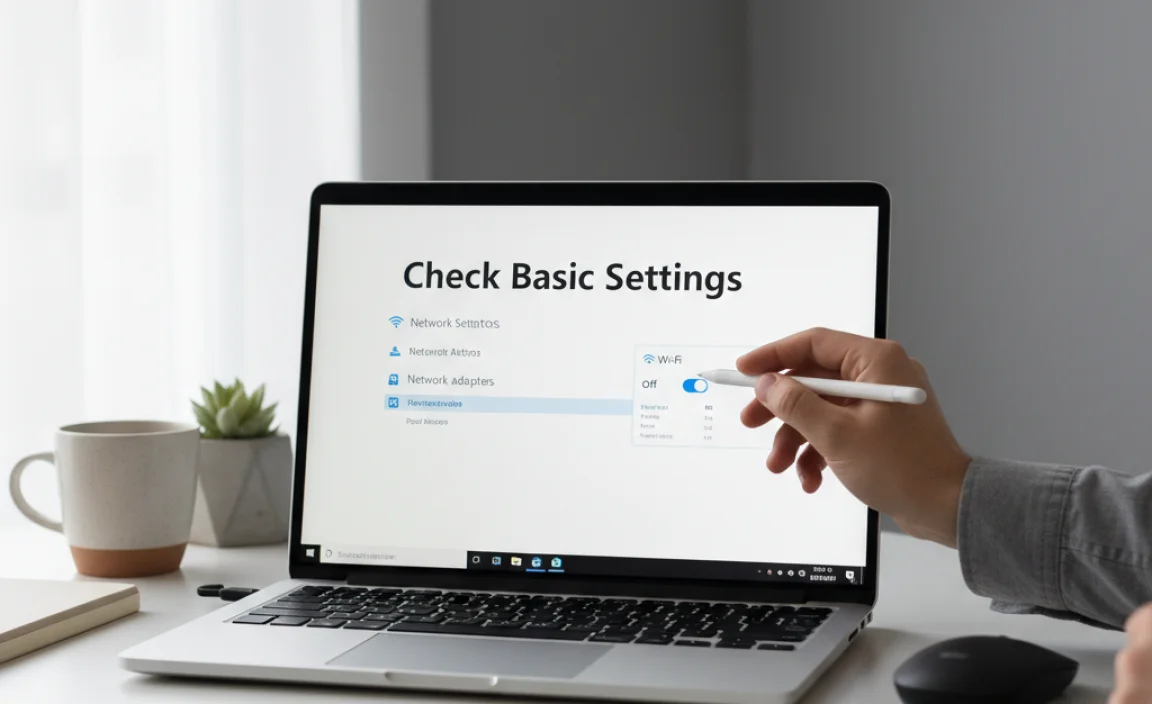
Ensuring WiFi is enabled on the device. Accessing Network Settings for initial diagnostics.
First, check that your WiFi is turned on. Sometimes it’s off by mistake. Look for the WiFi symbol on your computer screen. If it’s gray, that means it’s off. Next, go to your Network Settings. Click on the Start menu, then select Settings. From there, choose Network & Internet. This is where you can see if your device recognizes WiFi. Make sure your WiFi is enabled in this section.
How do I check if my WiFi is working?
To check your WiFi, follow these steps: Look for the network icon on your taskbar. If you see a warning sign or the icon appears dim, your WiFi might not be working. Ensure it’s on in the settings mentioned earlier.
- Check the WiFi symbol on your screen.
- Open Network Settings.
- Confirm your WiFi is enabled.
Update Network Drivers

Importance of keeping drivers up to date. Steps to manually update network drivers.
Keeping your network drivers updated is key for a smooth connection. Old drivers can be like a grumpy cat: slow and uncooperative. To manually update them, first, open the Device Manager. Look for “Network Adapters” and find your device. Right-click it, then select “Update Driver.” Follow the prompts, and voila! You’ve given your drivers a pep talk. Remember, a happy driver means a happy Wi-Fi connection!
| Step | Action |
|---|---|
| 1 | Open Device Manager |
| 2 | Find “Network Adapters” |
| 3 | Right-click your device |
| 4 | Select “Update Driver” |
| 5 | Follow the instructions |
Run the Network Troubleshooter
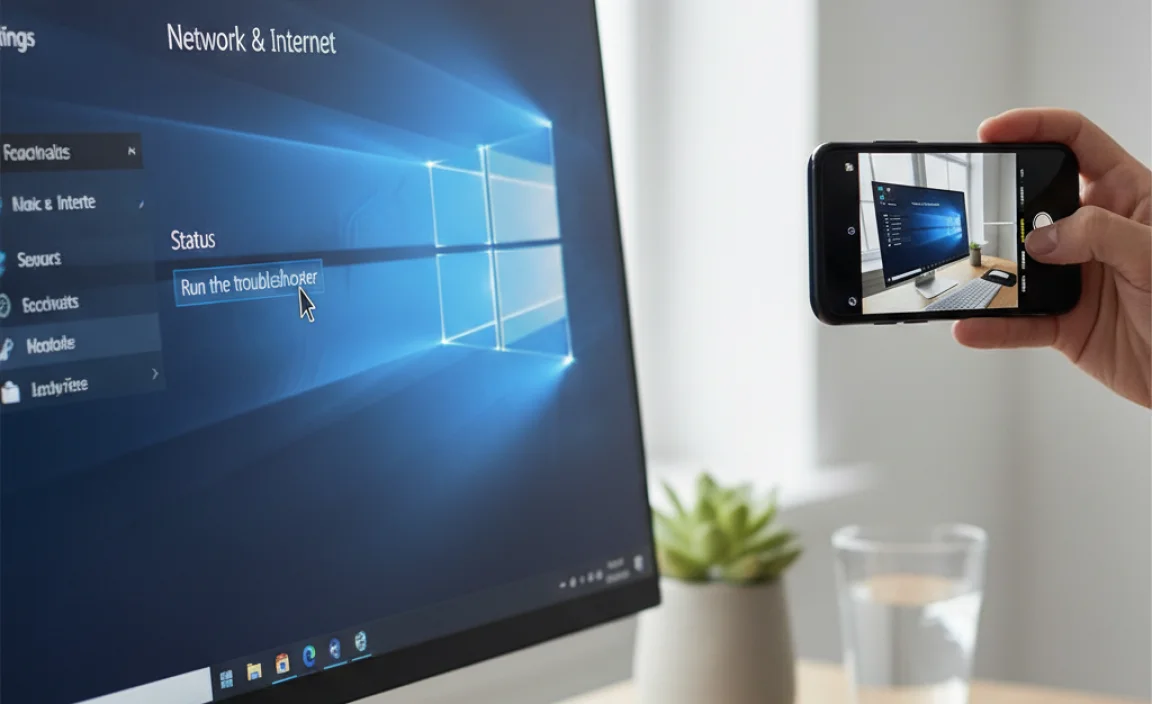
Using the builtin Windows Network Troubleshooter. Analyzing and fixing detected issues.
Having trouble with your internet on Windows 10? Try the built-in Network Troubleshooter. This tool looks for problems and helps fix them easily. Just follow these simple steps:
- Click on the Start menu.
- Type “Troubleshoot settings” and press Enter.
- Select “Internet Connections” and click “Run the troubleshooter.”
The troubleshooter will check for any problems. If it finds issues, it will offer suggestions to solve them. It’s a handy way to get back online quickly!
What does the Network Troubleshooter do?
The Network Troubleshooter finds and fixes internet connection problems automatically.
Key Features:
- Detects connection issues
- Offers fixes and tips
- Easy to use for everyone
Check Airplane Mode and Physical Switches
Verifying Airplane Mode settings. Identifying and using hardware switches for WiFi.
Sometimes your device may be taking a vacation in airplane mode. Check if it’s turned on; this setting shuts off all connections, including WiFi! To find it, go to the “Action Center” on your taskbar and look for the airplane icon. If it’s blue, you’ve got a flight on your hands!
Also, keep an eye out for any physical switches on your laptop. Some laptops have a handy switch that can turn WiFi on or off in a snap. Make sure it’s flipped to the “on” position. After all, we want your WiFi connection feeling like it’s on a jet plane, not grounded!
| Step | Action |
|---|---|
| 1 | Open the Action Center |
| 2 | Check for airplane mode icon |
| 3 | Find and toggle the hardware switch if available |
Reset Network Settings
How to reset network settings in Windows 10. Effects of resetting on existing connections.
If you need to fix issues with your Wi-Fi, resetting network settings can help. Follow these steps to reset your network:
- Click on the Start menu.
- Select Settings.
- Go to Network & Internet.
- Find Status and click on Network reset.
- Confirm by clicking Reset now.
This action will remove all saved Wi-Fi networks. It may take a few minutes to reconnect. Don’t worry; you can easily add your networks back later.
What Happens to Your Connections?
Resetting your network settings will delete saved Wi-Fi passwords and any custom settings. All network adapters will be reset too. This can help if you see the “no option for Wi-Fi on Windows 10” message.
Modify Network Adapter Settings
Accessing and changing adapter properties. Configuring advanced settings for the WiFi adapter.
Having trouble connecting to WiFi? Don’t fret! You can tweak your network adapter settings to help out. First, access the network adapter properties by hitting the Start button and typing “Control Panel.” Once you’re there, go to “Network and Sharing Center.” Click on “Change adapter settings.” Use the right-click magic on your WiFi adapter and select “Properties.” Time to get fancy! You can adjust advanced settings that’ll make your adapter feel loved.
| Step | Action |
|---|---|
| 1 | Open Control Panel |
| 2 | Go to Network and Sharing Center |
| 3 | Select Change adapter settings |
| 4 | Right-click your WiFi adapter |
| 5 | Click on Properties |
Don’t forget to check settings like IP properties and DNS. If things are still funky, a good ol’ restart might do the trick. Remember, fixing tech can sometimes feel like training a cat: it takes patience and sometimes a treat!
Scan for Hardware Changes
Using Device Manager to detect changes. Steps to reinstall network adapters.
If your Wi-Fi isn’t showing up, you can check for new devices with Device Manager. This tool helps Windows find hardware changes automatically. To reinstall network adapters, follow these steps:
- Open Device Manager by searching for it in the search bar.
- Look for “Network adapters” in the list.
- Right-click on your adapter and select “Uninstall device.”
- Click “Scan for hardware changes” on the top menu.
- Windows will reinstall the network adapter for you.
Doing this can solve no Wi-Fi options on Windows 10. Easy, right?
Why won’t my Wi-Fi show up on Windows 10?
This can happen because of missing drivers or hardware issues. Sometimes Windows needs a little push to find your connection again.
System Restore as a Last Resort
When and why to use System Restore. Preparing for and executing a system restore.
Sometimes computers act up, and everything seems wrong. If simple fixes fail, System Restore can help. It rolls back your computer to a time when it worked well. Use it if your computer has new problems after updates or installs. But prepare first. Save your work and close programs. Follow these easy steps:
- Click on the Start menu.
- Search for “System Restore.”
- Follow the prompts to begin.
This can bring back your old settings, fixing issues like no option for wifi on Windows 10!
When should I use System Restore?
Use System Restore if your computer has serious problems after changes. For example, if a new program causes trouble or if Windows updates slow things down. It can save you from headaches!
Preventative Measures and Best Practices
Tips for maintaining network stability. Regular checks and updates to avoid future issues.
Keep your network cozy and happy! Regularly check your Wi-Fi settings. Make it a habit to run updates. Staying up to date helps prevent those sneaky problems lurking around. You don’t want your Wi-Fi deciding to play hide-and-seek, right? Here’s a quick table with tips:
| Tip | Action |
|---|---|
| Check Connections | Ensure all wires are plugged in. |
| Update Drivers | Visit the manufacturer’s site regularly. |
| Restart Router | Give your router a break once in a while! |
These steps can keep your network running smooth. So, your Wi-Fi can stop acting like a drama queen! A happy Wi-Fi means more cat videos and fewer problems.
Conclusion
If you see “no option for Wi-Fi” on Windows 10, don’t worry! This often happens due to driver issues or settings. You can try troubleshooting, updating drivers, or checking your network settings. We encourage you to look up guides or videos for step-by-step help. With a little effort, you can get your Wi-Fi back up and running!
FAQs
Sure! Here Are Five Related Questions On The Topic Of Not Having The Option For Wi-Fi On Windows 10:
If your Windows 10 computer doesn’t show Wi-Fi, check if it has a Wi-Fi card. Make sure your Wi-Fi is turned on. Sometimes, turning your computer off and on can help. You can also check for updates. If it still doesn’t work, you may need help from an adult to fix it.
Sure! Just let me know the question you want me to answer, and I will help you with that.
What Are The Common Reasons For The Wi-Fi Option Disappearing In Windows 10?
The Wi-Fi option can disappear for a few reasons. Sometimes, your computer needs an update. Other times, the Wi-Fi switch might be turned off by mistake. You could also have a problem with the Wi-Fi driver, which helps your computer connect to the internet. Lastly, your device might be set to airplane mode, which stops Wi-Fi from working.
How Can I Troubleshoot The Missing Wi-Fi Option In The Windows Settings?
If you can’t find the Wi-Fi option in Windows settings, start by restarting your computer. Sometimes, a simple restart fixes problems. Next, check if your Wi-Fi is turned on by looking for a switch or a button on your laptop. If that doesn’t work, go to the Device Manager. You can find it by searching in the start menu. Look for “Network adapters,” and see if your Wi-Fi driver is there. If it’s missing, you may need to reinstall it.
Is There A Specific Driver Update Needed To Restore The Wi-Fi Option On Windows 10?
Yes, you might need to update your driver to get Wi-Fi back on Windows 10. A driver helps your computer talk to its parts, like the Wi-Fi card. You can go to the Device Manager, find the Wi-Fi driver, and check for updates. Once you update it, restart your computer, and the Wi-Fi option should come back. If it doesn’t, you can ask for more help!
Can Hardware Issues Lead To The Wi-Fi Option Not Appearing On My Windows Device?
Yes, hardware issues can cause the Wi-Fi option to disappear on your Windows device. If the Wi-Fi card is broken or not connected properly, it won’t work. Sometimes, the drivers, which help the hardware communicate, can also have problems. You can check these things to help fix the issue!
What Steps Can I Take To Reset My Network Settings If The Wi-Fi Option Is Not Available In Windows 10?
If you can’t find the Wi-Fi option in Windows 10, we can reset your network settings. First, click on the “Start” button. Then, choose “Settings.” After that, select “Network & Internet.” Scroll down and click on “Network reset.” Finally, restart your computer to finish!