Have you ever wanted to share something on your screen but didn’t know how? Taking a screenshot on Windows 10 can be super helpful. It’s like capturing a photo of your computer screen!
Imagine you’ve found a funny meme or an important message. You want to save it or show it to a friend. But how do you do that? Don’t worry! Learning how to take a screenshot for Windows 10 is easy and quick.
Here’s a fun fact: Did you know that people often use screenshots for everything? From saving recipes to sharing funny moments in games, the possibilities are endless. This simple skill can make your life easier.
This article will guide you step by step on how to take a screenshot for Windows 10. You’ll learn different methods, and soon, you’ll be a pro!
How To Take A Screenshot For Windows 10: Easy Steps And Tips
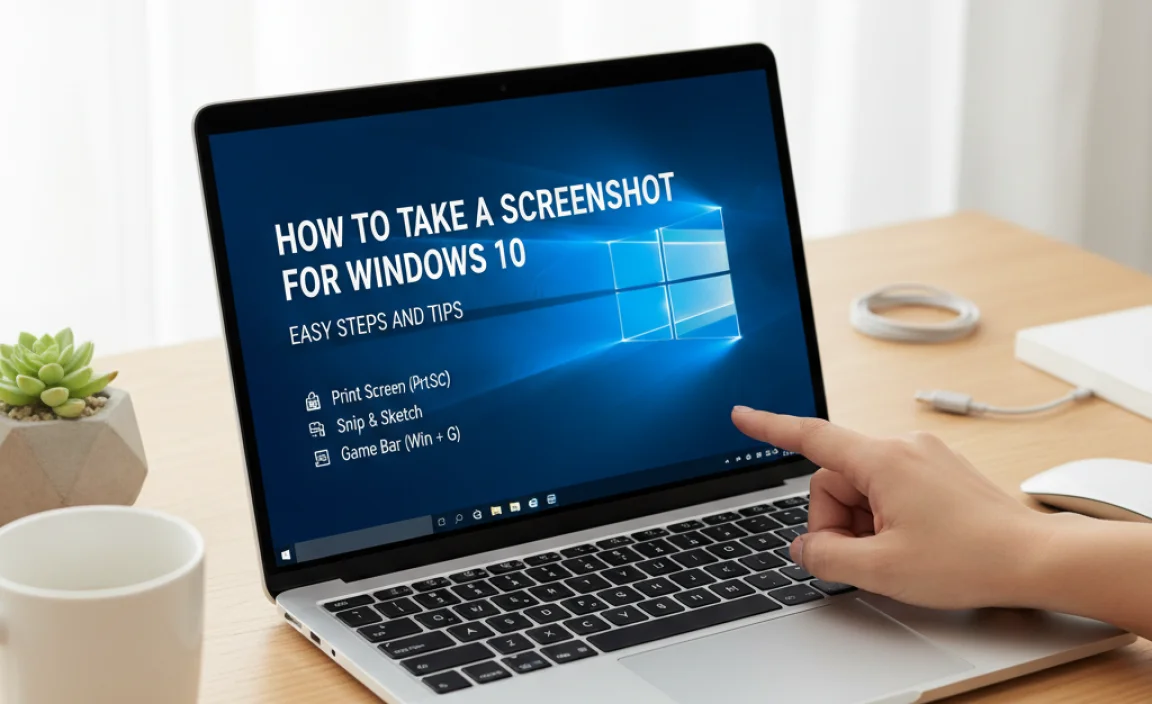
How to Take a Screenshot for Windows 10
Taking a screenshot on Windows 10 is easy and quick. You can use the Snipping Tool or simply press the Print Screen key. Need just a part of your screen? Try using Windows + Shift + S. Your screenshot will be saved to the clipboard, ready to share or edit. Did you know you can even annotate screenshots with tools? Mastering these steps can help capture important moments or share ideas with friends.
Understanding Screenshot Basics
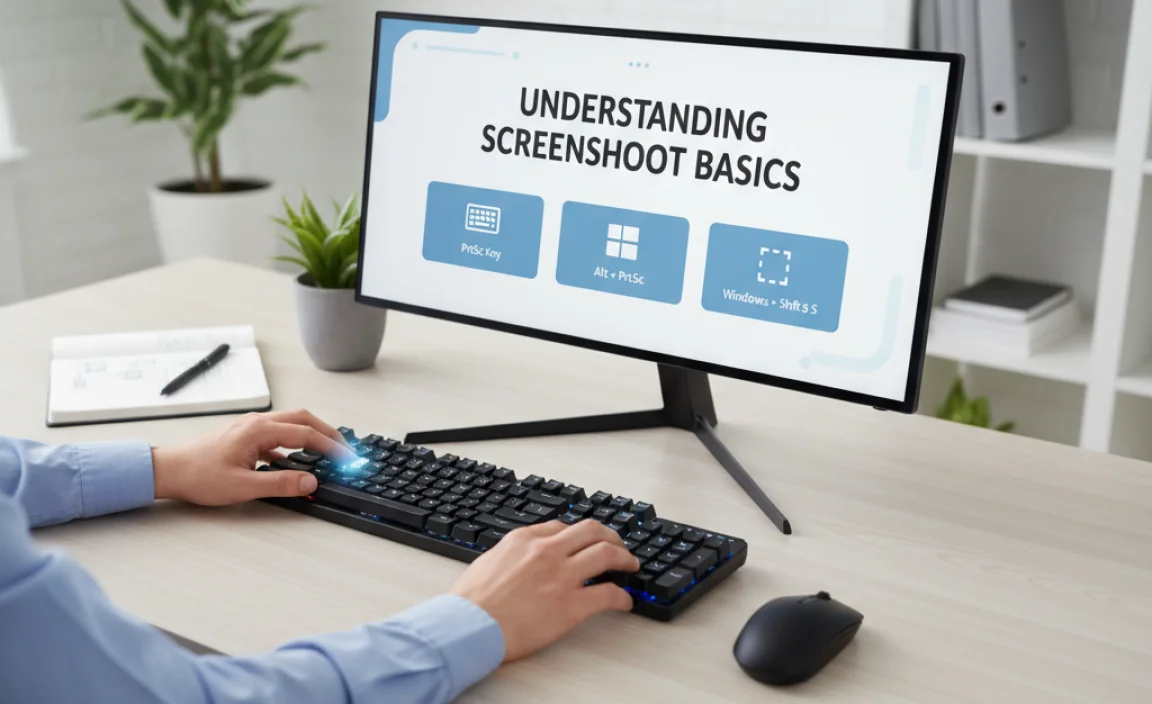
Definition and importance of screenshots. Common use cases for screenshots in Windows 10.
A screenshot is an image that captures what is on your screen. It’s useful for sharing ideas quickly. You can show someone how to do something without talking. Here are some common uses for screenshots in Windows 10:
- Sharing information from websites.
- Showing errors for tech support.
- Saving fun moments from games.
- Creating tutorials or instructions.
Using screenshots helps you communicate clearly and saves time. Many people find them a great tool for learning and sharing knowledge.
What are Screenshots Used For?
Screenshots can be used to share information, troubleshoot tech issues, or create guides.
Using the Print Screen Key
How to take a fullscreen screenshot using Print Screen. Taking screenshots of a single window with Alt + Print Screen.
Want to capture your whole screen? Press the Print Screen key on your keyboard! It could also be labeled as PrtScn or something similar. This handy trick saves everything you see on your display, like a magic photo snap! To catch just one window, hit Alt + Print Screen. It’s like saying, “Only this window, please!”
| Action | Key Combination |
|---|---|
| Fullscreen Screenshot | Print Screen |
| Single Window Screenshot | Alt + Print Screen |
Now you can save your beautiful screen moments and share them like a pro!
Capturing Screenshots with Snipping Tool
Stepbystep instructions on using the Snipping Tool. Different snip types: Freeform, Rectangular, Window, and FullScreen.
The Snipping Tool is easy to use for capturing pictures of your screen. Follow these steps:
- Open the Snipping Tool by searching for it in the Start menu.
- Select “New” to start a snip.
- Choose your snip type:
- Freeform Snip: Draw a custom shape.
- Rectangular Snip: Draw a box around your area.
- Window Snip: Capture a specific window.
- Full-Screen Snip: Capture everything on the screen.
- Once you snip, you can save or share the image!
How do you use the Snipping Tool?
To use the Snipping Tool, open it from your Start menu, select “New,” and choose which type of snip you want. Then capture the area you need and save your image.
Utilizing Snip & Sketch for Advanced Screenshots
Features and benefits of Snip & Sketch. How to edit and annotate screenshots after capturing.
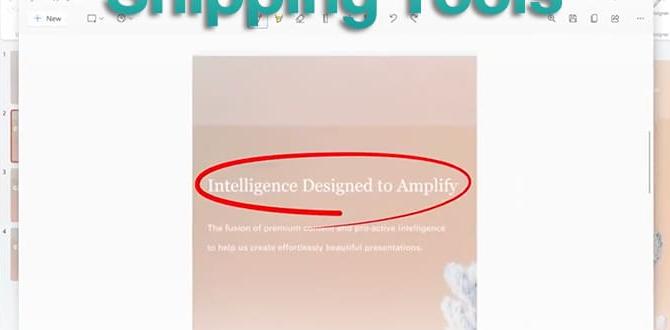
Snip & Sketch makes taking and editing screenshots easy and fun! With this tool, you can quickly grab any part of your screen. Plus, it even lets you draw and write on your screenshots. So if your friend asks you for help, you can highlight and add funny notes like “Look here!”
| Feature | Benefit |
|---|---|
| Screen Capture | Choose any area to capture. |
| Annotation Tools | Draw, highlight, and add text easily. |
After capturing, editing is a breeze. Simply open your screenshot in Snip & Sketch. Use the tools to add shapes, notes, or even a doodle of your dog. With these features, your screenshots will be as exciting as a surprise birthday party!
Using Keyboard Shortcuts for Quick Access
Essential keyboard shortcuts for screenshot functions. Tips to remember shortcuts for efficiency.
Need a quick snap of your screen? Keyboard shortcuts are your best friends! Press Windows + Print Screen to capture everything on your screen. You can find your screenshot in the Pictures folder under Screenshots. Want just the active window? Hit Alt + Print Screen instead. To remember these shortcuts, think of them like magic spells: “Windows, go click!” and “Alt, show me stuff!” Keep practicing, and soon you’ll be a screenshot pro!
| Shortcut | Function |
|---|---|
| Windows + Print Screen | Capture the entire screen |
| Alt + Print Screen | Capture the active window |
| Windows + Shift + S | Select a portion to capture |
Saving and Sharing Screenshots
Best practices for saving screenshots in various formats. How to easily share screenshots via email and social media.
Taking a screenshot is fun, but saving and sharing them is the real game-changer! For best results, save your images in popular formats like PNG or JPEG. These formats keep details clear and colorful. Want to send that funny cat meme? Email it or share it on social media just by clicking “attach” or “upload.” Here’s a quick guide:
| Format | Best For |
|---|---|
| PNG | High quality, perfect for images with text |
| JPEG | Great for photos with lots of colors |
Your friends will love it, and you’ll become the screenshot superstar! Don’t forget to add a funny caption; that’s the real cherry on top!
Troubleshooting Common Screenshot Issues
Solutions for common problems when taking screenshots. FAQs related to screenshot features in Windows 10.
Sometimes, taking a screenshot in Windows 10 can feel like trying to catch a slippery fish. If your screenshot won’t save or the Snipping Tool won’t open, don’t panic! First, check if your keyboard shortcuts are working. Pressing Windows + Print Screen should snap a photo and save it automatically. If it’s still not cooperating, try restarting your computer. Screenshots can be a little shy sometimes!
| Common Issues | Possible Solutions |
|---|---|
| Screenshot won’t save | Check storage space or try using the Snipping Tool. |
| Cannot find screenshots | Look in the Pictures folder under “Screenshots.” |
| Snipping Tool won’t open | Restart your computer or check for updates. |
Got more questions? Don’t worry; even tech gurus had to learn! Like, “How do I capture just a window?” You can use Alt + Print Screen, and voilà – just the one you need!
Conclusion
In summary, taking a screenshot on Windows 10 is easy and quick. You can use the Print Screen button, Snipping Tool, or keyboard shortcuts. Each method gives you different options for capturing your screen. We encourage you to try these methods yourself. Explore each tool to see which one works best for you. Happy screenshotting!
FAQs
What Are The Different Methods To Take A Screenshot In Windows 1
To take a screenshot in Windows 11, you can use a few different methods. First, press the “PrtScn” button on your keyboard. This takes a picture of the whole screen. You can also press “Alt + PrtScn” to capture just the active window. Another way is to use “Windows + Shift + S” to select a part of the screen. Finally, you can use the Snipping Tool to take a screenshot in different shapes.
How Can I Take A Screenshot Of Just One Window In Windows 1
To take a screenshot of just one window in Windows, first, click on the window you want to capture. Then, hold down the “Alt” key and press “Print Screen” or “PrtScn.” This will take a picture of that window only. You can then open a program like Paint and press “Ctrl” and “V” to paste it there. Finally, save your picture by clicking “File” and then “Save.”
Is There A Shortcut Key For Capturing A Screenshot Of The Entire Screen In Windows 1
Yes, there is a shortcut key to capture a screenshot of the entire screen in Windows. You can press the “Print Screen” key on your keyboard. This key might say “PrtSc” or something similar. When you press it, the picture of your screen is saved in the computer’s memory. You can then paste it into a program like Paint to save it!
How Do I Access And Edit Screenshots Taken In Windows 1
To access your screenshots in Windows, open the “Pictures” folder. Look for a folder named “Screenshots.” Inside, you’ll find all your screenshots. To edit a picture, click on it, and it will open. You can use the “Photos” app to make changes like cropping or drawing.
Can I Take A Screenshot Using The Snipping Tool In Windows 1And How Does It Work?
Yes, you can take a screenshot using the Snipping Tool in Windows. First, open the Snipping Tool program. Then, click on “New” to start taking a picture of your screen. You can drag your mouse to select the area you want to capture. After that, you can save or copy the screenshot.