
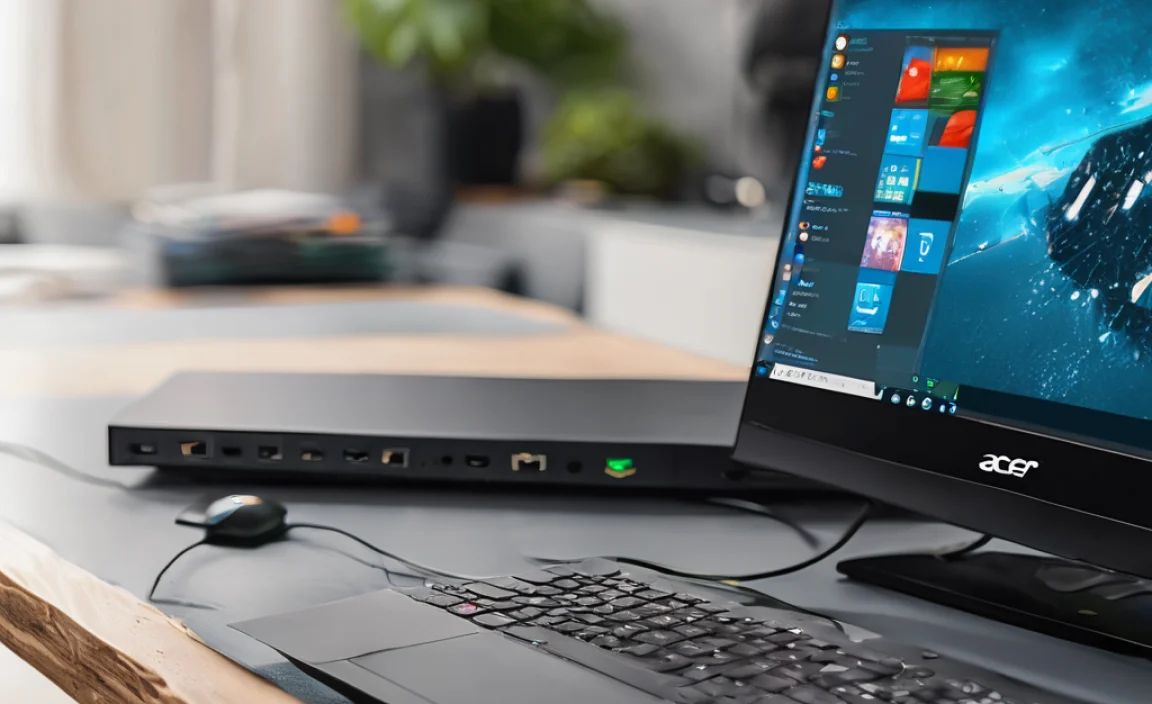
If you recently upgraded to Windows 11, you might notice some changes. One area that can be tricky is connecting to the internet. What if we told you that the right acer ethernet driver setup could make everything easier?
Imagine trying to enjoy your favorite game or watch a fun video, but the internet keeps dropping. Frustrating, right? A good ethernet driver makes sure your computer and router talk smoothly. Think of it like a translator between your device and the internet.
Setting up your acer ethernet driver for Windows 11 64-bit doesn’t have to be hard. With just a few simple steps, you can get everything up and running. Did you know that updating your driver regularly helps your device stay secure and fast? It’s true!
Let’s dive in and explore how to set up that acer ethernet driver. You’ll be back online in no time, enjoying seamless browsing and gaming.
Acer Ethernet Driver Setup For Windows 11 64 Bit Guide

Setting up the Acer Ethernet driver for Windows 11, 64-bit, is simple. First, download the correct driver from the Acer website. Next, double-click the downloaded file to start the installation. You might need to restart your computer afterward. Did you know that a good driver can improve your internet speed? By following proper setup, you can ensure your device connects smoothly to networks. Keep your drivers updated to avoid connection issues!
Understanding the Importance of Ethernet Drivers
Role of Ethernet drivers in network connectivity. Implications of outdated or missing drivers.
Ethernet drivers are like the translators for your computer’s network card. They help your device speak to the internet smoothly, making sure you can stream videos and play games without those annoying pauses. If your drivers are outdated or missing, it’s like trying to call a friend who changed their phone number—you simply can’t connect. This can lead to slow speeds or no internet at all. So, make those drivers shine and keep your online adventures fun!
| Driver Status | Connection Performance |
|---|---|
| Updated | Fast and reliable |
| Outdated | Slow, lots of buffering |
| Missing | No connection at all! |
Checking Compatibility with Windows 11 64 Bit
System requirements and compatibility. How to verify Windows 11 version.
Before diving into the setup, it’s vital to ensure your system plays nice with Windows 11 64 bit. First, check that your device meets the system requirements. They include a compatible processor, adequate RAM, and enough storage. Not sure which version you have? It’s a breeze! Go to Settings, click on System, and select About. There, you’ll see your Windows version displayed. It’s like finding chocolate in the fridge—exciting!
| Requirement | Details |
|---|---|
| Processor | 1 GHz or faster with at least 2 cores. |
| RAM | At least 4 GB. |
| Storage | 64 GB or more. |
| System Firmware | UEFI. |
Downloading the Latest Acer Ethernet Drivers
Official Acer website navigation. Ensuring proper driver version for your hardware.
To get the latest Acer ethernet drivers, visit the official Acer website. It’s easy to find the right drivers. Start by selecting your device model. Next, navigate to the support section to see available downloads. Make sure to check that the driver is for Windows 11 64-bit. This avoids problems with your connection. Keep your hardware in mind. Different devices need different drivers, so choosing the correct version is key.
Where can I find the latest Acer ethernet drivers?
You can find the latest drivers by visiting the Acer official support page. From there, select your product to ensure you get the correct version.
- Select your device model.
- Navigate to the support section.
- Download the appropriate driver for Windows 11 64-bit.
Preparing for Installation
Creating system restore points. Uninstalling previous driver versions.
Before you start, it’s wise to protect your system. First, create a system restore point. This acts like a safety net. If something goes wrong, you can easily return to the previous state. Next, make sure to uninstall any old drivers. This helps the new driver work better. Following these steps will ensure a smoother installation process.
- Create a System Restore Point: Open Control Panel, go to System and Security, then System. Click on “System protection” and select “Create.” Follow the prompts.
- Uninstall Previous Drivers: Go to Device Manager. Find “Network adapters,” right-click on the old driver, and choose “Uninstall device.”
Why Create a System Restore Point?
A system restore point saves your current settings. This way, if anything goes wrong during installation, you can quickly fix it.
Step-by-Step Driver Installation Guide
Installing via Device Manager. Manual installation process.
Need to get your Acer Ethernet driver running smoothly? Start by opening your Device Manager. It’s a little like calling your tech-savvy friend for help. If you prefer the hands-on approach, download the driver directly from the Acer website. Once you have it, double-click and follow the magic instructions. Voilà! You’re connected! And just like that, your Internet woes are over. Well, except when your cat accidentally steps on the keyboard.
| Step | Action |
|---|---|
| 1 | Open Device Manager |
| 2 | Find Network Adapters |
| 3 | Right-click your Ethernet device |
| 4 | Select “Update Driver” |
| 5 | Follow the prompts |
Troubleshooting Common Installation Issues
Addressing failed installations. Dealing with error messages.
Installing drivers can sometimes go wrong. If your installation fails, check your internet connection. Make sure it’s stable. Restart your computer and try again. If you see an error message, don’t panic. Error codes can help you find solutions. Look them up online for quick help or visit the Acer support site.
- Check your connection
- Restart your computer
- Look up error codes
- Visit the support site
What should I do if the installation fails?
Make sure your internet is working, and restart your computer. If the issue continues, check the Acer support website for additional help.
How do I deal with error messages during installation?
Error messages often contain codes. Write them down and search online for answers or consult the Acer support page.
Verifying Successful Driver Installation
Checking device manager for driver status. Testing Ethernet connection.
To check if your driver is installed correctly, first, head to the Device Manager. It’s like checking your pet’s health. If you see a little green checkmark next to your Ethernet driver, congratulations! You’re all set. If not, don’t panic; it might be hiding like a ninja. Next, test your Ethernet connection. Plug in your cable and see if you can browse the web. If the internet is as fast as a cheetah, you’re golden! If not, it’s time for a quick fix. Remember, a good driver is like a good friend – it keeps you connected!
| Status | Action Required |
|---|---|
| ✔️ Driver Installed | No Action Needed |
| ❌ Driver Missing | Reinstall Driver |
Tips for Maintaining Driver Performance
Regularly checking for updates. Best practices for network settings.
To keep your Ethernet driver running smoothly, make checking for updates a fun routine. Think of it as a treasure hunt—updates can improve speed and fix issues. Dive into your network settings too! Use high-speed options, and don’t forget to check your cables; a frayed wire can be your sneaky enemy. Here’s a quick table of best practices:
| Action | Tip |
|---|---|
| Check for Updates | Monthly is a good habit. |
| Network Settings | Optimize for speed and reliability. |
| Cable Inspection | Look for any wear and tear. |
With these tips, your driver can run like a cheetah on a mission. Happy surfing!
Conclusion
In summary, setting up the Acer Ethernet driver for Windows 11 64-bit is simple. First, download the correct driver from Acer’s website. Next, install it and restart your computer. This should help your Ethernet connection work properly. If you have questions, check Acer’s support page for help. Now, you’re ready to enjoy a fast and reliable internet connection!
FAQs
How Do I Download The Latest Acer Ethernet Driver For Windows 64-Bit?
To download the latest Acer Ethernet driver for Windows 64-bit, go to the Acer website. Find the “Support” section. Type your computer model to search for drivers. Look for the Ethernet driver and click “Download.” Once it’s done, double-click the file to install it.
What Are The Steps To Install The Ethernet Driver On My Acer Laptop Running Windows 1
To install the Ethernet driver on your Acer laptop, first, we need to find the right driver. Go to the Acer website and look for your laptop model. Download the driver you need. Once it’s done, open the file and follow the instructions on the screen. Restart your laptop, and the Ethernet should work!
How Can I Troubleshoot Issues If My Ethernet Connection Is Not Working After Installing The Driver On Windows 1
First, check if the Ethernet cable is plugged in tightly at both ends. Next, restart your computer to refresh the connection. If that doesn’t work, go to “Settings” and find “Network.” Here, you can see if the Ethernet is listed and try to connect again. If it still doesn’t work, you might need to reinstall the driver or ask for help from an adult.
Are There Any Specific Compatibility Issues Between Acer Ethernet Drivers And Windows 64-Bit?
Yes, sometimes Acer Ethernet drivers can have problems with Windows 64-bit. This means they might not work well together. If you notice issues, you should check for updates. Updating the drivers can often fix the problems. Always try to use the right driver for your computer.
Where Can I Find The Device Manager In Windows To Check If My Ethernet Driver Is Properly Installed?
To find the Device Manager in Windows, start by clicking the Start button. Then, type “Device Manager” in the search box. Click on the Device Manager icon that appears. Look for “Network adapters” to check your Ethernet driver. You can see if it’s working properly there.