
Imagine you’re playing your favorite game on Windows 10. Suddenly, you want to show your friends a cool moment. How do you capture it quickly? The answer lies in a simple shortcut for screenshots. It’s super easy and can save you tons of time!
Did you know that most people take screenshots every day? They want to save funny memes or important information. However, many don’t know about the best shortcut for screenshots on Windows 10. Learning this can make your life a lot easier.
Whether you’re a student needing to save notes or a gamer sharing achievements, knowing the right keys can be a game-changer. So, let’s dive into the world of screenshots and discover how you can easily grab images on your screen!
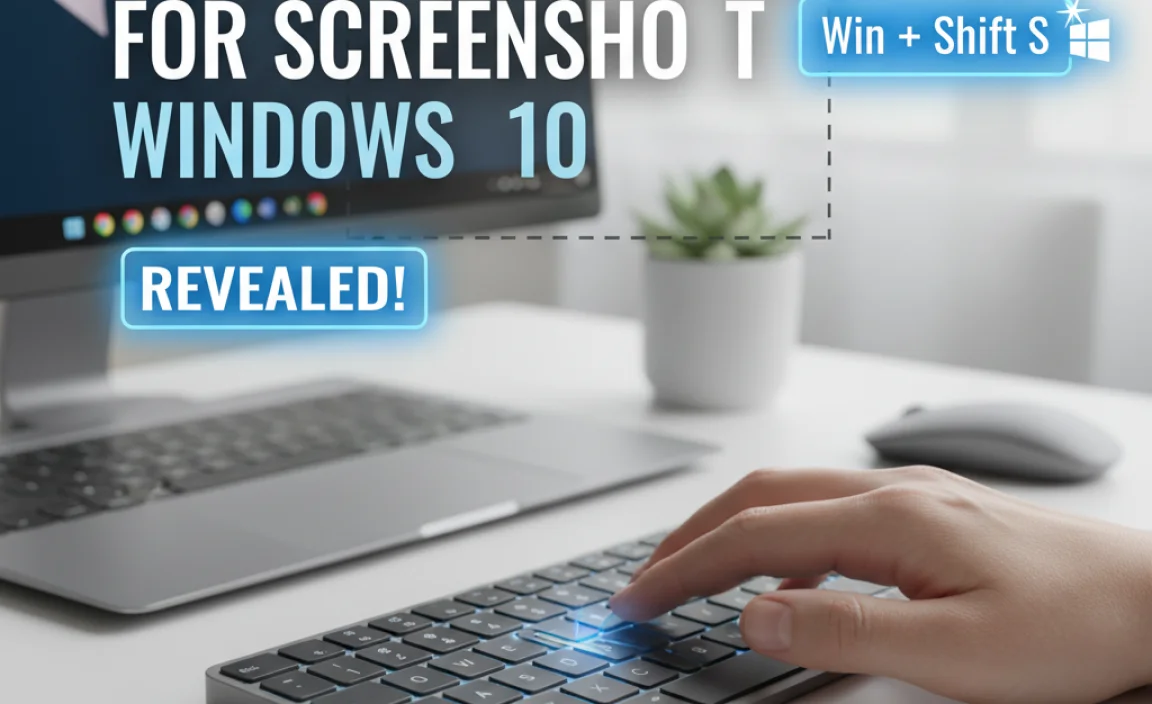
The Ultimate Shortcut For Screenshot Windows 10 Revealed!
Shortcut for Screenshot Windows 10
Want to capture your screen quickly? Windows 10 makes it easy. You can take a screenshot by pressing the “Windows” key and “PrtScn” at the same time. This saves your image directly to the “Pictures” folder. Another method is “Alt + PrtScn,” which captures just the active window. Isn’t it amazing how simple shortcuts can make your life easier? Now, you’ll never miss a moment on your screen!
Using Keyboard Shortcuts for Screenshots
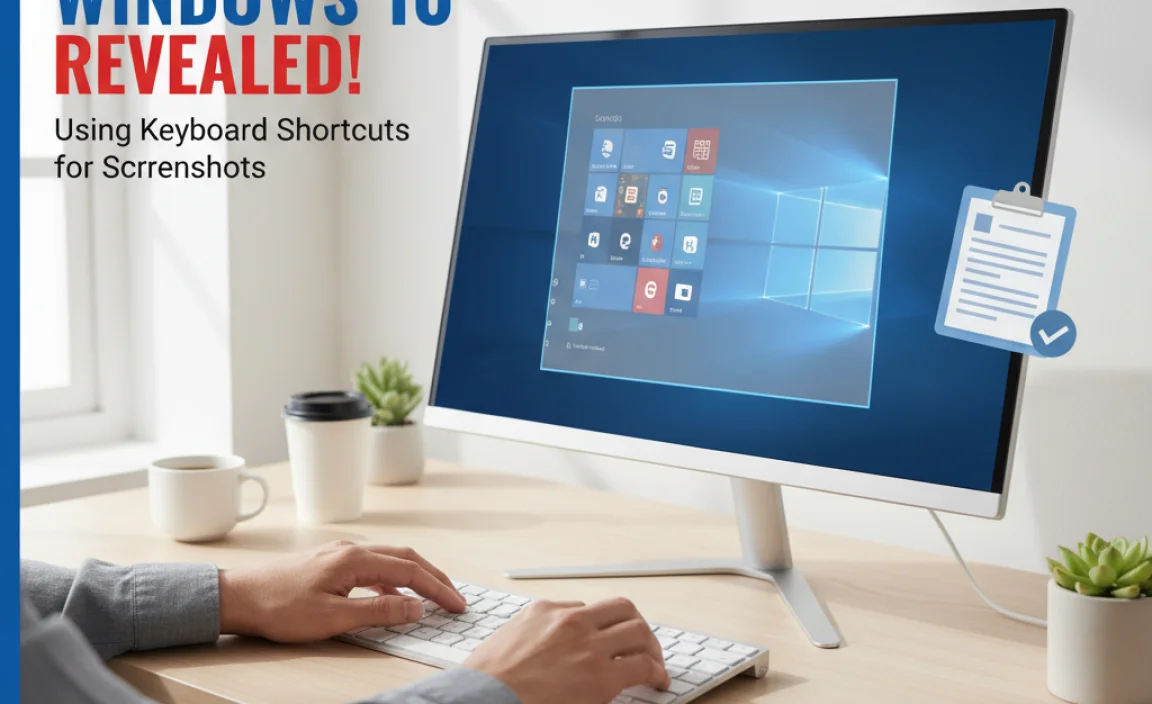
List of essential keyboard shortcuts for taking screenshots. Explanation of each shortcut’s specific function.
Taking screenshots on Windows 10 is super easy with keyboard shortcuts. These shortcuts save time and make sharing fun! Here are a few essential ones:
| Shortcut | Function |
|---|---|
| PrtSc | This captures the entire screen and saves it to your clipboard. Now, that’s one quick way to show off your favorite memes! |
| Alt + PrtSc | This one captures the active window only. Perfect for showing that game battle you just won! |
| Windows + Shift + S | It opens a snipping tool for selecting any part of your screen. Snip it, share it, and let the fun begin! |
| Windows + PrtSc | This combo takes a screenshot of the whole screen and saves it directly to your “Screenshots” folder. No more digging through folders! |
So, next time you need to capture something, remember these magical key combos! They turn you into a screenshot wizard in no time!
Using the Snipping Tool
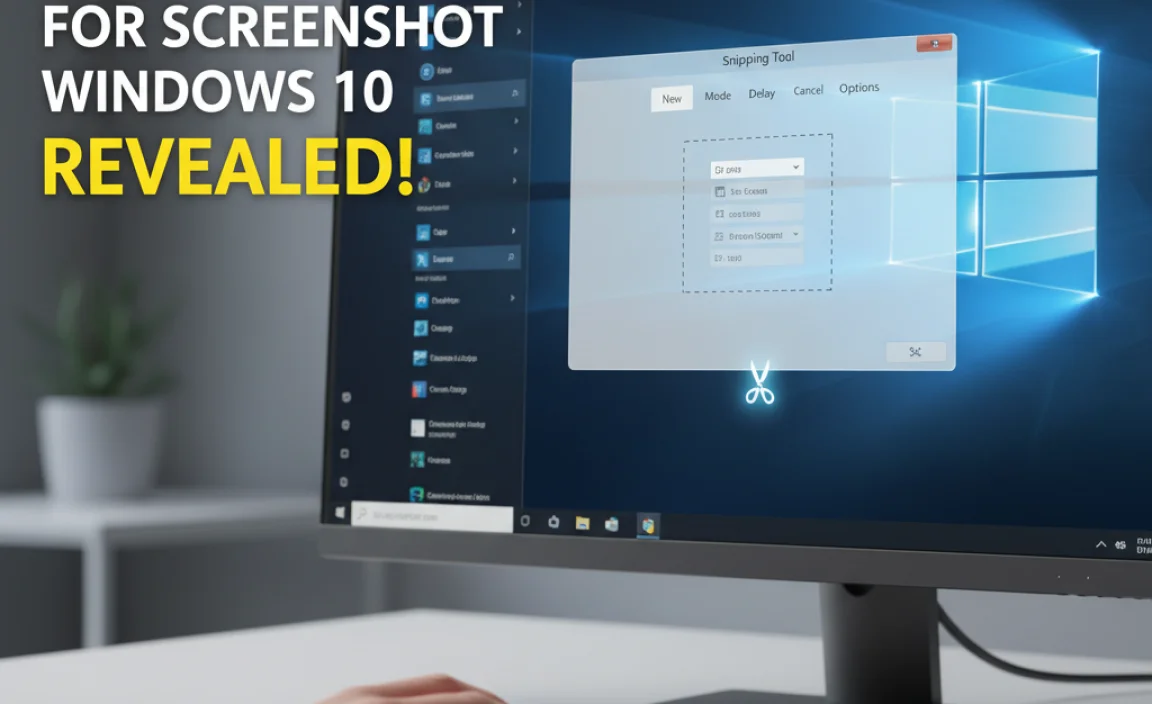
Features of the Snipping Tool. Stepbystep guide on how to use the Snipping Tool.
The Snipping Tool is like having a magic wand for your screen! It lets you capture anything you see, turning it into a picture. You can snip parts of the screen and share them. Want to know how? It’s super simple! Here’s a quick guide:
| Step | Action |
|---|---|
| 1 | Open the Snipping Tool from your start menu. |
| 2 | Select “New” to start your snip. |
| 3 | Drag your mouse to capture the area you want. |
| 4 | Save or share your snip! |
And there you go! You’ve just made a screenshot! The Snipping Tool is easy and fun, making you a screenshot superhero in no time!
Saving and Managing Screenshots
Where screenshots are saved by default. Tips for organizing and managing your screenshots.
By default, your screenshots save in the Pictures folder under Screenshots. This makes it easy to find your images later. To keep everything neat, try these tips:
- Rename your screenshots for clarity.
- Create subfolders for different subjects.
- Regularly delete unwanted images.
- Use tags to help you find pictures quickly.
Organizing your files makes it easier to locate important screenshots. A little effort can save you time later!
Where are screenshots saved in Windows 10?
Your screenshots are saved in the Pictures folder under the Screenshots subfolder.
Advanced Screenshot Techniques
Utilizing thirdparty screenshot tools. Tips for editing and annotating screenshots.
Many people use extra tools to take great screenshots. These third-party screenshot tools can do more than the basic ones. They let you edit and add notes. Here are some tips:
- Use tools like Snagit or Greenshot for easy editing.
- Highlight important areas with colors.
- Add shapes or arrows to show details.
- Crop images to focus on what matters.
After snapping a screenshot, take a moment to ask, “What do I want to show?” This helps in making the screenshot clear and useful.
How can I edit and annotate my screenshots?
You can edit your screenshots using tools like Paint or special apps. They help you add text and highlight important parts. Try using arrows or boxes to point out details!
Troubleshooting Common Screenshot Issues
Common problems users face when taking screenshots. Solutions and fixes for screenshotrelated issues.
Taking screenshots on Windows 10 is usually simple, but issues can pop up like a surprise party. Many users complain that their screenshots turn out blank. Others might struggle with saving their images. Here’s how to solve these problems:
| Problem | Solution |
|---|---|
| Blank screenshots | Make sure to click on the right area. If you press the wrong keys, you might just end up with a blank screen. |
| Not saving | Check your clipboard! Pressing Windows + V brings up saved items, just don’t forget to grab your screenshots. |
If all else fails, restarting your computer works wonders—almost like giving it a little nap! 😊
Conclusion
In summary, knowing the shortcut for taking screenshots on Windows 10 is super helpful. You can use “PrtScn” for full screenshots or “Windows + Shift + S” for specific areas. Practicing these shortcuts makes capturing important moments easy. Try them out today! For more tips, explore Windows support pages or check out fun online tutorials!
FAQs
What Is The Keyboard Shortcut For Taking A Screenshot Of The Entire Screen In Windows 1
To take a screenshot of the entire screen in Windows, you can press the “PrtScn” key. This key might also be labeled as “Print Screen.” When you do this, the screen picture is copied to your clipboard. You can then paste it into a program like Paint or Word by pressing “Ctrl” and “V” together. It’s an easy way to save what’s on your screen!
How Can I Capture A Screenshot Of A Specific Window In Windows Using Keyboard Shortcuts?
To capture a screenshot of a specific window in Windows, you can use a simple shortcut. First, click on the window you want to capture. Then, press the “Alt” key and the “Print Screen” (PrtScn) key at the same time. This takes a picture of that window only. You can then paste it into a program like Paint or Word by pressing “Ctrl” and “V” together.
Are There Any Built-In Tools In Windows For Editing Screenshots After Capturing Them?
Yes, Windows has a built-in tool called Snipping Tool. After you take a screenshot, you can use this tool to edit it. You can draw, highlight, or erase parts of your screenshot. Another option is Paint, where you can add text or colors. These tools make it easy to change your screenshots!
What Steps Do I Need To Take To Enable Or Use The Snipping Tool For Screenshots In Windows 1
To use the Snipping Tool for screenshots, first, find it on your computer. Click the Start button and type “Snipping Tool” in the search bar. When it appears, click on it to open. Now you can choose what type of screenshot you want. Press “New” to take a screenshot, and then save it if you like!
Can I Take A Screenshot In Windows Using A Combination Of Mouse And Keyboard Shortcuts? If So, How?
Yes, you can take a screenshot in Windows using your mouse and keyboard. First, click the window you want to capture. Then, press the “Windows” key and “Print Screen” (PrtScn) together. The screen will dim, showing you took a picture. You can find your screenshot in the “Pictures” folder, under a folder called “Screenshots.”