
Have you ever tried to connect to Wi-Fi, only to find that your computer simply won’t cooperate? It can be so frustrating when your device doesn’t recognize the internet. If you own a computer running Windows 10 or 11, you might need the right drivers. That’s where intel wireless Wi-Fi drivers come in.
These drivers help your computer talk to your Wi-Fi network. Without them, you may miss out on online games, videos, or even homework. Imagine needing to research something important, but you can’t go online. Wouldn’t that be the worst?
Installing the correct intel wireless Wi-Fi drivers can make all the difference. Don’t worry if you’re not tech-savvy. With a little guidance, you can have your connection up and running in no time. Let’s explore how to find and install these drivers easily!
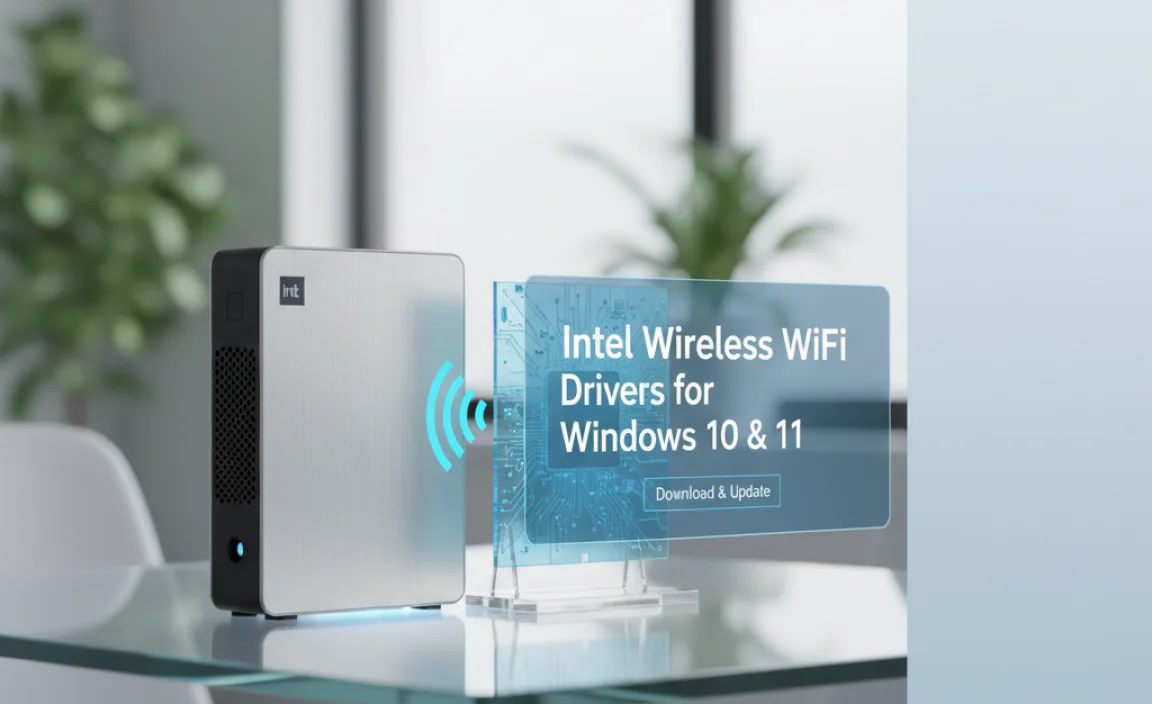
Intel Wireless Wifi Drivers For Windows 10 And 11: Installation Guide

Intel Wireless WiFi Drivers for Windows 10 and 11
If you’re dealing with WiFi issues on your Windows 10 or 11 device, outdated Intel wireless drivers might be the culprit. These drivers help your computer connect to the internet smoothly. Without them, you might face slow speeds or disconnections. Did you know that installing the latest drivers can greatly improve your WiFi experience? Regular updates can solve glitches and boost your connection. Stay connected and browse happily by keeping your Intel WiFi drivers up to date!
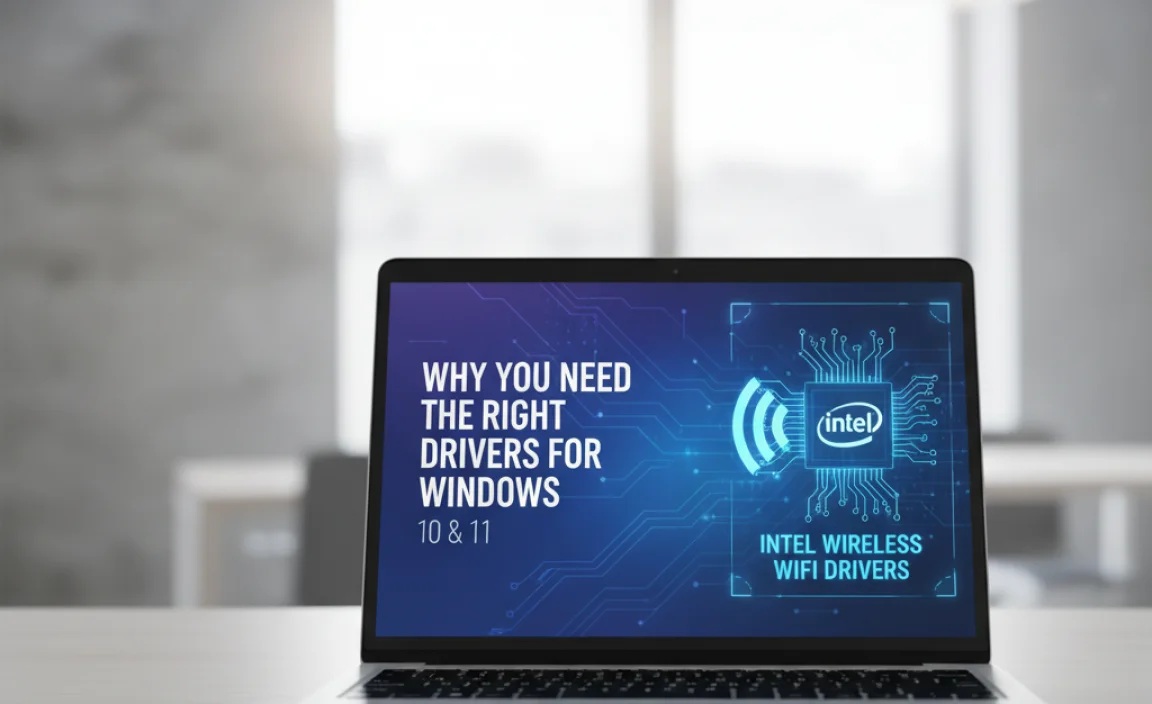
Why You Need the Right Drivers for Windows 10 and 11
Impact of outdated or incorrect drivers on connectivity and performance.. Benefits of using the latest drivers for optimization and security..
Using the right drivers is vital for smooth device performance. Outdated or incorrect drivers can cause issues like poor connectivity and slow speeds. This may lead to frustration and interruptions. On the other hand, updated drivers enhance your device’s functionality. They ensure better optimization and strengthen security against threats, keeping your data safe. Always check for updates to keep your Wi-Fi running smoothly and securely.
Why are updated drivers important?
Updated drivers improve connectivity and boost performance. They fix bugs and provide new features. Older drivers might miss these upgrades, causing delays and problems.
Benefits of updated drivers:
- Enhanced speed and performance.
- Better security against cyber threats.
- Improved compatibility with new software and hardware.
How to Identify Your Intel Wireless Adapter
Stepbystep guide to finding your specific Intel wireless adapter model.. Tools and methods to check your adapter specifications..
Finding your Intel wireless adapter is easy! Start by opening the Device Manager on your computer. Look under Network Adapters. There, you will see your hardware listed. Note the name. For more details, use the Command Prompt. Type “netsh wlan show drivers” to see your adapter information.
- Open Device Manager.
- Expand Network Adapters.
- Note the adapter model name.
- Use Command Prompt for extra details.
This will help you find the right Intel wireless wifi drivers for Windows 10 and 11.
How can I check my Intel adapter model?
To check your Intel adapter model, follow these steps:
Steps:
- Press Windows + X.
- Select Device Manager.
- Find Network Adapters and click.
- Your Intel adapter name will show.
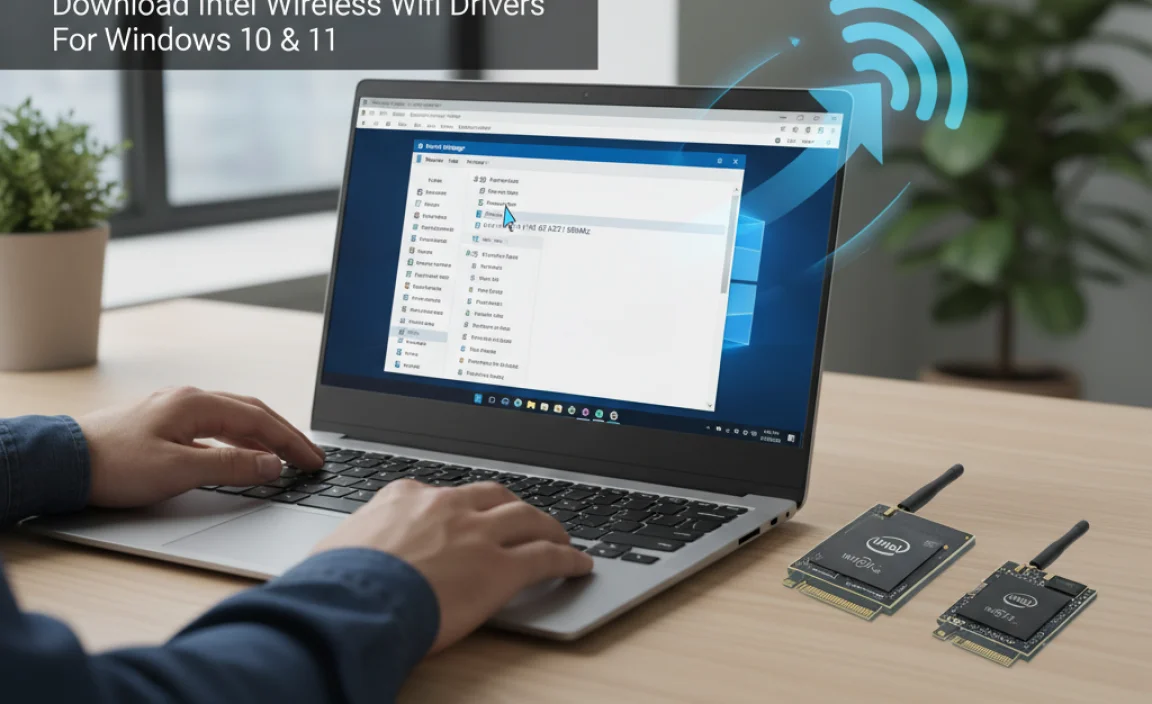
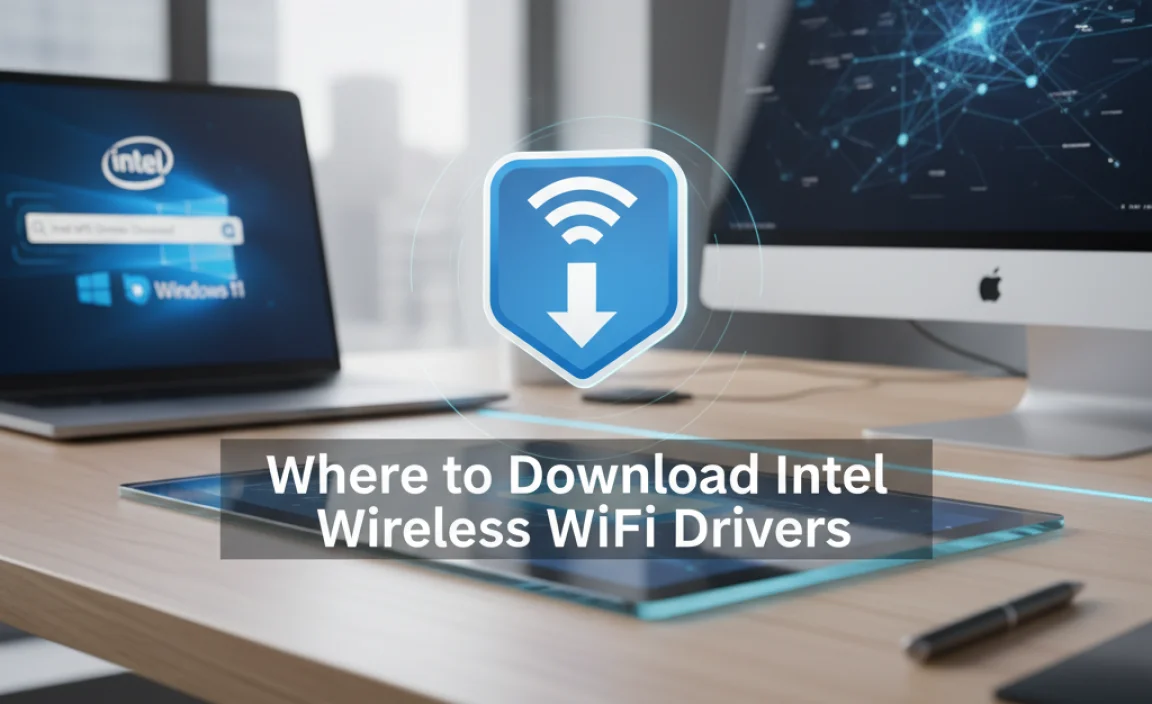
Where to Download Intel Wireless WiFi Drivers
Official Intel website resources for driver downloads.. Alternative sources for reliable driver downloads..
Need to find those pesky Intel wireless WiFi drivers? You’re in luck! The best place to start is the official Intel website. It’s like the treasure chest for all driver downloads. Just type “Intel drivers” in the search bar and boom—your WiFi drivers await!
If you’re feeling adventurous, there are alternative sources too. Websites like DriverGuide can be helpful. Just make sure the site is trustworthy, or you might accidentally download a dancing cat video instead!
| Source Type | Website |
|---|---|
| Official Intel | www.intel.com |
| Alternative Driver Source | www.driverguide.com |
Installing Intel Wireless WiFi Drivers on Windows 10 and 11
Detailed instructions for installation on Windows 10.. Detailed instructions for installation on Windows 11..
Need to connect to Wi-Fi? Installing Intel wireless drivers on Windows is pretty easy! For Windows 10, first, visit the Intel website and download the driver. After it’s saved, open the file and follow the prompts. Click ‘Next’ until it finishes. Voila! You’re good to go!
If you have Windows 11, it’s almost the same. Download the driver from Intel’s site, then double-click the file. Follow the simple on-screen steps, and you’ll be zooming online in no time. Remember, treat your Wi-Fi like a pet; give it some love and it’ll always be there for you!
| Steps | Windows 10 | Windows 11 |
|---|---|---|
| Download Driver | From Intel website | From Intel website |
| Open File | Double-click downloaded file | Double-click downloaded file |
| Follow Prompts | Click ‘Next’ | Follow on-screen steps |
| Finish Installation | You’re online! | You’re online! |
Troubleshooting Common Installation Issues
Common issues faced during installation and their solutions.. Tips for maintaining a stable wireless connection postinstallation..
Installing drivers can sometimes feel like a puzzle with missing pieces. One common issue is that the installation doesn’t start. If this happens, check your internet connection. It might be hiding! Another problem is compatibility. Windows 10 and 11 don’t always play nice. Make sure your driver matches your system. For a stable connection after installation, keep your Wi-Fi clean. Yes, that means less clutter around your router!
| Issue | Solution |
|---|---|
| Installation Won’t Start | Check your internet connection. |
| Compatibility Problems | Ensure the driver matches your Windows version. |
| Unstable Connection | Remove clutter around your router. |
Remember, a little organization can go a long way. Don’t let installation issues trip you up! Happy connecting!
Updating Intel Wireless WiFi Drivers
Importance of keeping drivers updated.. How to check for and install driver updates regularly..
Keeping your drivers updated is super important. Outdated drivers can slow down your internet speed and cause connection issues. Think of it like feeding your Wi-Fi some fresh veggies instead of stale chips! To check for updates, go to the Device Manager on your computer. Click on Network Adapters and find your Intel wireless adapter. Right-click on it and choose “Update driver.” It’s like giving your Wi-Fi a little booster shot! Regular updates help fix bugs and keep your connection safe.
| Step | Action |
|---|---|
| 1 | Open Device Manager |
| 2 | Click on Network Adapters |
| 3 | Right-click your Intel adapter |
| 4 | Select “Update driver” |
Uninstalling Intel Wireless WiFi Drivers
When and why to uninstall your drivers.. Stepbystep guide on how to properly uninstall the drivers..
Sometimes, your computer’s Wi-Fi can be more stubborn than a cat at bath time. You might need to uninstall your Intel wireless Wi-Fi drivers when they cause problems, like slow internet or troubles connecting. To fix this, here’s a step-by-step guide:
| Step | Action |
|---|---|
| 1 | Press the Windows key and type “Device Manager.” Open it. |
| 2 | Find “Network adapters” and click the arrow to expand it. |
| 3 | Right-click on your Intel Wi-Fi driver and select “Uninstall device.” |
| 4 | Follow the prompts. Don’t worry; it won’t bite! |
| 5 | Restart your computer, and voilà! It’s like a fresh start. |
Uninstalling might sound tricky, but it’s easier than pie! When you’re done, you can simply reinstall the drivers to get everything running smoothly again.
Frequently Asked Questions (FAQs)
Common questions regarding Intel wireless drivers.. Quick answers and solutions to typical concerns users may have..
Many users have questions about Intel wireless drivers. Here are some common inquiries and their quick answers:
Why is my Wi-Fi not working?
This can happen due to outdated drivers. Make sure to install the latest Intel wireless drivers.
How do I update my drivers?
Visit the Intel website for the latest driver downloads. Follow the instructions for your Windows version.
What if I still have problems?
- Restart your computer to reset settings.
- Check your network settings for errors.
These tips help fix common issues with Intel wireless Wi-Fi drivers.
Conclusion
In summary, Intel wireless WiFi drivers are crucial for Windows 10 and 11 users. They help your device connect better to the internet. Keeping your drivers updated improves speed and reliability. You can easily find drivers on Intel’s website. We encourage you to check your driver status today and read more about how to optimize your connection!
FAQs
How Can I Update Intel Wireless Wi-Fi Drivers On Windows And For Optimal Performance?
To update your Intel wireless Wi-Fi drivers on Windows, you can follow these steps. First, click on the Start menu and type “Device Manager.” Open it and find “Network adapters.” Next, look for your Intel Wi-Fi driver. Right-click on it and choose “Update driver.” You can then pick “Search automatically for updated driver software.” This will let Windows find the best driver for you. Restart your computer for everything to work well.
What Steps Should I Follow To Troubleshoot Intel Wireless Wi-Fi Connectivity Issues On Windows And 1
To fix Intel wireless Wi-Fi problems on your Windows computer, start by checking if your Wi-Fi is turned on. Make sure airplane mode is off. Restart your computer and your Wi-Fi router to refresh the connection. Check if your Wi-Fi password is correct. If it still doesn’t work, update the Wi-Fi driver by going to settings and looking for updates.
Are There Specific Intel Wireless Wi-Fi Driver Versions Recommended For Windows And 1
For your Windows computer, using the latest Intel wireless Wi-Fi drivers is best. These drivers help your Wi-Fi work properly. You can find them on the Intel website. Make sure to choose the version that matches your computer type. Updating them often can make things run smoother!
How Do I Uninstall And Reinstall Intel Wireless Wi-Fi Drivers On Windows And 1
To uninstall Intel wireless Wi-Fi drivers, first click on the Start button. Then, type “Device Manager” and open it. Find “Network adapters” and click the arrow to see the list. Right-click on your Intel Wi-Fi driver and choose “Uninstall device.”
To reinstall it, restart your computer. Windows will automatically reinstall the driver. If it doesn’t, go back to Device Manager, right-click, and select “Scan for hardware changes.” This will find and install the driver again.
What Are Common Issues Users Face With Intel Wireless Wi-Fi Drivers On Windows And 1And How Can They Be Resolved?
Some common problems with Intel wireless Wi-Fi drivers on Windows are slow connections or not being able to connect at all. You can fix these issues by updating the driver. To do this, go to the Device Manager, find your Wi-Fi device, and click “Update Driver.” Sometimes, turning your computer off and back on helps, too. If problems continue, you might need to uninstall and reinstall the driver.