Installing OpenSSL on Windows can seem like a daunting task, especially for those less familiar with command-line interfaces and system configurations.
However, with a clear understanding of the steps involved, it becomes a straightforward process. OpenSSL is a robust, open-source toolkit that provides a wide range of cryptographic functions and protocols, essential for securing network communications and managing digital certificates.
Whether you’re a developer needing to test SSL/TLS connections, a system administrator securing your servers, or simply an individual looking to understand cybersecurity better, getting OpenSSL up and running on your Windows machine is a valuable skill. This guide will walk you through the process, making your OpenSSL Windows installation as smooth as possible.
Why You Might Need OpenSSL on Windows

Before diving into the installation, it’s helpful to understand why you might need OpenSSL on your Windows system. OpenSSL is the backbone of many security protocols we rely on daily, including TLS/SSL, which encrypts communication between your browser and websites. Developers often use it for:
Generating and managing SSL/TLS certificates: Creating self-signed certificates for testing, or CSRs (Certificate Signing Requests) for obtaining certificates from Certificate Authorities.
Testing SSL/TLS configurations: Verifying the security of web servers and other network services.
Encrypting and decrypting data: Using various encryption algorithms for secure data handling.
Creating and working with cryptographic keys: Generating public and private key pairs.
Hashing and verifying data integrity: Ensuring that data hasn’t been tampered with.
While Windows does have some built-in certificate management tools, OpenSSL offers a more comprehensive and flexible command-line interface that is widely used across different operating systems and development environments.
Downloading OpenSSL for Windows

The first step in your pursuit of an OpenSSL Windows installation is to obtain the necessary software. Since OpenSSL is open-source, there isn’t an official single “installer” directly from a core OpenSSL website for Windows in the same way you might find for proprietary software. Instead, you’ll typically rely on trusted third-party builds.
One of the most reliable sources for pre-compiled OpenSSL binaries for Windows is the Shining Light Productions (SLP) website. They provide up-to-date builds that are easy to install.
1. Visit Shining Light Productions: Navigate to `slproweb.com/products/Win32OpenSSL.html` (or search for “Shining Light Productions OpenSSL” to find the latest link).
2. Choose the correct version: You’ll need to select the appropriate version for your Windows system. This usually means choosing between a 32-bit (Win32) or 64-bit (Win64) version. Most modern computers are 64-bit. It’s also important to choose a version that matches your system’s Visual C++ Redistributable package. The website usually specifies which one is needed (e.g., “Win64 OpenSSL vX.Y.Z – Visual C++ 2013”). If you’re unsure, you can check your system’s architecture by going to `Settings > System > About` in Windows.
3. Download the installer: Click on the download link for the chosen package. It will be an `.exe` file.
Installing OpenSSL on Windows

Once you have downloaded the installer, the installation process itself is quite user-friendly.
1. Run the installer: Locate the downloaded `.exe` file and double-click it to start the installation wizard.
2. License Agreement: Accept the license agreement.
3. Choose Installation Directory: You’ll be prompted to choose an installation directory. The default location is usually something like `C:Program FilesOpenSSL-Win64` (or similar, depending on the version and architecture). It’s generally recommended to stick with the default unless you have a specific reason not to. Avoid installing in directories with spaces in their names if possible, as this can sometimes cause issues with command-line tools.
4. OpenSSL & Certificates: During the installation, you might be asked about installing OpenSSL “all users” or “just for you.” Choose the option that suits your needs. Crucially, you might also see an option related to installing certificates. It’s highly recommended to select the option to install certificates for a simplified OpenSSL Windows setup, as this will pre-configure some necessary components that make using OpenSSL with system-level certificate stores much easier.
5. Complete Installation: Follow the on-screen prompts to finish the installation.
Configuring Environment Variables for OpenSSL Windows

For OpenSSL to be usable from any command prompt window, you need to add its `bin` directory to your system’s PATH environment variable. This tells Windows where to find the OpenSSL executables when you type commands like `openssl`.
1. Search for Environment Variables: Open the Windows search bar (press the Windows key) and type “environment variables.” Then select “Edit the system environment variables.”
2. Open System Properties: A “System Properties” window will appear. Click on the “Environment Variables…” button.
3. Edit the PATH Variable: In the “System variables” section (or “User variables for [your username]”), find the variable named `Path` and select it. Then click the “Edit…” button.
4. Add OpenSSL Bin Directory: A new window will show a list of directories. Click “New” and paste the full path to your OpenSSL `bin` directory. This will typically look like `C:Program FilesOpenSSL-Win64bin` (adjust the path based on your installation directory).
5. Confirm Changes: Click “OK” on all the open windows (“Edit environment variable,” “Environment Variables,” and “System Properties”) to save your changes.
Verifying Your OpenSSL Windows Installation

To confirm that OpenSSL is installed correctly and accessible from the command line:
1. Open Command Prompt: Open a new Command Prompt window. You can do this by searching for “cmd” in the Windows search bar.
2. Run the `openssl version` command: Type `openssl version` and press Enter.
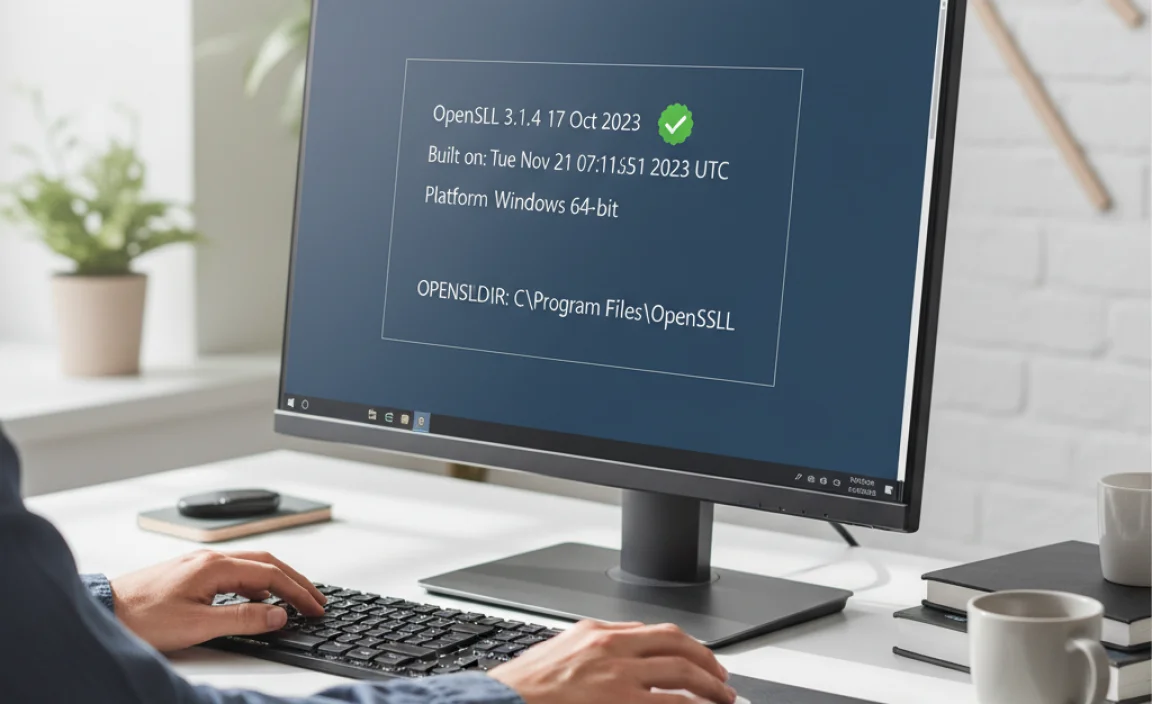
If your installation and environment variable configuration were successful, you should see output similar to:
“`
OpenSSL X.Y.Z XX Month Year
“`
This confirms that Windows can find and execute the OpenSSL application. You can also try other commands like `openssl help` to see a list of available commands.
Troubleshooting Common Issues
While the process is generally smooth, here are a few common hiccups and how to address them during your OpenSSL Windows installation:
“openssl command not recognized”: This almost always means the environment variables were not set correctly, or you haven’t opened a new command prompt after setting them. Close and reopen your Command Prompt. Double-check the path you added for accuracy, ensuring it points directly to the `bin` folder.
Incorrect Visual C++ Redistributable: If you encounter errors related to missing DLLs (like `VCRUNTIME140.dll`), you might have installed an OpenSSL build that requires a different version of the Visual C++ Redistributable package than what’s installed on your system. Revisit the Shining Light Productions website and ensure you download the OpenSSL build that matches the Visual C++ Redistributable version recommended there and that is installed on your Windows.
Permissions Errors: If you are having trouble writing files or accessing certain directories, check the permissions of your OpenSSL installation folder. Running the Command Prompt as an administrator might resolve some temporary issues, but generally, OpenSSL should function without elevated privileges for most common tasks.
By following these steps, you should have a fully functional OpenSSL installation on your Windows machine, ready to tackle your cryptographic needs. This powerful tool opens up a world of possibilities for securing your data and understanding the intricate workings of network security.


