
How to Change Your Wi-Fi Channel in Windows 10 | Follow Step by Step to Improve Internet Performance
Are you having trouble with the internet speed as your Wi-Fi has slowed down considerably in recent times? Well, it can be for many reasons, and the selection of the wrong Wi-Fi channel is one of them. I know most probably you did not select any channels ever but your router does it automatically by default. Changing the Wi-Fi channel may improve internet speed to a great extent and you should give it a shot. How to do it? Follow this post and you will learn how you can easily change your Wi-Fi channel in Windows 10.

How to Change Your Wi-Fi Channel in Windows 10?
You may have a question – how a wrong Wi-Fi channel can have a bad impact on producing slow internet speed. If the same Wi-Fi channel is used by a couple of neighbors of yours, then data flow can be interfered with and overlapped with each other resulting in slower internet speed on both your and your neighbors’ routers. Thus, you would want to change the current Wi-Fi channel. The following screenshots are provided here for Windows 10 although users of the other versions of Windows can follow the process with a bit of tweaking.
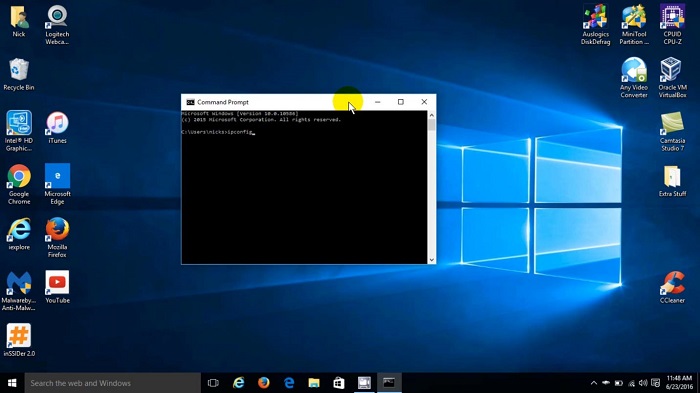
Step 1: Right-click on the Windows icon and select the ‘Command Prompt’ tool. If you do not find it here, search for it on the Windows search bar and tap on it.

Step 2: On the command prompt box, type in ‘ipconfig’ and hit the enter button.
Step 3: You will see the default gateway of your router. It differs from router to router. Here the address is 192.168.1.1; copy it for later use.

Step 4: Open any browser and paste the gateway address on the browser’s top bar and hit the enter key. We want to get into the router’s website to change the Wi-Fi channel.

Step 5: Provide the network credentials. The username and password will vary from router to router. Search on Google to know your router’s credentials.

Step 6: Select the ‘Wireless’ option from your router’s website under which you will see 2..4 GHz Wireless Network. We want to change its channel.

Step 7: From the channel’s drag-down menu, choose the appropriate number which was previously set as ‘Auto’. How to know which Wi-Fi channel would be best for you? Some software can be found in the web world which can assist you in this regard. Select the channel that is not used by any surrounding neighbor.

Step 8: Now, click on the ‘Apply’ option to save the change you had made. Close the gateway website and that’s it. If the selected channel does not speed up your internet, then try again selecting another by following the same process. Basically, it is a try-and-error method.

Conclusion
As a Windows 10 user, you have learned how to change your Wi-Fi channel. One caution here, changing the channel might not solve the problem because the problem might have been somewhere else. But, trying this method helps many users in gaining faster Wi-Fi speed.


