
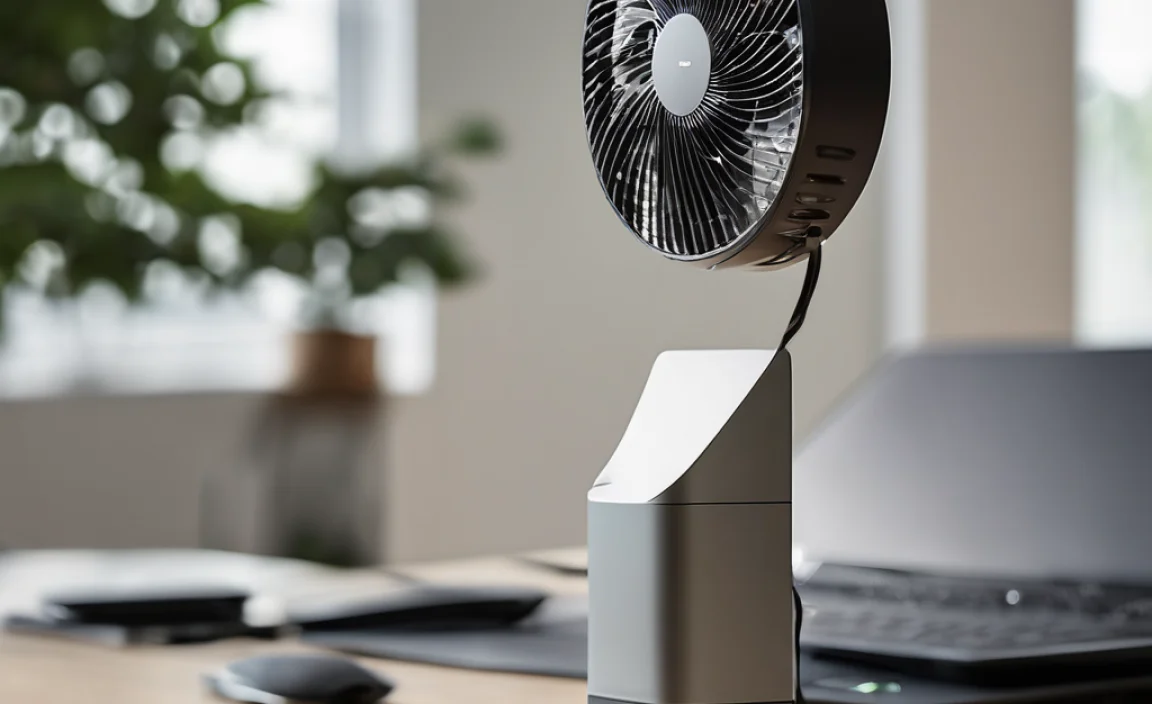
A fan controller for Windows 10 isn’t a built-in feature, but managing your PC’s fans effectively ensures cooler, quieter, and longer-lasting performance. This guide explains why fan control is crucial and how you can achieve it using simple software tools, keeping your Windows 10 system running smoothly and reliably.
Is Your Windows 10 PC Overheating? It Might Be Your Fans!

Does your computer sound like a jet engine preparing for takeoff? Or perhaps you’ve noticed it feeling a bit too warm to the touch, even when you’re not doing anything too demanding? These are common signals that your PC’s cooling system, particularly its fans, might need a little extra attention on your Windows 10 machine.
Overheating isn’t just annoying; it can lead to slowdowns, unexpected shutdowns, and even damage to your precious hardware over time. The good news is that taking charge of your fan control is simpler than you might think. We’ll walk you through why it’s important and how to get it sorted, so you can keep your Windows 10 system cool, quiet, and performing its best. Let’s dive into how you can become a master of your PC’s internal climate.
Why Fan Control Matters for Your Windows 10 System

Think of your computer’s fans as its tiny, hardworking air conditioners. They continuously push hot air out and pull cooler air in to keep all those sensitive components, like your CPU (Central Processing Unit) and GPU (Graphics Processing Unit), from getting too hot. When these fans aren’t working optimally, or if they’re not spinning fast enough when they should be, your system’s temperature can climb rapidly. This can lead to:
- Performance Throttling: When components get too hot, they automatically slow down to prevent damage. This means your PC will feel sluggish.
- System Instability: Overheating can cause sudden reboots, crashes, and the dreaded Blue Screen of Death (BSOD).
- Reduced Component Lifespan: Consistent high temperatures wear down hardware faster, potentially leading to costly replacements.
- Increased Noise: When fans are struggling, they often spin at their maximum speed, creating a lot of distracting noise.
While Windows 10 has some built-in thermal management, it’s often a “set it and forget it” approach. For many users, especially those with custom-built PCs or who push their systems hard, having more direct control over fan speeds can make a significant difference. This is where a “fan controller”—usually a software tool—comes into play. It’s an essential piece of the puzzle for a healthy, happy Windows 10 PC.
Understanding Your PC’s Cooling Components

Before we jump into controlling them, let’s briefly understand what we’re working with in your Windows 10 system:
Case Fans
These are the fans mounted on the exterior of your computer case. They’re responsible for the overall airflow within your system, bringing in cool air and expelling warm air. Most cases have mounts for several fans.
CPU Cooler Fan
This fan is attached directly to your CPU heatsink. Its primary job is to cool the processor. High-end CPUs often come with beefier coolers that have larger, more powerful fans.
GPU Fan(s)
Most graphics cards have one or more fans built directly onto them to keep the GPU chip cool. These are critical for gaming and graphics-intensive tasks on your Windows 10 machine.
Power Supply Unit (PSU) Fan
Your PSU, which supplies power to all your components, also has a fan to keep itself cool. This fan is usually not user-controllable via software.
How Can You Control Your PC Fans on Windows 10?

You can’t directly adjust fan speeds through the standard Windows 10 settings. Instead, you typically rely on one of these methods:
1. Motherboard BIOS/UEFI Settings
This is the most fundamental way to control fan speeds and is available on almost all motherboards. It’s a good option if you want a basic level of control without installing extra software.
How to Access BIOS/UEFI:
- Restart your Windows 10 computer.
- As soon as it starts to boot up, repeatedly press the key that enters your BIOS/UEFI. Common keys are Del, F2, F10, F12, or Esc. Your motherboard’s manual or the boot screen itself will usually tell you which key to press.
- Once in the BIOS/UEFI, look for sections related to “Hardware Monitor,” “Fan Control,” “Q-Fan” (ASUS), “Smart Fan” (Gigabyte), or “System Management.”
- Here, you can usually set fan curves. A fan curve is a graph that dictates how fast a fan spins at different temperature points. You can choose presets (like Silent, Standard, Performance) or create your own custom curve.
- Save your changes and exit the BIOS/UEFI.
Pros: Available on all systems, no extra software needed, affects system startup before Windows loads.
Cons: Settings can be a bit intimidating for beginners, changes require rebooting, less granular control than software.
2. Motherboard Manufacturer Software
Most motherboard manufacturers provide their own utility software that allows you to control fans directly from within Windows 10. This is often the easiest and most integrated way to manage your case and CPU fans.
Popular Examples:
- ASUS AI Suite (Fan Xpert): Offers sophisticated fan control with auto-tuning features.
- Gigabyte SIV (System Information Viewer): Includes fan speed control and system monitoring.
- MSI Command Center: Provides fan speed adjustments and performance tuning.
- ASRock App Shop (F_Stream): Allows for fan speed adjustment and voltage monitoring.
How to Use:
- Visit your motherboard manufacturer’s website.
- Navigate to the support or downloads section for your specific motherboard model.
- Download and install the latest version of their system utility software (e.g., AI Suite, Command Center).
- Launch the software in Windows 10.
- Look for the fan control or hardware monitoring section.
- You should find options to set fan speeds, create custom fan curves, or use pre-set modes.
Pros: User-friendly interface, easy adjustments within Windows 10, often offers advanced features.
Cons: Only works for fans connected to your motherboard headers, might not be available for all motherboards, can sometimes conflict with other software.
3. Third-Party Fan Control Software
For users who want more advanced control, or whose motherboard software is limited, third-party applications can be a lifesaver. These tools can sometimes even control GPU fans directly (though many GPU manufacturers also provide their own software for this).
Recommended Third-Party Tools:
- SpeedFan: A classic and powerful tool that can monitor and control fan speeds, voltages, and temperatures. It can be complex to set up but offers immense flexibility.
- Argus Monitor: A comprehensive monitoring and control application that offers detailed fan control based on various sensor readings. It’s a paid application but offers a free trial.
- FanControl: A newer, highly regarded open-source application that is very versatile. It allows advanced custom fan curves based on multiple sensor inputs, including GPU temperature.
How to Use (General Steps for Third-Party Software):
- Download the chosen software from its official website. Be cautious and only download from reputable sources to avoid malware.
- Install the software on your Windows 10 PC.
- Launch the application.
- The software will typically scan your system to detect connected fans and temperature sensors.
- Explore the interface to find fan speed settings. You’ll likely see options for manual control, automatic modes, and custom fan curves.
- Configure your desired fan curves by adjusting fan speed percentages at different temperature thresholds. Experiment to find a balance between cooling and noise.
- Ensure the software is set to start with Windows if you want continuous control.
Pros: Can offer more advanced features and customization than manufacturer tools, can sometimes control more hardware.
Cons: Can be complex for beginners (especially SpeedFan), requires installation, potential for conflicts or instability if not configured correctly.
4. GPU Manufacturer Software for Graphics Card Fans
Your graphics card’s fans are crucial, especially for gaming. Most major GPU manufacturers provide their own software to control these fans.
Examples:
- NVIDIA GeForce Experience (with Afterburner integration)
- AMD Radeon Software: Adrenalin Edition
These tools allow you to set custom fan curves specifically for your GPU, monitor its temperature, and even overclock it. This is essential if your GPU is the primary source of heat or noise in your Windows 10 system during demanding tasks.
Choosing the Right Fan Control Method for You
The best method depends on your hardware, your technical comfort level, and your specific needs. Here’s a quick guide:
| Method | Best For | Ease of Use | Control Level | Notes |
|---|---|---|---|---|
| BIOS/UEFI | Basic, system-wide control; users who prefer not to install extra software. | Moderate (can be intimidating) | Moderate (fan curves available) | Changes require reboot; good for initial setup. |
| Motherboard Manufacturer Software | Most users with standard motherboards; easy integration. | Easy | Good to Advanced (customizable fan curves) | Recommended for ease of use and feature set. |
| Third-Party Software (e.g., FanControl) | Advanced users; users needing granular control or cross-component monitoring. | Moderate to Difficult (depending on the software) | Very Advanced (complex fan curves, multi-sensor control) | Requires careful setup to avoid issues. |
| GPU Manufacturer Software | Anyone with a dedicated graphics card who wants to optimize its cooling. | Easy | Good (customizable fan curves for GPU) | Essential for gamers and GPU-intensive tasks. |
Implementing Your Fan Control Strategy: Step-by-Step
Let’s assume you’ve decided to use your motherboard manufacturer’s software as it’s often the most user-friendly approach for Windows 10 users.
Step 1: Identify Your Motherboard
If you don’t already know, you need to know your motherboard model.
- Press Windows Key + R to open the Run dialog.
- Type msinfo32 and press Enter.
- Look for “BaseBoard Manufacturer” and “BaseBoard Product.” This will tell you your manufacturer (e.g., ASUS, Gigabyte, MSI) and model name.
Step 2: Download the Software
Go to the manufacturer’s official website (e.g., asus.com, gigabyte.com, msi.com). Navigate to the support/download section and search for your specific motherboard model. Find the latest version of their utility software package (it might be named differently, like AI Suite, Control Center, etc.) and download it.
Step 3: Install the Software
Run the downloaded installer. Follow the on-screen prompts. It’s a good idea to close other applications during installation. You might need to restart your computer afterwards.
Step 4: Launch and Explore Fan Controls
Once installed and your PC is restarted, find the fan control application in your Start Menu and launch it. The interface will vary, but you’ll typically see:
- Fan Speed Sliders: To manually set a percentage for each fan.
- Pre-set Modes: Silent, Standard, Performance, Full Speed.
- Custom Fan Curve Editor: This is where you can create your own fan speed based on temperature. You’ll see points on a graph representing fan speed (%) vs. temperature (°C or °F).
Step 5: Set Up a Custom Fan Curve (Recommended)
This gives you the best balance. Here’s a common strategy:
- Idle/Low Load: Keep fans at a low speed (e.g., 20-30%) when your CPU is cool (below 45-50°C). This ensures a quiet experience.
- Moderate Load: As temperatures rise, gradually increase fan speed. For example, at 60°C, set fans to 50%; at 70°C, set to 70%.
- High Load: When temperatures approach critical levels (e.g., 80°C+), ensure fans ramp up to 80-100% to prevent throttling or overheating.
- Hysteresis: Some software allows you to set “hysteresis.” This prevents fans from constantly speeding up and slowing down rapidly when temperatures hover around a set point. It makes fan noise much smoother.
Tip for Windows 11 Users: The process is identical for Windows 11. Just ensure you download the latest drivers and software compatible with Windows 11 for your motherboard.
Step 6: Test and Monitor
After setting up your fan curve, it’s crucial to test it. Run a CPU stress test (like Prime95 or IntelBurnTest) and monitor your CPU temperatures using a tool like HWMonitor or the one provided by your fan control software. See how the fans respond and if the temperatures stay within acceptable limits (generally below 80-85°C under sustained heavy load for most CPUs).
Step 7: Save and Apply
Once you’re happy with your settings, make sure to save your profile. Many applications also have an option to start with Windows, so your custom fan settings are applied automatically every time you boot up your Windows 10 PC.
Troubleshooting Fan Control Issues on Windows 10
Encountering problems? Here are some common issues and how to fix them:
Fans Not Responding to Software Control
- Check Connections: Ensure fans are plugged into the correct motherboard headers (often labeled SYS_FAN or CHA_FAN).
- Check BIOS Settings: Make sure your BIOS isn’t set to “Full Speed” or a fixed RPM, which can override software. Consider setting BIOS fan control to “PWM” or “Auto” mode.
- PWM vs. DC: Ensure your fan control software and motherboard settings are configured correctly for either PWM (4-pin fans) or DC (3-pin fans) control.
- Motherboard Limitations: Some motherboard headers might have limited control capabilities.
Fans Too Loud Even at Low Speeds
- Minimum Speed: Some fans have a “minimum operating speed.” If this is too high, they will always be audible. You might need to replace these fans with quieter models.
- Fan Curve: Adjust your fan curve to have a lower minimum speed, if your fans allow it.
- Fan Quality: Higher quality fans often run quieter at the same RPM.
Inaccurate Temperature Readings
- Sensor Issues: If temperatures seem wildly incorrect, it could be a faulty sensor. Ensure your motherboard drivers are up to date.
- Software Conflicts: Sometimes, multiple monitoring programs can interfere. Try running only one at a time.
Security Considerations for Your Windows 10 PC
While fan control is primarily about performance and longevity, maintaining a healthy system indirectly impacts security. Overheating can lead to system instability, making it harder to apply critical security updates or run antivirus software effectively.
Ensuring your PC is running at optimal temperatures means your Windows 10 operating system can function reliably, allowing your security measures to work as Intended. Also, be mindful of the software you download. Always get fan control utilities from official manufacturer websites or trusted, well-known sources like Microsoft’s official software download page or established developer sites to avoid malicious software.