
Download ManyCam for Windows 10: Effortless
Download ManyCam for Windows 10 and unlock a world of possibilities for your live streams, video calls, and content creation. Whether you’re a seasoned streamer looking to enhance your production quality, a gamer wanting to add some flair to your gameplay, or simply someone who wants to make their video calls more engaging, ManyCam offers a robust yet user-friendly solution. This powerful virtual webcam software transforms your single webcam feed into a dynamic presentation tool, allowing you to switch between different video sources, apply real-time effects, and much more – all without needing expensive hardware.
The process of getting ManyCam up and running on your Windows 10 machine is surprisingly straightforward. This guide will walk you through everything you need to know, from understanding what ManyCam is and why it’s beneficial to the simple steps involved in installation and its core functionalities. By the end, you’ll be equipped to leverage this versatile software to elevate your online presence.
What is ManyCam and Why Choose It?
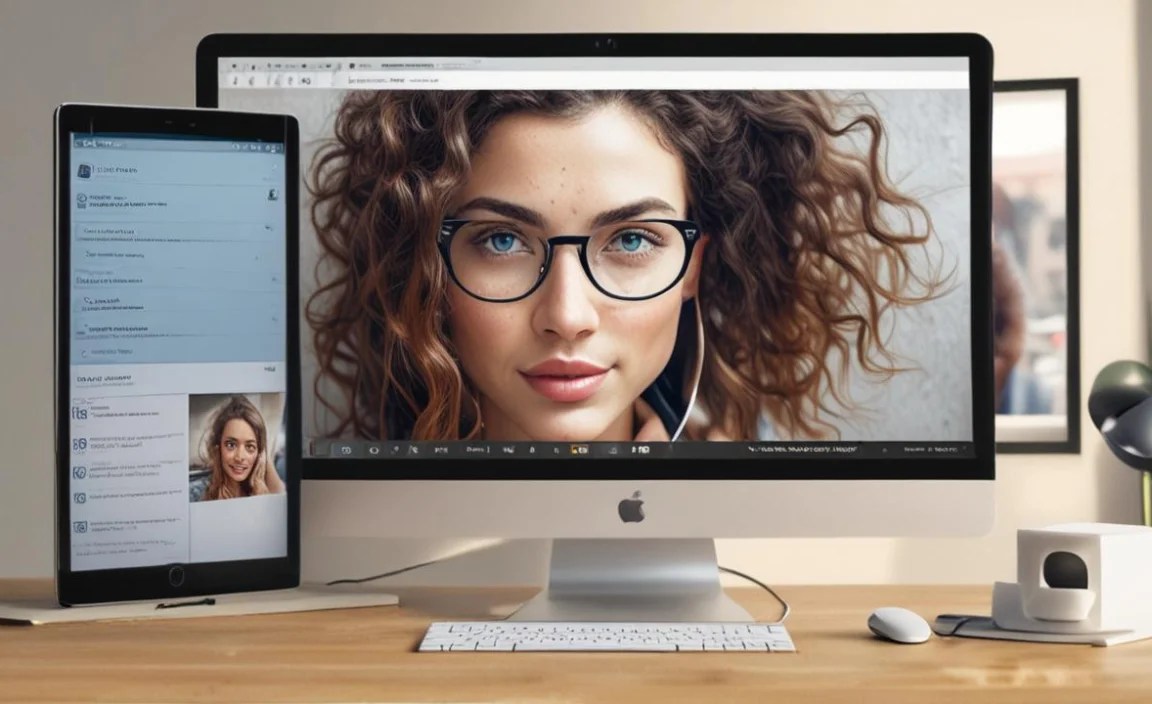
At its heart, ManyCam is a virtual webcam software that acts as an intermediary between your actual webcam and any application that uses a camera feed. This means you can broadcast a multitude of video sources – including multiple webcams, pre-recorded videos, your computer screen, or even your mobile phone camera – through a single “virtual” ManyCam webcam.
The benefits of using ManyCam are numerous:
Enhanced Visuals: Apply filters, add text overlays, display your gaming stats, or even incorporate green screen effects to create a professional and engaging look.
Multi-Source Capability: Switch seamlessly between different camera angles, share your gameplay, showcase a product, and then transition to a talking-head shot, all within a single stream.
Cost-Effective Production: Achieve professional broadcast-style effects without the need for pricey video switchers or multiple cameras.
Improved Communication: Make your video calls more dynamic by adding virtual backgrounds, emojis, or annotations.
Content Creation Powerhouse: Record high-quality videos for tutorials, vlogs, or product reviews with advanced editing features directly within the software.
Live Streaming Versatility: Integrate with popular streaming platforms like Twitch, YouTube Live, Facebook Live, and many others.
The “effortless” aspect comes from ManyCam’s intuitive interface and the wealth of features designed for ease of use, even for beginners.
How to Download ManyCam for Windows 10
Getting ManyCam onto your Windows 10 computer is a simple, three-step process.
Step 1: Navigate to the Official ManyCam Website
The first and most crucial step is to ensure you are downloading the software from the legitimate source. Open your preferred web browser and go to the official ManyCam website. This guarantees you get the latest, safest version of the software and avoid any potential malware or pirated versions.
Step 2: Locate the Download Button
Once on the ManyCam website, look for the prominent “Download” button. It’s usually found on the homepage or in the navigation menu. ManyCam offers both a free version (ManyCam Free) and a more feature-rich paid version (ManyCam Studio). For most users starting out, the free version provides an excellent introduction to its capabilities. Click on the download link that corresponds to the version you wish to install.
Step 3: Run the Installer and Follow On-Screen Prompts
After clicking the download link, an installer file (typically with a .exe extension) will begin downloading to your computer. Once the download is complete, locate the downloaded file in your “Downloads” folder and double-click it to launch the ManyCam installer.
The installer is designed to be user-friendly. You’ll be guided through a series of prompts:
Language Selection: Choose your preferred language.
License Agreement: Read and accept the terms and conditions.
Installation Location: You can usually accept the default installation directory or choose a custom one if you prefer.
Installation Process: The installer will then proceed to copy necessary files to your system. This may take a few minutes.
Completion: Once the installation is finished, you’ll typically have an option to launch ManyCam immediately.
Congratulations! You have successfully managed to download ManyCam for Windows 10.
Getting Started with ManyCam: Your First Steps

After installation, launching ManyCam for the first time can seem a little overwhelming due to the array of options. However, the core functionalities are quite accessible.
Setting Up Your First Webcam
1. Open ManyCam: Locate its icon on your desktop or in your Start menu and launch the application.
2. Add Your Webcam: In the main ManyCam window, you’ll see a “Video Sources” panel. Click the “+” icon to add a new source and select “Webcam.” Choose your primary webcam from the list that appears.
3. Preview: Your webcam feed should now appear in the main preview window. You can see what your webcam is capturing in real-time.
Exploring the Interface
ManyCam’s interface is broadly divided into several key areas:
Preview Window: This is where you see the live output of your virtual webcam, including any effects or sources you’ve added.
Video Sources Panel: This area allows you to add, remove, and manage your different video inputs (webcams, videos, screens, etc.).
Scenes Panel: This is where you can group different video sources and effects to create “scenes” that you can quickly switch between during a live broadcast or call. For example, a scene could be your webcam with a green screen effect, and another could be your gameplay screen with a picture-in-picture of yourself.
Effects Panel: This tab houses a vast library of filters, overlays, masks, and other visual enhancements that you can apply to your video feeds.
Tools Panel: Here you’ll find features like the drawing tool, timers, and options to record your screen or video.
Integrating with Other Applications
The magic of ManyCam truly shines when you start using it with other applications. After you’ve set up ManyCam and have your desired video feed displayed in its preview window:
1. Open Your Target Application: Launch the program you want to use ManyCam with (e.g., Zoom, Skype, OBS Studio, Twitch Studio, Google Meet).
2. Select ManyCam as Your Webcam: Go to the video settings within that application. Instead of choosing your built-in or physical webcam, select “ManyCam Virtual Webcam” from the list of available camera devices.
Now, whatever you see in your ManyCam preview window will be what others see in your video call or stream. You can then switch scenes, apply effects, or change video sources within ManyCam, and the changes will be reflected in real-time in your chosen application.
Maximizing Your ManyCam Experience

The journey doesn’t end with a successful download and basic setup. To truly harness the power of ManyCam for effortless content creation and streaming, consider these tips:
Experiment with Scenes: Create a variety of scenes for different scenarios. Have a “talking head” scene, a “gameplay” scene, a “presentation” scene, etc. This allows for rapid transitions.
Utilize Effects Wisely: Don’t overdo it with effects, but use them to enhance your brand or convey information. A subtle filter can improve image quality, while an overlay can display your social media handle.
Explore Chroma Key (Green Screen): If you have a green or blue backdrop, ManyCam’s chroma key feature can allow you to replace it with any image or video, offering a professional studio look.
Record Your Sessions: ManyCam has built-in recording capabilities, perfect for capturing tutorials, product demos, or even just practicing your streaming setup.
* Consider ManyCam Studio: If you find yourself consistently using ManyCam and desiring advanced features like more transition effects, higher resolutions, or additional input options, upgrading to ManyCam Studio could be a worthwhile investment.
By following these steps, you can confidently download ManyCam for Windows 10 and begin transforming your online presence with professional-grade visuals and seamless transitions, making your digital interactions more engaging and memorable than ever before.


