
Windows 10 Installer: Download Effortlessly
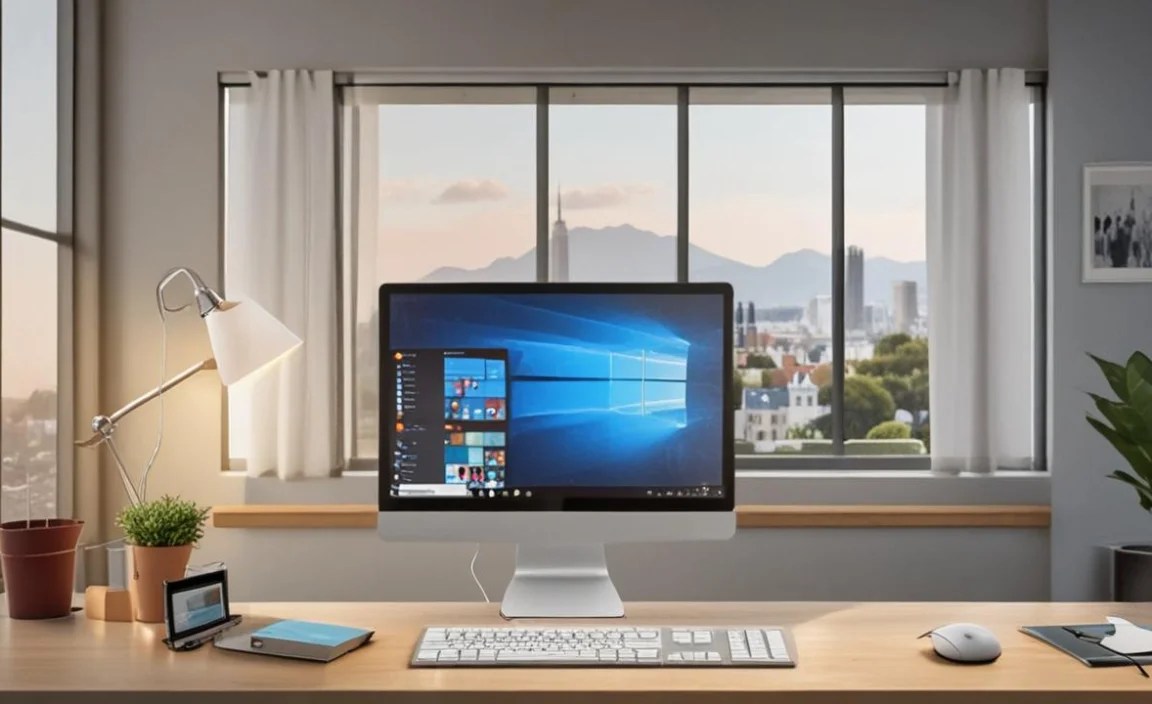
Embarking on the journey to upgrade your operating system or perform a fresh installation of Windows 10 often begins with a crucial first step: obtaining the correct installer. For many, the prospect of this can seem daunting, conjuring images of complex downloads and compatibility issues. However, in reality, Microsoft has streamlined the process considerably, making it remarkably straightforward to download installer for Windows 10 directly from their official channels. This guide will walk you through the simple steps to ensure you have the necessary tools for a smooth and successful Windows 10 installation, whether you’re upgrading an old machine or setting up a brand-new one.
The key to effortlessly acquiring the Windows 10 installer lies in utilizing Microsoft’s own Media Creation Tool. This powerful utility is designed specifically to help users download the latest Windows 10 files and create bootable media – either a USB flash drive or a DVD. This eliminates the need to hunt for obscure download links or rely on unofficial sources, which can often be a breeding ground for malware or outdated versions. By sticking to the official tool, you guarantee you’re getting a legitimate and up-to-date copy of Windows 10.
Obtaining the Official Windows 10 Media Creation Tool

The first and most crucial step in your quest to download installer for Windows 10 is to visit the official Microsoft website. A quick search for “Windows 10 download” will typically lead you to the correct page. Look for the section that offers the “Media Creation Tool.” It’s usually a prominent download button, clearly labeled.
Once you’ve located the download link, click on it to begin downloading the tool itself. This is a small executable file, and the download should be very quick. After the download has completed, run the file. You’ll likely be prompted by User Account Control (UAC), so click “Yes” to proceed.
Upon launching the Media Creation Tool, you’ll be presented with the applicable notices and license terms. It’s always a good practice to read through these, even if briefly, before accepting them to continue. After accepting the license terms, you will be presented with two primary options: “Upgrade this PC now” and “Create installation media (USB flash drive, DVD, or ISO file) for another PC.
Creating Installation Media for Windows 10
For most scenarios where you intend to install Windows 10 on a new computer or perform a clean installation on an existing one, you’ll want to select the second option: “Create installation media (USB flash drive, DVD, or ISO file) for another PC.” This option allows you to create a bootable USB drive or an ISO file that can then be used to install Windows 10.
After selecting this option, click “Next.” The tool will then prompt you to choose the language, edition, and architecture (32-bit or 64-bit) for your Windows 10 installation. In most cases, the recommended options will be pre-selected based on your current PC’s settings, which is generally what you’ll want. However, if you are creating media for a different computer, you might need to uncheck the “Use the recommended options for this PC” box and manually select your desired settings. The choice between 32-bit and 64-bit is important. Most modern computers are 64-bit compatible and will benefit from the increased performance and capabilities of a 64-bit operating system. If you’re unsure, check your current system’s specifications or your new PC’s documentation.
Once you’ve confirmed your language, edition, and architecture, you’ll reach the crucial step of choosing your media. You have two main choices:
USB flash drive: This is the most common and convenient method. You’ll need a USB drive with at least 8GB of free space. The Media Creation Tool will format the drive and copy all the necessary Windows 10 installation files onto it, making it bootable.
ISO file: An ISO file is a disc image that can be burned to a DVD or mounted as a virtual drive. This is a good option if you don’t have a USB drive readily available or if you prefer to create a DVD for a more traditional installation method. If you choose the ISO option, you can then use a burning tool to create a DVD, or you can use it directly with tools like Rufus to create a bootable USB drive.
The Download and Creation Process
Following your choice of media, the Media Creation Tool will begin downloading the Windows 10 files. This process can take some time, depending on your internet connection speed. Be patient, and ensure your internet connection remains stable throughout the download.
Once the download is complete, the tool will proceed to the creation phase. If you chose the USB drive option, it will automatically format and copy the files. If you selected the ISO file, it will save the image to a location you specify on your computer.
Post-Creation Steps: Installation
After the Media Creation Tool has successfully completed its task, you will have your bootable Windows 10 installation media.
If you created a USB drive, simply insert it into the target computer, restart the PC, and boot from the USB drive (you may need to adjust your BIOS/UEFI settings to prioritize USB boot).
If you created an ISO file, you can either burn it to a DVD using disc-burning software or use it to create a bootable USB drive with a tool like Rufus. Again, you’ll then boot your computer from the DVD or USB drive to begin the installation process.
The Windows 10 installer will then guide you through the rest of the installation – selecting your language, entering your product key (if you have one), choosing your installation type (upgrade or custom), partitioning your hard drive, and configuring your settings.
By following these straightforward steps and utilizing the official Media Creation Tool, you can confidently download installer for Windows 10 and prepare for a seamless operating system installation. This official method prioritizes security, legitimacy, and ease of use, making it the ideal choice for anyone looking to get Windows 10 up and running.


