
Download Windows 10 USB: Easy Install
Download Windows 10 USB: Easy Install
Embarking on a fresh installation or upgrade of your operating system can feel like a daunting task, but it doesn’t have to be. With the right tools and a clear understanding of the process, you can easily create a bootable USB drive to download Windows 10 install for USB and get your computer up and running with Microsoft’s latest mainstream operating system. This method bypasses the need for DVDs and offers a quicker, more portable way to deploy Windows 10. Whether you’re building a new PC, reviving an old one, or preparing for a clean slate, this guide will walk you through each essential step.
The primary advantage of using a USB drive for your Windows 10 installation is its speed and convenience. USB drives are faster than optical media, and their small size makes them incredibly easy to transport. This means you can carry your Windows 10 installer with you and use it on multiple machines without hassle. The process itself is surprisingly straightforward, primarily involving downloading a tool from Microsoft and following a guided sequence.
Obtaining the Official Windows 10 Media Creation Tool

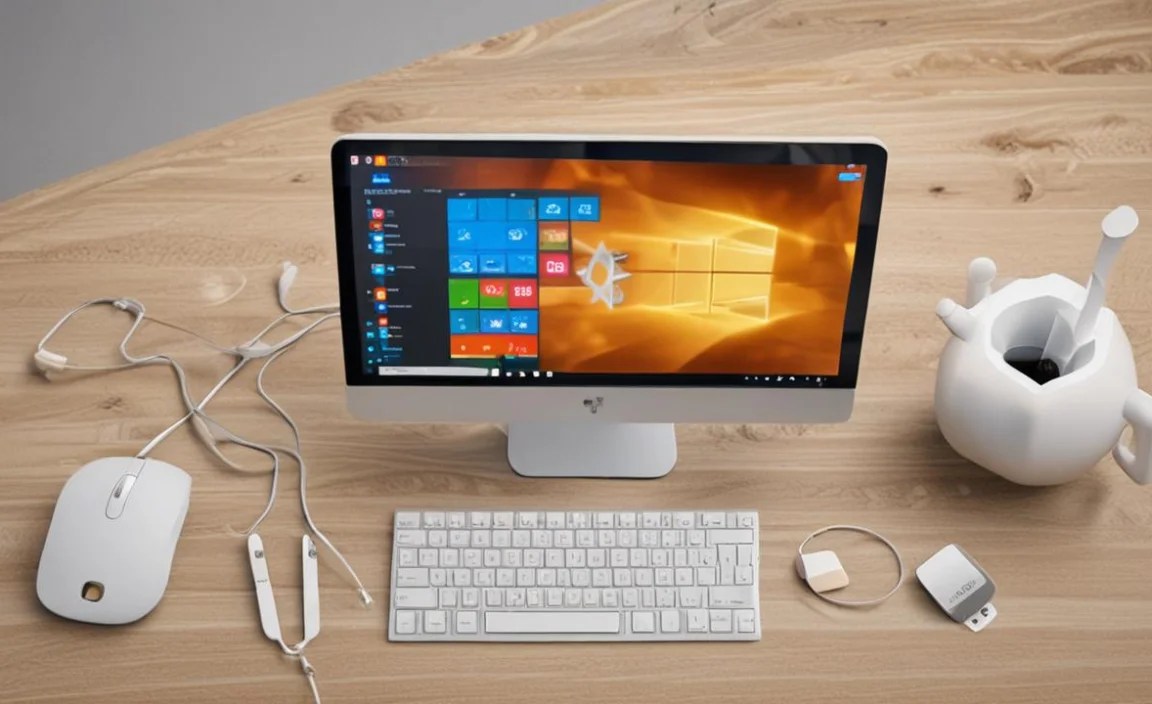
The first and most crucial step to download Windows 10 install for USB is to get the official Media Creation Tool directly from Microsoft. This free utility is designed to help you download the latest version of Windows 10 and create installation media.
1. Visit the Microsoft Download Page: Open your web browser and navigate to the official Microsoft Windows 10 download page. A quick search for “Windows 10 download” will lead you there.
2. Download the Tool: On the download page, you’ll find a prominent button to “Download tool now.” Click this button to download the Media Creation Tool to your computer.
3. Run the Tool: Once the download is complete, locate the `MediaCreationTool.exe` file and run it. You’ll need administrator privileges to execute the tool.
Upon running the tool, you’ll be presented with license terms. Read through them and click “Accept” to proceed. The tool will then prepare for a few moments before asking you what you want to do.
Creating Your Bootable Windows 10 USB Drive
With the Media Creation Tool running, the next phase is to configure it to create your bootable USB. This is where the magic happens, transforming a standard USB drive into a portable Windows installer.
1. Choose “Create installation media (USB flash drive, DVD, or ISO file) for another PC”: This option is essential for creating a USB installer that you can use on different computers. Selecting “Upgrade this PC now” would perform an in-place upgrade on your current machine, which isn’t what we’re aiming for.
2. Select Language, Edition, and Architecture: The tool will by default suggest options based on your current PC. To create installation media for a different PC, you’ll likely want to uncheck “Use the recommended options for this PC.” You can then choose the desired Language (e.g., English), Edition (e.g., Windows 10), and Architecture (64-bit is standard for most modern computers, but 32-bit is an option if needed).
3. Choose Media Type: USB flash drive: This is the critical selection. Ensure you choose “USB flash drive.” The tool will require a USB drive with at least 8GB of storage space. Important: All existing data on the USB drive will be erased during this process. Make sure to back up any important files before proceeding.
4. Select the USB Drive: The tool will list available USB drives connected to your computer. Carefully select the correct USB drive you want to use. Double-checking this step can prevent accidental data loss on other drives.
5. Download and Creation Process: The tool will now begin downloading the necessary Windows 10 files. This can take a significant amount of time depending on your internet connection speed. Once the download is complete, it will proceed to create the bootable USB drive. This process involves formatting the drive and copying the installation files onto it.
Be patient during this stage. The progress bar will indicate the status, and it’s important not to interrupt the process. Once completed, the tool will inform you that your USB flash drive is ready.
Preparing Your Computer for Installation
Before you can use your new Windows 10 bootable USB, you need to configure your computer to boot from it. This involves accessing your computer’s BIOS or UEFI settings.
1. Insert the USB Drive: Plug your newly created Windows 10 bootable USB drive into the computer you wish to install Windows on.
2. Restart Your Computer: Restart or turn on the computer.
3. Access BIOS/UEFI: As the computer starts up, you’ll need to press a specific key to enter the BIOS or UEFI setup. This key varies by manufacturer but is commonly `Del`, `F2`, `F10`, `F12`, or `Esc`. Look for a prompt on the screen during the initial boot sequence (e.g., “Press DEL to enter Setup”).
4. Change Boot Order: Once in the BIOS/UEFI, navigate to the “Boot” or “Boot Order” section. You’ll need to change the boot priority so that the USB drive is listed as the first boot device. It might be labeled as “USB HDD,” “Removable Device,” or the specific name of your USB drive.
5. Save and Exit: After adjusting the boot order, save your changes and exit the BIOS/UEFI. The computer will restart again.
If you have successfully set the USB drive as the primary boot device, the computer should now boot from the USB drive, and you’ll see the Windows 10 setup screen appear.
Installing Windows 10
With your computer booting from the USB, the Windows 10 installation process begins. This is the most interactive part, where you’ll make choices about partitioning your hard drive and setting up your operating system.
1. Windows Setup: Select your language, time and currency format, and keyboard layout. Click “Next.”
2. Install Now: Click the “Install now” button.
3. Product Key: If you have a Windows 10 product key, enter it now. If you’re reinstalling Windows 10 on a machine that was previously activated, you can often click “I don’t have a product key” and Windows will activate automatically online later.
4. Choose Operating System: If prompted, select the edition of Windows 10 you want to install (e.g., Windows 10 Home, Windows 10 Pro).
5. License Terms: Accept the license terms and click “Next.”
6. Installation Type: Choose “Custom: Install Windows only (advanced).” This is for a clean installation. If you were upgrading, you’d choose “Upgrade.”
7. Drive Selection: Here, you’ll see a list of all drives and partitions on your computer. You can delete existing partitions to start fresh or select an existing partition to format and install Windows on. Be extremely careful here, as selecting the wrong drive or partition can lead to data loss. Typically, for a clean install, you’ll delete all partitions on the target drive and then select the “Unallocated Space” to install Windows. Click “Next.”
8. Installation Progress: Windows will now begin installing. Your computer may restart several times during this process. Do not remove the USB drive until you are prompted to do so or until the setup is complete and you are on the welcome screen.
Following these steps will allow you to download Windows 10 install for USB and perform a clean installation, giving your computer a fresh start with the latest features and security updates. Remember to have your product key ready and to back up any important data before you begin.


