
Have you ever wished you could play mobile games on your computer? Many people feel the same way! Luckily, there’s an easy and fun solution. You can download BlueStacks 5 for Windows 11. This great software lets you run Android apps on your PC with just a click.
Imagine playing your favorite mobile games on a big screen with awesome sound. Doesn’t that sound exciting? With BlueStacks 5, you can enjoy a smooth gaming experience. Plus, it works perfectly on Windows 11, which is really cool.
Did you know that BlueStacks makes it easier to control games? You can use your mouse and keyboard instead of tiny phone buttons. This makes gaming much more fun! By downloading BlueStacks 5, you open up a world of mobile gaming right on your computer.
So, are you ready to take your gaming to the next level? Let’s explore how to download BlueStacks 5 for Windows 11 and start enjoying all those amazing games today!
Download Bluestacks 5 For Windows 11: A Complete Guide
Download BlueStacks 5 for Windows 11
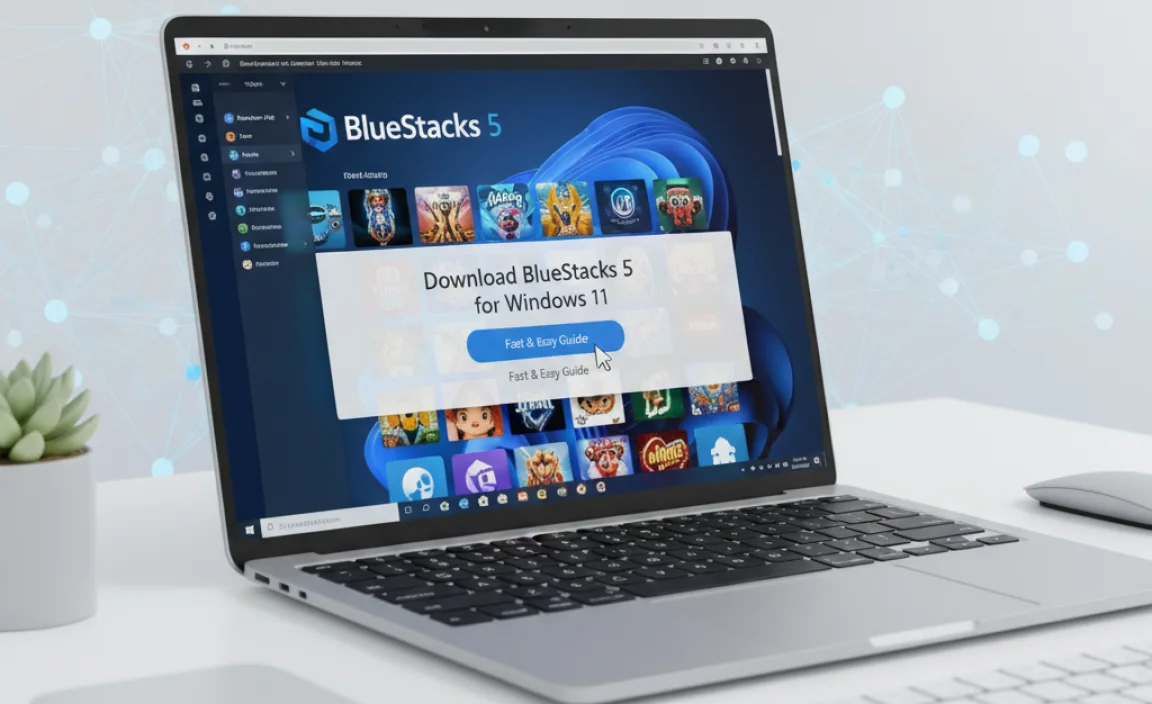
Are you ready to enjoy Android apps on your Windows 11 computer? Downloading BlueStacks 5 makes it super easy! This software lets you run mobile games and apps on your desktop. You’ll learn how to quickly install it, and why BlueStacks 5 is faster and smoother than other versions. Plus, discover how to set up your favorite games right away. It’s all about bringing the fun of mobile gaming to your bigger screen!
System Requirements for BlueStacks 5

Detailed specifications needed for Windows 11 compatibility. Recommended hardware and software for optimal performance.
To run BlueStacks 5 on Windows 11, your computer needs to meet some specific requirements. Here are the main ones:
- Operating System: Windows 11 (64-bit)
- Processor: Intel or AMD with virtualization support
- RAM: At least 8 GB
- Disk Space: Minimum of 5 GB free space
- Graphics: DirectX 11 or higher
For the best experience, use a modern CPU and at least 16 GB of RAM. This helps your games run smoothly. Upgrading your hardware can make a big difference, ensuring optimal performance.
What specifications do I need for Windows 11?
You need a 64-bit version of Windows 11, a processor with virtualization, and at least 8 GB of RAM. A good graphics card also helps.
Key Recommendations
- Upgrade RAM to 16 GB for better speeds
- Use a fast SSD for quicker loading times
- Keep your graphics drivers up to date
Step-by-Step Guide to Download BlueStacks 5
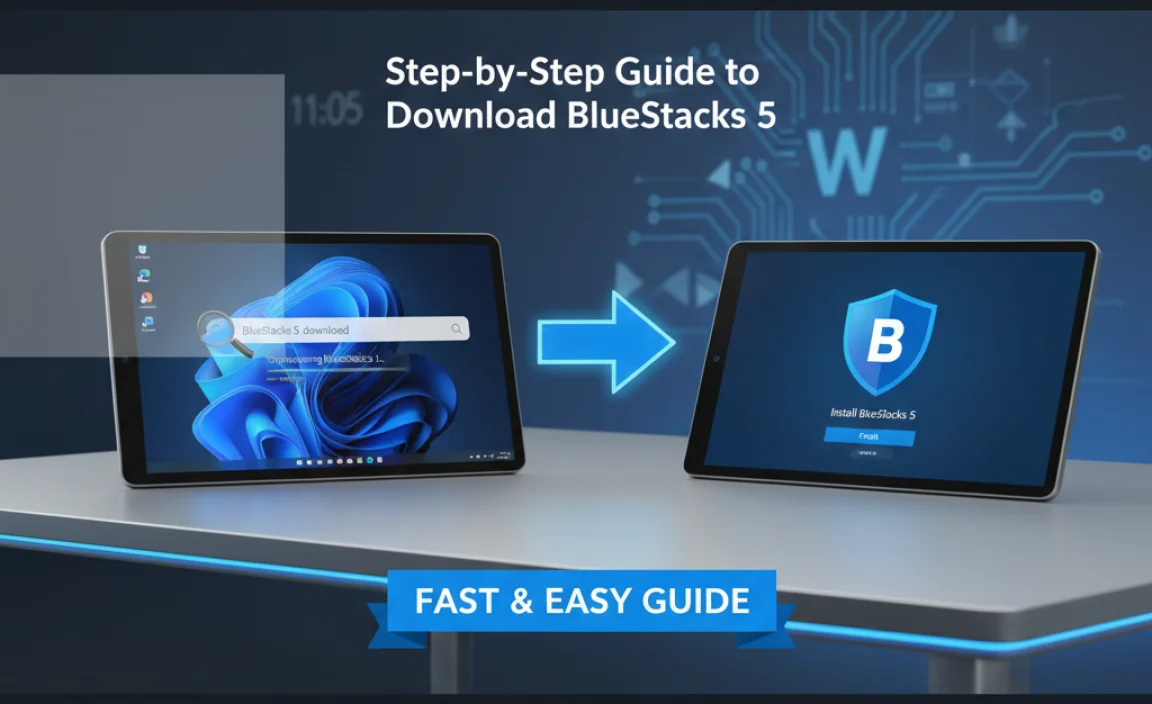
Detailed instructions on finding and accessing the BlueStacks official website. A breakdown of the download process on Windows 11.
To start, find the BlueStacks official website. Open a browser and type in “BlueStacks”. Click on the link that says “BlueStacks 5”. Next, look for the big “Download” button. Now, let’s break down the download process for Windows 11:
- Click on the button to download the installer.
- Once downloaded, open the file from your downloads.
- Follow the on-screen instructions to complete the installation.
Now you’re ready to enjoy your favorite Android games on your Windows 11 computer!
How do I download BlueStacks 5?
To download BlueStacks 5, visit their official website and click the download button for Windows 11. Follow the prompts to install it on your computer.
What to do after downloading?
After downloading, open the file to install. Follow the prompts until installation is complete. Start playing your favorite games right away!
Installation Process of BlueStacks 5 on Windows 11

Comprehensive steps to install BlueStacks after downloading. Troubleshooting common installation errors on Windows 11.
Installing BlueStacks 5 on Windows 11 is easy. First, find the downloaded file. Double-click it to start the installation. Follow the steps on the screen. If any errors pop up, don’t worry! Common fixes include:
- Check your internet connection.
- Make sure your PC meets the system requirements.
- Disable antivirus software temporarily.
- Run the installation as an administrator.
Once finished, you can enjoy using apps on your computer!
What are common installation errors and how to fix them?
Common installation errors can be fixed by checking your system setup. Ensure your PC has enough space and meets BlueStacks 5 requirements. Sometimes, updating your drivers helps too!
Setting Up BlueStacks 5 for the First Time
How to create or sign into a Google account for app downloads. Customizing settings for smoother performance and user experience.
Once you have BlueStacks 5 installed, you’ll need a Google account. This lets you download apps easily. If you don’t have one, you can create it during setup. Follow these simple steps:
- Click on the Google Play Store icon.
- Choose “Sign in” or “Create Account”.
- Follow the prompts to fill in your details.
After signing in, it’s time to customize your settings. This helps BlueStacks work better. You can choose your screen size and performance options. Making adjustments improves your gaming experience. Enjoy smooth gameplay!
How can I sign in to Google on BlueStacks?
To sign in, click the Google Play icon. Next, choose “Sign in”, or create an account if you don’t have one. It’s that easy!
What custom settings can I adjust?
- Screen resolution
- Performance settings
- Graphics quality
How to Download and Install Apps on BlueStacks 5
Stepbystep guide to accessing the Google Play Store on BlueStacks. Tips for finding and installing applications effectively on Windows 11.
Want to get apps on BlueStacks 5? It’s easy! First, open BlueStacks on your Windows 11 computer. Next, find the Google Play Store on your home screen. Just click it like you’re opening a treasure chest! Once inside, type the app’s name in the search bar. Click on the app you want and hit “Install.” Voilà! Your app is ready to use. Remember, for faster browsing, check reviews and ratings before downloading. Happy app hunting!
| Steps | Action |
|---|---|
| 1 | Open BlueStacks 5 |
| 2 | Click on Google Play Store |
| 3 | Search for your favorite app |
| 4 | Hit “Install” |
Tips for Optimizing BlueStacks 5 Performance on Windows 11
Recommended settings adjustments for better performance. How to allocate system resources effectively for gaming.
For better performance, adjust some settings in BlueStacks 5. Set the resolution lower for smoother gameplay. You can also reduce the number of CPU cores and RAM allocated to BlueStacks. This helps games run faster. Here are some useful tips:
- Lower resolution for smoothness.
- Allocate 2 CPU cores for efficiency.
- Set RAM to 4GB for a balance of speed and performance.
By following these steps, you will enjoy gaming without lag on Windows 11.
What are the best settings for BlueStacks 5?
The best settings for BlueStacks 5 include lowering the resolution and allocating 2 CPU cores and 4GB of RAM. This setup enhances performance and minimizes lag during gameplay.
Frequently Asked Questions About BlueStacks 5 on Windows 11
Addressing common queries and concerns from users. Providing expert advice on using BlueStacks efficiently.
Many users have questions about using BlueStacks 5 on Windows 11. Let’s answer a few common ones. First, can you run it smoothly? Yes, just make sure your computer meets the minimum requirements. Next, does it take up a lot of space? Not really! It’s like a tiny elephant—strong but not too big. If you face lag, try adjusting the settings. Lastly, is there support? Yes! They have a great help center. Don’t forget to check it out!
| Question | Answer |
|---|---|
| Can it run on my Windows 11? | Yes, if your PC meets the requirements! |
| Will it slow down my PC? | Nope, it’s efficient like a cheetah! |
| Can I get help if I need it? | Absolutely! Check the help center. |
Conclusion
In conclusion, downloading BlueStacks 5 for Windows 11 is easy and opens up a world of Android apps on your PC. You’ll enjoy smooth performance and better gaming experiences. To get started, visit the official BlueStacks website and follow the simple steps. For more tips and tricks, keep reading our guides. Enjoy your Android apps today!
FAQs
How Do I Download And Install Bluestacks 5 On Windows 1
To download BlueStacks 5 on Windows, first, go to the BlueStacks website. Look for the “Download” button and click it. The file will start downloading. Once it’s done, open the file to begin installation. Follow the steps on the screen, and soon you’ll have BlueStacks 5 ready to use!
What Are The System Requirements For Running Bluestacks 5 On Windows 1
To run BlueStacks 5 on Windows, you need a good computer. It should have at least 4 GB of RAM and 5 GB of free space. Your computer also needs a CPU (the brain of the computer) that is fast enough. Make sure your graphics card is good for better gaming. Finally, you should use Windows 7 or a newer version.
Is Bluestacks 5 Compatible With Windows 1And What Features Does It Offer?
BlueStacks 5 works with Windows 10 and Windows 11, but not Windows 1. It lets you play Android games on a computer. You can use apps, chat with friends, and enjoy fun games. BlueStacks 5 is easy to use and makes games run smoothly.
Are There Any Alternatives To Bluestacks 5 For Running Android Apps On Windows 1
Yes, there are other ways to run Android apps on Windows. You can try NoxPlayer, which is easy to use. Another option is LDPlayer, which also works well. Both are good alternatives to BlueStacks 5. You can download them for free!
How Can I Troubleshoot Installation Issues If Bluestacks 5 Doesn’T Run Properly On Windows 1
If BlueStacks 5 doesn’t run well on your Windows 11 computer, let’s fix it together! First, make sure your computer meets the system requirements for BlueStacks 5. Next, check if you have the latest version of BlueStacks. You can also try restarting your computer. If that doesn’t help, uninstall BlueStacks and then reinstall it. This usually solves the issue!