
Do you ever worry about your computer’s health? It’s important to check your disk for Windows 10. Many people forget about this simple task, but it can help prevent bigger problems.
Imagine your computer slowing down when you need it the most. Frustrating, right? Regularly checking your disk can keep your machine running smoothly.
Did you know that a quick check can find hidden errors? These errors can lead to crashes or lost files. So, why wait? Taking a few moments to check your disk is a smart choice.
In this article, we will explore how to easily check your disk for Windows 10. Discover tips and steps that anyone can follow. Let’s dive in and keep your computer in great shape!
How To Check Disk For Windows 10: A Comprehensive Guide
Understanding Disk Health and Errors
Explanation of common disk errors in Windows 10.. Importance of regularly checking disk health..
Hard drives can act a bit like grumpy cats. They often show common errors that can slow down your Windows 10 computer. Some common issues include bad sectors, file system errors, and corrupted files. Regularly checking your disk health is vital. Think of it as taking your computer to a doctor. Experts suggest checking your disk health at least once a month to avoid major problems down the road.
| Error Type | Description |
|---|---|
| Bad Sectors | Parts of the disk that can’t be used anymore. |
| File System Errors | Issues with how files are organized. |
| Corrupted Files | Files that can’t be opened or used. |
Getting to know these errors is like learning a new magic trick. It helps you keep your computer healthy and happy. Plus, the sooner you catch problems, the easier they are to fix!
Accessing the Windows 10 Check Disk Tool
Stepbystep guide to open the Command Prompt.. Alternative methods to access Check Disk utility..
To open the Check Disk tool in Windows 10, follow these steps:
- Click on the Start Menu.
- Type cmd in the search bar.
- Right-click on Command Prompt and select “Run as administrator.”
- Type chkdsk and press Enter.
You can also access Check Disk in different ways:
- Use the Windows search bar and type “Check Disk.”
- Go to Settings > Update & Security > Troubleshoot > Additional troubleshooters.
Now, let’s explore how to solve disk problems together!
Running Check Disk from Command Prompt

Detailed instructions on using the CHKDSK command.. Explanation of command parameters for advanced checks..
Using the command prompt in Windows 10 is a great way to run check disk. First, open the Command Prompt as an admin. Type chkdsk and hit Enter. This starts a basic scan. For detailed checks, add parameters. For example:
- /f – Fix errors on the disk.
- /r – Locate bad sectors and recover information.
- /x – Force the volume to dismount before the scan.
Mix these options for a complete disk check. It can help keep your computer running smoothly!
What does the CHKDSK command do?
The CHKDSK command checks your disk for errors. It helps fix problems and keeps your files safe.
Scheduling Check Disk on Boot
Guide to scheduling Check Disk for the next system startup.. Benefits of running Check Disk during boot time..
Scheduling Check Disk is simple. You can set it to run the next time your computer starts up. This helps catch problems early. Running it at boot time is very helpful. It checks your files and repairs any issues without interference. Benefits of running Check Disk during boot include:
- Improved system performance
- Fixed file errors
- Preventing crashes
All these make your Windows 10 experience smoother and safer.
Why should I schedule Check Disk?
Scheduling Check Disk helps fix problems faster before the system loads, ensuring smoother operation.
Benefits of running Check Disk during boot:
- Boosts speed and efficiency.
- Protects data.
- Stops potential future issues.
Interpreting Check Disk Results
Understanding the results and error messages.. What to do with different outcomes of the scan..
After running the disk check, you’ll see different messages. It’s important to understand what these mean. Here’s a simple guide:
- No Errors Found: Your disk is healthy!
- Errors Found: The tool found problems. Follow the suggestions to fix them.
- Repairs Made: The tool fixed some issues. Restart your computer to check.
Reading these results helps you keep your computer running well. If you see errors, don’t ignore them! Fix issues to prevent bigger problems later.
What do I do if there are errors found?
Follow the on-screen instructions. This will guide you in repairing any problems.
Using Third-Party Tools for Disk Checking
Recommendations for reliable thirdparty disk checking software.. Comparison of thirdparty tools vs. builtin Windows tools..
There are many third-party tools that can help you check your disk health. Here are some reliable options:
- CrystalDiskInfo: This tool shows drive details and health status.
- HD Tune: It checks for errors and measures speed.
- MiniTool Partition Wizard: This software manages partitions and checks disks.
Compared to Windows tools, third-party options often offer more features. They can provide detailed reports, making it easier to spot problems. Built-in tools are simpler but less comprehensive. So, if you need deeper insights, consider using these third-party tools.
What are reliable disk checking tools?
Check out options like CrystalDiskInfo and HD Tune. They are user-friendly and provide detailed information about your disk health.
Preventive Maintenance for Disk Health
Tips for maintaining disk health and preventing errors.. Importance of regular backups and disk optimization strategies.
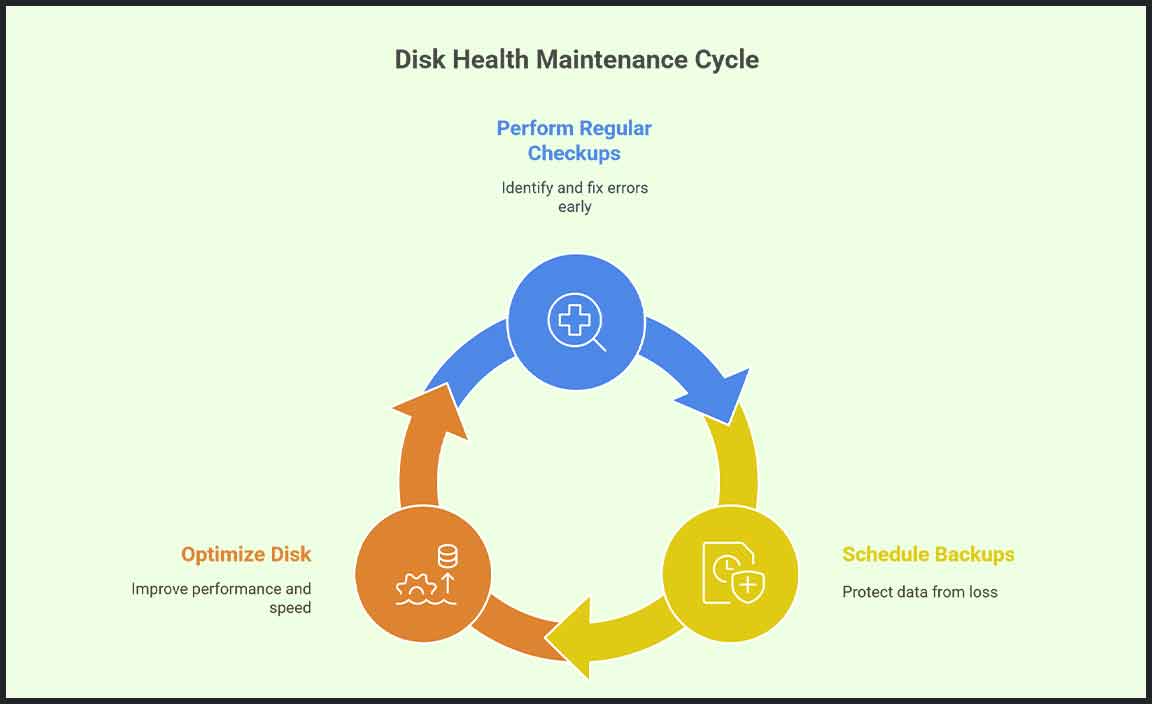
Taking care of your disk is like watering a plant. It needs regular attention! To keep it healthy, perform regular checks and cleanups. First, run a check disk to spot errors. Then, schedule backups often. This creates copies of your important stuff, so you won’t cry if something goes wrong. Also, know when your disk is getting bogged down. It’s like a traffic jam for your data! A bit of optimization can keep things running smoothly.
| Tip | Benefit |
|---|---|
| Regular Checkups | Find and fix errors early |
| Backup Often | Protects your data |
| Optimize Disk | Improves performance |
So, remember to give your disk a little love! It helps avoid nasty surprises and keeps everything running smooth like butter.
Conclusion
In conclusion, checking your disk on Windows 10 is important for keeping your computer healthy. It can find and fix problems quickly. Remember to run a disk check regularly to avoid issues. You can easily do this using the built-in tools. For more tips, explore online guides or check Microsoft’s support page. Take care of your device and keep it running smoothly!
FAQs
What Is The Best Way To Check The Disk For Errors In Windows 1
To check the disk for errors in Windows 1, you can use a tool called “Check Disk.” First, click on the Start button. Then, find “Run” and open it. Type “chkdsk” and press Enter. Follow the prompts to start the check. This will help find and fix any problems on your disk.
How Do I Run The Chkdsk Utility In Windows To Fix Hard Drive Issues?
To run the CHKDSK utility in Windows, first, click on the Start button. Then, type “cmd” to find the Command Prompt. Right-click it and select “Run as administrator.” In the window that opens, type “chkdsk C: /f” and press Enter. This will check your hard drive for problems and fix them if it can.
Can I Check The Health Of My Ssd In Windows 1And If So, How?
Yes, you can check the health of your SSD in Windows. First, open the “Start” menu. Then, type “Command Prompt” and click on it. In the window that appears, type “wmic diskdrive get status” and press Enter. If you see “OK,” your SSD is healthy! If it shows something else, you might need to check for problems.
What Are The Common Symptoms That Indicate I Should Check My Disk In Windows 1
If your computer is freezing or crashing often, that’s a sign to check your disk. You might also hear strange noises from your hard drive. Sometimes, files may not open or disappear. If you see error messages about missing files, it’s time to take a look. We should take care of our disks to keep our computers healthy!
How Can I Schedule Regular Disk Checks In Windows To Prevent Issues?
You can schedule regular disk checks in Windows using a tool called Command Prompt. First, click on the Start menu and type “Command Prompt.” Right-click on it and choose “Run as administrator.” Then, type “chkdsk /f C:” and press Enter. This will check your main drive, C, for problems. You can also set it to run every week by using Task Scheduler, which helps organize tasks.
Resource:
-
CHKDSK official guide by Microsoft: https://learn.microsoft.com/en-us/windows-server/administration/windows-commands/chkdsk
-
How-To Geek’s CHKDSK tutorial: https://www.howtogeek.com/672907/how-to-use-chkdsk-to-check-your-hard-drive-for-errors/
-
CrystalDiskInfo disk health tool: https://crystalmark.info/en/software/crystaldiskinfo/
-
Guide to Windows Task Scheduler:
https://www.lifewire.com/how-to-use-task-scheduler-in-windows-4688620