
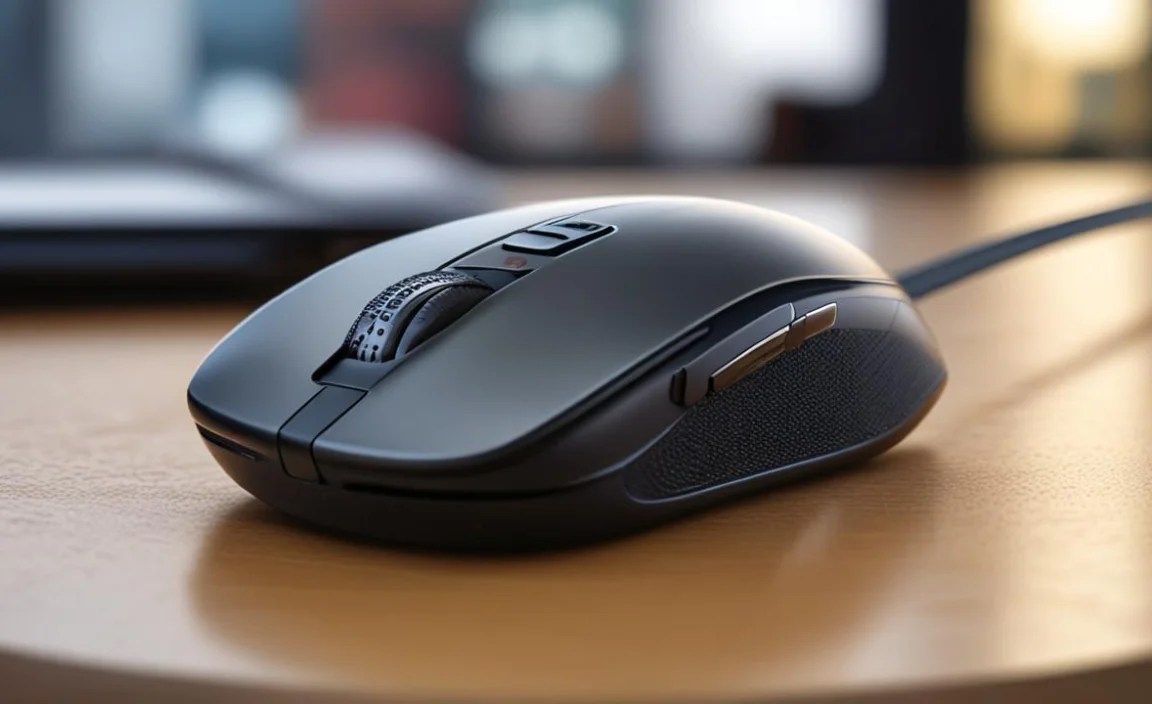
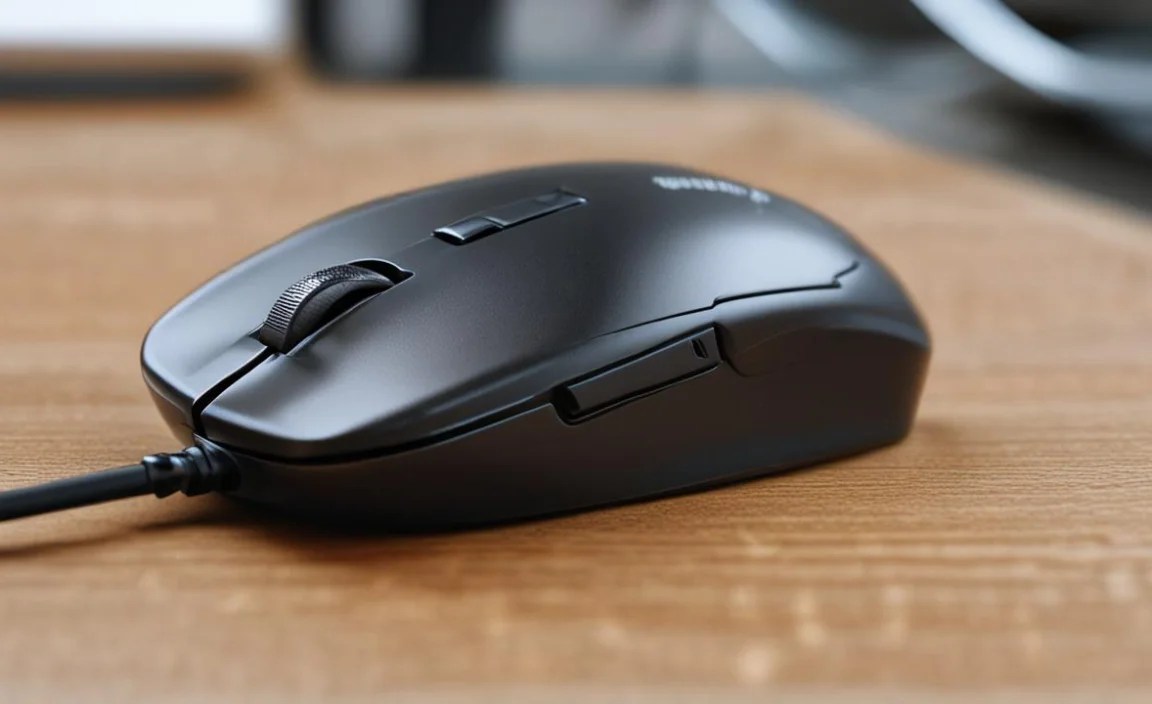
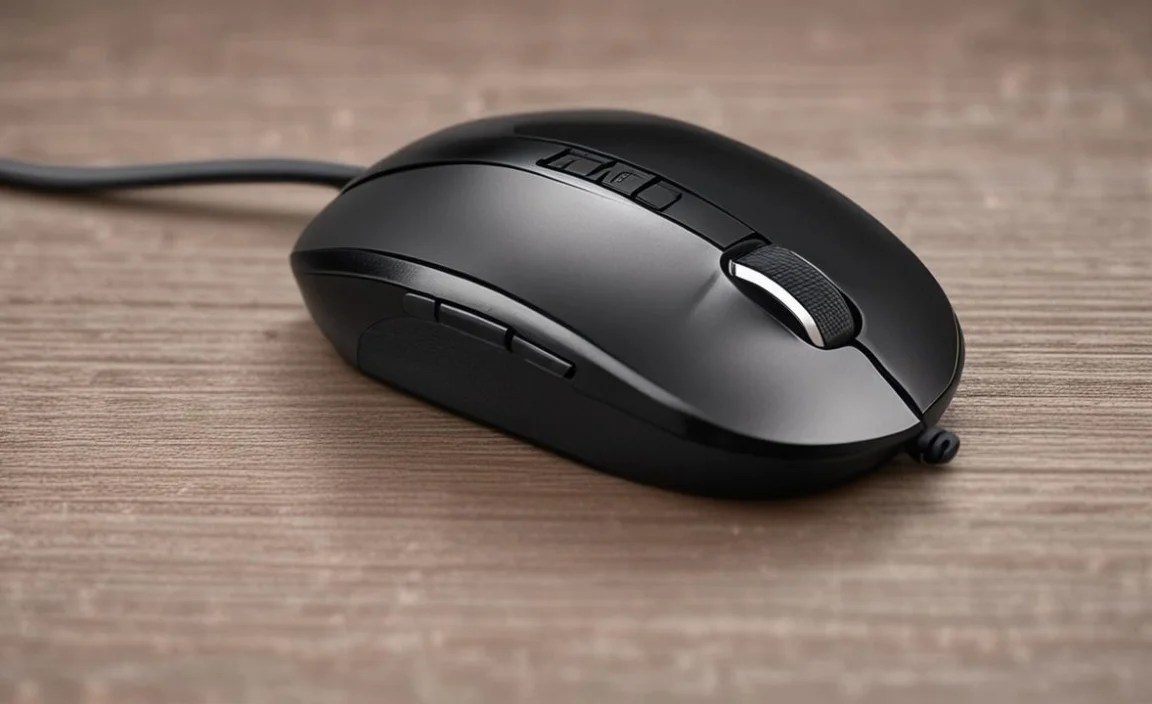
Canon Mouse Driver Setup: Easy Win 7
Setting up your Canon mouse on a Windows 7 operating system can often be a straightforward process, even if you’ve misplaced that all-important installation CD. Don’t let a missing disc deter you from enjoying the full functionality of your Canon peripheral. This guide will walk you through the simple steps to get your mouse up and running, ensuring smooth navigation and optimal performance on your Windows 7 machine. Whether you’re using a wireless or wired model, the principles remain largely the same, focusing on locating and installing the correct drivers.
The initial hurdle for many when dealing with hardware setup is the assumed necessity of an accompanying disc. However, in today’s digital age, most manufacturers provide readily accessible driver downloads through their official websites. This is particularly true for peripherals like mice, which often have standardized drivers that are either built into the operating system or easily obtainable online. Windows 7, being a widely used operating system for a considerable period, has robust support for a vast array of hardware, and Canon is no exception.
Finding Your Canon Mouse Driver Online

The first and most crucial step in achieving a successful Canon mouse driver setup for Windows 7 without CD involves locating the correct software. Head over to the official Canon website. Navigate to the “Support” or “Downloads” section. Here, you’ll typically find a search bar or a categorization system for products. It’s important to be precise when searching; looking for “Canon Mouse Drivers” or a specific model number if you know it will yield the best results.
Once you’ve identified the correct driver download page for your mouse model and Windows 7 (make sure to select the right operating system version, as drivers can be OS-specific), you will likely see a download link. Before clicking, take a moment to review the driver version and release date. Usually, the most recent version is recommended, but sometimes older, stable versions might be preferred for certain systems. Download the driver file to a location on your computer that you can easily access, such as your Desktop or Downloads folder.
Installing the Canon Mouse Driver on Windows 7
With the driver file downloaded, the installation process begins. For most Canon mouse drivers, you’ll simply need to run the downloaded executable file. Locate the downloaded file (it will likely have a `.exe` extension) and double-click it. This will initiate the installation wizard. Follow the on-screen prompts carefully. The wizard will guide you through the installation process, which typically involves accepting license agreements and choosing an installation directory (though often, the default location is perfectly fine).
During the installation, you might be prompted to connect your Canon mouse if you haven’t already. For wired mice, plug them into an available USB port. For wireless mice, ensure the USB receiver is plugged in and the mouse itself is powered on, with fresh batteries if necessary. The Windows 7 operating system will often detect new hardware and may even attempt to install a generic driver automatically. However, installing the manufacturer-specific driver is highly recommended to unlock all features and ensure optimal performance.
Troubleshooting Common Issues with Canon Mouse Driver Setup
In the rare event that the automatic detection fails or the installed driver doesn’t function as expected, there are a few troubleshooting steps you can take. First, try restarting your computer after the driver installation. Sometimes, a simple reboot is all that’s needed for Windows 7 to properly recognize and integrate the new driver.
If the mouse still isn’t working or is behaving erratically, you can try manually updating or reinstalling the driver through Device Manager. To access Device Manager, right-click on “Computer” (usually found on your Desktop or in the Start Menu) and select “Manage.” Then, click on “Device Manager” from the left-hand pane. Look for “Mice and other pointing devices” and expand it. You should see your Canon mouse listed there. Right-click on it and select “Update Driver Software.” Choose the option to “Browse my computer for driver software” and then point it to the location where you downloaded the driver file earlier.
Alternatively, you can right-click the device and select “Uninstall” to remove the existing driver, then reboot your computer and rerun the downloaded driver installer. This “clean install” can often resolve conflicts or corrupted driver files.
Ensuring Full Functionality with Your Canon Mouse
Once the Canon mouse driver setup for Windows 7 without CD is successfully completed, you might have access to additional software from Canon that allows for customization. This could include features like adjusting pointer speed, setting up custom button functions, or managing scrolling behavior. Explore the installed software (often found in your Start Menu or system tray) to personalize your mouse experience.
In conclusion, the absence of a physical installation CD should not be a barrier to setting up your Canon mouse on Windows 7. By leveraging the manufacturer’s website for driver downloads and following the straightforward installation and troubleshooting steps outlined above, you can quickly and easily get your mouse operating flawlessly. This approach ensures you benefit from all the intended features and enjoy a smooth, efficient computing experience on your Windows 7 system.


