
Canon Mouse Drivers: Effortless Win 10 Setup
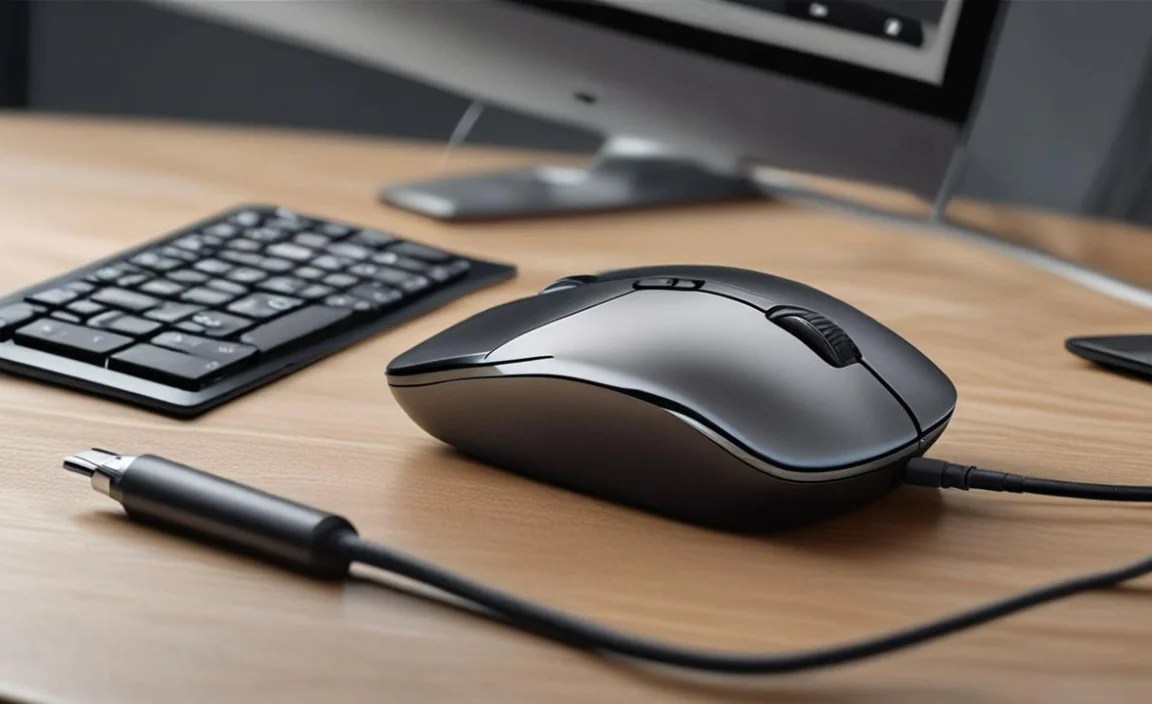
Getting your Canon mouse up and running on your Windows 10 machine should be a straightforward process, and with the right approach, it truly can be. Whether you’re setting up a brand-new Canon mouse or troubleshooting an existing one, ensuring you have the correct drivers installed is paramount for optimal performance and functionality. Fortunately, Canon offers straightforward methods for installing these essential software components, even for those who prefer an offline installation. This guide will walk you through the process, highlighting the benefits and steps involved in a seamless Windows 10 setup.
Why You Need the Right Canon Mouse Driver

Think of drivers as translators. Your computer’s operating system, Windows 10 in this instance, speaks a specific language. Your Canon mouse, a piece of hardware, also has its own way of communicating. The mouse driver acts as the crucial intermediary, translating the commands from your mouse into a language Windows 10 understands, and vice versa. Without the correct driver, your mouse might not be recognized at all, or it might exhibit erratic behavior, lack advanced features, or simply not function as intended. For advanced functions like customizable button assignments, scrolling speed adjustments, or specific precision settings, the driver is absolutely indispensable.
The Advantages of an Offline Installer

In our increasingly connected world, online downloads are the norm. However, there are several compelling reasons why opting for a Canon mouse driver setup for Windows 10 offline installer can be a superior choice for some users.
No Internet Dependency: The most obvious benefit is the ability to install the driver without an active internet connection. This is invaluable if you’re setting up a new computer that isn’t yet online, if you have unreliable internet, or if you simply prefer to avoid potential online security risks.
Speed and Reliability: Downloading drivers directly from the manufacturer’s website, especially an offline installer package, often means you’re getting a clean, uncorrupted file packaged specifically for your operating system. This can prevent download interruptions or issues sometimes encountered with browser-based downloads.
Future-Proofing: Once downloaded, an offline installer acts as a backup. If you ever need to reinstall Windows 10 or set up another compatible computer in the future, you’ll have the driver readily available without needing to search the internet again.
Guaranteed Compatibility: Official offline installers from Canon are guaranteed to be compatible with the specific mouse model they are designed for and with the targeted Windows 10 versions. This eliminates guesswork and potential compatibility conflicts.
Preparing for Your Canon Mouse Driver Setup
Before diving into the installation process, a little preparation goes a long way to ensure a smooth experience.
1. Identify Your Canon Mouse Model: Different Canon mice might require slightly different driver versions. The easiest way to find this information is to look for a label on the underside of your mouse or its original packaging.
2. Note Your Windows 10 Version: While most drivers are designed for broad compatibility, knowing whether you have Windows 10 Home, Pro, 32-bit, or 64-bit can sometimes be helpful, though less critical for modern drivers.
3. Administrator Privileges: Ensure you are logged into your Windows 10 account with administrator privileges. Driver installations often require these elevated permissions to modify system files.
4. Backup (Optional but Recommended): For critical system changes, a system restore point can be a lifesaver. You can create one by searching for “Create a restore point” in the Windows search bar.
Downloading the Canon Mouse Driver Setup
The key to an offline installation is securing the installer file beforehand.
1. Visit the Official Canon Support Website: The most reliable place to obtain drivers is directly from Canon’s official support portal. Navigate to their website and look for the “Support” or “Downloads” section.
2. Search for Your Mouse Model: Use the search functionality on the support site to find the specific page for your Canon mouse model.
3. Locate the Drivers Section: On your mouse’s support page, you’ll find various downloads, including manuals, software, and drivers. Look for the “Driver” or “Software” category.
4. Select the Correct Operating System: Crucially, choose “Windows 10” from the operating system dropdown menu. Ensure you select the correct architecture (32-bit or 64-bit) if prompted, though many modern drivers are universal.
5. Download the Offline Installer: Look for a download option that explicitly states “Offline Installer,” “Full Package,” or “Standalone Installer.” These packages contain all the necessary files to install the driver without an internet connection. Download the file to a location you can easily access, such as your Desktop or Downloads folder.
Installing Your Canon Mouse Driver Offline

With the driver file downloaded, the offline installation is typically very quick and simple.
1. Locate the Downloaded Installer: Navigate to the folder where you saved the downloaded driver file. It will likely be an executable file (.exe).
2. Run the Installer as Administrator: Right-click on the driver executable file and select “Run as administrator.” This ensures the installer has the necessary permissions to make changes to your system.
3. Follow On-Screen Prompts: The installer will launch a wizard. Read each screen carefully and follow the instructions. This usually involves accepting license agreements, choosing an installation directory (often the default is fine), and confirming the installation.
4. Connect Your Mouse (If Not Already Connected): The installer might prompt you to connect your Canon mouse, or it might direct you to do so at a specific point. If your mouse is already plugged in, the driver should detect it.
5. Complete the Installation: Once the installation process is finished, you’ll typically see a confirmation message. You may be asked to restart your computer. It’s generally a good practice to restart your PC after driver installations to ensure all changes take effect correctly.
Verifying the Installation
After restarting your computer, you can quickly verify that your Canon mouse is functioning correctly and that the driver is properly installed.
1. Test Basic Functionality: Move the mouse pointer, click left and right buttons, and try scrolling with the mouse wheel.
2. Check Device Manager: Open the Device Manager (search for it in the Windows search bar). Expand the “Mice and other pointing devices” section. You should see your Canon mouse listed without any yellow exclamation marks or error symbols, indicating a successful driver installation.
3. Explore Canon Software (If Applicable): If your mouse model came with accompanying software for advanced customization, launch that application. If it opens without errors and recognizes your mouse, the driver installation is complete and successful. Customization options should now be available, allowing you to tailor your mouse to your specific needs and preferences.
By following these steps, you can confidently perform a Canon mouse driver setup for Windows 10 offline installer, ensuring your input device works seamlessly and efficiently, even without an internet connection.


