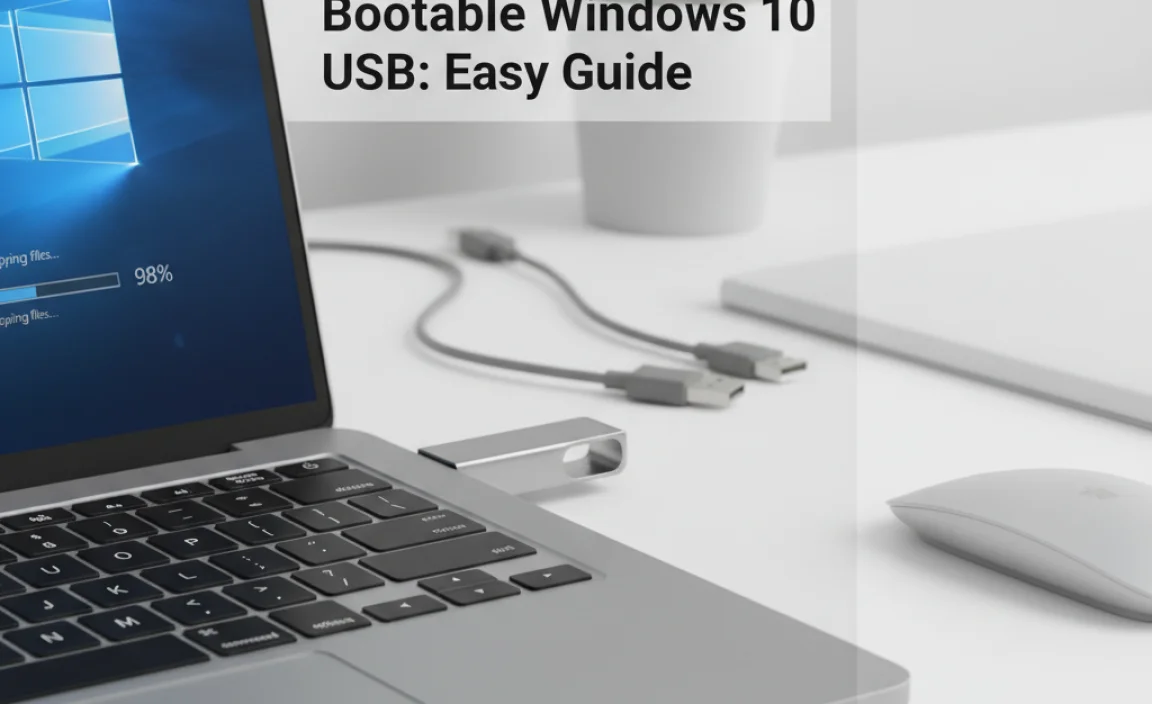
Bootable Windows 10 USB: Easy Guide
Creating a bootable Windows 10 USB drive is a fundamental skill for any tech-savvy individual, whether you’re looking to perform a clean installation of Windows 10, upgrade an existing system, or troubleshoot a malfunctioning operating system. This process essentially transforms a standard USB flash drive into a portable installation medium, allowing you to boot your computer directly from it and initiate the Windows setup. Far from being a complex technical feat, it’s a straightforward procedure that empowers you with greater control over your system’s software.
The primary advantage of having a bootable Windows 10 USB is its versatility. Unlike relying on recovery partitions or older installation DVDs, a USB drive is faster, more portable, and less susceptible to physical damage. It’s an indispensable tool for IT professionals, PC builders, and even everyday users who want the peace of mind that comes with having a reliable installation method readily available. Furthermore, with Windows 11 now available, the process is largely similar, making this an investment in future-proofing your technical know-how.
Why You Need a Bootable Windows 10 USB
There are several compelling reasons why you might need a bootable Windows 10 USB:
Clean Installation: Perhaps the most common reason is to perform a fresh installation of Windows 10. This wipes the drive clean, removing all existing data and programs, and starts with a pristine operating system. This is often recommended to resolve persistent software issues, improve performance, or simply begin with a clean slate.
Upgrading Your System: If you’re upgrading from an older version of Windows or even an earlier build of Windows 10, a bootable USB can provide a smooth and direct upgrade path.
Troubleshooting and Repair: When your Windows installation becomes corrupted or unbootable, a bootable USB is often the only way to access recovery tools, command prompt, or even reinstall Windows to fix the problem.
Installing Windows on Multiple PCs: For system administrators or users setting up multiple computers, a bootable USB allows for rapid and consistent installations across various machines.
Installing Windows Without an Optical Drive: In an era where many modern laptops and desktops lack CD/DVD drives, a USB drive is the primary, and often only, method for optical-free installations.
What You’ll Need
Before embarking on this process, ensure you have the following:
A USB Flash Drive: A drive with at least 8GB of storage is recommended. While some older versions might work with 4GB, 8GB is the current standard for Windows 10 installation media. Ensure the drive is empty, as all existing data will be erased.
A Working Computer: You’ll need a computer with internet access to download the necessary tools and the Windows 10 installation files.
Access to the Internet: To download the Windows 10 Media Creation Tool.
Your Windows 10 Product Key (Optional but Recommended): While you can install Windows 10 without a product key and activate it later, having it handy will streamline the activation process. If you have a digital license linked to your Microsoft account, you won’t need to re-enter a product key.
Creating Your Bootable Windows 10 USB Using the Media Creation Tool
Microsoft provides a free, official tool called the Media Creation Tool that simplifies the process of creating bootable media. It downloads the latest version of Windows 10 and prepares the USB drive for you.
Step 1: Download the Media Creation Tool
1. Go to the official Microsoft Windows 10 download page.
2. Look for the “Download tool now” button under the “Create Windows 10 installation media” section and click it.
3. Save the `MediaCreationToolxxxx.exe` file to your computer.
Step 2: Run the Media Creation Tool
1. Locate the downloaded file and run it as an administrator. You may need to click “Yes” to grant permission.
2. Accept the license terms when prompted after the tool gathers some information.
Step 3: Select “Create installation media (USB flash drive, DVD, or ISO file) for another PC”
1. On the “What do you want to do?” screen, select the option “Create installation media (USB flash drive, DVD, or ISO file) for another PC” and click “Next.”
Step 4: Choose Language, Edition, and Architecture
1. The tool will usually select the recommended options for your current PC. You can uncheck “Use the recommended options for this PC” if you need to create media for a different computer or specific configuration.
2. Select the Language, Edition (e.g., Windows 10 Home, Windows 10 Pro), and Architecture (usually 64-bit, but 32-bit is also an option). Click “Next.”
Step 5: Choose “USB flash drive”
1. On the “Choose which media to use” screen, select “USB flash drive.” Make sure your USB drive is plugged in. Click “Next.”
Step 6: Select Your USB Drive
1. The tool will list all connected USB drives. Select the specific USB drive you want to use. Double-check that you’ve selected the correct drive, as all data on it will be erased. Click “Next.”
Step 7: Download and Creation Process
1. The Media Creation Tool will now download the Windows 10 installation files and then create the bootable USB drive. This process can take some time, depending on your internet speed and the performance of your USB drive.
2. Once it’s finished, the tool will inform you that your USB flash drive is ready. Click “Finish.”
Booting from Your New Bootable Windows 10 USB
Once your bootable USB is ready, the next step is to configure your computer to boot from it. This usually involves accessing your computer’s BIOS or UEFI settings.
1. Connect the USB Drive: Plug your bootable Windows 10 USB drive into the computer you wish to install Windows on.
2. Restart Your Computer: Restart or turn on the target computer.
3. Access BIOS/UEFI: Immediately after the computer powers on, you’ll need to press a specific key to enter the BIOS or UEFI setup utility. This key varies by manufacturer but is commonly `Del`, `F2`, `F10`, `F12`, or `Esc`. You’ll usually see a message on the screen during startup indicating which key to press. If you miss it, restart the computer and try again.
4. Change Boot Order: Within the BIOS/UEFI settings, navigate to the “Boot,” “Boot Order,” or “Boot Priority” section.
5. Set USB as First Boot Device: Change the boot order so that the USB drive (it might be listed as “USB HDD,” “Removable Device,” or the specific brand name of your USB drive) is the first device in the boot sequence.
6. Save and Exit: Save your changes (usually by pressing `F10`) and exit the BIOS/UEFI. Your computer will restart.
Starting the Windows 10 Installation
If you’ve correctly set the boot order, your computer will now boot from the USB drive, and you’ll see the Windows 10 setup screen.
1. Select Language and Preferences: Choose your language, time format, and keyboard layout. Click “Next.”
2. Install Now: Click the “Install now” button.
3. Enter Product Key (Optional): If you have a product key, enter it now. If not, click “I don’t have a product key” to proceed with a trial or to enter it later.
4. Select Operating System: Choose the edition of Windows 10 you want to install if prompted.
5. Accept License Terms: Read and accept the Microsoft license terms.
6. Choose Installation Type:
Upgrade: This option installs Windows 10 and keeps your files, settings, and applications. It’s only available if Windows 10 is already running.
* Custom: Install Windows only (advanced): This is the option for a clean installation. You’ll be able to select a drive, format partitions, and choose where to install Windows.
7. Select Installation Location: If you chose “Custom,” you’ll see a list of your drives and partitions. Select the partition where you want to install Windows (usually drive 0 partition X). You can delete existing partitions or create new ones if needed. Be very careful here, as deleting the wrong partition can lead to data loss.
8. Windows Installation: Windows will now begin installing. Your computer will restart several times during this process. Important: After the first restart, you might need to remove the USB drive or change the boot order back to your hard drive, otherwise, the computer might try to boot from the USB again and restart the installation from the beginning.
9. Out-of-Box Experience (OOBE): Once the installation is complete, you’ll go through the initial setup screens, including setting up your account, privacy settings, and connecting to your network.
Creating a bootable Windows 10 USB is a valuable DIY skill that offers immense flexibility and control over your PC. By following these steps, you can confidently prepare your installation media and ensure a smooth Windows experience whenever you need it.