
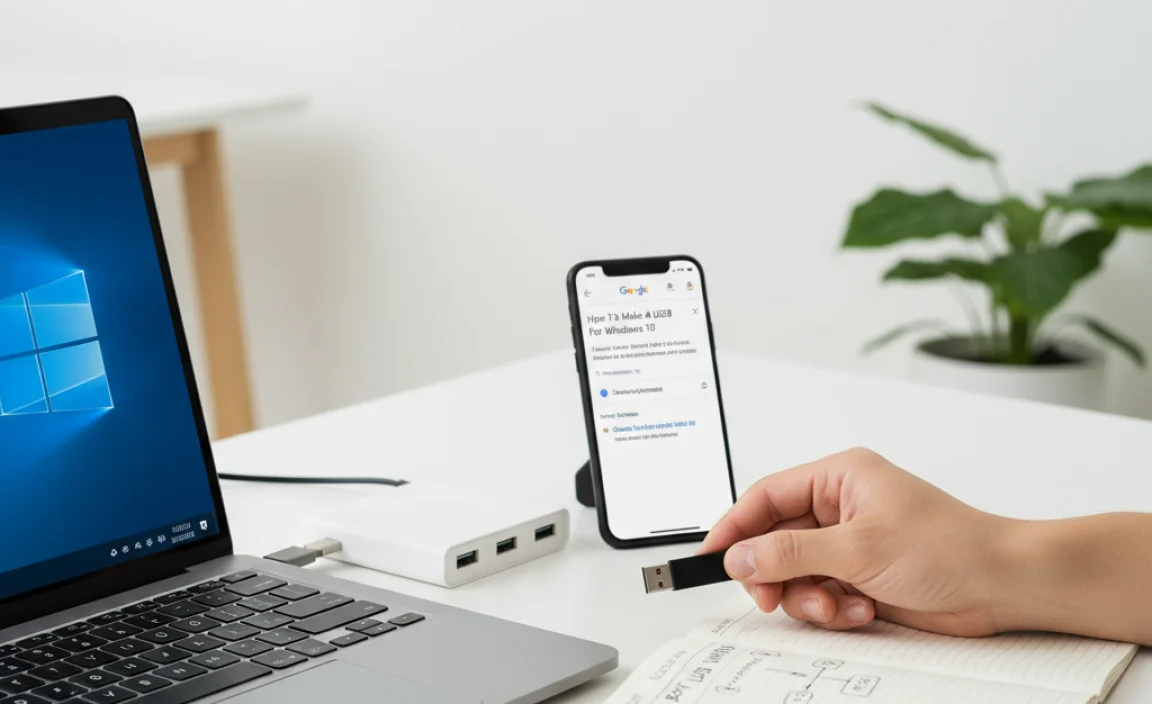
Have you ever had trouble with your computer? Maybe it won’t start, or it’s acting strange. At some point, every computer needs a refresh. One popular way to do this is by using a USB drive. You might wonder, “How do I make a boot USB for Windows 10?” This simple task can seem tricky at first. But once you understand it, you can save the day!
Imagine you have a new computer or a laptop that needs a fresh start. Instead of paying someone to fix it, you could do it yourself. Making a boot USB for Windows 10 gives you the power. You can install, repair, or even reset your system with just that small drive.
Did you know that using a USB drive is faster and easier than using a DVD? Plus, USB drives are more portable. You can carry your boot USB for Windows 10 in your pocket! In this article, we will walk you through the steps. By the end, you will feel confident and ready to start your journey.
So let’s get started and unlock the secrets of making your own boot USB!
How To Make A Boot Usb For Windows 10 Easily Guide

Make a Boot USB for Windows 10
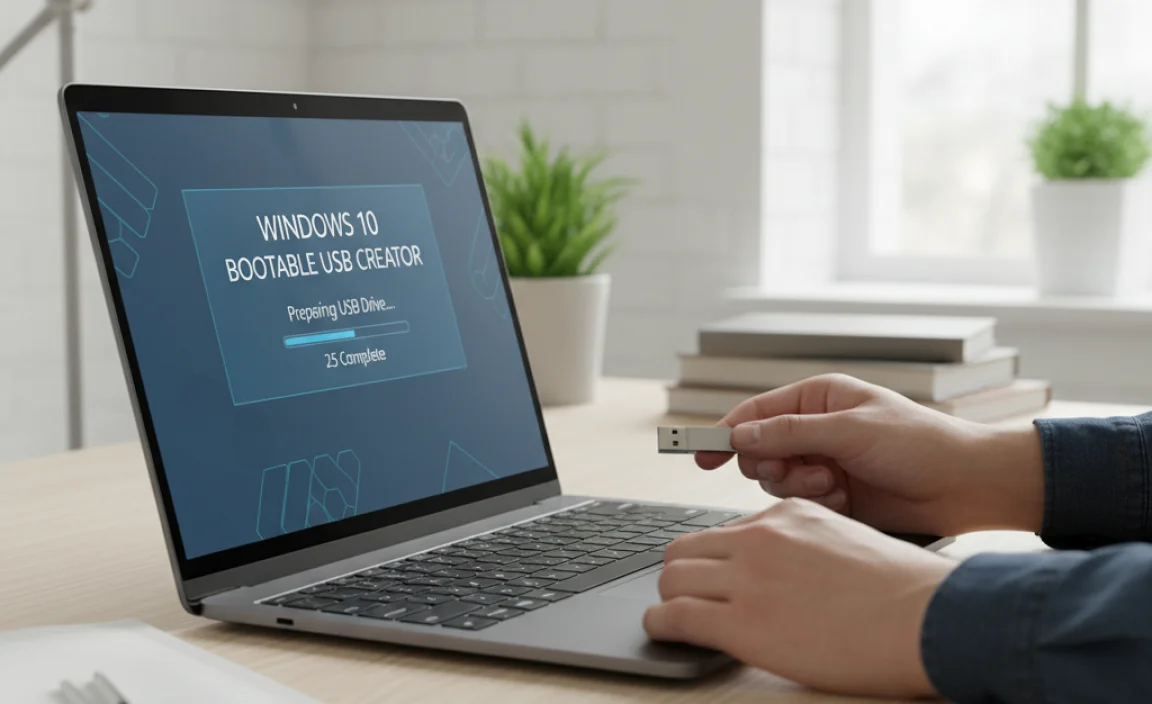
Creating a boot USB for Windows 10 is a handy skill that can save the day. It allows you to install or repair your operating system easily. You need a USB drive, at least 8GB, and the Windows Media Creation Tool. Have you ever faced a computer crash? This tool can help you fix or reinstall Windows quickly. Discover how simple steps make it possible to revive your device anytime!
Understanding Bootable USB Drives

Definition of a bootable USB drive. Importance of bootable USB drives for Windows installations.
A bootable USB drive is a small, portable storage device that helps you install or run an operating system, like Windows 10. It contains special files that your computer can read when it starts up. Bootable USB drives are essential for Windows installations because they make the process fast and easy. Instead of using a DVD, you can simply plug in the USB and follow the instructions.
Why are bootable USB drives important for Windows installations?
Bootable USB drives speed up installations
. They are easier to carry and often faster than DVDs. Plus, many new laptops and desktops don’t even have CD drives anymore. Have you ever thought about how helpful they can be in saving time during setup?
Key benefits:
- Fast installation process.
- Easy to use and portable.
- No need for CD/DVD drives.
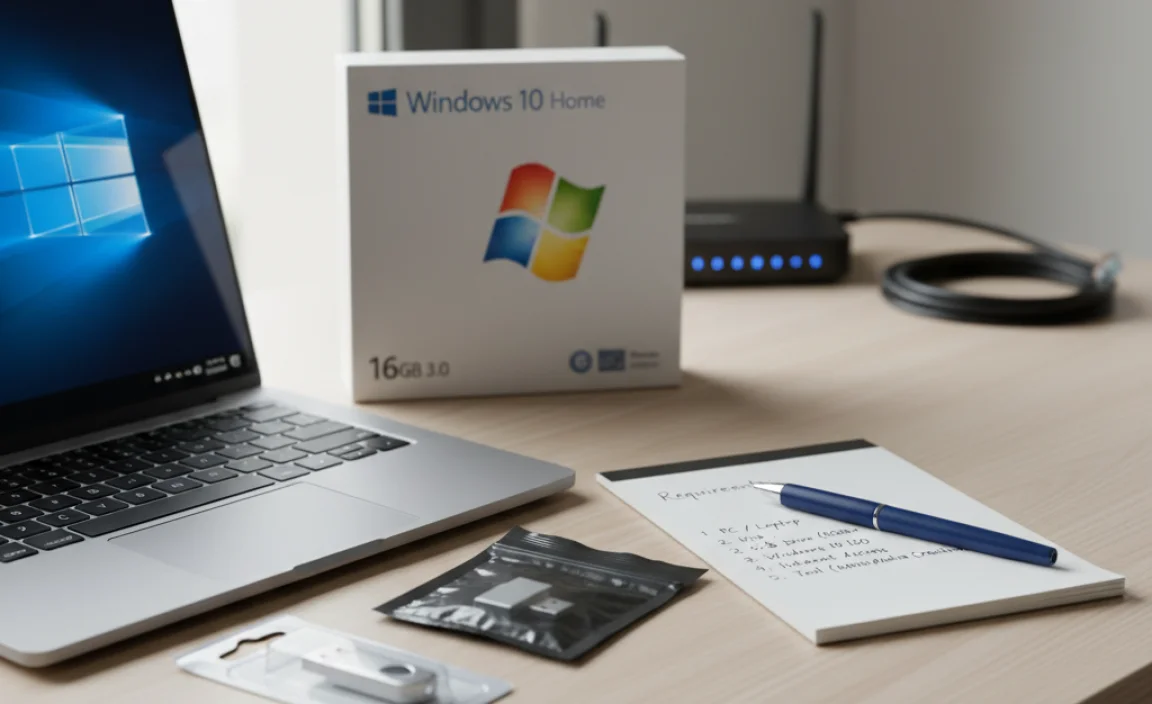
Requirements for Creating a Boot USB
List of necessary hardware (USB drive, PC). Software options for creating a bootable USB (Rufus, Windows Media Creation Tool).
To create a bootable USB, you’ll need two main items: a USB drive and a PC. Make sure your USB has enough space, preferably at least 8GB. Don’t worry, that’s less than the size of your favorite video game! You have options for software too. Try Rufus, which is like a wizard for USB drives, or the Windows Media Creation Tool, which sounds fancy and does a great job.
| Required Hardware | Required Software |
|---|---|
| USB Drive (8GB or more) | Rufus |
| PC | Windows Media Creation Tool |
Gather these goodies, and you’re ready to boot your way to Windows 10!
Preparing the USB Drive
Formatting the USB drive correctly. Selecting the right file system (FAT32 vs NTFS).
To set up your USB drive, first, you need to format it correctly. This means erasing any old data and setting it up for a fresh start. You can choose either FAT32 or NTFS for the file system.
- FAT32: Works with many devices. Limited to 4GB file size.
- NTFS: Supports larger files and is ideal for Windows.
Pick the one that meets your needs. Formatting your drive is a simple but important step to make a boot USB for Windows 10.
What file system should I choose for my USB drive?
Choose FAT32 for smaller files or NTFS for larger files. FAT32 works on many devices, while NTFS is better for modern Windows use.
Using Windows Media Creation Tool
Stepbystep instructions for downloading and using the tool. Tips for troubleshooting common issues.
To begin, download the Windows Media Creation Tool from the official Microsoft website. It’s free and easy to find. Once downloaded, run the tool by double-clicking it. Follow these simple steps:
- Choose “Create installation media for another PC.”
- Select your language, edition, and architecture.
- Pick a USB flash drive when prompted.
- Click “Next” to start the USB creation process.
If you face issues, try these tips:
- Ensure your USB drive is empty and formatted.
- Check your internet connection.
- Reboot your computer and try again.
Using this tool is a simple way to make a boot USB for Windows 10. Happy installing!
What should I do if the tool doesn’t work?
If the tool does not respond, try running it as an administrator. Right-click the file and select this option. If problems persist, make sure you have enough space on your USB drive.
Creating a Boot USB with Rufus
Detailed guide on downloading and configuring Rufus. How to select Windows 10 ISO and USB device in Rufus.
First, grab Rufus from its official website. Don’t worry; it’s safe and free, like a cat that loves cuddles! Once downloaded, open Rufus, and it’ll look like a friendly robot waiting for instructions. Next, click on the “Select” button to find your Windows 10 ISO file. Choose your USB device from the drop-down list. It’s like picking your favorite ice cream flavor—make sure you choose wisely! Then, hit “Start” and watch the magic happen.
| Step | Action |
|---|---|
| 1 | Download Rufus |
| 2 | Select the Windows 10 ISO |
| 3 | Choose your USB device |
| 4 | Hit ‘Start’ |
BIOS Settings for Booting from USB
Accessing the BIOS/UEFI settings on different PCs. Configuring the boot order to prioritize USB devices.
Before your computer can boot from that trusty USB stick, you need to dive into the BIOS or UEFI settings. On most PCs, you can enter the BIOS by pressing keys like F2 or Del right after turning it on. Think of it as finding the secret door to the hidden world of your computer!
Once you’re in, look for the “Boot” menu. Here, you’ll need to rearrange the boot order to make your USB device the top star. This way, your computer knows to check the USB before anything else. It’s like asking your pet goldfish to do a backflip; you just need to train it to do the right trick first!
| PC Manufacturer | BIOS Access Key |
|---|---|
| Dell | F2 |
| HP | Esc or F10 |
| Acer | F2 |
| Asus | Del or F2 |
| Lenovo | F1 or F2 |
After making these changes, save your settings and exit. Voilà! You’re all set to boot from your USB. Now go ahead and enjoy your shiny new Windows 10 installation!
Installing Windows 10 from the Boot USB
Stepbystep instructions for initiating Windows installation. Key considerations during the installation process (partitioning, activation).
To start your Windows 10 installation, follow these steps: First, insert your boot USB. Then, restart your computer. Look for a message stating which key to press for the boot menu. Press that key. Choose the USB drive from the list.
During installation, pay attention to partitioning. Decide where to install Windows. You may need to format your partitions. Don’t forget activation. You’ll need a product key to unlock Windows completely.
This process helps ensure your computer runs smoothly with the new system.
What should I consider during Windows installation?
You should think about partitioning your hard drive and keeping your activation key handy.
Key Considerations:
- Choose the right partition for installation.
- Format partitions if necessary.
- Have your activation key ready to finish setup.
Common Issues and Solutions
Troubleshooting problems when booting from USB. Resolving installation errors or failures.
Booting from a USB can sometimes feel like trying to solve a riddle! You may face issues like your computer not recognizing the USB stick or getting stuck during installation. These hiccups can be annoying, but fear not! Try this: ensure the USB is set as the first boot option in your BIOS settings. If that doesn’t work, make sure the USB is properly formatted. Here’s a helpful table to guide you through common problems and their solutions:
| Issue | Solution |
|---|---|
| USB not detected | Check BIOS settings and reconnect USB |
| Installation fails | Format the USB and ensure files are intact |
| Boot error message | Check for corruption or re-create the bootable USB |
With these tips, you can tackle boot issues like a superhero! So, don your cape and get ready to conquer that USB!
Best Practices for Future Use
Maintaining the boot USB for future installations. Tips for updates and keeping ISO files current.
Keeping your boot USB ready for future installations is a smart move. First, always check for updates. Windows 10 gets new features, so make sure your ISO file is current. Old files are like old candy—no one wants them! You can request an updated ISO from Microsoft’s website. Also, store your boot USB in a safe place. You wouldn’t want a chocolate spill ruining it, would you?
| Tip | Action |
|---|---|
| Check for updates | Visit Microsoft regularly. |
| Store safely | Avoid messy areas! |
| Recreate boot USB | Start fresh with new ISO files. |
Following these tips helps ensure that your boot USB is always ready to go, like your favorite superhero on standby!
Conclusion
In summary, making a boot USB for Windows 10 is simple and helpful. You need a USB drive and the Windows Media Creation Tool. First, download the tool and follow the steps to create your bootable USB. This will let you install or repair Windows. Now, you can take action! Try it out or read more guides to learn other tech skills.
FAQs
Sure! Here Are Five Related Questions On The Topic Of Creating A Bootable Usb For Windows 10:
Sure! A bootable USB is a special flash drive that lets you install Windows 10 on your computer. To make one, we need a clean USB and a Windows 10 file. First, we download a tool called the Media Creation Tool. Then, we follow the steps to put Windows 10 onto the USB. Finally, we can use it to start our computer and install Windows.
Sure! Please provide the question you’d like me to answer, and I’ll be happy to help.
What Tools Do I Need To Create A Bootable Usb Drive For Windows 10?
To create a bootable USB drive for Windows 10, you need a few tools. First, get a USB flash drive with at least 8 gigabytes of space. Next, you need the Windows 10 installation file. You can download it from the Microsoft website. Finally, use a tool like “Rufus” or “Microsoft’s Media Creation Tool” to help you set it up.
How Do I Download The Windows Iso File To Use For Creating A Bootable Usb?
To download the Windows ISO file, go to the official Microsoft website. Look for the section that says “Download Windows.” Choose the version you want, like Windows 10 or 11. Click the download button, and the file will save to your computer. Once it’s done, you can use it to make a bootable USB.
What Are The Steps To Format A Usb Drive Before Making It Bootable For Windows Installation?
First, plug your USB drive into the computer. Next, open “This PC” or “My Computer” to find your USB drive. Right-click on the USB drive and choose “Format.” Select “FAT32” as the file system and click “Start.” After it finishes, your USB drive is ready to be made bootable for Windows installation.
How Can I Use The Windows Usb/Dvd Download Tool Or The Media Creation Tool To Create A Bootable Usb?
You can use either the Windows USB/DVD Download Tool or the Media Creation Tool to create a bootable USB. First, download the tool from the Microsoft website. Then, open the tool and select the Windows file you want to use. Next, choose your USB drive and click “Start.” Wait for it to finish, and now your USB is ready to use!
What Should I Do If My Computer Does Not Recognize The Bootable Usb Drive During The Installation Process?
If your computer doesn’t see the bootable USB drive, here’s what to do. First, check if the USB is plugged in correctly. Try another USB port on your computer. Make sure the USB is really bootable; sometimes, we need to set that up again. Also, restart your computer and press a special key to enter the boot menu to choose the USB.
{“@context”:”https://schema.org”,”@type”: “FAQPage”,”mainEntity”:[{“@type”: “Question”,”name”: “Sure! Here Are Five Related Questions On The Topic Of Creating A Bootable Usb For Windows 10:”,”acceptedAnswer”: {“@type”: “Answer”,”text”: “Sure! A bootable USB is a special flash drive that lets you install Windows 10 on your computer. To make one, we need a clean USB and a Windows 10 file. First, we download a tool called the Media Creation Tool. Then, we follow the steps to put Windows 10 onto the USB. Finally, we can use it to start our computer and install Windows.”}},{“@type”: “Question”,”name”: “”,”acceptedAnswer”: {“@type”: “Answer”,”text”: “Sure! Please provide the question you’d like me to answer, and I’ll be happy to help.”}},{“@type”: “Question”,”name”: “What Tools Do I Need To Create A Bootable Usb Drive For Windows 10?”,”acceptedAnswer”: {“@type”: “Answer”,”text”: “To create a bootable USB drive for Windows 10, you need a few tools. First, get a USB flash drive with at least 8 gigabytes of space. Next, you need the Windows 10 installation file. You can download it from the Microsoft website. Finally, use a tool like Rufus or Microsoft’s Media Creation Tool to help you set it up.”}},{“@type”: “Question”,”name”: “How Do I Download The Windows Iso File To Use For Creating A Bootable Usb?”,”acceptedAnswer”: {“@type”: “Answer”,”text”: “To download the Windows ISO file, go to the official Microsoft website. Look for the section that says “Download Windows.” Choose the version you want, like Windows 10 or 11. Click the download button, and the file will save to your computer. Once it’s done, you can use it to make a bootable USB.”}},{“@type”: “Question”,”name”: “What Are The Steps To Format A Usb Drive Before Making It Bootable For Windows Installation?”,”acceptedAnswer”: {“@type”: “Answer”,”text”: “First, plug your USB drive into the computer. Next, open This PC or My Computer to find your USB drive. Right-click on the USB drive and choose Format. Select FAT32 as the file system and click Start. After it finishes, your USB drive is ready to be made bootable for Windows installation.”}},{“@type”: “Question”,”name”: “How Can I Use The Windows Usb/Dvd Download Tool Or The Media Creation Tool To Create A Bootable Usb?”,”acceptedAnswer”: {“@type”: “Answer”,”text”: “You can use either the Windows USB/DVD Download Tool or the Media Creation Tool to create a bootable USB. First, download the tool from the Microsoft website. Then, open the tool and select the Windows file you want to use. Next, choose your USB drive and click Start. Wait for it to finish, and now your USB is ready to use!”}},{“@type”: “Question”,”name”: “What Should I Do If My Computer Does Not Recognize The Bootable Usb Drive During The Installation Process?”,”acceptedAnswer”: {“@type”: “Answer”,”text”: “If your computer doesn’t see the bootable USB drive, here’s what to do. First, check if the USB is plugged in correctly. Try another USB port on your computer. Make sure the USB is really bootable; sometimes, we need to set that up again. Also, restart your computer and press a special key to enter the boot menu to choose the USB.”}}]}