HP Scanner Software is your gateway to seamlessly integrating your HP scanner with your Windows 10 operating system. For many users, the initial setup and ongoing use of a scanner can sometimes feel like navigating a labyrinth of drivers and obscure settings.
However, with HP’s thoughtfully designed software, this process is streamlined, making it accessible even for those who aren’t tech-savvy. This guide will delve into how HP scanner software simplifies using your device on Windows 10, covering everything from installation to maximizing its features for everyday needs.
Getting Started: Installation and Initial Setup
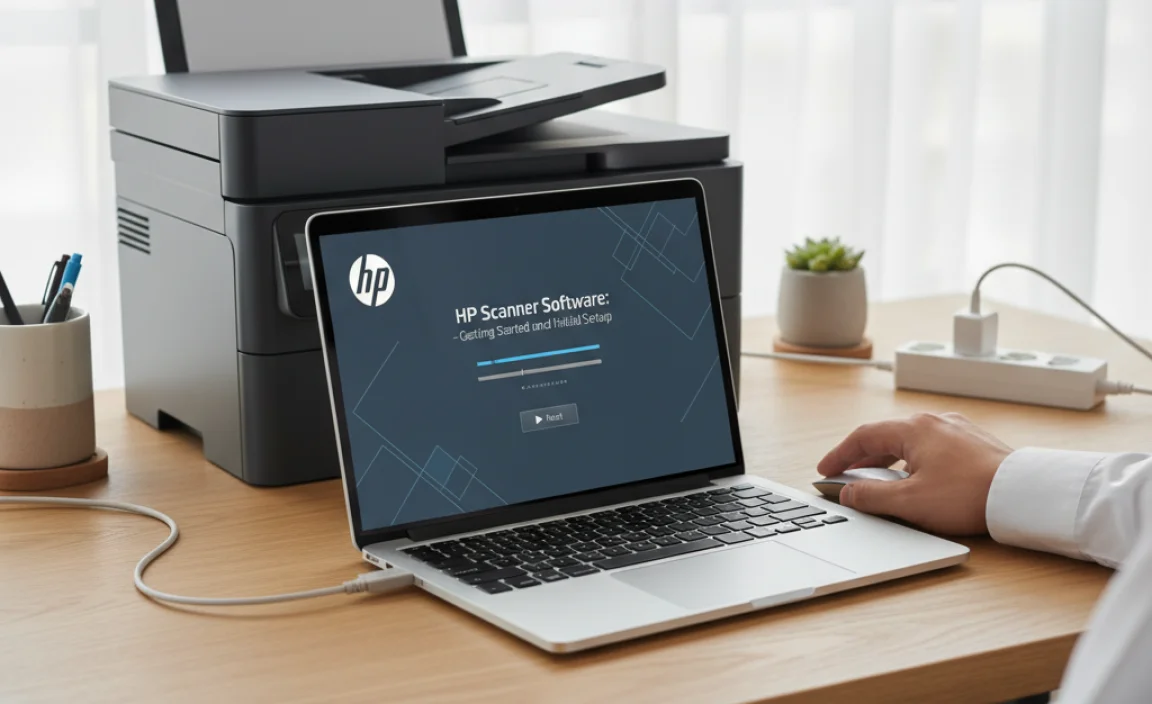
The journey with your HP scanner on Windows 10 typically begins with installation. Fortunately, HP has made this remarkably straightforward. Most modern HP scanners come with an installation CD, or more commonly, provide an easy download link accessible through HP’s official support website.
Once you’ve located the correct software for your scanner model and operating system, the installer will guide you through the process. This usually involves connecting your scanner (either via USB or a network connection) and following a series of on-screen prompts.
The software often includes a utility that automatically detects your scanner, ensuring a hassle-free connection. During installation, you’ll typically have the option to install the full suite of HP scanner software, or a more basic driver package. For most users, the full suite is recommended as it unlocks the scanner’s full potential, offering a range of convenient features beyond simple document scanning. It’s crucial to restart your computer after installation, as prompted, to ensure all components are correctly registered with Windows 10.
Navigating the HP Scan Application Interface
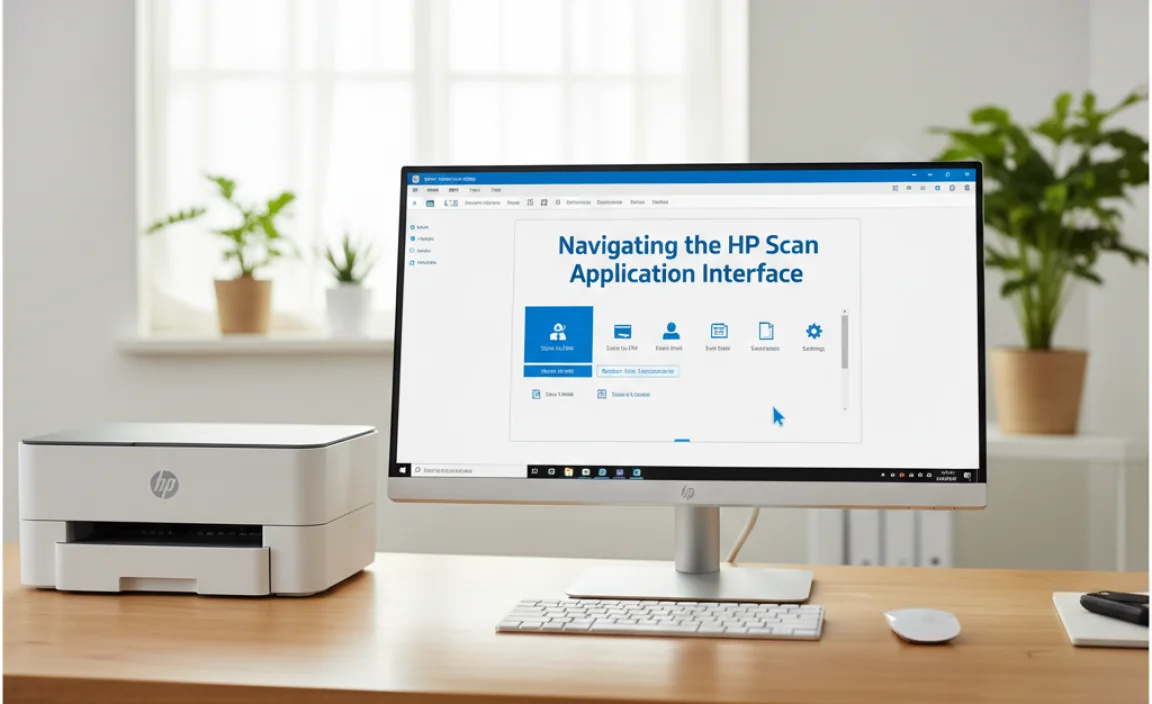
Once installed, you’ll likely interact with your HP scanner primarily through the “HP Scan” application. This application is designed with user-friendliness in mind, presenting a clean and intuitive interface. Upon launching HP Scan, you’ll be greeted with several pre-set scanning options, often depicted with clear icons. Common presets include “Document,” “Photo,” and “Other.” Selecting one of these will automatically configure the scanner to optimal settings for that particular type of material.
Beyond these presets, the HP Scan application offers a wealth of customization options. You can easily adjust resolution (DPI) for clarity or file size, select color mode (color, grayscale, black and white), and choose paper size. For photos, you might find options to automatically crop and straighten images, as well as adjust color and brightness before saving. Document scanning often includes features like blank page removal and the ability to scan multiple pages into a single PDF file. The interface is generally self-explanatory, with tooltips and help sections available if you encounter any uncertainty.
Advanced Features and Settings for Enhanced Productivity

HP scanner software on Windows 10 isn’t just about basic scanning; it’s packed with advanced features that can significantly boost your productivity. One of the most valuable functionalities is Optical Character Recognition (OCR).
Many HP scanners, when used with the appropriate software, can convert scanned documents into editable text files. This means you can take a scanned invoice, for example, and turn it into a Word document where you can edit the text, copy and paste information, or even search for specific phrases. This is an invaluable tool for digitizing archives or extracting information from paper-based records.
Another powerful feature is the ability to create searchable PDFs. Instead of a scanned document being just an image, a searchable PDF allows you to use the text recognition capabilities of the software so that you can later search for keywords within the document. This is particularly useful for large scanned reports or extensive note collections.
Furthermore, HP scanner software often integrates with cloud storage services and email clients. After scanning, you can directly send the file via email or upload it to services like Dropbox, Google Drive, or OneDrive with just a few clicks. This seamless integration eliminates the need to save files locally, convert them to the correct format, and then manually upload them, saving considerable time and effort. You can also often set up custom shortcuts for frequently used scan tasks, further streamlining your workflow.
Troubleshooting Common Issues with HP Scanner Software

While HP scanner software is designed for ease of use, occasional glitches can occur. The most common issue is the scanner not being recognized by Windows 10. This can often be resolved by simply restarting both the scanner and your computer. Ensure that all cables are securely connected. If you’re using a network scanner, verify that it’s connected to the correct Wi-Fi network or Ethernet port.
Another frequent problem is driver-related. If your scanner isn’t functioning correctly, it’s worth checking HP’s support website for the latest drivers for your specific model and Windows 10. Uninstalling the current software and drivers from your system and then performing a clean installation of the latest versions can often resolve persistent issues. Windows 10’s built-in ‘Troubleshoot’ feature for devices can also sometimes identify and fix common problems. If problems persist, HP’s online support resources, including FAQs and community forums, are excellent places to find solutions.
In conclusion, HP scanner software on Windows 10 offers an accessible and powerful solution for all your scanning needs. From simple document and photo scanning to advanced OCR and cloud integration, the software is engineered to make your experience as smooth and efficient as possible. By understanding its features and following basic troubleshooting steps, you can confidently leverage your HP scanner to digitize, organize, and share your documents and memories with ease.