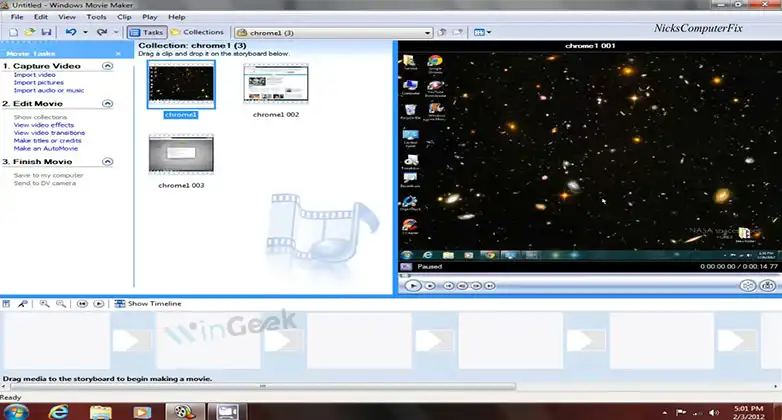
Windows Movie Maker was a free video editing software by Microsoft. It was part of the Windows Essentials program but it has been discontinued in 2017. You can still use it if you have an old PC but you won’t be able to use it on the newer versions of Windows. So, then comes the question if you can transfer the software and its projects to another computer.
Yes, you can transfer the software and the projects. You can install the software on your new computer if you have the installation file. You can also download it from the web. However, moving the projects is a different story.
Here in this article, we will show you how you can transfer the Windows Movie Maker program to another computer and the projects as well.

Methods to Transfer the Windows Movie Maker Program to Another Computer
Firstly, you will need to move the software itself to your new computer before you move the projects. Here are some methods for it –
Method 1: Use a USB Drive
The easiest method is to transfer the installation file of Windows Movie Maker using a USB drive. The installation file will be labeled as “windowsessentials.exe” or “windowsessentials.msi”. Once you have found the file, simply write it on a USB drive and then install the program on your new computer.
The installation file can be tricky to find. So, if you can’t find the file, try the next method.
Method 2: Download and Install from the Web
If the installation file couldn’t be found, you will need to download Windows Live Essentials which includes Windows Movie Maker. You can download the software from here. After the download has been completed, install the software on your new computer. You can now use the Windows Movie Maker program.
Bonus Method
If you do not have a USB stick or a portable storage device, you can use your phone for the transfer. Simply connect your phone using a USB cable, copy the file on your phone, and then paste it onto the other computer.
Another alternative to this would be to use cloud storage services such as Google Drive. Copy and paste the installation file, then download it to the other computer.
Methods to Transfer Windows Movie Maker Projects to Another Computer
Transferring the projects might seem complicated but it is very easy once you understand certain things. There are two key files that Windows Movie Maker has.
1. Firstly, the project file with the file extension .mswmm refers to all the work that has been done. This was later changed to .wlmp file in the Windows Live Essential version. Regardless, the functionality is the same. It goes into the video project folder with all the other project files.
2. Secondly, the collection database file that is stored at –
C:\Documents and Settings\%username%\Local Settings\Application Data\Microsoft\Movie Maker\mediatab0.dat
This file is usually called mediatab0.dat or mediatab1.dat. It provides information required to break imported videos into smaller/shorter segments in the collections section.
Now, copy the mediatab0.dat file to the same location on your new profile. This will move the project data into your new computer. It will overwrite the old settings with new ones.
Note: If the file is labeled as “mediatab0.dat” in your old profile but in the new profile it is “mediatab1.dat”, then you will need to rename it after copying it into the new profile.
Frequently Asked Questions and Answers
Is it safe to download Windows Movie Maker?
Yes, it is completely safe to download and install movie maker. Microsoft may have discontinued the software but they have not restricted its use of it.
What replaces Windows Movie Maker in Windows 10?
Microsoft Photos app replaces Windows Movie Maker in Windows 10. It is part of Windows Essentials which includes a Video Editor as well.
Conclusion
It is a shame that Windows Movie Maker was discontinued since it was a great software for making home videos, presentations, etc. Many people still prefer it over modern video editing software because of its simplicity and ease of access. If you are one of them, we hope we were able to help you transfer Windows Movie Maker to your new computer. If you need further assistance, please do not hesitate to contact us in the comments section. Thank you.
