
Yes, you can get a free Windows 10 upgrade download directly from Microsoft. This guide shows you exactly how to get the official tool, create installation media, and perform a clean install or upgrade your existing Windows 7 or 8.1 system safely, ensuring a smooth transition.
Hey there, fellow Windows users! Mike Bentley here. Are you still running Windows 7 or Windows 8.1 and wondering about upgrading to Windows 10? Maybe you’ve seen ads or heard from friends, but you’re a bit hesitant. You might be asking yourself, “Is it still free? How do I even do it without breaking my computer?”
It’s totally understandable to feel a little unsure. Many people find the idea of a major operating system upgrade a bit daunting, worrying about lost files or complicated steps. But here’s the good news: upgrading to Windows 10 can be surprisingly straightforward and, best of all, it’s still a free process if you’re coming from a genuine, activated copy of Windows 7 or 8.1.
This guide is designed to walk you through everything, step-by-step, with no confusing tech talk. We’ll cover how to get the official download, what you’ll need, and how to make the switch with confidence, so you can enjoy the latest features and security updates Windows 10 has to offer.
Understanding the Windows 10 Upgrade Path
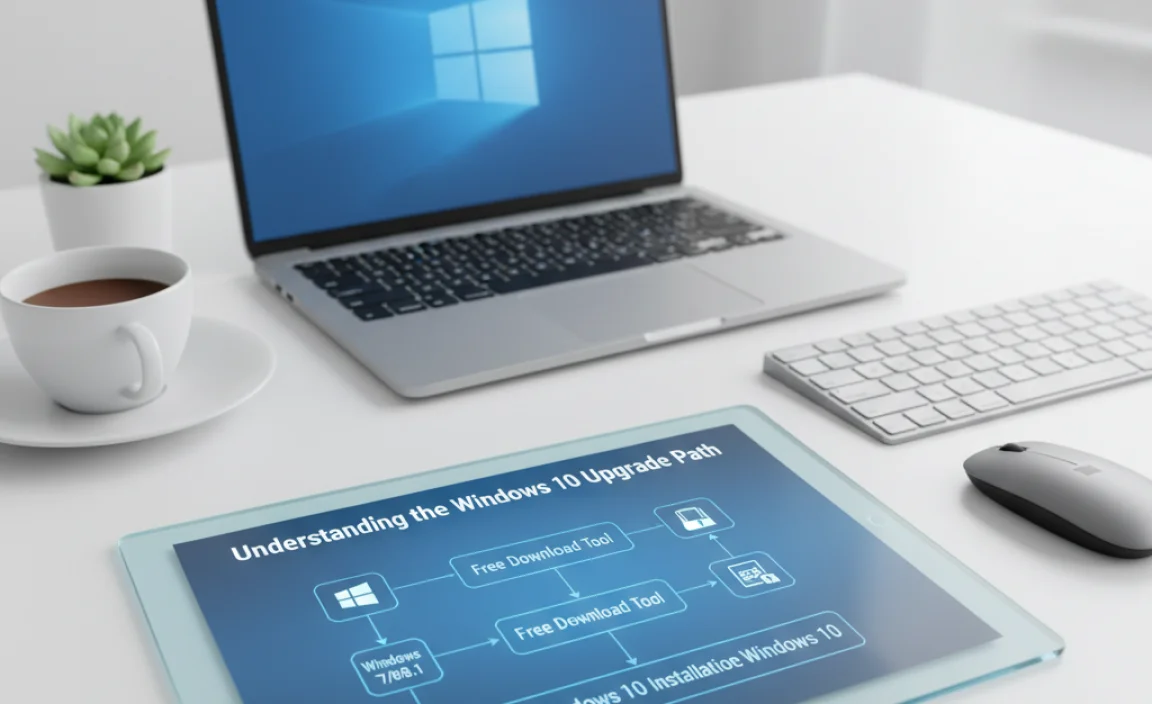
For a long time, Microsoft offered a free upgrade path to Windows 10. While the official “Get Windows 10” app is no longer actively pushing the upgrade, the free upgrade offer to users with genuine Windows 7 and Windows 8.1 product keys is still technically available.
This is fantastic news for anyone looking to benefit from the modern features and improved security of Windows 10 without purchasing a new license. The key is to use the official Microsoft Media Creation Tool. It’s designed to help you download the latest version of Windows 10 and is the safest and most reliable way to perform the upgrade.
Why Upgrade to Windows 10?
Before we dive into the “how-to,” let’s quickly touch on why making the jump is a good idea:
- Security: Windows 10 receives regular security updates, helping to protect your computer from viruses and other online threats. Older operating systems like Windows 7 are no longer supported with security patches, leaving them vulnerable.
- Features: Enjoy a familiar yet improved Start Menu, the powerful Cortana digital assistant, the innovative Microsoft Edge browser, and enhanced performance.
- Compatibility: Most new software and hardware is designed with Windows 10 in mind, ensuring better compatibility with the latest applications and devices.
- Support: Microsoft continues to provide support and updates for Windows 10, ensuring a stable and reliable computing experience.
Before You Begin: Preparation is Key!

Taking a few moments to prepare your system will make the upgrade process much smoother and prevent potential headaches. Think of it like preparing your home before a big renovation – it’s all about preventing damage and ensuring a successful outcome!
1. Check Your System Compatibility
While most modern PCs can run Windows 10, it’s always a good idea to check. Microsoft has specific minimum hardware requirements. If your computer can run Windows 7 or Windows 8.1, it most likely meets the requirements for Windows 10. You can find the official requirements on the Microsoft Windows 10 Specifications page.
Minimum Hardware Requirements for Windows 10:
| Component | Requirement |
|---|---|
| Processor | 1 gigahertz (GHz) or faster processor or SoC |
| RAM | 1 gigabyte (GB) for 32-bit or 2 GB for 64-bit |
| Hard disk space | 16 GB for a 32-bit OS 20 GB for a 64-bit OS |
| Graphics card | DirectX 9 or later with WDDM 1.0 driver |
| Display | 800×600 |
2. Back Up Your Important Data
This is the MOST IMPORTANT step. While the upgrade process is designed to keep your files, settings, and applications, things can sometimes go wrong. A backup acts as your safety net. If anything unexpected happens, you won’t lose your precious photos, documents, or other vital files.
How to Back Up:
- External Hard Drive or USB Drive: Copy important files and folders directly to an external storage device.
- Cloud Storage: Services like OneDrive, Google Drive, or Dropbox are great for backing up individual files.
- Built-in Backup Tools: Windows has tools like Backup and Restore (Windows 7) or File History that can help. For Windows 10, File History is a great option. Search for “File History” in the Windows search bar.
Tip: Don’t just back up your documents. Think about photos, videos, music, application installation files, and any other data you can’t easily replace.
3. Free Up Disk Space
The Windows 10 installation requires a decent amount of free space on your hard drive, especially on the drive where Windows is currently installed (usually the C: drive). Aim for at least 20-30 GB of free space to be safe. You can free up space by:
- Uninstalling programs you no longer use.
- Deleting temporary files using Disk Cleanup (search for “Disk Cleanup” in Windows).
- Moving large files (like videos or music) to an external drive or cloud storage.
4. Ensure Your Current Windows is Activated
The free upgrade offer is tied to a genuine, activated Windows 7 or Windows 8.1 license. You can check your activation status by right-clicking on “Computer” or “This PC” and selecting “Properties.” Look for an “Activation” section. If your current Windows isn’t activated, the free upgrade may not work. You’ll need to activate your existing copy first.
5. Have Your Windows Product Key Handy
Although the upgrade tool might not always ask for it directly, it’s wise to have your original Windows 7 or Windows 8.1 product key readily available. This is the 25-character code (XXXXX-XXXXX-XXXXX-XXXXX-XXXXX) that proves you own a legitimate copy of Windows.
Where to find it?
- On a sticker on your computer (if it came with Windows pre-installed).
- On the packaging of your Windows CD/DVD.
- In your email confirmation if you purchased Windows digitally.
- Some PCs have a digital license linked to your hardware, in which case you might not need to enter a key.
The Free Download: Using the Media Creation Tool
Microsoft provides a tool specifically for downloading Windows 10 and creating installation media. This is the official and safest way to get the upgrade files.
Step 1: Download the Media Creation Tool
Go to the official Microsoft Windows 10 download page. You can usually find it by searching for “Download Windows 10” on Google, and look for a link from microsoft.com. Once you’re on the page, find the button that says “Download tool now.”
Official Windows 10 Download Page
Save the tool to a location you can easily find, like your Desktop.
Step 2: Run the Media Creation Tool
Locate the downloaded file (it will be named something like MediaCreationToolxxxx.exe) and double-click it to open. You’ll likely need administrative privileges for this, so click “Yes” if prompted by User Account Control.
Step 3: Accept the License Terms
The tool will perform some initial checks. Read through the license terms and click “Accept” if you agree. You’ll need to accept them to proceed.
Step 4: Choose What You Want to Do
You’ll be presented with two main options:
- Upgrade this PC now: This option downloads Windows 10 directly onto your current computer and starts the upgrade process immediately. This is the simplest method if you want to upgrade the PC you’re currently using.
- Create installation media (USB flash drive, DVD, or ISO file) for another PC: This option allows you to download Windows 10 and create a bootable USB drive or DVD (or save an ISO file to burn later). This is useful if you want to install Windows 10 on a different computer, or if you prefer to perform a clean install.
For this guide, we’ll primarily focus on the “Upgrade this PC now” option for simplicity, but we’ll touch on creating media later.
Step 5: Select Edition and Language
If you chose “Upgrade this PC now,” the tool will usually automatically detect the correct edition and language for your current Windows installation. If you select “Create installation media,” you’ll have the option to choose the language, edition (Windows 10 Home, Pro, etc.), and architecture (32-bit or 64-bit). It’s generally recommended to stick with the default options unless you have a specific reason not to.
Step 6: Download Windows 10
The tool will now begin downloading the necessary Windows 10 files. This can take a significant amount of time, depending on your internet connection speed. You can continue using your computer during the download, but it might slow down your internet or PC performance.
Step 7: Verifying the Download
Once the download is complete, the tool will verify the files. This ensures that the download was successful and that the files are not corrupted.
Step 8: Preparing to Install
The Media Creation Tool will then prepare the installation files. This might involve creating temporary files on your computer.
Step 9: Begin the Upgrade
When you see the “Ready to install” screen, it will show you what will be kept on your PC (your files, apps, and Windows settings). Double-check this information. If everything looks correct, click “Install.”
Your computer will now begin the installation process. It will restart several times. Do NOT turn off your computer during these restarts, as this could interrupt the installation and cause problems.
Performing a Clean Install with Installation Media
Sometimes, a clean install is preferable. This wipes the drive clean and installs Windows 10 fresh, helping to resolve deeper system issues and improve performance. It’s like a complete refresh!
Option A: Using a USB Flash Drive
This is the most common and easiest method for creating installation media.
- Requirements: You’ll need a USB flash drive with at least 8GB of space. MAKE SURE there’s nothing important on it, as it will be completely erased.
- Follow Steps 1-4 above: Download and run the Media Creation Tool, accept terms, and this time select “Create installation media (USB flash drive, DVD, or ISO file) for another PC.”
- Choose Language, Edition, Architecture: Select your preferred options. If you’re unsure, checking “Use the recommended options for this PC” is usually safe.
- Select USB Flash Drive: When prompted, select “USB flash drive.”
- Choose Your USB Drive: Select the correct USB drive from the list.
- Download and Create: The tool will download Windows 10 and make the USB drive bootable. This process can take a while.
- Boot from USB: Once created, you can restart your computer and tell it to boot from the USB drive. You usually do this by pressing a specific key during startup (like F2, F10, F12, DEL, or ESC – it varies by manufacturer). You might need to change your BIOS/UEFI boot order.
- Install Windows 10: Follow the on-screen prompts to install Windows 10. When asked where to install, choose the partition where your old Windows was installed. You’ll likely need to format that partition to perform a truly clean install.
Option B: Using an ISO File (for DVD or Advanced Users)
- Follow Steps 1-4: Download and run the Media Creation Tool, accept terms, and select “Create installation media (USB flash drive, DVD, or ISO file) for another PC.”
- Choose Language, Edition, Architecture: Select your preferences.
- Select ISO File: Choose “ISO file.” This will save a copy of the Windows 10 installation files to your computer.
- Burn to DVD (Optional): Once the ISO is downloaded, you can burn it to a DVD using Windows’ built-in burner or a third-party tool.
- Boot and Install: If using a DVD or USB, boot your computer from it and follow the installation prompts as described in Option A.
Troubleshooting Common Upgrade Issues
Even with the best guides, sometimes things don’t go perfectly. Here are a few common bumps and how to smooth them out:
1. “Windows 10 couldn’t be installed” Error
This is frustrating, but often fixable. It can be caused by driver conflicts, insufficient disk space, or corrupted system files. Try running System File Checker (SFC) and DISM (Deployment Image Servicing and Management) from an elevated Command Prompt before trying the upgrade again. Run `sfc /scannow` and then `DISM /Online /Cleanup-Image /RestoreHealth`.
2. Stuck on a Boot Loop
If your PC restarts in a loop, it often means the installation didn’t complete properly. Booting into Safe Mode or using the installation media to access Startup Repair might help. If not, a clean install might be required.
3. Activation Problems
If Windows 10 isn’t activating after the upgrade, ensure your original Windows 7/8.1 was genuine and activated. You might need to use your original product key, or contact Microsoft Support. Sometimes, running the Activation Troubleshooter in Windows 10 settings can resolve this.
4. Driver Issues (Missing Devices)
After upgrading, some hardware devices might not work correctly if the right drivers aren’t installed. Go to Device Manager (search for it in Windows). If you see any devices with yellow exclamation marks, right-click them and select “Update driver.” You can search automatically or manually download drivers from your hardware manufacturer’s website (e.g., NVIDIA, Intel, AMD, Dell, HP).
Post-Upgrade Steps: What to Do Next
You’ve successfully upgraded! Congratulations! Now, let’s make sure everything is running smoothly and securely.
1. Check for Windows Updates
Even after the upgrade, there might be further updates available. Go to Settings > Update & Security > Windows Update and click “Check for updates.” Install any available updates, including optional ones that might contain driver fixes.
2. Install Essential Security Software
Windows 10 comes with Windows Security (which includes Microsoft Defender Antivirus), a robust free antivirus solution. Ensure it’s enabled and up to date. You might still want to consider a reputable third-party antivirus for an extra layer of protection, but Windows Security is excellent on its own.
Recommendations:
- Windows Security: Built-in and free with Windows 10.
- Malwarebytes: Excellent for detecting and removing malware that other antivirus programs might miss. (Consider the free scanner for on-demand checks).
3. Reinstall Your Favorite Applications
While the upgrade often keeps your applications, it’s a good idea to download and install the latest versions of your most-used programs. This ensures full compatibility and access to new features.
4. Customize Your Settings
Explore the Settings app in Windows 10. Adjust your privacy settings, personalize your desktop, and configure any other preferences to make Windows 10 feel like yours.
Frequently Asked Questions (FAQs)
Q1: Is the Windows 10 upgrade genuinely free?
Yes, if you are upgrading from a legitimate, activated copy of Windows 7 or Windows 8.1, the upgrade to Windows 10 is still considered free by Microsoft, even though the official promotional period has ended. You’ll use the Media Creation Tool linked in this guide.
Q2: What’s the difference between upgrading and a clean install?
An upgrade installs Windows 10 over your existing Windows 7 or 8.1, attempting to keep your files, settings, and applications. A clean install wipes the drive clean and installs Windows 10 fresh. A clean install often results in a more stable system and resolves deeper issues, but you’ll need to reinstall all your programs and files.
Q3: How long does the Windows 10 upgrade process typically take?
The duration varies greatly depending on your PC’s speed and your internet connection. The download can take from 30 minutes to several hours. The installation process itself, including restarts, can take another 1-3 hours. Plan for at least a few hours, or even half a day, to be safe.
Q4: Will I lose my files if the upgrade fails?
There’s a risk, which is why backing up your important data beforehand is crucial. If the upgrade fails, your original Windows 7 or 8.1 should still be there, but it’s always best to have a backup ready just in case. If a clean install is needed, you’ll need your data from the backup.
Q5: My computer came with Windows 10 pre-installed. Do I need to do all this?
No. If your computer came with Windows 10, it’s already activated and ready to go. This guide is specifically for users looking to upgrade from older Windows versions like Windows 7 or 8.1 to Windows 10.
Q6: What if I want to go back to Windows 7 or 8.1 after upgrading?
Windows 10 offers a rollback feature for about 10 days after the upgrade. Within this period, you can go to Settings > Update & Security > Recovery and select “Go back to an earlier build” (or similar wording). After this period, you would need to perform a clean install of your old operating system.
Conclusion: Upgrade with Confidence!
Upgrading to Windows 10 is a smart move for security, performance, and continued support. By following this guide, you can confidently perform a free download and upgrade from your existing Windows 7 or Windows 8.1 system. Remember to back up your important files before you begin, use the official Microsoft Media Creation Tool, and be patient during the installation process. You’ve got this!
Don’t let technology intimidate you. With a little preparation and the right steps, you can keep your PC running smoothly and securely, enjoying all the benefits a modern operating system has to offer. If you run into any snags, refer back to this guide or our troubleshooting tips. Happy computing!
.lwrp.link-whisper-related-posts{
margin-top: 40px;
margin-bottom: 30px;
}
.lwrp .lwrp-title{
}.lwrp .lwrp-description{
}
.lwrp .lwrp-list-container{
}
.lwrp .lwrp-list-multi-container{
display: flex;
}
.lwrp .lwrp-list-double{
width: 48%;
}
.lwrp .lwrp-list-triple{
width: 32%;
}
.lwrp .lwrp-list-row-container{
display: flex;
justify-content: space-between;
}
.lwrp .lwrp-list-row-container .lwrp-list-item{
width: calc(25% – 20px);
}
.lwrp .lwrp-list-item:not(.lwrp-no-posts-message-item){
max-width: 150px;
}
.lwrp .lwrp-list-item img{
max-width: 100%;
height: auto;
object-fit: cover;
aspect-ratio: 1 / 1;
}
.lwrp .lwrp-list-item.lwrp-empty-list-item{
background: initial !important;
}
.lwrp .lwrp-list-item .lwrp-list-link .lwrp-list-link-title-text,
.lwrp .lwrp-list-item .lwrp-list-no-posts-message{
}@media screen and (max-width: 480px) {
.lwrp.link-whisper-related-posts{
}
.lwrp .lwrp-title{
}.lwrp .lwrp-description{
}
.lwrp .lwrp-list-multi-container{
flex-direction: column;
}
.lwrp .lwrp-list-multi-container ul.lwrp-list{
margin-top: 0px;
margin-bottom: 0px;
padding-top: 0px;
padding-bottom: 0px;
}
.lwrp .lwrp-list-double,
.lwrp .lwrp-list-triple{
width: 100%;
}
.lwrp .lwrp-list-row-container{
justify-content: initial;
flex-direction: column;
}
.lwrp .lwrp-list-row-container .lwrp-list-item{
width: 100%;
}
.lwrp .lwrp-list-item:not(.lwrp-no-posts-message-item){
max-width: initial;
}
.lwrp .lwrp-list-item .lwrp-list-link .lwrp-list-link-title-text,
.lwrp .lwrp-list-item .lwrp-list-no-posts-message{
};
}