
Want better sound on Windows 10? It’s easier than you think! This guide shows you how to find and use the best equalizer settings for amazing audio, whether you’re listening to music, watching movies, or gaming. Get clearer, richer sound with simple steps.
Does your Windows 10 computer sound a bit… flat? Maybe music lacks punch, or dialogue in movies gets lost. You’re not alone! Many of us wish for richer, more vibrant audio from our PCs. It can be a real bummer when your sound system doesn’t live up to expectations, especially after investing in good speakers or headphones. The good news is that Windows 10 has built-in tools that can transform your listening experience. We’re going to demystify the equalizer, showing you exactly how to tweak your audio settings to achieve that “proven best sound.” Ready to make your Windows 10 audio sing? Let’s dive in!
Understanding Audio Equalization on Windows 10
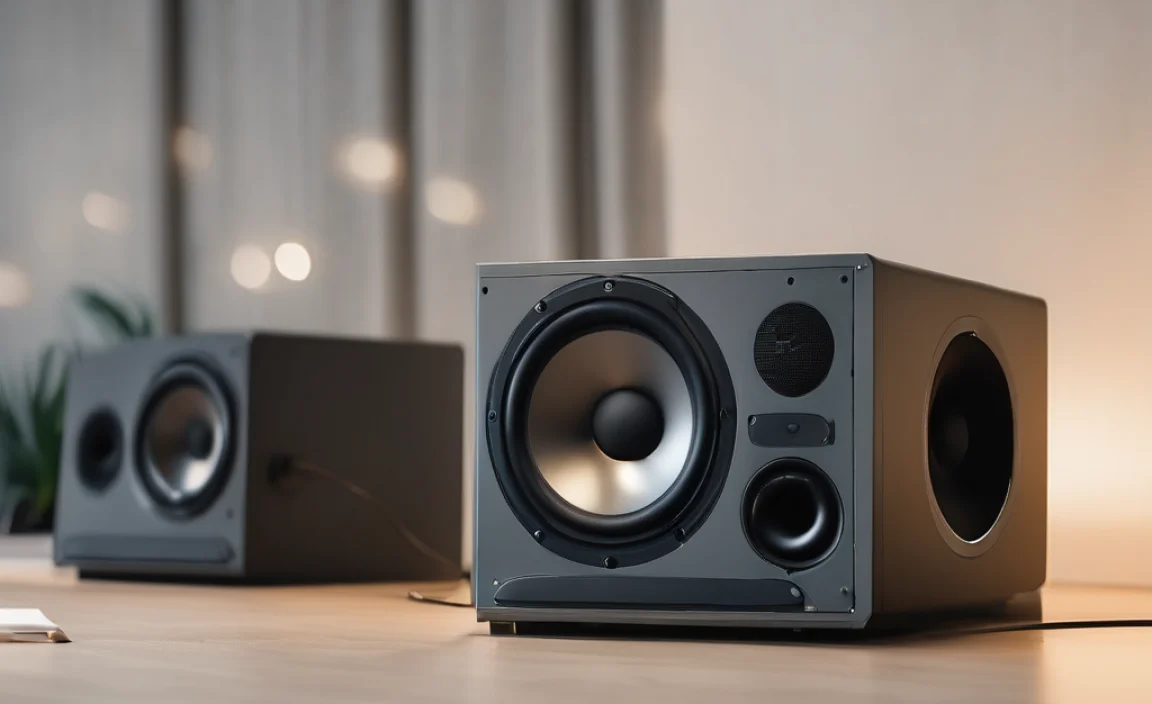
So, what exactly is an equalizer, and why should you care about using one for your Windows 10 audio? Think of an equalizer, or “EQ” for short, like a sound sculptor. It allows you to adjust the volume of specific frequency ranges in an audio signal. These frequencies correspond to different aspects of sound:
- Bass (Low Frequencies): This is the deep rumble, the thump of a bass drum, or the rich tone of a cello. Too much can make sound muddy; too little can make it sound thin.
- Mids (Mid Frequencies): This range contains most of the clarity and detail in vocals and instruments like guitars. If the mids are too low, things can sound distant; if too high, they can sound harsh or honky.
- Treble (High Frequencies): This is the sparkle, the crispness of cymbals, the sibilance in voices (“s” sounds). Too much can sound tinny or piercing; too little can make sound dull.
By adjusting these different bands, you can tailor the sound to your preferences, the type of audio you’re listening to, or even the acoustics of your room. Windows 10 has a surprisingly capable built-in equalizer that many users overlook. Let’s find it and learn how to use it.
Accessing the Windows 10 Audio Enhancements
Finding the equalizer features in Windows 10 is straightforward, though the exact steps can vary slightly depending on your audio driver. We’ll focus on the most common method using the built-in Windows tools. This is your starting point for unlocking better sound without needing to download any third-party software.
Step 1: Locate Your Sound Settings
Right-click on the speaker icon in the system tray (usually in the bottom-right corner of your screen). From the context menu that appears, select “Sounds”.
This will open the classic Sound control panel window. It might look a bit dated, but it’s where the magic happens.
Step 2: Navigate to Playback Devices
In the Sound window, click on the “Playback” tab. Here, you’ll see a list of all your audio output devices (your speakers, headphones, etc.).
Find the device you are currently using for playback. It will have a green checkmark next to it. Right-click on this device.
Step 3: Access Device Properties
From the right-click menu, select “Properties”. This will open a new window specific to the audio device you selected.
Step 4: Find the “Enhancements” Tab
In the device’s Properties window, look for a tab labeled “Enhancements”. If you don’t see this tab, don’t worry! It means your audio driver doesn’t expose the equalizer through this interface. In that case, you might need to install specific software from your audio hardware manufacturer (like Realtek, NVIDIA, AMD, or your sound card’s brand). We’ll cover alternatives later.
If the “Enhancements” tab is present, click on it. This is where you’ll find the built-in Windows audio effects, including the equalizer.
Step 5: Enable and Configure the Equalizer
Under the “Enhancements” tab, you should see a checkbox for “Equalizer”. Check this box to enable it.
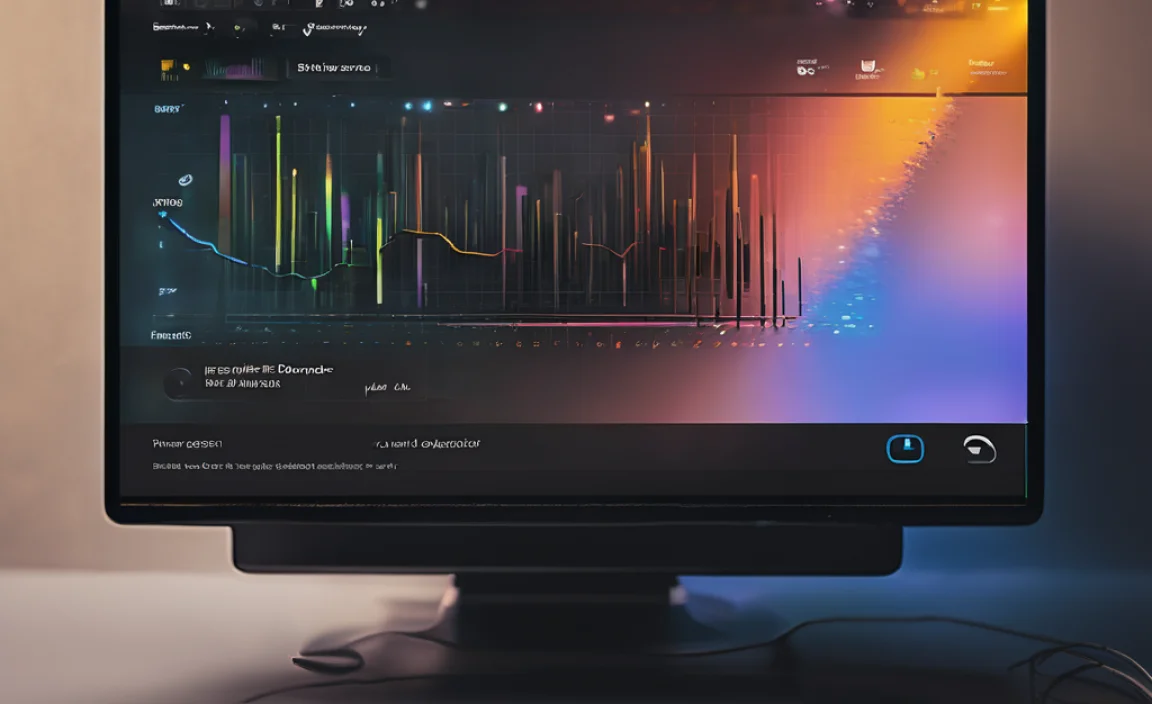
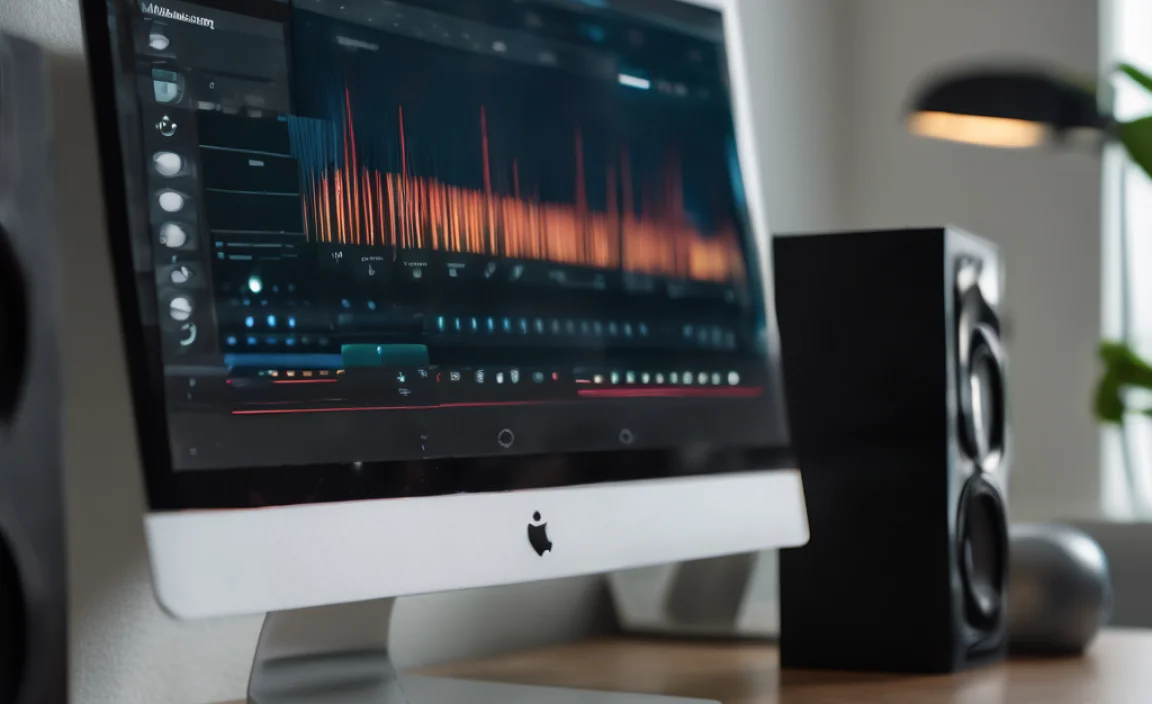
Once checked, the “Equalizer” option will likely become clickable. Click on it to open the equalizer settings window. Here, you’ll see a visual representation of frequency bands and sliders.
Customizing Your Sound with the Windows Equalizer
The Windows equalizer window is your playground for audio! Don’t be intimidated by all the sliders. We’ll break down how to use them effectively to achieve that “proven best sound” for your needs.
Understanding the Equalizer Interface
You’ll typically see a set of vertical sliders, each representing a different frequency band. These are usually labeled with their frequency in Hertz (Hz) or Kilohertz (kHz).
- Low Frequencies (e.g., 60 Hz, 120 Hz): Controls bass.
- Mid Frequencies (e.g., 500 Hz, 1 kHz, 2 kHz): Controls vocals, instruments, and the overall “body” of the sound.
- High Frequencies (e.g., 4 kHz, 8 kHz, 16 kHz): Controls treble, clarity, and crispness.
The sliders can be moved up to boost a frequency or down to cut it. The center position (0 dB) is the default, meaning no change is applied to that frequency.
Preset Equalizer Settings
Before you start manually adjusting, check the “Preset” dropdown menu. Windows often includes several helpful presets designed for different types of audio:
- Bass Boost: Good for electronic music or movies where you want more low-end impact. Use sparingly to avoid muddy sound.
- Treble Boost: Can make vocals and the high-end details of music clearer. Be careful, as too much can sound harsh.
- Rock, Pop, Jazz, Classical: These are often tailored to bring out the characteristic sound profiles of these genres.
- Voice: Enhances the mid-range frequencies where human voices are most prominent, making dialogue clearer.
Tip: Try a few presets first! Play a song or watch a video clip you’re familiar with and cycle through the presets. See which one sounds best to your ears. This is often the easiest way to get a significant improvement right away.
Manual Adjustment: Finding Your “Best Sound”
If the presets aren’t quite right, or you want to fine-tune, manual adjustment is key. Here’s a general approach:
For Music:
- Start with a Preset: Choose a preset that’s close to what you like (e.g., Rock).
- Boost Bass (Carefully): If the music needs more warmth or punch, try slightly boosting the lowest few sliders (e.g., 60 Hz, 120 Hz). Don’t overdo it, or the sound will become distorted and boomy. Aim for a subtle enhancement.
- Add Clarity to Mids: If vocals or instruments sound muffled, try slightly boosting sliders around 1 kHz to 4 kHz.
- Enhance Treble (if needed): For more sparkle or detail, gently increase sliders around 8 kHz and 16 kHz. If it starts to sound tinny or “hissy,” reduce them.
- Cut Unwanted Frequencies: If a particular part of the sound is annoying (e.g., a harsh resonant frequency), try cutting (lowering) the corresponding slider.
For Movies/TV Shows:
- Prioritize Dialogue: The most important thing is clear speech. Focus on boosting the mid-range frequencies where human voices sit (around 500 Hz to 4 kHz).
- Add Impact: Boosting the bass frequencies slightly (60 Hz, 120 Hz) can add impact to explosions and sound effects without overpowering dialogue.
- Reduce Harshness: If high-pitched sounds (like alarms or certain sound effects) are too piercing, try slightly lowering the highest frequency sliders.
For Gaming:
- Sound Awareness: Many gamers prefer to boost frequencies that help pinpoint sounds. This often involves slightly enhancing the mids and upper mids (around 2 kHz to 6 kHz) to make footsteps or distant gunfire more audible.
- Explosions vs. Footsteps: It’s a balance. Too much bass can drown out subtle cues. Experiment with boosting bass for impact but also ensure you can still hear critical audio details.
Important Considerations for Equalizer Use
- Your Ears are the Best Judge: There’s no single “best” setting. It’s subjective and depends on your listening environment, your speakers/headphones, and your personal preference. Constantly adjust while listening to familiar content.
- Go Easy on the Boost: It’s generally better to cut unwanted frequencies than to excessively boost others. Over-boosting can lead to distortion and clipping (unpleasant, crackling sound).
- Context Matters: The ideal EQ setting for a quiet night listening to jazz will be different from a loud action movie or an intense gaming session.
- Save Your Settings: Once you find settings you like, make a note of them or consider if your audio driver allows you to save custom profiles.
When Enhancements Are Missing: Alternative Audio Solutions
What if you don’t see the “Enhancements” tab in your sound properties? This is surprisingly common, especially with modern motherboards that use integrated audio chipsets like Realtek. In these cases, the controls are usually accessed through the manufacturer’s own audio management software.
Using Manufacturer Audio Software
Your computer or motherboard manufacturer likely installed a piece of software for managing your audio. Common examples include:
- Realtek HD Audio Manager
- Nahimic Sound (often found on MSI, ASUS motherboards)
- Waves MaxxAudio (common on Dell laptops)
- Dolby Audio or DTS Sound Unbound
How to find it:
- Search: Type the name of your audio driver (e.g., “Realtek”) into the Windows search bar.
- Control Panel: Sometimes these programs are listed in the older Control Panel under “Programs and Features” or specific audio sections.
- System Tray Icon: Look for a unique audio icon in your system tray that might belong to this software.
Once you open this software, navigate to its audio settings or effects section. You should find an equalizer, often with more advanced features and presets than the basic Windows one.
Third-Party Equalizer Software
If your hardware doesn’t provide a good equalizer, or you want more advanced control, there are excellent third-party options. These can offer features like system-wide EQ, per-application EQ, and more detailed frequency manipulation.
Some popular choices include:
- Equalizer APO (with Peace GUI): This is a powerful, free, and open-source system-wide equalizer for Windows. It requires a bit of technical setup but offers unparalleled control. The Peace GUI makes it much more user-friendly. You can download it from SourceForge: Equalizer APO on SourceForge.
- Boom 3D: A paid application known for its 3D surround sound effects and robust equalizer. It’s user-friendly and offers a significant audio upgrade.
- Fidelizer: While primarily focused on bit-perfect playback, it can sometimes enhance overall sound quality and works well with other EQ tools.
Driver vs. Software EQ: A Comparison
| Feature | Windows Built-in EQ | Manufacturer Software EQ | Third-Party EQ (e.g., Equalizer APO) |
|---|---|---|---|
| Availability | Standard on most Win 10/11 PCs (if driver supports) | Requires specific driver/software installation | Requires manual download and installation |
| Ease of Use | Simple, basic sliders | Varies; often user-friendly with presets | Can be technical (APO); GUI makes it easier |
| Features | Basic EQ, limited presets | More presets, sometimes special effects (virtual surround) | Advanced EQ, per-app settings, room correction, VST plugin support |
| System Impact | Minimal | Minor to moderate | Can be higher, requires careful configuration |
| Cost | Free | Free (included with hardware) | Free (APO) to Paid (Boom 3D) |
For most users struggling with subpar audio, enabling the “Equalizer” via the Windows Enhancements or the manufacturer’s software is the best first step. It’s free, accessible, and can make a noticeable difference.
Troubleshooting Common Audio Issues
Even with an equalizer, you might run into audio problems. Here are some common issues and how to fix them, keeping your Windows 10 audio sounding its best and most reliable.
Issue 1: No “Enhancements” Tab Available
Fix: As discussed, this usually means your audio driver doesn’t support the Windows interface. You’ll need to find and install the official audio driver software from your motherboard or PC manufacturer’s website. Search for your specific model number and look for the “Audio Drivers” or “Sound Drivers” section. Running the latest drivers is crucial for both performance and stability.
Issue 2: Equalizer Settings Don’t Seem to Work
Fix:
- Ensure it’s Enabled: Double-check that the “Equalizer” checkbox in the Enhancements tab is ticked.
- Apply Settings: After making adjustments, click “Apply” and then “OK” in all open sound property windows.
- Restart Audio Service: Sometimes, audio services need a nudge. Open Command Prompt as an administrator and type
net stop audiosrv && net start audiosrvthen press Enter. - Check Software Conflicts: If you installed third-party audio software, ensure it’s not overriding Windows settings. Disable other audio enhancements temporarily to test.
Issue 3: Distorted or Crackling Audio
Fix:
- Lower Boosts: Overly high EQ boosts, especially in bass or treble, are the most common cause. Reduce the sliders that are set very high.
- Check Levels: Ensure your master volume and individual application volumes aren’t maxed out and causing clipping.
- Update Audio Drivers: Outdated or corrupt drivers can cause distortion. Reinstalling them from the manufacturer’s site is a good idea.
- Disable Other Enhancements: Sometimes multiple enhancements conflict. Try disabling “Bass Boost,” “Virtual Surround,” etc., one by one to see if the distortion stops.
Issue 4: Sound is Too Quiet or Too Loud
Fix: While EQ affects tone, overall volume is managed by the volume slider. Ensure your master volume is set appropriately. If you need more volume than your system can provide, consider using headphones with their own amplifier or powered speakers. For specific apps, check their individual volume mixer settings in Windows.
Issue 5: One Side of Headphones Has No Sound
Fix:
- Check Physical Connection: Ensure the headphone jack is fully plugged in. Try a different pair of headphones or a different device to rule out faulty hardware.
- Stereo Balance: In Sound settings, go to Playback > Your Device > Properties > Levels. You should see sliders for Left and Right channels. Ensure they are balanced.
- Mono Audio Setting: In Windows Settings > Ease of Access > Audio, make sure “Turn on mono audio” is OFF unless you specifically need it.