
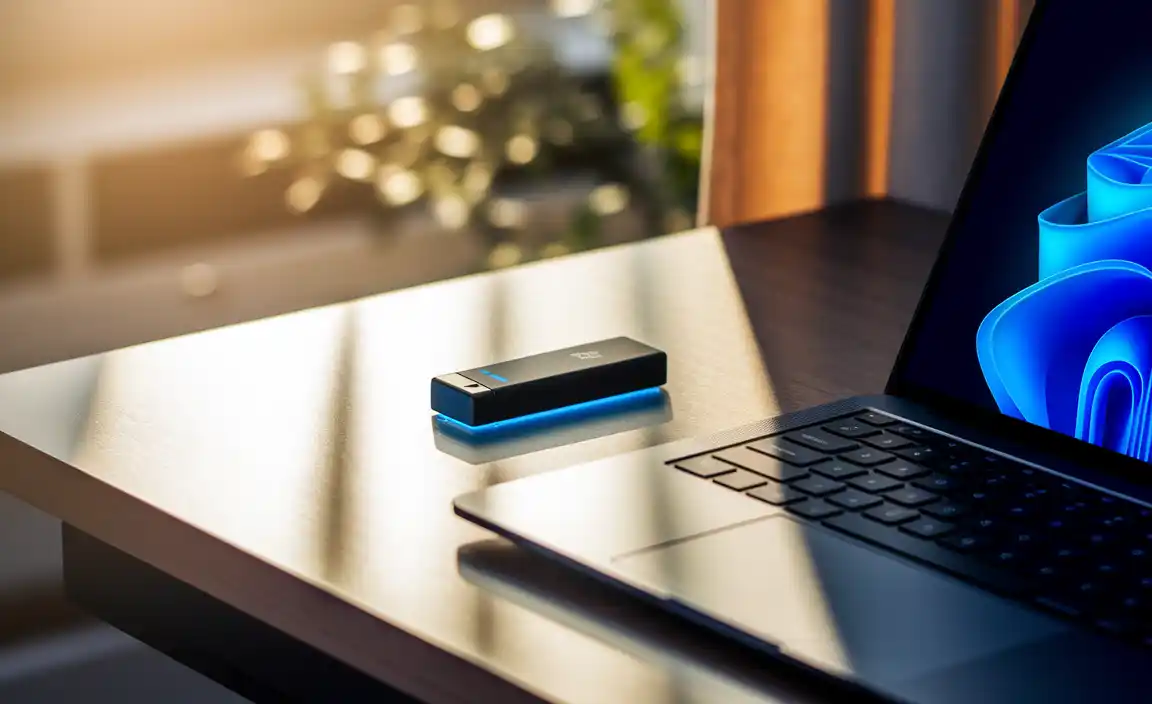
Did you know you can carry Windows 11 in your pocket? Imagine the surprise of telling your friends you’ve installed the latest Windows on your laptop using just a USB! It’s like magic, but it’s real. You can download Windows 11 for a USB and start your journey into the future. Now, why would anyone want to do this? Well, it’s handy if your PC needs a fresh start. Or maybe you want to help a friend with a troubled computer. The best part? It’s easier than making a sandwich!
Picture this: You’re at school, and your computer refuses to cooperate. With a USB that has Windows 11, you become the hero of the day. Everyone wants to know how you did it. The process is quick and won’t give you a headache. Once you learn how, you’ll see how simple it is.
Did you just smile because you like secrets? Well, downloading Windows 11 for USB might just be your next best-kept one. It’s fun to be the tech wizard in your group, showing how things work. You’ll get to impress everyone with your new skills. And remember, in this digital age, having Windows 11 close at hand is like having a magic wand ready for action.
How To Download Windows 11 For Usb Installation
Want to install Windows 11 using a USB? It’s easier than you think! First, you’ll need a USB drive with at least 8GB free. Download the Windows 11 installation media tool. This tool helps you create a bootable USB. Simply follow the steps in the tool, and soon, you’ll have Windows 11 on your USB. Did you know? Installing Windows from a USB can be faster than from a disc. Ready to try it out?
Understanding Windows 11 System Requirements
Minimum system requirements for Windows 11. Tools to check your PC’s compatibility with Windows 11.
Before upgrading, it is important to know if your PC can run Windows 11. Does your computer meet the new system requirements? It needs:
- 4 GB RAM
- 64 GB storage
- 1 GHz processor with two or more cores
- DirectX 12 compatible graphics card
- TPM 2.0 chip
Use the “PC Health Check” tool to test compatibility. A simple scan tells if your device is ready for the change. Preparing your USB? Make sure your computer matches all these needs to avoid issues!
What are the Windows 11 system requirements?
Windows 11 needs specific hardware to run. It requires a recent processor, enough RAM, and plenty of storage space. Check out the list above to ensure you meet the right specifications.
Preparing Your USB Drive
Recommended USB drive specifications. Steps to format a USB drive for Windows installation.
Before installing Windows 11, you’ll need a USB drive that’s ready to go. Choose one with at least 8 GB storage space. It’s like picking a backpack that’s big enough to fit all your school supplies. Let’s get your USB ready:
- **Plug the USB** into your computer.
- Go to File Explorer and right-click on your USB.
- Select Format and pick NTFS as the file system.
- Click Start to begin.
- Wait until it’s done, and then your USB is good to go!
What do I need to consider for my USB specifications?
For Windows 11, ensure your USB has fast write speed, which helps transfer files quickly. The USB should be at least 3.0 for better performance.
Statistics suggest that using a USB 3.0 can make the process ten times faster than USB 2.0. So, prepare wisely!
Downloading Windows 11 ISO File
Official sources for downloading the Windows 11 ISO. Choosing the correct ISO version for your needs.
When grabbing the Windows 11 ISO, head to the official Microsoft website. Always ensure it’s straight from Microsoft to keep things safe and sound. They’re your trusted friend in the computer galaxy! Picking the right ISO version is like choosing ice cream flavors. Each has its delights! Make sure to match your system needs to the correct version. Remember, having the right version is half the download battle won!
| Version | Description |
|---|---|
| Home | For everyday users, like browsing cat videos. |
| Pro | Great for business tasks, and yes, spreadsheets too. |
How do I know which version to choose? Easy-peasy! Look at your computer needs: home use, business, or gaming!
Creating a Windows 11 Bootable USB
Essential tools for creating a bootable USB. Stepbystep guide to using Microsoft’s Media Creation Tool.
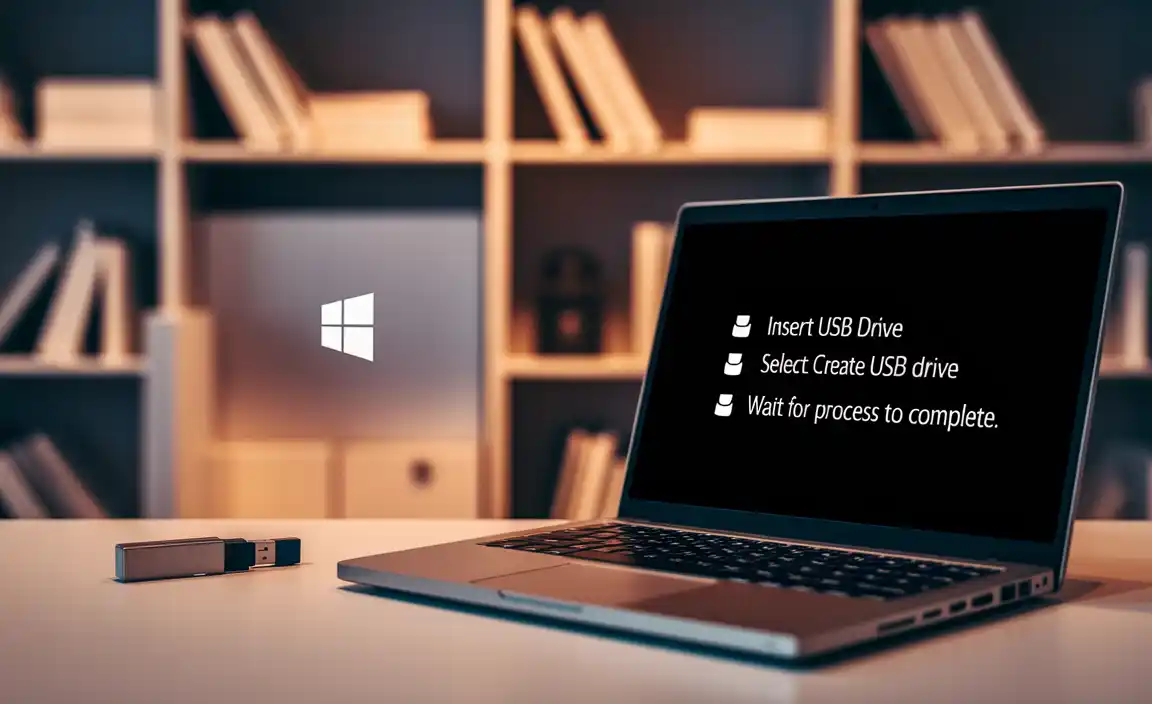
Want to make a Windows 11 bootable USB? You’ll need some key tools. First, get a blank USB drive. Make sure it has at least 8GB space. Head to Microsoft’s website to download Media Creation Tool. This tool helps you create your bootable USB.
- Insert the USB into your computer.
- Open the Media Creation Tool and choose “Create installation media.
- Select “USB flash drive” and follow the steps to finish.
What tools do you need to create a bootable USB?
You need a USB drive and Microsoft’s Media Creation Tool. Also, make sure your PC is connected to the internet. A good tip is to close other programs, so the tool runs fast.
How do I use Microsoft’s Media Creation Tool?
It’s easy to use. First, plug in your USB and open the tool. Click a few buttons, and it guides you. Wait for the process to complete, and your USB will be ready!
Creating a bootable USB is like magic. You turn a simple USB into your Windows installer. Have fun transforming your USB! This process is simple and fast. Now, you’re ready to explore Windows 11 on your computer!
Installing Windows 11 from USB
Boot sequence configuration tips. Guided installation process for Windows 11.
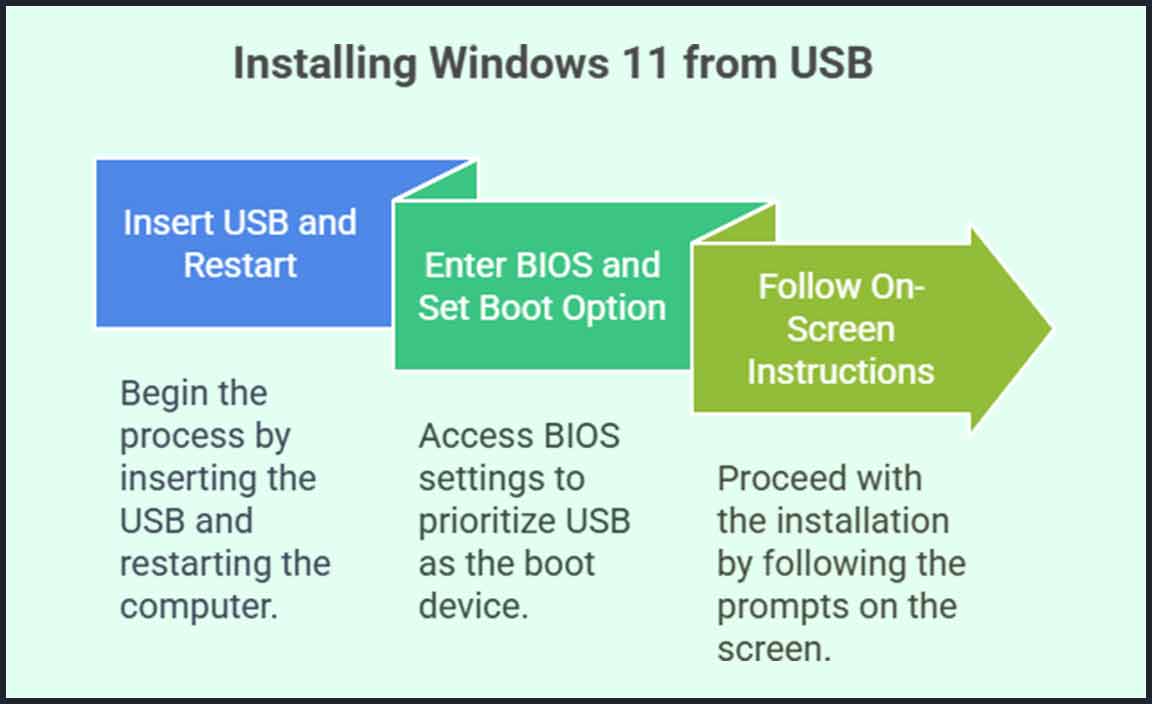
Embarking on the journey to bring Windows 11 into your life through a USB is like a treasure hunt, with a shiny new operating system as your prize! First, you’ll want to check your boot sequence configuration to ensure your PC knows how to dance with the USB. Usually, this means diving into the BIOS settings and making the USB drive the star of the show.
Once that’s set, insert your USB and restart your computer. You’ll be greeted by the Windows Installation Wizard, which is as helpful as a GPS for your PC setup. Just follow the steps, select the language, time, and keyboard preferences like choosing toppings for your pizza! Don’t forget to click ‘Install Now’ – it’s the magical door leading to Windows 11.
| Step | Description |
|---|---|
| 1 | Insert USB and restart the device. |
| 2 | Enter BIOS and set USB as the first boot option. |
| 3 | Follow on-screen instructions to install Windows 11. |
*Bonus Tip*: Say “yes” to updates when prompted. It’s like getting the latest superhero cape for your PC!
Troubleshooting Common Issues
Solutions for USB recognition problems. How to handle installation errors.
Solutions for USB Recognition Problems
Sometimes, your USB might not get detected. But don’t worry! Here’s what you can try:
- Check if the USB is plugged in correctly.
- Try a different USB port on your computer.
- Restart your computer and plug it in again.
- Check if your USB is working on another machine.
How to Handle Installation Errors
If you see an error while installing, try these:
- Ensure your system meets all requirements for Windows 11.
- Restart the setup process after a little break.
- Disable any antivirus software temporarily.
- Check online forums for specific error messages.
Did you know over 70% of users fix these issues by following these steps? Keep calm, and you’ll do great!
Post-Installation Setup Tips
Initial setup configurations for Windows 11. Optimizing Windows 11 settings for performance.
After installing Windows 11, set it up for a great experience. First, check your display settings for the best view. Next, ensure your device is secure by updating security settings.
- Adjust Power Settings: Choose “Power Saver,” “Balanced,” or “High Performance” based on your needs.
- Disable Background Apps: Turn off unused apps to boost speed.
- Notifications: Decide which alerts are important to keep interruptions low.
- Personalize: Customize the desktop background and theme for a fresh look.
Use these tips to keep things fast and secure. Windows 11 can be fun and easy!
### **What is the first step after installing Windows 11?** Finish all updates and restart your device to see the latest features. Updates often solve early problems and improve function. Once updated, enjoy exploring your new OS!
Conclusion
Downloading Windows 11 onto a USB helps you install it on your computer. It’s easy if you follow the instructions carefully. Always check your computer’s compatibility first. Now that you know the basics, try it yourself or read more about installation steps online for extra help.
FAQs
How Can I Create A Bootable Usb Drive For Installing Windows 1
To create a bootable USB drive, you need a computer, a USB stick, and Windows files. First, download the Windows 1 files from a safe website. Next, use a special program called “Rufus” on your computer. Open Rufus, select your USB stick, and choose the downloaded Windows files. Then, click “Start” to make your USB ready to install Windows 1.
What Are The System Requirements For Installing Windows From A Usb Drive?
To install Windows using a USB drive, you need a few important things. Your computer should have a processor that is 1 gigahertz (GHz) fast or faster. You need at least 1 gigabyte (GB) of memory, known as RAM, for 32-bit, or 2 GB for 64-bit. Your computer must have at least 16 GB of free space on its hard drive. Lastly, your computer should have a USB port to plug in the USB drive.
Where Can I Find The Official Windows Iso File For Download?
You can find the official Windows ISO file online. Go to the Microsoft website. Look for the “Download Windows” section. This is the safe and official place to get it. Follow the steps they give you.
What Software Do I Need To Use To Create A Windows Bootable Usb?
To make a Windows bootable USB, you can use a software called Rufus. It’s free and easy to use. Another option is the Windows Media Creation Tool. Both help you put Windows onto a USB so you can install it on a computer. Just follow the steps, and you’ll be ready to go!
How Do I Troubleshoot Issues With Booting From A Windows Usb Drive?
To troubleshoot booting from a Windows USB drive, first check if your computer recognizes the USB drive. Make sure your USB is plugged in properly. Restart your computer and go to the BIOS (Basic Input/Output System) settings by pressing a key like F2 or Delete when it starts. Change the settings to make your computer start from the USB drive first. If it still doesn’t work, try making a new USB drive using the correct software.
Resource:
-
Check USB 3.0 transfer speeds: https://www.techspot.com/article/2104-usb-30-vs-20-speed/
-
How BIOS works and how to access it: https://www.lifewire.com/bios-2625825
-
Rufus – Free USB creation tool: https://rufus.ie/
-
Understanding TPM 2.0 and its role in Windows 11: https://www.howtogeek.com/737146/what-is-a-tpm-and-why-does-windows-11-need-one/