
Have you ever found yourself trying to connect to a remote network and hitting a wall? It can be frustrating, right? In today’s world, many need to access networks from home, school, or even on the go. This is where you might find the need to download NetExtender for Windows 11.
NetExtender is a helpful tool that allows you to connect securely to your network. Imagine having your favorite programs and files just a click away, no matter where you are. How cool is that?
Did you know that more people than ever are working remotely? This means they often need tools like NetExtender. It makes remote connections easier and safer. Using it on Windows 11 is simple and quick!
So, if you want to learn how to download NetExtender for Windows 11, you’ve come to the right place. Get ready to connect smoothly and securely! Let’s dive in.
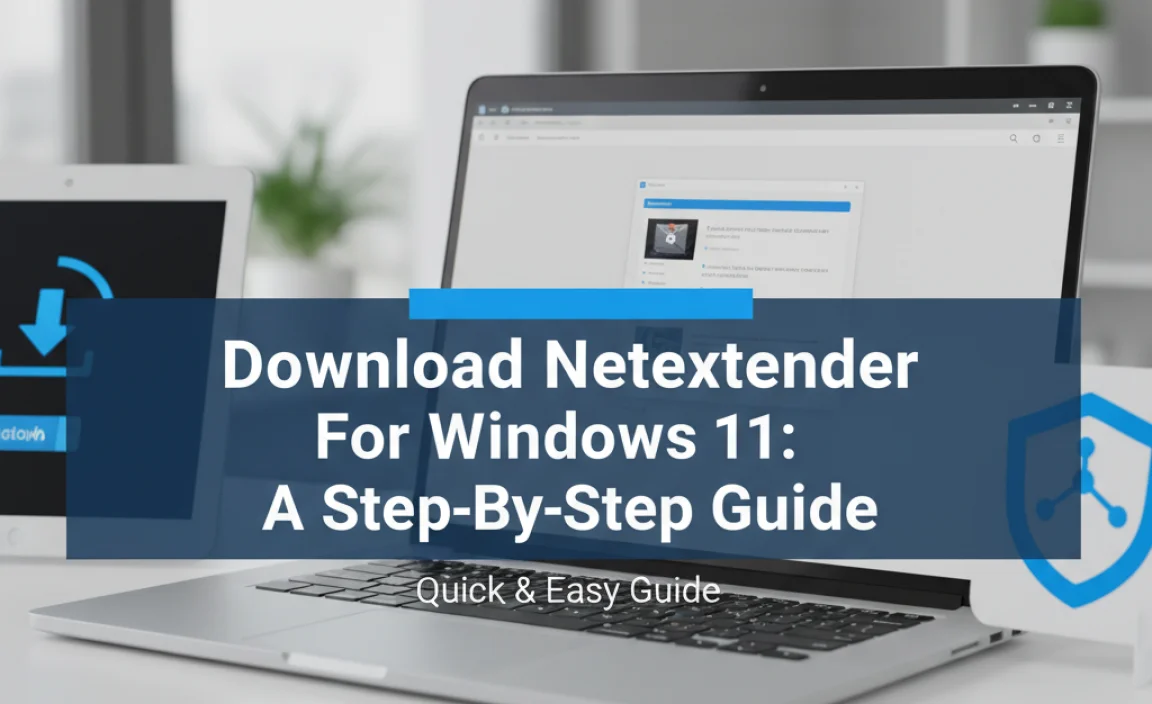
Download Netextender For Windows 11: A Step-By-Step Guide
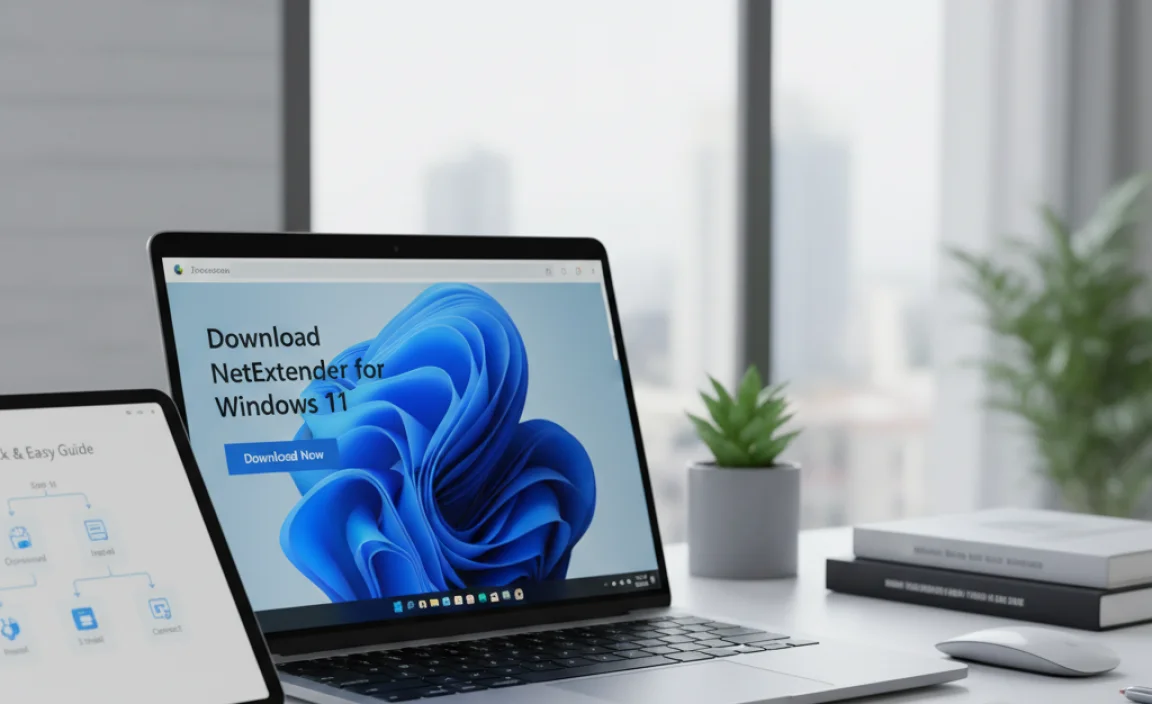
Download NetExtender for Windows 11
Downloading NetExtender for Windows
11 is simple and quick. This tool helps you connect to a secure network easily. Users can enjoy a fast and reliable internet connection from anywhere. Have you ever struggled with poor connections on the go? NetExtender solves that problem! It allows seamless access to remote resources, making work or play more efficient. The installation process is user-friendly, making it accessible even for beginners. Log in and enjoy the benefits of a robust connection!
System Requirements for NetExtender
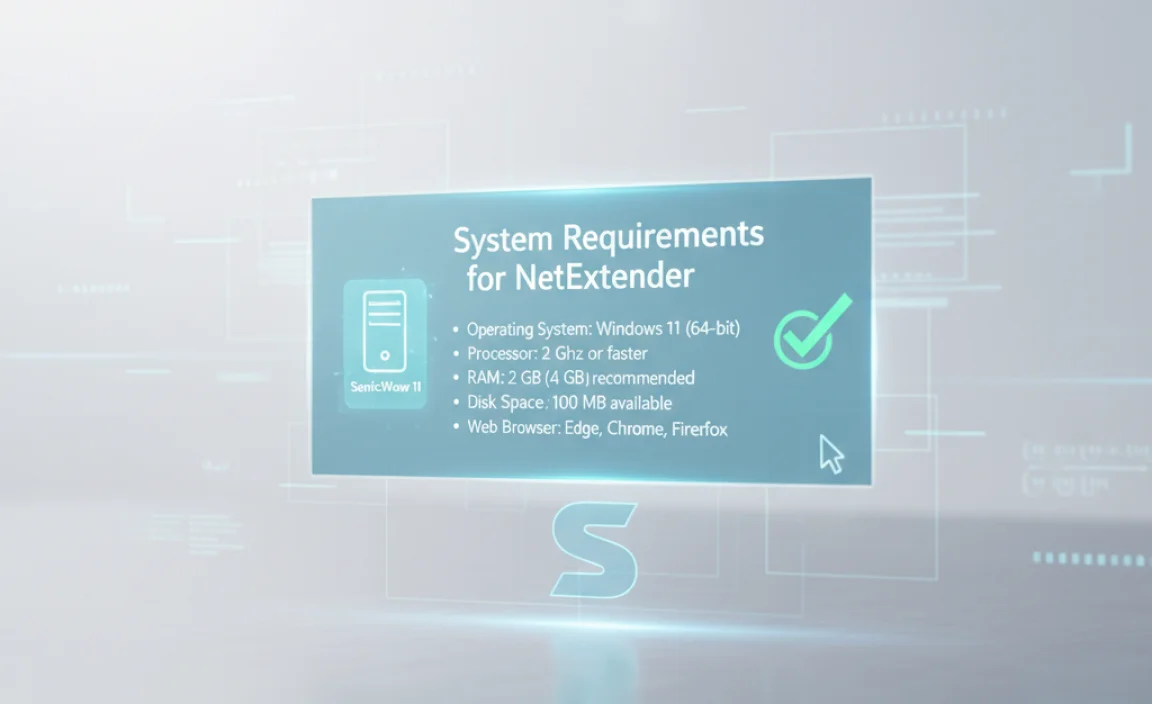
Detailed specifications for Windows 11 compatibility. Required hardware and software prerequisites.
To use NetExtender on Windows 11, you need to meet specific requirements. Ensure your computer has the right hardware and software. Here are the key details:
- Operating System: Windows 11 (64-bit version is needed).
- RAM: At least 4 GB of memory.
- Processor: Intel or AMD with at least 1 GHz speed.
- Disk Space: Minimum of 250 MB free space.
Having the right setup ensures smooth operation of the software. If you meet these criteria, you’re ready to go!
What are the main requirements for NetExtender on Windows 11?
NetExtender needs Windows 11, 4 GB of RAM, a 1 GHz processor, and 250 MB free disk space.
Downloading NetExtender for Windows 11
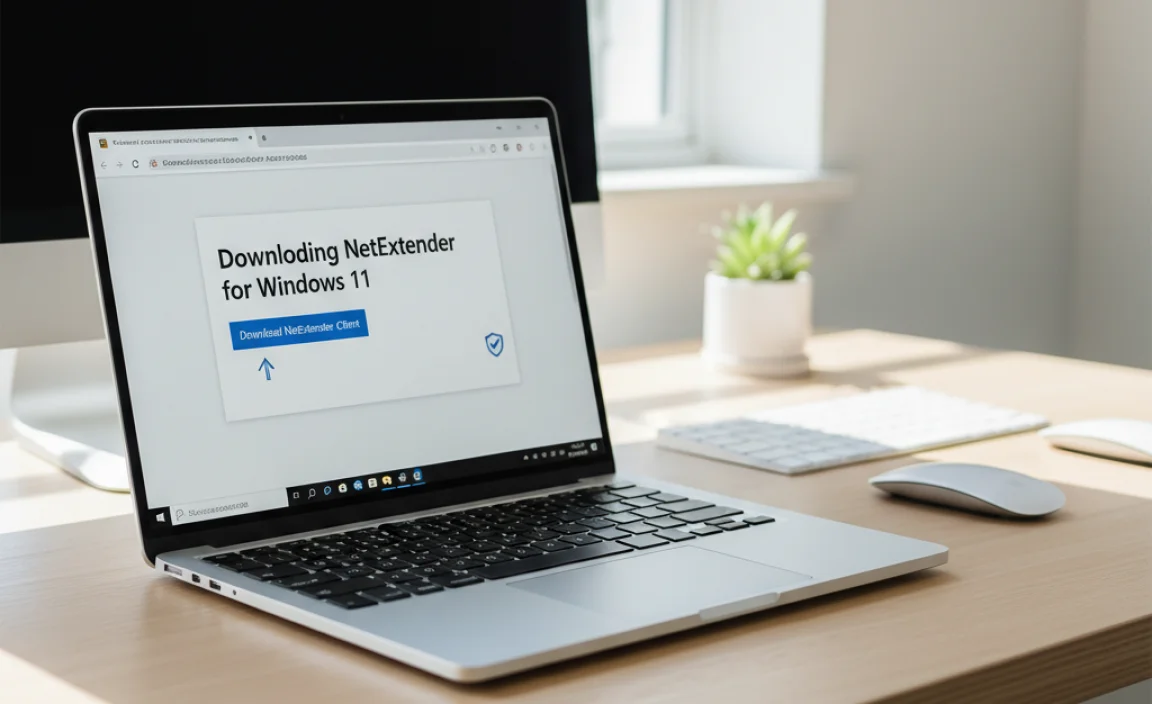
Stepbystep guide on finding the official download link. Tips for avoiding unofficial or harmful download sources.
Ready to download NetExtender for Windows 11? First, open your web browser and search for the official SonicWall site. Trust me, this is the golden ticket! Click on their download section. Avoid sketchy sites like bad pizza places. They might give you viruses instead of software. Use this handy table for quick tips:
| Tip | Why? |
|---|---|
| Check the URL | Official sites have ‘https’—the ‘s’ means ‘super safe’! |
| Look for reviews | Read what other users say. Good reviews = happy downloads! |
| Use antivirus | It’s like a superhero for your computer! |
Follow these steps, and you’ll be on your way to using NetExtender in no time. Happy downloading!
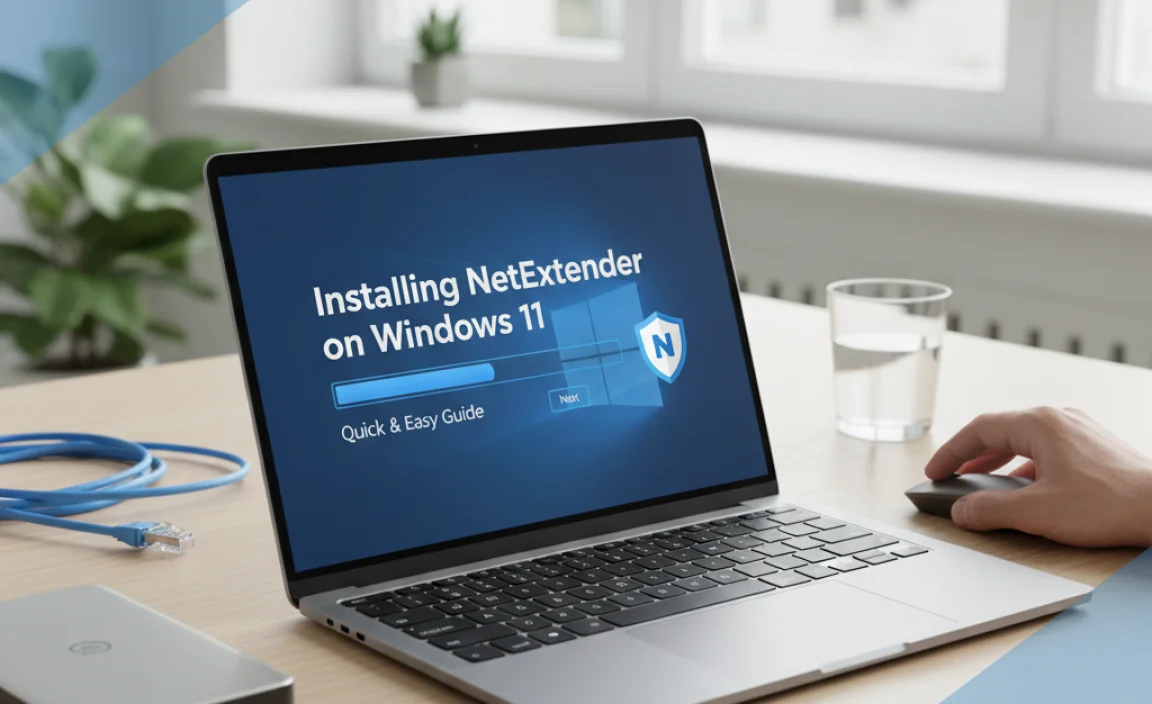
Installing NetExtender on Windows 11
Detailed installation steps for a smooth setup. Common installation issues and how to resolve them.
Ready to start your adventure with NetExtender on Windows 11? First, download the installer from the official website. Open the file and click “Next” to begin. Follow the prompts like a well-behaved puppy, until you reach “Install.” If you run into trouble, don’t worry! Issues like missing drivers often pop up. Simply check for updates or reinstall the software. For your convenience, here’s a quick checklist:
| Step | What to Check |
|---|---|
| 1 | Download from official site |
| 2 | Click “Next” |
| 3 | Complete “Install” |
| 4 | Update drivers if needed |
Now you’re all set to surf the net with your new tool! If you still face issues, ask a tech-savvy friend or check online forums. Remember, every great journey begins with a single click—just don’t forget to laugh along the way!
Configuring NetExtender for Optimal Performance
Configuration settings to improve connectivity. Recommendations for security settings during setup.
To get the best out of NetExtender, settings matter. Start by tweaking configuration settings to boost connectivity. You want your connection to be as smooth as butter on hot toast! Aim for a stable Wi-Fi signal for better performance.
While you’re at it, think about security. Always use strong passwords—think of them as a superhero cape for your connection. These steps will keep unauthorized users away, making your network a safe place.
| Configuration Settings | Security Recommendations |
|---|---|
| Stable Wi-Fi is essential. | Use strong passwords. |
| Prioritize your devices. | Enable two-factor authentication. |
| Check for software updates. | Regularly change passwords. |
With these tips, you can surf the web while feeling like a superhero! What’s better than fast and secure net surfing? Absolutely nothing!
Troubleshooting Common Issues with NetExtender
Solutions to connection errors. Steps to take if the application fails to launch.
Having trouble connecting with NetExtender? Fear not! Connection errors are like pesky flies but can be swatted away with these tips. First, check your internet connection. If it’s weak, your app might feel a bit grumpy. If it fails to launch, try restarting your computer. Sometimes, even apps need a little nap. Below is a handy table of common issues and quick fixes:
| Issue | Solution |
|---|---|
| Connection Error | Check internet strength and restart the router. |
| App Won’t Launch | Restart your computer and try again. |
Remember, troubleshooting is like solving a puzzle — just a little patience goes a long way!
Conclusion
In conclusion, downloading NetExtender for Windows 11 is simple and straightforward. It boosts your VPN connection while ensuring security. Make sure to check system requirements before downloading. You can easily find guides online to help you through the installation. Try it today and experience a better connection! For more tips, explore our other articles on VPNs and tech tools.
FAQs
Sure! Here Are Five Related Questions About Downloading Netextender For Windows 11:
To download NetExtender for Windows 11, first go to the website where you can find the software. Click on the download link for Windows. Once the file is downloaded, open it by double-clicking. Follow the instructions to install it on your computer. After that, you can start using NetExtender!
Sure! I can help with that. Please provide me with the question you’d like answered.
What Are The System Requirements For Installing Netextender On Windows 11?
To install NetExtender on Windows 11, you need a computer with Windows 11 already running. Your device should have at least 4 GB of RAM and a processor that works well. Make sure you have a good internet connection, too. Lastly, you might need administrator rights to install the software.
Where Can I Download The Latest Version Of Netextender For Windows 11?
You can download the latest version of NetExtender for Windows 11 from the SonicWall website. First, go to their support page. Then, look for the downloads section. There, you will find NetExtender. Click the link to start downloading it to your computer.
How Do I Install And Configure Netextender On My Windows Device?
To install NetExtender on your Windows device, first, download the software from the website. Open the file you downloaded and click “Install.” Follow the instructions that appear on your screen. Once it’s installed, open NetExtender and type in the server name and your username and password. Click “Connect,” and you’re ready to go!
What Troubleshooting Steps Can I Take If Netextender Is Not Working Properly On Windows 11?
If NetExtender isn’t working on your Windows 11, try these steps. First, restart your computer. Next, check if your internet is connected. You can also update the NetExtender app to the latest version. If it still doesn’t work, uninstall and reinstall the app. Lastly, check the settings to make sure everything is correct.
Is There Any Difference In The Installation Process Of Netextender Between Windows And Windows 11?
Yes, there is a small difference. When you install NetExtender on Windows 11, it may ask for your permission more often. You might see extra security messages. But overall, the steps are pretty similar. Just follow the instructions, and you’ll be good to go!