
Managing your computer’s space can feel tricky. Have you ever wondered how to make the most of your hard drive? A good disk manager for Windows 10 can help you do just that. This tool can organize your files and free up space quickly and easily.
Imagine trying to fit all your toys into a small box. It can be a challenge! A disk manager helps you find the best way to fit everything in. It can show you what’s taking up space and what you no longer need. Isn’t that neat?
Many people don’t realize that a disk manager can also improve your computer’s speed. A well-organized hard drive can make your device run smoother. Who wouldn’t want that? Let’s dive deeper into how a disk manager for Windows 10 can simplify your digital life.
Effective Disk Manager For Windows 10: Optimize Your Storage
What is Disk Manager?
Definition and purpose of Disk Manager in Windows 10. Key functionalities and features of Disk Manager.
Ever wondered how your computer keeps its disks organized? That’s where this handy tool comes in! The Disk Manager in Windows 10 helps you manage disk partitions and storage space efficiently. With it, you can easily resize, create, or delete partitions while ensuring your files don’t play hide and seek. You can even discover available storage, so you won’t accidentally save your cat videos on a tiny space! Here are some of its key features:
| Functionality | Description |
|---|---|
| Create Partition | Make new sections on your disk for better organization. |
| Resize Partition | Adjust the size of existing sections to save more cat videos! |
| Delete Partition | Remove unwanted sections and free up space quickly. |
With Disk Manager, managing your computer’s storage is as easy as pie—apple pie, to be precise!
How to Access Disk Manager in Windows 10
Stepbystep guide to open Disk Manager. Alternative methods to access Disk Manager.
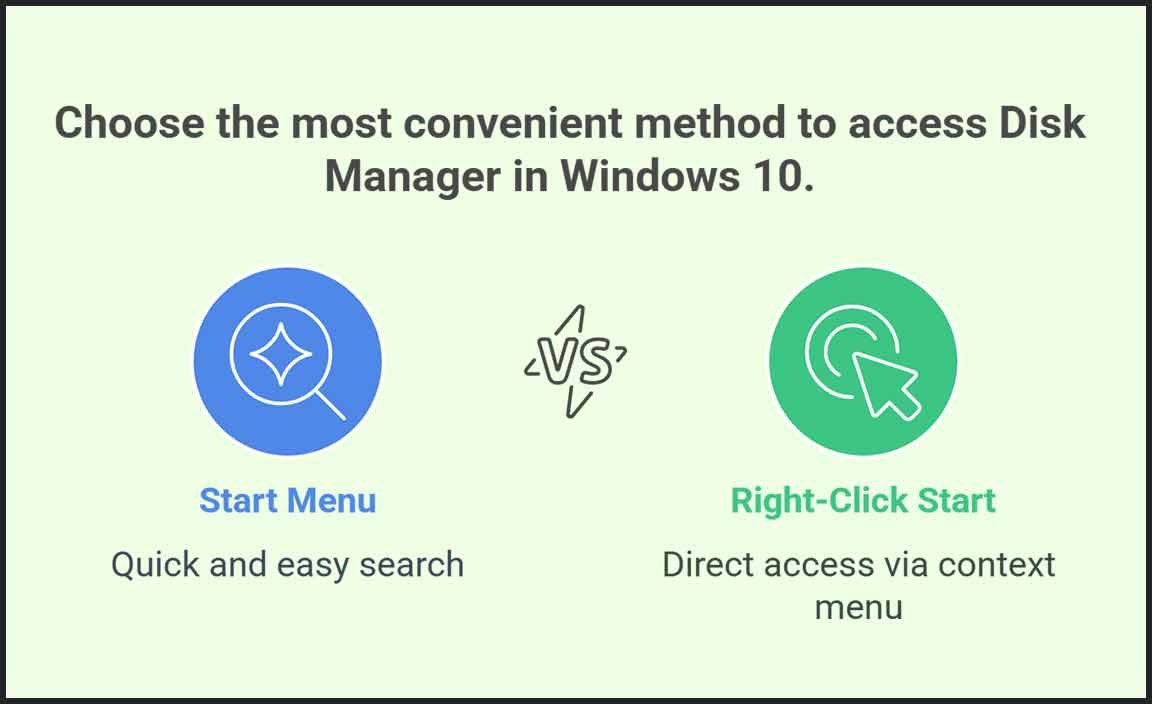
Accessing Disk Manager in Windows 10 is super easy! First, you can click the Start menu and type “Disk Management.” Boom! It pops up. Second, you can right-click on the Start button and choose “Disk Management.” It’s like magic! For a little twist, you can press the Windows key + R, type “diskmgmt.msc,” and hit Enter. Sounds fancy, right? Here’s a quick recap:
| Method | Steps |
|---|---|
| Using Start Menu | Type “Disk Management” in search. |
| Right-Click Start Button | Select “Disk Management.” |
| Run Command | Press Windows + R, type “diskmgmt.msc,” and press Enter. |
Now you’re ready to manage your disks! Just remember, handling disks is like playing with cupcakes—best done with care! 🧁
Common Disk Management Tasks
Instructions for creating a new partition. Guide to resizing, deleting, and formatting partitions.
Managing your disk space is easy with a few simple tasks. You can create a new partition, resize an existing one, delete it, or format it. Here’s how:
- Create a new partition: Open Disk Manager. Right-click on unallocated space and choose “New Simple Volume”. Follow the wizard to set size and name.
- Resize a partition: Right-click the partition. Select “Resize”. Drag the border to adjust the size.
- Delete a partition: Right-click the partition and choose “Delete Volume”. Make sure to back up important files first!
- Format a partition: Right-click the partition and select “Format”. Choose the file system and give it a name.
Troubleshooting Disk Management Issues
Common problems and their solutions (e.g., unallocated space, drive not appearing). Best practices for preventing disk management issues.
Troubles with disk management can be frustrating. One common issue is unallocated space, where part of your hard drive seems to vanish. To fix this, you can right-click on the unallocated area in Disk Management and choose “New Simple Volume.” Ta-da! Your space is back. Another issue is a drive not appearing. This can happen if the drive letter is missing. Just assign it a new letter by right-clicking the drive and selecting “Change Drive Letter.” It’s like giving your drive a name tag!
| Problem | Solution |
|---|---|
| Unallocated Space | Create a New Simple Volume |
| Drive Not Appearing | Assign a New Drive Letter |
To avoid future headache, regularly back up your data and keep your software updated. Remember, prevention is better than a stressed-out computer user! Stay alert, and your computer will thank you.
Tips for Optimizing Disk Performance in Windows 10
Techniques for managing disk space effectively. Recommendations for regular disk maintenance.
Managing disk space well helps your computer run smoothly. Here are some useful tips:
- Delete files you no longer need.
- Use disk cleanup tools regularly.
- Organize your files into folders.
- Move old files to an external drive.
Regular maintenance is key. Run disk checks often. This can fix tiny problems before they grow. A clean disk can speed up your computer. Remember, a tidy computer means a happy user!
How can I free up disk space on Windows 10?
You can free up space by deleting unnecessary files and using tools like “Disk Cleanup.”
What are some regular maintenance tips?
- Run a disk checkup every few months.
- Defragment your hard drive if needed.
- Keep your software up to date.
Security Considerations in Disk Management
Importance of data backup before disk management tasks. Discuss encryption options for disk partitions.
Before you change anything on your disk, it’s very important to back up your data. This step helps prevent losing your files if something goes wrong. Imagine losing all your school projects! Backups save your memories and hard work. Also, using encryption for your disk partitions keeps your data safe. This means only you can see your private information. It’s like a secret code that protects your stuff!
What should I do before managing my disk?
Always back up your important data first! This protects you from accidental loss.
Reasons for Data Backup:
- Protects against accidents
- Safeguards against malware
- Keeps your files safe during changes
Why encrypt disk partitions?
Encryption keeps your files private. Only you have the key to unlock it.
Conclusion
In summary, a disk manager for Windows 10 helps you organize and manage your computer’s storage easily. You can create, delete, or resize partitions with just a few clicks. By using the built-in Disk Management tool, you simplify your storage tasks. Explore the features today, and check out guides or videos for hands-on tips. Your computer’s performance can greatly improve!
FAQs
How Do I Access The Disk Management Tool In Windows 10?
To open the Disk Management tool in Windows 10, click the Start menu. Then, type “Computer Management” and press Enter. In the window that appears, find “Disk Management” on the left side. Click on it, and you will see all the disks and drives on your computer.
What Are The Steps To Create A New Partition Using Disk Management In Windows 10?
To create a new partition in Disk Management on Windows 10, first, right-click the Start button and choose “Disk Management.” Next, find the area that shows unallocated space or free space. Right-click that space and select “New Simple Volume.” Follow the instructions in the wizard, and choose how big you want the partition to be. Finally, name the partition and finish the setup. You’re all done!
How Can I Format A Drive Using Disk Management In Windows 10?
To format a drive using Disk Management in Windows 10, first, click the Start button. Then, type “Disk Management” and open it. Find the drive you want to format. Right-click on it and choose “Format.” Follow the instructions on the screen to complete the process.
What Should I Do If Disk Management Does Not Recognize A New Hard Drive In Windows 10?
If Disk Management doesn’t see your new hard drive, first, check the cables. Make sure everything is plugged in correctly. Next, restart your computer. Sometimes, this helps the computer find the new drive. If it still doesn’t work, you might need to update your drivers or check if the drive is faulty.
How Can I Extend Or Shrink A Volume In Disk Management On Windows 10?
To extend a volume, first, open Disk Management. Right-click on the volume you want to change. Then, select “Extend Volume” and follow the instructions. To shrink a volume, right-click on it and choose “Shrink Volume.” Decide how much space you want to remove, then click “Shrink.”
Resource:
-
Understanding Hard Drive Partitions: https://www.howtogeek.com/101862/
-
Windows 10 Support: Disk Management Guide: https://support.microsoft.com/en-us/windows/create-and-format-a-hard-disk-partition-
-
Tips on Freeing Up Disk Space: https://www.pcmag.com/how-to/how-to-free-up-hard-drive-space-in-windows
-
Importance of Backing Up Your Data: https://www.backblaze.com/backup-your-computer.html