
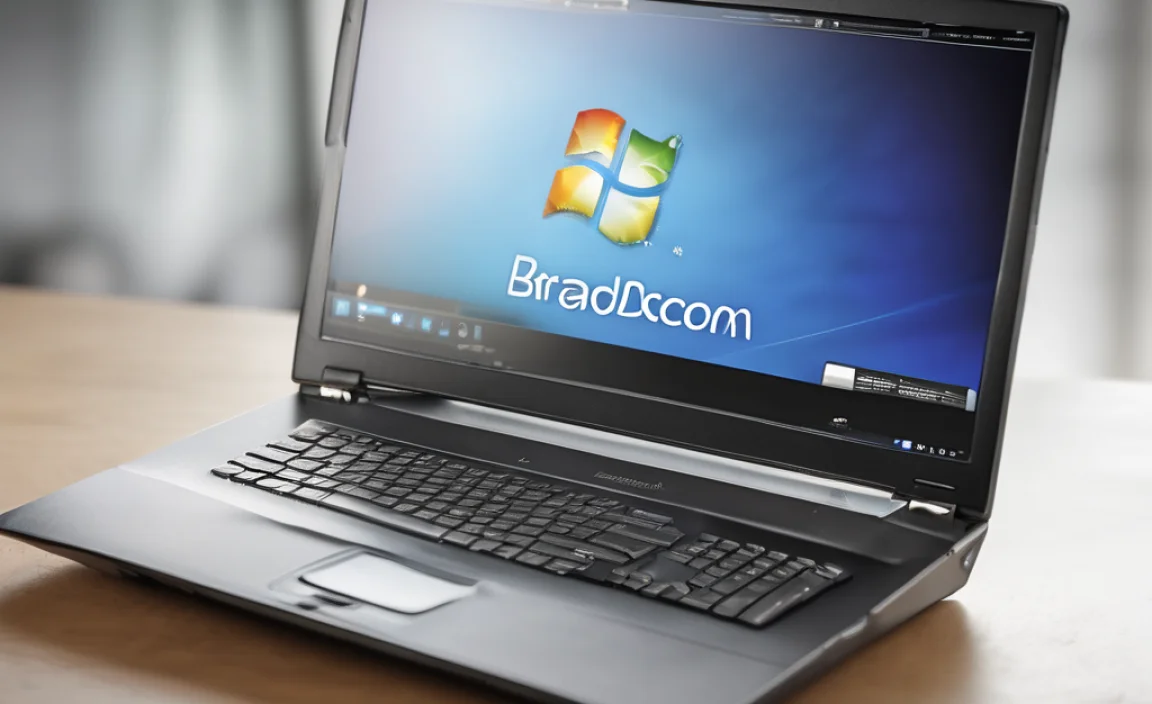
Fixing corrupted Broadcom scanner drivers on Windows 7 64-bit is achievable with these steps: use Device Manager to update or reinstall the driver, download the correct driver from the manufacturer’s website, and perform a system restore if needed. This guide makes it easy to get your scanner working again without complex tech skills.
If your scanner suddenly stops working, especially on a Windows 7 machine, and you see messages about a “Broadcom scanner corrupted driver for Windows 7 64 bit,” don’t worry. This is a common hiccup that many of us face. It’s like when your trusty bike chain slips; it’s frustrating but usually fixable with a bit of patience and the right guidance. We’ll walk through this together, step by step, so you can get your scanner back to scanning documents and photos in no time.
This guide is designed for you, no matter your technical comfort level. We’ll keep things simple and clear, so you can confidently tackle this driver issue. Let’s get your scanner back in action!
Understanding Broadcom Scanner Drivers on Windows 7
Think of drivers as translators. Your scanner is a piece of hardware, and Windows 7 is the operating system – the computer’s brain. Drivers are special software that allow the scanner and Windows to understand each other. Without the correct, functional driver, Windows won’t know how to send commands to your scanner or how to receive scans from it.
Broadcom is a company that makes various components, including some that might be involved in scanner connectivity or internal workings, particularly in older devices or when a scanner uses a Broadcom chip for its communication interface. When a driver becomes “corrupted,” it means the translation file has become damaged or incomplete. This can happen due to various reasons, such as incomplete updates, software conflicts, or even a sudden shutdown of your computer.
Why Does This Happen?
Several things can lead to a corrupted driver:
- Windows Updates Gone Awry: Sometimes, a Windows update can cause conflicts with existing hardware drivers, leading to corruption.
- Software Conflicts: Installing new software or other hardware drivers that aren’t fully compatible can sometimes interfere with established drivers.
- Malware or Viruses: Malicious software can corrupt or delete important system files, including drivers.
- Abrupt System Shutdowns: If your computer loses power or crashes while a driver is being used or updated, the driver file might become damaged.
- Driver Aging: Over time, drivers might become outdated and less compatible with newer system patches or operations, manifesting as errors.
The “Corrupted Driver” Error Explained
When you encounter the “Broadcom scanner corrupted driver for Windows 7 64 bit” error, it’s Windows telling you it can’t communicate properly with your scanner due to a problem with the Broadcom driver. This usually means your scanner won’t be recognized or will show an error symbol in Device Manager. This can be frustrating, especially when you need to scan something important urgently. But the good news is, most of the time, this can be fixed without needing to replace your hardware.
Step-by-Step Guide to Fixing Your Broadcom Scanner Driver

Let’s roll up our sleeves and tackle this issue. We’ll start with the simplest fixes and move towards more involved solutions. Remember, patience is key!
Step 1: Restart Your Computer
This might sound too simple, but many temporary glitches are resolved with a good old-fashioned restart. It clears out temporary memory and can reset driver states that might have gotten stuck.
- Click the Start button.
- Click the arrow next to the Shut Down button.
- Select Restart.
Once your computer boots back up, try using your scanner again. If the problem persists, move on to the next step.
Step 2: Use Device Manager
Device Manager is your command center for all hardware connected to your PC. We’ll use it to check the status of your scanner and its driver.
Accessing Device Manager:
- Click the Start button.
- In the search bar, type
devmgmt.mscand press Enter. - Alternatively, right-click on Computer (or My Computer) on your desktop or Start Menu, then select Manage, and choose Device Manager from the left pane.
Checking Your Scanner’s Status:
In Device Manager, look for categories like “Imaging devices,” “Scanners,” or “Other devices.” Your scanner might be listed under one of these. If it has a yellow exclamation mark (!), a red X, or is listed under “Other devices,” it indicates a problem with the driver or the device itself. Double-click on the device to open its Properties window.
Updating the Driver via Device Manager:
This is often the quickest way to resolve driver issues.
- In the scanner’s Properties window, go to the Driver tab.
- Click the Update Driver… button.
- Windows will ask how you want to search for drivers. Choose “Search automatically for updated driver software.”
- Windows will then search online and on your computer for the best available driver.
If Windows finds and successfully installs a new driver, you’ll see a confirmation message. Try your scanner. If it says the best driver is already installed, or if the update doesn’t fix the problem, proceed to the next method.
Uninstalling and Reinstalling the Driver:
Sometimes, a fresh installation is needed.
- In the scanner’s Properties window (from Device Manager), go to the Driver tab.
- Click the Uninstall… button.
- In the confirmation dialog box, you might see an option like “Delete the driver software for this device.” Check this box if available. This is important to remove the corrupted files.
- Click OK or Uninstall.
- Once uninstalled, restart your computer.
- After restarting, plug your scanner back in (if it’s USB) or ensure it’s powered on and connected via its usual method. Windows will often try to automatically detect the hardware and install a basic driver.
- Revisit Device Manager to see if the scanner is now recognized without errors. If not, you’ll need to manually install the driver (see Step 3).
Step 3: Manually Download and Install the Broadcom Scanner Driver
When Windows can’t find the right driver, or if you need a specific version, downloading it directly from the manufacturer is the best course of action. Since you’re dealing with a Broadcom component or scanner, you’ll want to look for drivers provided by either the scanner’s manufacturer or potentially Broadcom itself, depending on how the hardware is integrated.
Finding the Correct Driver:
This is crucial. You need the driver specifically designed for your scanner model and Windows 7 64-bit.
- Identify Your Scanner Model: Look for a label on your scanner that shows the exact model name and number.
- Identify Your Operating System: You already know it’s Windows 7 64-bit.
- Go to the Manufacturer’s Website: Visit the website of the company that made your scanner (e.g., HP, Canon, Epson). Navigate to their “Support” or “Downloads” section.
- Search for Your Model: Enter your scanner model into the search bar.
- Select Your Operating System: Choose “Windows 7 (64-bit)” from the options.
- Download the Driver or Software Suite: Look for a driver download. Sometimes, scanners come with a full software suite that includes the driver. Download the appropriate file.
If it’s a Broadcom-branded device or interface: You might need to visit the Broadcom Support portal. Search for your specific Broadcom hardware ID or product name. Be cautious, as Broadcom’s website can be complex, and often, drivers for peripherals are best obtained from the device manufacturer who integrated Broadcom components.
Installing the Downloaded Driver:
Once you have the driver file (usually an .exe file):
- Disconnect your scanner from the computer (if it’s USB).
- Run the downloaded installer file. You might need to right-click it and select “Run as administrator.”
- Follow the on-screen instructions. The installer will guide you through the process. It might ask you to connect your scanner at a specific point.
- Restart your computer after the installation is complete.
- Reconnect your scanner and test it.
Step 4: Use the System File Checker (SFC) Tool
The System File Checker is a built-in Windows utility that scans for and restores corrupted Windows system files. If a system file related to driver management is corrupted, SFC can fix it.
- Click the Start button.
- In the search bar, type
cmd. - Right-click on Command Prompt in the search results.
- Select “Run as administrator.”
- In the Command Prompt window, type the following command and press Enter:
sfc /scannow
This process can take some time. It will scan your system and attempt to repair any corrupted files it finds, including driver-related ones. Once it’s finished (it will say “Verification 100% complete”), close the Command Prompt and restart your computer. Then, try your scanner again.
Step 5: Perform a System Restore
If the driver issue started recently and you can pinpoint a time before it occurred, System Restore can be a lifesaver. It reverts your computer’s system files and settings back to an earlier point in time, effectively undoing changes that might have caused the driver corruption.
How to Use System Restore:
- Click the Start button.
- In the search bar, type
System Restoreand select Create a restore point from the search results. - In the System Properties window that opens, click the System Restore… button.
- Click Next.
- You will see a list of available restore points. Select a restore point dated before you started experiencing the scanner driver issue. If you don’t see many options, you might need to check the “Show more restore points” box.
- Click Next, then Finish.
System Restore will then begin. Your computer will restart, and the restore process will complete. Note that System Restore does not affect your personal files, but it will uninstall programs and drivers installed after the chosen restore point. After the restore is complete, check if your scanner is working.
Step 6: Check for Broadcom Software/Firmware Updates
In some cases, scanner functionality might depend on broader Broadcom drivers or utilities that manage system devices. While less common for dedicated scanner drivers, it’s worth checking if Broadcom offers any system utility or firmware updates relevant to your motherboard or system components on a Windows 7 machine, particularly if your scanner connects via a specific Broadcom port or chip.
- Visit the Broadcom website, specifically their support or driver download section.
- Look for any system utilities or chipset drivers that might be relevant to your PC model or motherboard.
- If you find any, carefully follow their installation instructions.
Be very precise when selecting these, as system-level drivers can cause more significant issues if installed incorrectly on older operating systems like Windows 7. Prioritize drivers from your PC manufacturer first, then motherboard manufacturer, before going to Broadcom directly.
Windows 7 64-bit Specific Considerations
Windows 7 64-bit is a robust operating system, but it’s no longer supported by Microsoft with security updates. This means you need to be extra careful when installing drivers and software to avoid potential vulnerabilities. For drivers, always ensure they are officially released for Windows 7 64-bit. Trying to force a driver meant for a newer Windows version is unlikely to work and could cause system instability.
When searching for drivers, specifically select “Windows 7 64-bit” or “Windows 7 x64” from the operating system dropdown. If a specific 64-bit driver isn’t available, you might have to check if the 32-bit version works (though this is rare for imaging devices) or, more likely, consider if a generic driver from Microsoft’s Windows Update might be sufficient. However, the best approach is always the manufacturer-provided driver.
Troubleshooting Table: Common Broadcom Scanner Issues and Fixes
Here’s a quick reference guide to common problems and their likely solutions:
| Problem Description (e.g., Error Message) |
Possible Cause | Recommended Fix(es) |
|---|---|---|
| “Broadcom scanner corrupted driver for Windows 7 64 bit” | Driver file is damaged. | Update/Reinstall driver via Device Manager; Download fresh driver from manufacturer; System Restore. |
| Scanner not detected at all. | Driver not installed, incorrect driver, or hardware issue. | Check connections; Reinstall driver (Step 3); Check Device Manager for unknown devices; Test on another PC. |
| Scanner works but scan quality is poor or incomplete. | Outdated software, incorrect driver settings, or hardware issue. | Update scanner software/drivers; Check scanner settings in driver properties; Clean scanner optics. |
| “Device cannot start. (Code 10)” in Device Manager. | Driver conflict or corruption, or a hardware resource issue. | Uninstall and reinstall driver; Run SFC /scannow (Step 4); Check for Windows Updates. |
| Yellow exclamation mark (!) in Device Manager under “Imaging devices” or “Scanners.” | Driver is missing, corrupted, or has a conflict. | Update driver automatically or manually (Steps 2 & 3); Uninstall and reinstall. |
External Resources for Driver Information
For further assistance and to ensure you’re getting reliable information, consider these resources:
- Microsoft Support for Windows 7: While official support has ended, you can still find archived articles and community discussions that may be helpful. Learn about the end of Windows 7 support here.
- Device Manufacturer’s Support Pages: Always the primary source for hardware-specific drivers. Search for your scanner’s brand.
- Broadcom Support: For any specific Broadcom hardware components. Look for the product support or download sections.
- PCI ID Repository: If you’re technically inclined, you can often find device IDs in Device Manager under the “Details” tab of a device’s properties. Searching these IDs on sites like the PCI ID Repository can sometimes help identify obscure hardware and point you towards a driver.
Frequently Asked Questions (FAQ)
Let’s clear up some common questions:
Q1: My scanner is not a Broadcom scanner, but I’m getting a Broadcom driver error. What’s going on?
A: This can happen if your scanner uses a Broadcom chip for its communication interface or scanner controller. The error message is pointing to the specific component or driver that is failing, even if the main scanner brand isn’t Broadcom.
Q2: I can’t find a driver for my specific scanner model for Windows 7 64-bit. What should I do?
A: First, double-check the manufacturer’s website thoroughly. Sometimes drivers are listed under slightly different model names. If you truly can’t find one, you could try looking for a “generic” scanner driver from Microsoft’s Windows Update, or see if the manufacturer provides a driver for a very similar model that might be compatible. As a last resort, consider looking for alternative scanning software that might have broader compatibility, though this won’t fix the underlying driver issue.