
Installing Windows 10 on your Mac using Boot Camp is surprisingly straightforward and opens up a world of new possibilities. Our guide breaks down the “genius setup” step-by-step, making it easy for anyone to get Windows running smoothly on their Mac without any tech headaches.
Have you ever wished you could run Windows applications right on your Mac? Maybe a specific game, a piece of business software, or just to experiment? It’s a common desire for Mac users, and it can feel like a big hurdle to jump over.
The good news is, Apple makes this easier than you might think with a tool called Boot Camp. Don’t let the idea of installing another operating system scare you! We’re going to walk through the entire process, from preparing your Mac to booting into Windows 10 flawlessly. By the end of this guide, you’ll have a perfectly set up Windows environment on your Mac, ready for whatever you need it to do.
Why Boot Camp is Your Mac’s Best Friend for Windows
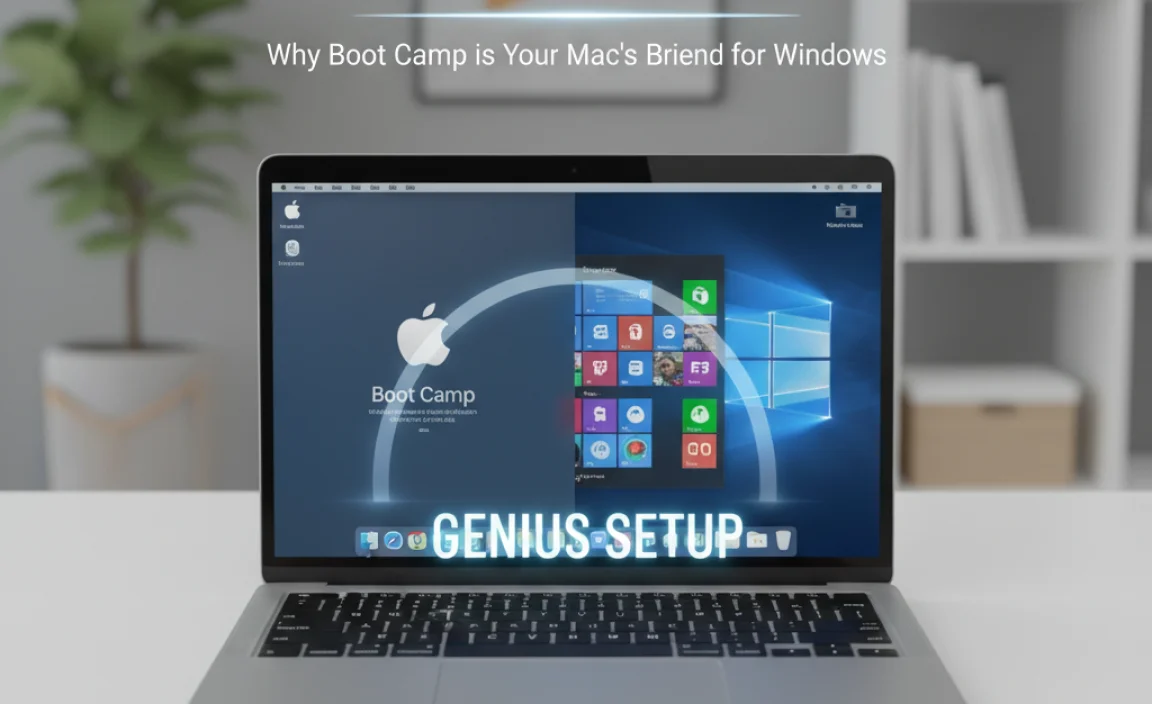
Boot Camp is a utility built right into macOS that allows you to install Microsoft Windows on a separate partition of your Mac’s hard drive. Think of it as giving your Mac a dual personality – it can be a fantastic Mac one moment, and then perfectly serve as a Windows PC the next. This isn’t some clunky workaround; it’s a native solution from Apple. This means you get full performance from your Mac’s hardware when you’re running Windows, unlike some other virtualization software that can slow things down.
For anyone who needs to use Windows-specific software, play PC games that aren’t available on macOS, or simply wants the flexibility of having both operating systems, Boot Camp is the answer. It’s a robust solution that ensures a native experience for Windows, meaning better performance and compatibility.
Before You Begin: Essential Preparations
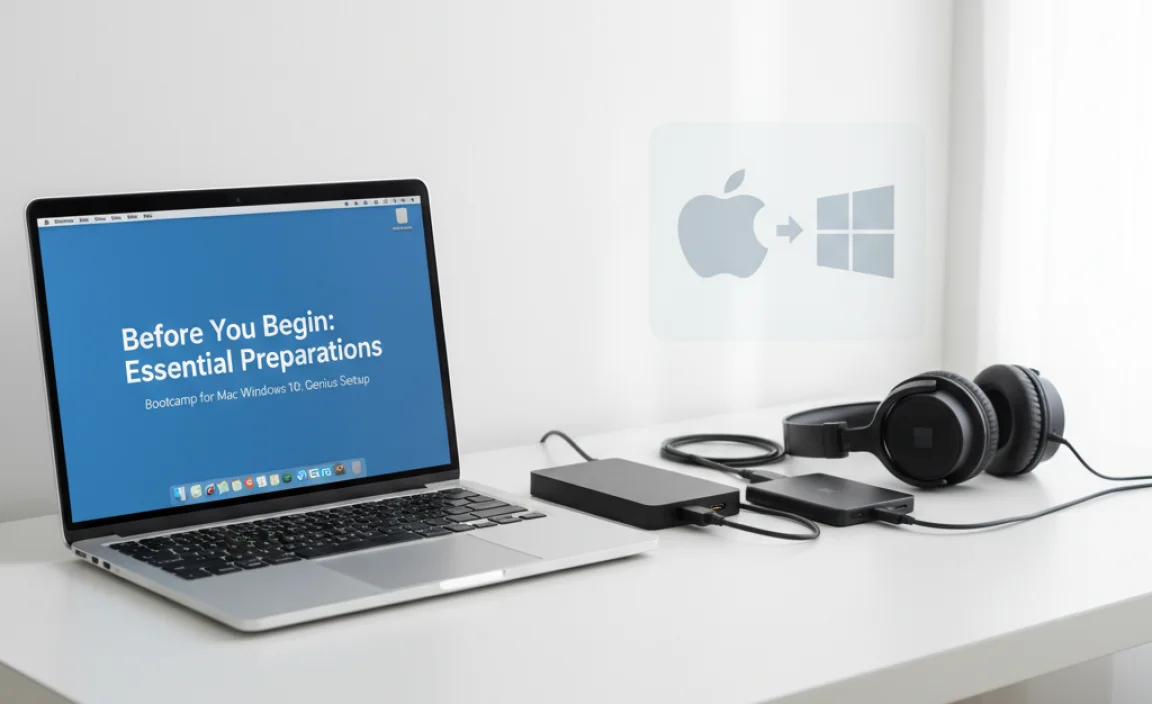
Getting ready is the most important step. A little bit of planning here will save you a lot of frustration later. We need to make sure your Mac is ready and that you have everything you need before we start the installation.
1. Check Your Mac’s Compatibility and Requirements
Not all Macs can run the latest version of Windows 10 with Boot Camp. Apple provides a list of compatible Macs. You’ll also need enough free storage space. Here are the general requirements:
- Mac Hardware: Most Intel-based Macs are compatible. Macs with Apple silicon (M1, M2, etc.) cannot use Boot Camp for Windows. You’ll need to check Apple’s official support pages for the most up-to-date compatibility list for your specific Mac model.
- Storage Space: Apple recommends at least 64GB of free space, but for a smooth experience with Windows 10 and any applications you plan to install, 128GB or more is highly advisable. More space means more room for Windows updates, software, and your files.
- USB Drive (Sometimes): Older Mac models might require a USB flash drive (16GB or larger) to create the Windows installation media and drivers. Newer Macs often handle this process without needing an external drive, but it’s good to have one handy just in case.
- Power Source: Make sure your Mac is plugged into a reliable power source throughout the entire process. Interruptions can cause serious issues.
2. Gather Your Windows 10 Installation Files
You’ll need a copy of Windows 10. The easiest way to get this is to download the official Media Creation Tool from Microsoft. This tool allows you to create a bootable USB drive or download an ISO file. An ISO file is like a digital image of the installation disk. You’ll need a valid Windows 10 license key to activate Windows after installation.
- Download the Media Creation Tool: Search for “Windows 10 Media Creation Tool” on Microsoft’s website.
- Create Installation Media: Follow the on-screen prompts to either create a bootable USB drive (if needed for your Mac model) or download the ISO file to a location on your Mac (like your Desktop or Downloads folder). Choose the 64-bit version of Windows 10.
3. Back Up Your Mac!
This is non-negotiable. While Boot Camp is a safe process, any time you partition a hard drive and install a new operating system, there’s a small risk of data loss. Backing up your Mac ensures that if anything unexpected happens, you won’t lose your precious files.
- Use Time Machine: Connect an external drive and use macOS’s built-in Time Machine utility to create a full backup of your Mac.
- Manual Backup: Copy important documents, photos, and other files to an external hard drive or cloud storage.
The Genius Setup: Step-by-Step Boot Camp Installation
Now for the main event! We’ll use the Boot Camp Assistant, which is built into macOS, to guide us through partitioning your drive and preparing for the Windows installation.
Step 1: Launch Boot Camp Assistant
Boot Camp Assistant is located in your Mac’s Utilities folder. You can find it by opening Finder, clicking “Go” in the menu bar, selecting “Utilities,” and then double-clicking “Boot Camp Assistant.”
Alternatively, you can use Spotlight Search (Command + Spacebar) and type “Boot Camp Assistant” to launch it quickly.
Step 2: Configure Your Windows Partition
When Boot Camp Assistant opens, it will guide you. You’ll typically see three options:
- Create a Windows 10 or later install disk (if your Mac needs it).
- Download the latest Windows support software from Apple.
- Install Windows 10 or later.
Make sure “Install Windows 10 or later” is checked. If “Create a Windows install disk” is also checked and your Mac requires it, Boot Camp will prompt you for your USB drive. If you already have your Windows 10 ISO file ready, Boot Camp might skip the USB creation step and ask for the ISO file later.
Next, Boot Camp Assistant will ask you to partition your hard drive. This is where you decide how much space Windows will have. You’ll see a slider that lets you adjust the size of the Windows partition. Remember our recommendation: aim for at least 128GB. Drag the slider to allocate the desired space for Windows. The remaining space will stay for macOS.
Click “Install.” Boot Camp Assistant will then start preparing the partition and downloading necessary support drivers from Apple. This part can take a while, depending on your internet speed and Mac’s performance.
Step 3: Install Windows 10
Once Boot Camp Assistant finishes preparing your Mac, your computer will restart, and the Windows 10 installer should begin automatically. If it doesn’t, pay close attention to the screen prompts. You might need to press a key (like holding down the Option key during startup) to select the Windows installer drive.
Follow the on-screen instructions for the Windows 10 installation:
- Language, Time, and Keyboard Settings: Choose your preferred options and click “Next.”
- Activate Windows: You’ll be prompted for your Windows 10 product key. If you don’t have it handy or want to activate later, you can click “I don’t have a product key” and then activate it after Windows is installed. Your system will function, but some features will be limited until activated.
- Choose Installation Type: Select “Custom: Install Windows only (advanced).”
- Select the Partition: This is crucial! You’ll see a list of drives and partitions. Look for a partition labeled “BOOTCAMP.” Select it. Do NOT choose any other partition, especially your macOS partition, as this will erase your Mac data. Click “Format” on the BOOTCAMP partition. This prepares it for Windows installation.
- Start Installation: Click “Next.” Windows will now begin installing. Your Mac will restart several times during this process.
Let Windows do its thing through all the restarts. It’s preparing your system and installing essential files. Don’t interrupt this process.
Step 4: Install Boot Camp Support Software
After Windows 10 finishes installing and you complete the initial Windows setup (like creating a user account), you’ll boot into the Windows desktop. The Boot Camp installer should launch automatically. If it doesn’t, you’ll need to manually run it.
If the Boot Camp installer doesn’t start:
- Open File Explorer in Windows.
- Navigate to the USB drive (if you used one) or the drive where Boot Camp saved the Windows support software. It will likely be labeled “OSXRESERVED” or similar.
- Look for a folder named “BootCamp.”
- Open the “BootCamp” folder and double-click “Setup.exe.”
Follow the prompts to install the Boot Camp support software. This software is vital – it includes all the drivers for your Mac’s hardware (Wi-Fi, Bluetooth, sound, graphics, trackpad gestures, keyboard, etc.) to work correctly in Windows. Make sure to install everything it offers. You’ll likely need to restart your computer after the installation is complete.
Essential Windows 10 Drivers and Utilities for Your Mac
The Boot Camp support software is a package of essential drivers. Think of these as the translators that allow Windows to understand and communicate with your Mac’s hardware. Without them, things like your Wi-Fi, audio, keyboard backlight, and even screen resolution might not work properly.
When you run the Boot Camp installer, it will typically install:
- Graphics Drivers: For your Intel or AMD graphics card, ensuring optimal display performance and resolution.
- Network Drivers: For Wi-Fi and Ethernet, so you can get online.
- Audio Drivers: To get sound working from your Mac’s speakers or headphone jack.
- Input Device Drivers: For your keyboard, trackpad (including multi-touch gestures!), and any connected mouse.
- Camera Drivers: To enable your Mac’s built-in camera for video calls.
- Other Hardware Drivers: For things like Thunderbolt, USB ports, and Bluetooth.
It’s good practice to check for driver updates periodically. You can often do this through Windows Update, or sometimes Apple provides updated Boot Camp drivers through macOS Software Update if you boot back into your Mac.
How to Switch Between macOS and Windows
One of the best parts of Boot Camp is the seamless switching. You don’t have to reinstall anything to go from one OS to the other.
Method 1: Using System Preferences/Settings (from within the OS)
- In macOS: Go to System Preferences (or System Settings in newer macOS versions) > Startup Disk. Select your Windows partition (usually labeled “Bootcamp”) and click Restart.
- In Windows: Right-click the Boot Camp icon in the system tray (near the clock). Select “Restart in macOS.”
Method 2: Using the Startup Manager (during boot-up)
This is the most common and quickest way:
- Turn off your Mac completely.
- Press the power button to turn on your Mac.
- Immediately press and hold the Option (Alt) key on your keyboard.
- Keep holding the Option key until you see the Startup Manager screen, which displays icons for your available operating systems.
- Select either your macOS drive (usually Macintosh HD) or your Windows partition (labeled Bootcamp) using your mouse or arrow keys.
- Press Enter or click the arrow below the icon to boot into your chosen OS.
You can also set a default startup disk in either macOS or Windows if you find yourself using one operating system more often.
Tips for a Smooth Windows 10 Experience on Your Mac
Now that you have Windows 10 running, here are some tips to make it even better:
- Set Your Default Startup Disk: If you consistently boot into one OS, set it as the default. In macOS, it’s in System Preferences > Startup Disk. In Windows, find the Boot Camp icon in the system tray, right-click, and go to Boot Camp Control Panel > Startup Disk.
- Utilize Trackpad Gestures: The Boot Camp drivers should enable most macOS trackpad gestures in Windows, like pinch-to-zoom, two-finger scrolling, and Mission Control (usually via a three- or four-finger swipe).
- Adjust Display Settings: Windows 10 might not automatically set the optimal screen resolution. Right-click on your desktop in Windows > Display settings to adjust resolution and scaling for a comfortable view.
- Windows Updates: Keep Windows 10 updated! Go to Settings > Update & Security > Windows Update. Regular updates provide new features, bug fixes, and critical security patches.
- Manage Storage Space: Keep an eye on your Windows partition’s free space. Disk Cleanup (search for it in Windows) can help remove temporary files. Uninstall programs you no longer use.
- Backup Your Windows Installation: Just like your Mac, it’s wise to back up your Windows partition regularly, especially after installing new software or making significant changes.
Troubleshooting Common Boot Camp Issues
Even with a “genius setup,” you might run into a snag. Here are some common issues and how to fix them:
1. Wi-Fi or Bluetooth Not Working in Windows
Cause: The network drivers from Boot Camp support software didn’t install correctly or are outdated.
Fix:
- Boot back into macOS.
- Open Boot Camp Assistant (Applications > Utilities).
- Select “Download the latest Windows support software from Apple” and save it to a USB drive.
- Boot back into Windows.
- Run the Setup.exe file from the Boot Camp folder on the USB drive.
- If that doesn’t work, try running Windows Update to see if it offers updated drivers.
2. Trackpad or Keyboard Not Functioning Properly
Cause: Input device drivers are missing or corrupted.
Fix: Reinstall the Boot Camp support software as described above for Wi-Fi issues. Ensure all drivers are installed. Check if the Boot Camp Control Panel (in the Windows system tray) has options for keyboard or trackpad settings.
3. Boot Camp Partition Not Visible During Startup
Cause: The Boot Camp partition might be corrupted, or the startup disk selection is set incorrectly.
Fix:
- Hold down the Option (Alt) key during startup to see available drives. Select the “Bootcamp” drive.
- If it appears in the Option menu but doesn’t boot, try formatting and reinstalling Windows 10 on the Bootcamp partition. Remember to back up any Windows data first!
- If it doesn’t appear at all, you may need to use Boot Camp Assistant in macOS to remove/reinstall the Windows partition. Back up your Mac first!
4. Slow Performance in Windows
Cause: Insufficient storage space, background processes, or outdated drivers.
Fix:
- Check Disk Space: Open File Explorer in Windows, right-click on the C: drive, and select Properties to see how much space is available. Free up space if it’s low.
- Close Unnecessary Apps: Use Task Manager (Ctrl+Shift+Esc) to see which applications are using the most resources and close them if they aren’t needed.
- Update Drivers: Ensure all drivers, especially graphics and network drivers, are up-to-date.
- Adjust Power Settings: In Windows, search for “Power Options” and select a “High performance” plan when you need maximum speed.
Securing Your Windows 10 Installation
Security is crucial for any operating system. When running Windows 10 on your Mac via Boot Camp, you need to treat it as a separate, fully functional PC.
Essential Security Steps:
- Enable Windows Firewall: Windows Firewall is usually enabled by default, but it’s good to check. Go to Settings > Update & Security > Windows Security > Firewall & network protection.
- Keep Windows Updated: This is one of the most effective ways to stay secure. Updates often patch vulnerabilities that hackers exploit. Make sure Windows Update is set to download and install updates automatically.
- Install Antivirus Software: While Windows Security (Microsoft Defender) is quite good, some users prefer a third-party antivirus solution. Choose a reputable one and keep it updated.
- Be Cautious Online: Just like on any PC, be careful about what you click, download, and the websites you visit. Phishing attempts and malicious downloads are common threats.
- Use Strong Passwords: Secure your Windows user account with a strong, unique password. Consider Windows Hello if your Mac has the necessary hardware (like facial recognition or a fingerprint reader that Windows can access).
- Consider BitLocker (Pro versions): If you have a Windows 10 Pro or Enterprise version, consider using BitLocker drive encryption for added security, especially if you store sensitive data in Windows.
For more information on Windows security best practices, you can refer to Microsoft’s official security resources: Microsoft Security Overview.
Frequently Asked Questions About Boot Camp for Mac
Q1: Can I install Windows 11 on my Mac using Boot Camp?
A: Apple officially supports Windows 10 via Boot Camp. While some users have reported success installing Windows 11, it’s not officially supported and may involve workarounds that could lead to problems or instability. For the most reliable experience, stick to Windows 10 with Boot Camp.
Q2: How much RAM does my Mac need for Boot Camp?
A: While Apple doesn’t set a strict minimum, having at least 8GB of RAM in your Mac is highly recommended for a smooth experience running both macOS and Windows. If your Mac has 16GB or more, you’ll experience even better performance.
Q3: Can I share files between macOS and Windows on Boot Camp?
A: Yes! After installing the Boot Camp support software, Windows will be able to read both the FAT32 and exFAT formats. You can format a USB drive as exFAT and use it to transfer files, or if you partition your drive with enough space for both, Windows can often see your macOS partition, and macOS can see your Windows partition.
Q4: What happens if I don’t install the Boot Camp support software?
A: You will likely encounter issues where many of your Mac’s hardware components don’t work correctly in Windows. This includes Wi-Fi, Bluetooth, audio, graphics resolution, camera, and special keyboard/trackpad functions. It’s essential for full functionality.
Q5: Will installing Windows slow down my Mac?
A: When you are running macOS, Windows is not active, so there’s no significant slowdown. When you boot into Windows, you are using the full hardware resources of your Mac dedicated to Windows. The “slowness” you might perceive is more about Windows’ own performance on that hardware or if you’re trying to run very demanding software that pushes the limits of your Mac’s specifications.
Q6: Can I install Windows on an external hard drive using Boot Camp?
A: Boot Camp is designed to install Windows on your Mac’s internal drive. It is not designed for or supported on external drives. Attempting to do so could result in data loss or a non-functional installation.
Conclusion:
See? Setting up Boot Camp for Windows 10 on your Mac is a totally achievable task. By following these steps, you’ve successfully partitioned your drive, installed Windows 10, and set up all the necessary drivers. That means you now have the flexibility to enjoy the best of both worlds – your familiar macOS environment and the power of Windows, all on a single machine.
Remember, keeping your Windows installation secure with updates and antivirus software is just as important as it is for any other PC. With this setup, you can confidently tackle any Windows-specific task, play games, or use specialized software without needing a separate computer. You’ve got this!
.lwrp.link-whisper-related-posts{
margin-top: 40px;
margin-bottom: 30px;
}
.lwrp .lwrp-title{
}.lwrp .lwrp-description{
}
.lwrp .lwrp-list-container{
}
.lwrp .lwrp-list-multi-container{
display: flex;
}
.lwrp .lwrp-list-double{
width: 48%;
}
.lwrp .lwrp-list-triple{
width: 32%;
}
.lwrp .lwrp-list-row-container{
display: flex;
justify-content: space-between;
}
.lwrp .lwrp-list-row-container .lwrp-list-item{
width: calc(25% – 20px);
}
.lwrp .lwrp-list-item:not(.lwrp-no-posts-message-item){
max-width: 150px;
}
.lwrp .lwrp-list-item img{
max-width: 100%;
height: auto;
object-fit: cover;
aspect-ratio: 1 / 1;
}
.lwrp .lwrp-list-item.lwrp-empty-list-item{
background: initial !important;
}
.lwrp .lwrp-list-item .lwrp-list-link .lwrp-list-link-title-text,
.lwrp .lwrp-list-item .lwrp-list-no-posts-message{
}@media screen and (max-width: 480px) {
.lwrp.link-whisper-related-posts{
}
.lwrp .lwrp-title{
}.lwrp .lwrp-description{
}
.lwrp .lwrp-list-multi-container{
flex-direction: column;
}
.lwrp .lwrp-list-multi-container ul.lwrp-list{
margin-top: 0px;
margin-bottom: 0px;
padding-top: 0px;
padding-bottom: 0px;
}
.lwrp .lwrp-list-double,
.lwrp .lwrp-list-triple{
width: 100%;
}
.lwrp .lwrp-list-row-container{
justify-content: initial;
flex-direction: column;
}
.lwrp .lwrp-list-row-container .lwrp-list-item{
width: 100%;
}
.lwrp .lwrp-list-item:not(.lwrp-no-posts-message-item){
max-width: initial;
}
.lwrp .lwrp-list-item .lwrp-list-link .lwrp-list-link-title-text,
.lwrp .lwrp-list-item .lwrp-list-no-posts-message{
};
}
Related Posts
- Free Calendar Programs for Windows 10: Essential Guide
- Install Asus Touchpad Driver: Windows 11 32-Bit Guide
- Terminal Emulator Windows 10: Effortless Power
- Free Genealogy Software For Windows 10: Essential Guide
Windows 98 Theme for Win 10: Stunning Nostalgia- Epson WiFi Driver Setup: Latest Mac Version
- Download ASUS Webcam Driver for macOS 32-Bit Now!
- Intel LAN Driver for Windows 10: Best