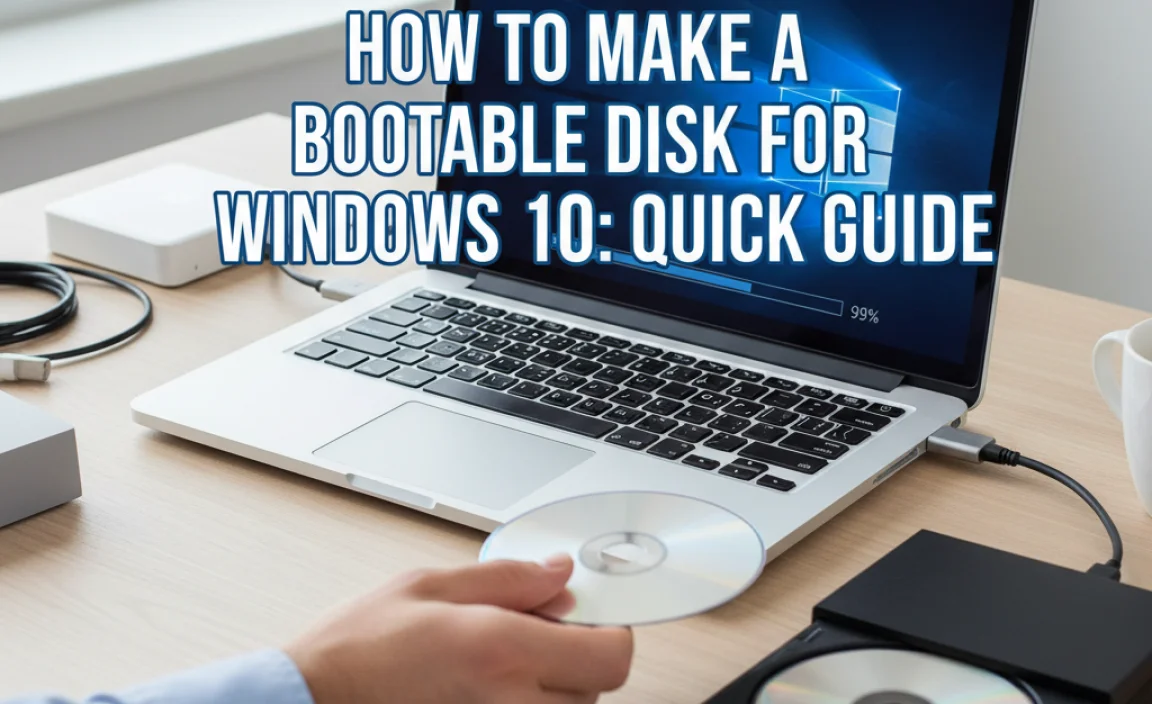
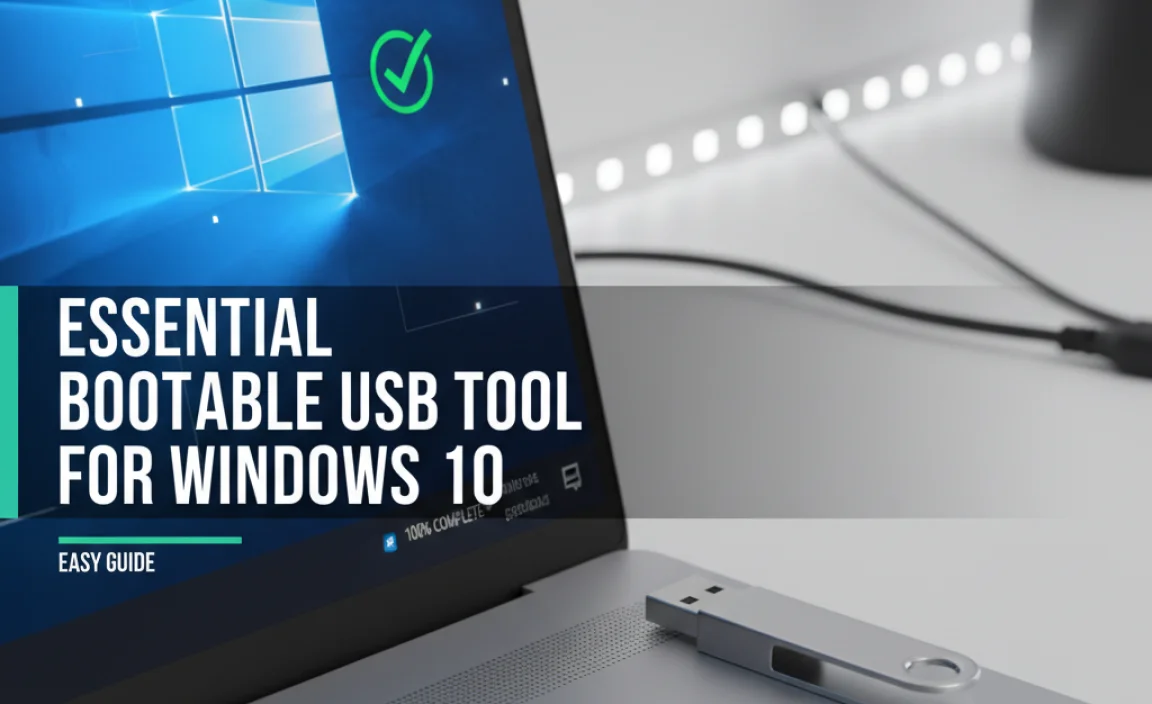
Have you ever wished to fix a computer issue quickly? Or maybe you want to install a new version of Windows? A bootable USB tool for Windows 10 can help you do just that! Imagine having your own portable solution for these tasks. How cool would that be?
Using a bootable USB tool is much easier than it sounds. You can create one in just a few quick steps. Plus, it saves time and stress. Did you know that most people can set it up in under 30 minutes? That’s less time than it takes to watch a cartoon!
In this article, we will explore the best bootable USB tools for Windows 10. We’ll share tips and tricks to make the process smooth. Whether you need a fresh start with your computer or want to troubleshoot, you are in the right place.
Essential Bootable Usb Tool For Windows 10: Easy Guide
Creating a bootable USB for Windows 10 is a useful skill. You can use it to install or repair the operating system easily. Many tools, like Rufus or the Microsoft Media Creation Tool, make this process simple. Imagine being able to fix your computer in minutes, rather than hours! Plus, a bootable USB saves space on your hard drive. With just a few clicks, you’re ready to go. Isn’t it amazing how technology can make your life easier?
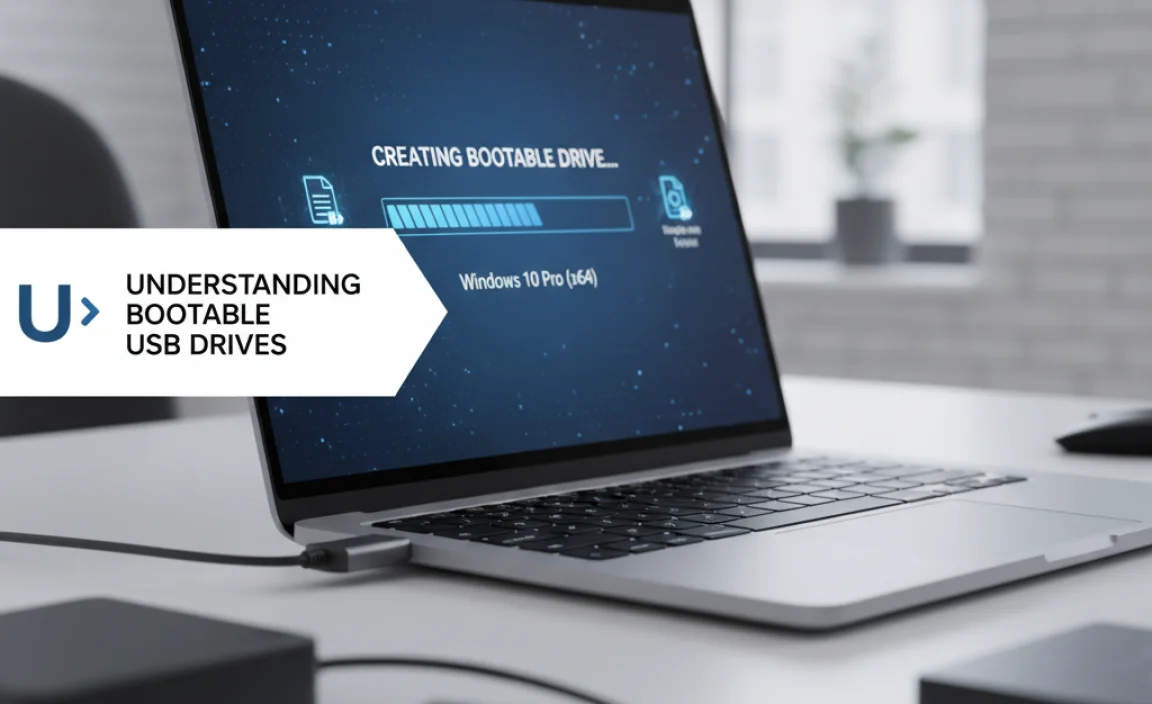
Understanding Bootable USB Drives
Definition and purpose of bootable USB drives. Advantages of using a bootable USB drive over other installation methods.
Bootable USB drives are sleek devices that let your computer start up from them instead of just plain old hard drives. Think of them as a superhero cape for your operating system! They are great for installing or repairing Windows. The advantages? They are usually faster than DVDs and you can easily carry them in your pocket. Plus, you can reuse them many times! Here’s a quick look:
| Advantages | Why It Matters |
|---|---|
| Speed | Boots up quicker than an old DVD. |
| Portability | Easy to take anywhere, like your lunch! |
| Reusability | Can be formatted and used over and over. |
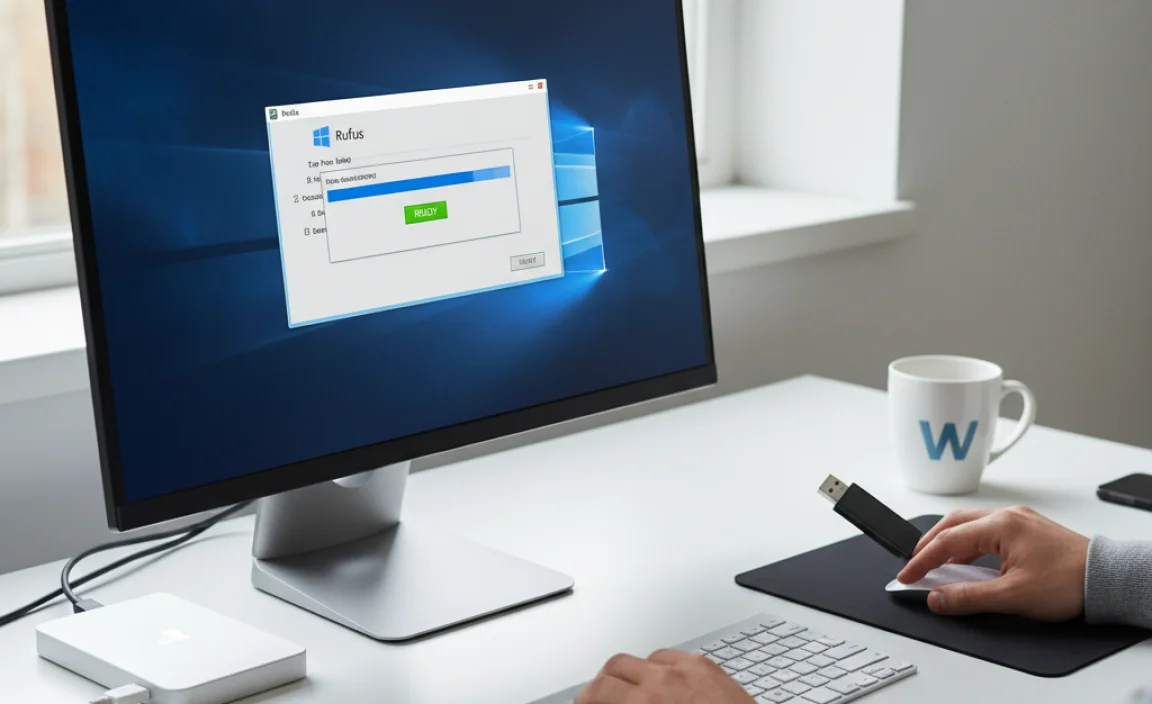
How to Create a Bootable USB Drive using Rufus
Stepbystep instructions on downloading and using Rufus. Troubleshooting common issues during the process.
Download Rufus from its official website. Once you have it, open the program. First, insert your USB drive into your computer. Rufus will show it in the Device box. Next, choose your Windows 10 image file. Click ‘Start,’ and wait for the process to finish. If you run into trouble, here are some tips:
- Make sure your USB drive is detected.
- Check if the Windows image file is not corrupted.
- Run Rufus as an administrator.
What should I do if Rufus does not recognize my USB drive?
You can try unplugging and replugging the USB drive. If that doesn’t work, use a different USB port.
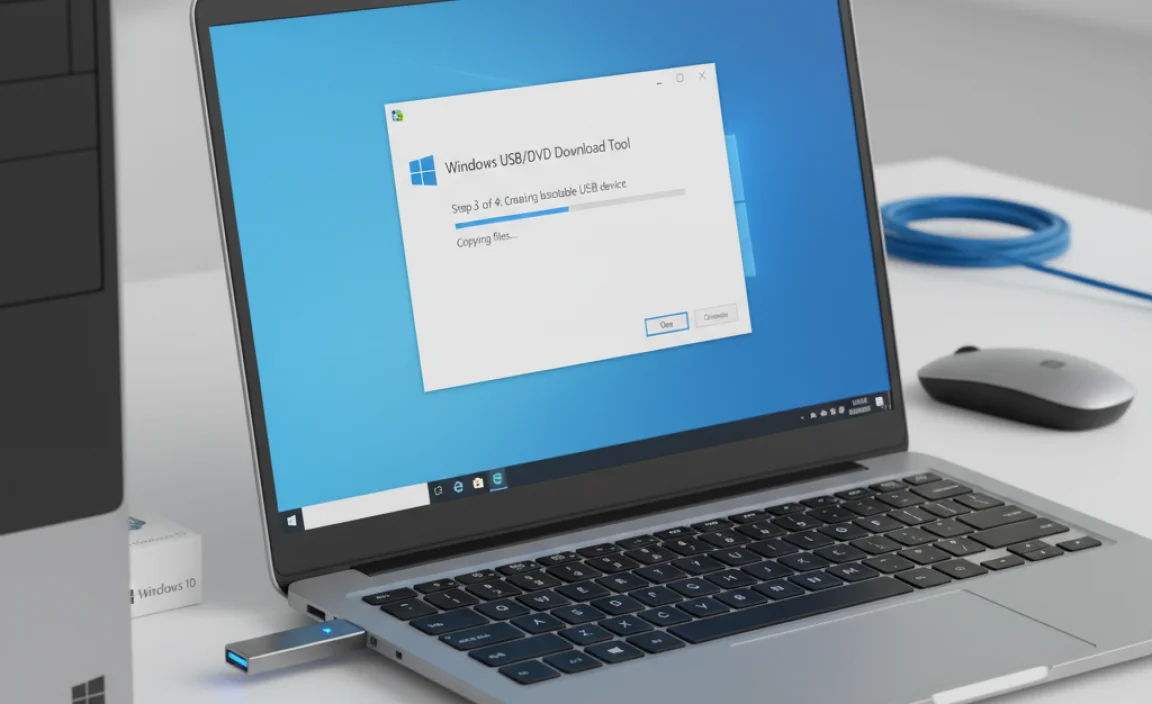
Using the Windows USB/DVD Download Tool
Detailed guide to setting up the tool for bootable media. Analysis of user experience and efficiency.
The Windows USBDVD Download Tool is simple to set up. Follow these steps to make bootable media:
- Download and install the tool from the official site.
- Launch the tool and choose either USB or DVD.
- Select the Windows 10 ISO file.
- Click “Begin copying” to create the bootable media.
User experiences show this tool is efficient. Most find it quick and easy. It helps users quickly install Windows 10. This tool often saves time compared to other methods. Enjoy a smooth setup process!
What is the USBDVD Download Tool Used For?
The USBDVD Download Tool is used to create bootable USB drives or DVDs for installing Windows 10.
Key Benefits:
- Easy to use for everyone.
- Speedy setup.
- Reliable for Windows installations.
Creating Bootable USB with Command Prompt
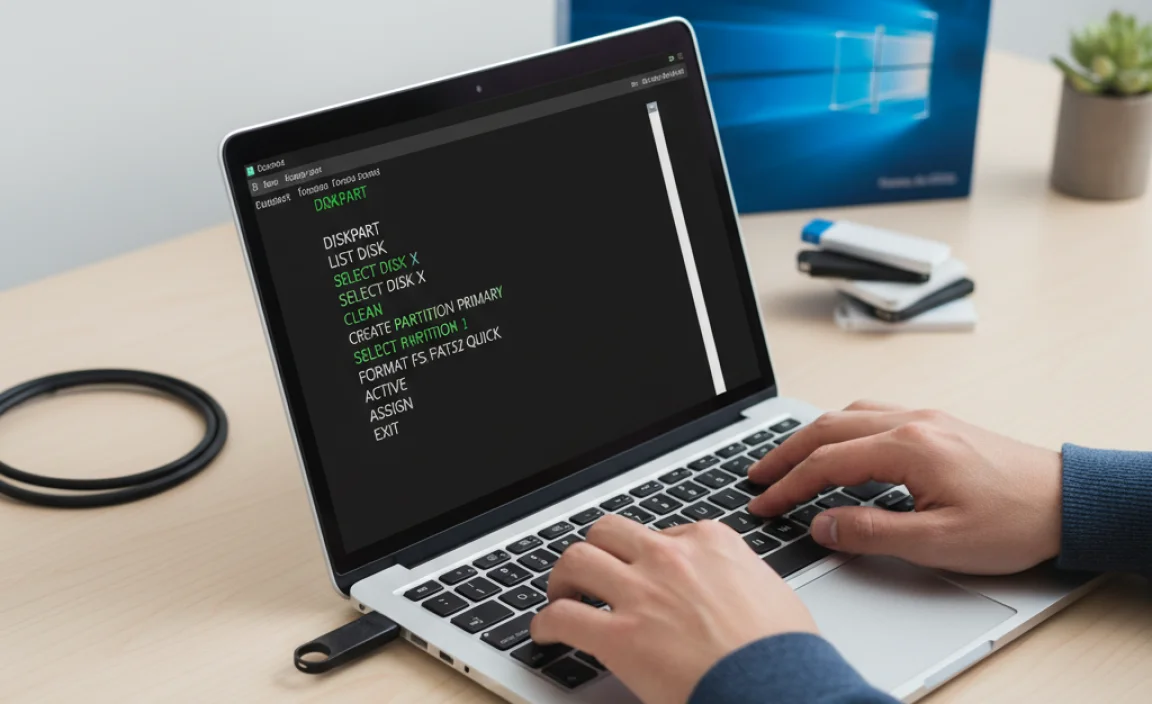
Instructions for advanced users on using Command Prompt. Best practices and tips for effective use.
If you’re feeling brave and want to create a bootable USB using Command Prompt, you’ve come to the right place! Start by opening Command Prompt as an administrator. Type in a series of commands to format, partition, and make your USB drive bootable. Remember to double-check the drive letter; you don’t want to erase your precious cat videos by mistake! Here’s a handy table to keep things clear:
| Command | Purpose |
|---|---|
| diskpart | Launches the disk partition tool. |
| list disk | Shows all connected disks. |
| select disk # | Selects the USB drive (replace # with your drive number). |
| clean | Cleans the selected disk. |
| create partition primary | Creates a new partition on the drive. |
| format fs=ntfs quick | Formats the partition to NTFS. |
| active | Marks the partition as active. |
| exit | Closes Diskpart. |
Always ensure you back up anything on the USB drive, and it’s best to use a drive dedicated to booting. You might want to slap on some snacks, though; it could get boring waiting while your USB gives you the thumbs up!
Tips for Choosing the Right Bootable USB Tool
Factors to consider: compatibility, user interface, speed. Evaluating tool performance based on user reviews and ratings.
Choosing the right bootable USB tool can make a big difference. Here are some key factors to consider:
- Compatibility: Ensure the tool works well with your version of Windows 10.
- User Interface: A simple and clear interface makes it easy to use.
- Speed: Look for tools that create USB drives quickly.
It’s also good to check how others feel about a tool. Read user reviews and ratings. Higher ratings usually mean better performance.
This information helps you choose a tool that fits your needs best.
What should I look for in a bootable USB tool?
Look for compatibility, ease of use, and speed. Good reviews also help you decide. Tools that many users like tend to work well.
Common Problems and Solutions with Bootable USB Tools
Identification of frequent issues users face. Recommended solutions and preventative measures.
Users often face a few bumps while using bootable USB tools. Common troubles include USB not detected, errors during the creation process, or even a failure to boot from the USB. Fear not! For detection issues, try a different USB port. If errors pop up, reformat the USB and start fresh. To prevent hiccups, always use reliable software and keep backups. Remember, a well-prepared USB is like a superhero—ready for action!
| Problem | Solution |
|---|---|
| USB not detected | Try another port |
| Errors during creation | Reformat USB |
| Failure to boot | Use reliable software |
Conclusion
In summary, a bootable USB tool for Windows 10 lets you create a portable installation source. This tool helps you fix problems, reinstall Windows, or run repairs. You can easily follow tutorials online to use it. Try making your own bootable USB today, and explore more resources to learn about Windows 10!
FAQs
Sure! Here Are Five Related Questions On The Topic Of Bootable Usb Tools For Windows 10:
Sure! A bootable USB tool helps you create a USB drive that can start up Windows 10 on a computer. You can use it to fix problems or install Windows. Popular tools include Rufus, Windows Media Creation Tool, and UNetbootin. Each tool has simple steps to follow. It’s fun and easy to make your own bootable USB!
Sure! Please share the question you would like me to answer.
What Are The Best Tools For Creating A Bootable Usb Drive For Windows Installation?
To create a bootable USB drive for Windows installation, you can use a few great tools. One easy option is the Windows Media Creation Tool. It helps you download Windows and put it on your USB. Another good tool is Rufus. It’s simple and works well too. Just pick the tool, follow the instructions, and you’ll be ready!
How Do You Create A Bootable Usb Drive Using The Windows Media Creation Tool?
To create a bootable USB drive, first, you need a USB stick. Then, download the Windows Media Creation Tool from the internet. Open the tool and choose “Create installation media.” Select your language and edition, then pick USB flash drive. Finally, click “Next” and wait until it finishes. Your USB drive is now ready to use!
Can I Use Third-Party Software Like Rufus Or Unetbootin To Create A Bootable Usb For Windows 1And How Do They Compare?
Yes, you can use third-party software like Rufus and UNetbootin to make a bootable USB for Windows. Rufus is usually faster and works better for many users. UNetbootin is easy to use but might have some issues with Windows. Both programs help you turn a USB stick into a tool to install Windows.
What File Format Should The Usb Drive Be Formatted In Before Making It Bootable For Windows Installation?
You should format the USB drive to FAT32. This format works well for Windows installation. It helps the computer understand the files on the drive. You can easily set this up on your computer.
What Are The Steps To Troubleshoot Common Issues When A Bootable Usb Drive Fails To Boot During Windows Installation?
First, check if the USB drive is plugged in properly. Next, make sure the computer is set to boot from the USB. You can change this in the computer’s settings called BIOS (which helps you control how your computer starts). If it still doesn’t work, try using a different USB port or a different USB drive. Finally, you might need to create the bootable USB again using the right tools.
Related Posts

Download Windows Rar For Windows 10: Fast & Easy!
Master The Snipping Tool For Windows 10: A Quick Guide
Windows 11: Check The Minimum Requirements Now!
Get Filmora Cracked Version For Windows 11 Today!