Boot Camp for Windows 10 allows you to run Windows on your Mac. This guide provides a simple, step-by-step process to install Windows 10 using Boot Camp, ensuring a smooth experience for beginners wanting to expand their Mac’s capabilities without fear.
Ever wished your powerful Mac could also run Windows applications? Maybe a specific piece of software you need for work or a game that’s only available on Windows? It can be frustrating when your favorite computer platform doesn’t play nice with everything you need.
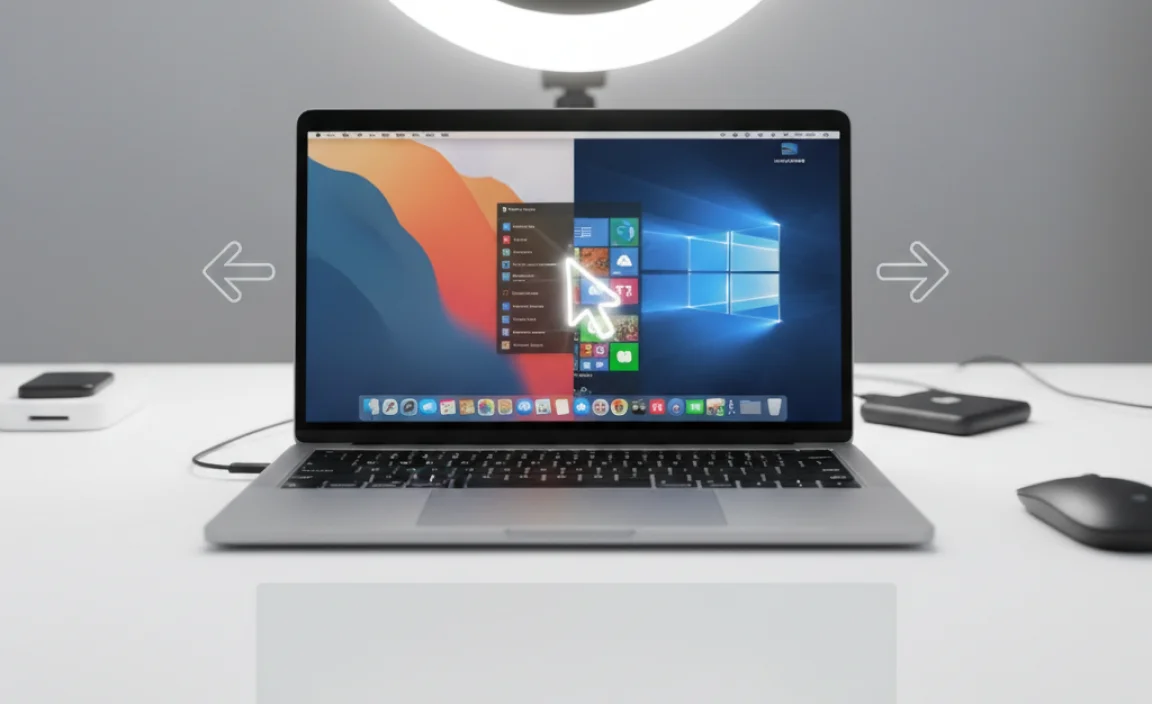
But don’t worry! You don’t need a separate PC. With Apple’s Boot Camp utility, you can install and run Windows 10 right alongside macOS. This guide is designed to make the process clear and stress-free, even if you’ve never done anything like it before. By the end, you’ll be ready to switch between operating systems like a pro! Let’s get started on unlocking your Mac’s full potential.
What is Boot Camp and Why Use It?
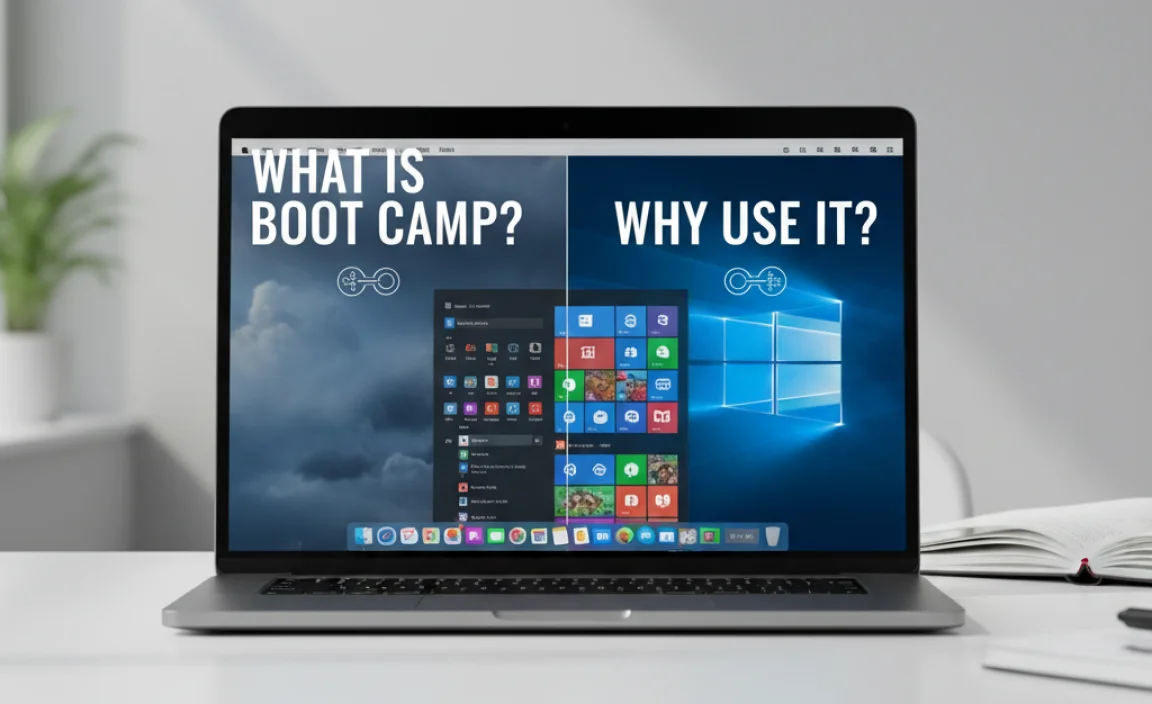
Boot Camp is a utility built right into your Mac that allows you to install Windows on a separate partition of your hard drive. Think of it like creating a dedicated space on your computer just for Windows. This means you can boot your Mac directly into Windows and use it just like any other PC. Why would you want to do this? The reasons are as varied as Mac users themselves:
- Software Compatibility: Some essential software, especially in certain professional fields like engineering, architecture, or specific business applications, might only be available for Windows.
- Gaming: While Mac gaming is growing, many popular games are still Windows-exclusive. Boot Camp is often the best way to play these titles on your Mac with optimal performance.
- Testing and Development: Developers might need to test their applications or websites on a Windows environment.
- Learning and Exploration: You might simply want to explore the Windows operating system or learn how to use it.
Using Boot Camp offers a significant advantage over virtualization software (like Parallels or VMware Fusion) because Windows runs directly on your Mac’s hardware. This means you get full, native performance, which is especially important for demanding applications and games. When you’re in Windows, your Mac is a Windows PC, and it will perform accordingly.
Before You Begin: Essential Preparations
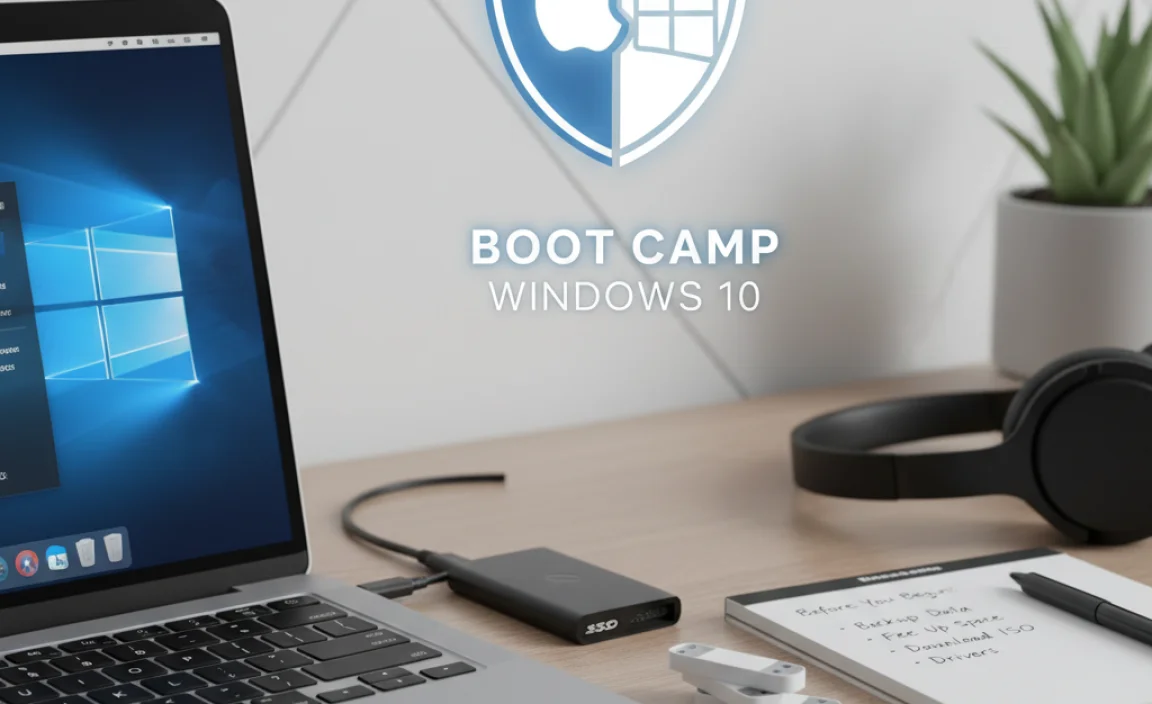
A little preparation goes a long way in making the Boot Camp installation smooth. Rushing this stage can lead to unnecessary complications. Let’s cover the crucial steps:
1. Check Your Mac’s Compatibility
Boot Camp Assistant is available on Intel-based Macs. If you have a Mac with Apple silicon (M1, M2, etc. chips), Boot Camp is not supported, and you’ll need to explore virtualization options specifically designed for Apple silicon. Most Macs released in the last decade are Intel-based and should work fine. Apple provides a detailed list of supported Macs and their driver compatibility on their support website. It’s a good idea to check this first.
Apple Support: 12 Important Things to Do Before Installing Windows on Your Mac
2. Gather Your Windows 10 Installation Media
You’ll need a Windows 10 installation file, usually in the form of an ISO disc image. You can download a legitimate Windows 10 ISO directly from Microsoft’s website. Make sure you have a valid Windows 10 license key to activate it after installation.
Download Windows 10 Disk Image (ISO File) from Microsoft
Boot Camp Assistant also needs a way to get the necessary drivers for your Mac’s hardware to work in Windows. It will typically download these for you during the process, but it’s good to be aware of this. Ensure you have a stable internet connection.
3. Free Up Disk Space
Windows 10 requires a significant amount of storage space. Microsoft recommends at least 32 GB, but for a smooth experience with updates and applications, 64 GB is a more realistic minimum. For most users, aiming for 100-120 GB or more for the Windows partition is highly recommended. Boot Camp Assistant will let you choose how much space to allocate.
4. Back Up Your Mac
This is crucial! While Boot Camp is generally safe, any partitioning operation carries a small risk. Always back up your essential data before you start. Use Time Machine or another backup solution you trust. This ensures that if anything goes wrong, you won’t lose your important files.
Apple Support: Back up your Mac with Time Machine
5. Plug In Your Mac
Ensure your Mac is connected to a power source throughout the entire process. Installing an operating system and partitioning a drive can take a considerable amount of time, and you don’t want your battery dying halfway through.
Step-by-Step: Installing Windows 10 with Boot Camp
Now that you’re prepared, let’s dive into the installation process. Boot Camp Assistant is designed to guide you through this, but understanding each step will give you more confidence.
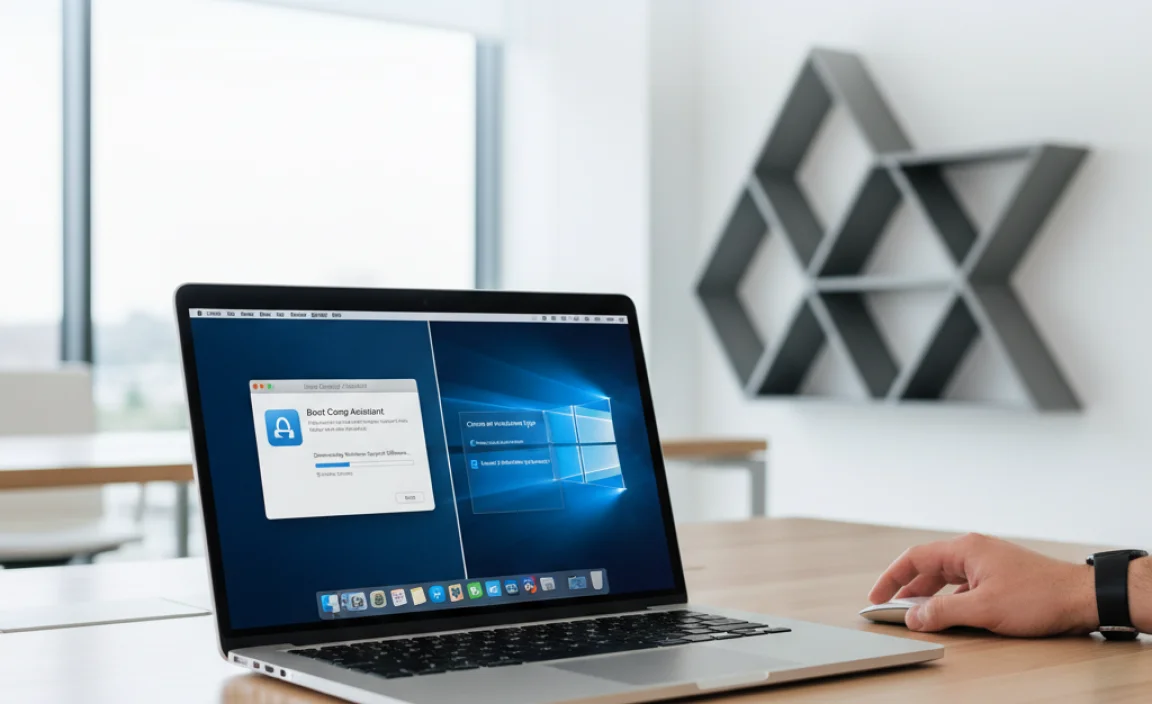
Step 1: Launch Boot Camp Assistant
From your macOS desktop, go to Applications > Utilities and open Boot Camp Assistant.
When Boot Camp Assistant opens, you’ll see an introductory screen. Click Continue.
Step 2: Select Tasks and Windows ISO
On the next screen, Boot Camp Assistant will present you with options. You’ll typically see these choices:
- Create a Windows 10 or later install disk: This option is less common now as most users have their ISO file ready.
- Install Windows 10 or later version
- Download the latest Windows support software from Apple: This is essential! This downloads drivers (special software that allows Windows to communicate with your Mac’s hardware, like Wi-Fi, graphics, keyboard, etc.)
Ensure that “Install Windows 10 or later version” and “Download the latest Windows support software from Apple” are checked. If you’ve already created a bootable USB installer, you might deselect the “Create a Windows 10 or later install disk” option.
Click Choose… next to the “ISO image” field and select the Windows 10 ISO file you downloaded from Microsoft.
Step 3: Partition Your Drive
This is where you decide how much space you want to dedicate to Windows. You’ll see a slider labeled “Macintosh HD” and “BOOTCAMP.” Drag the divider to allocate space. Remember our earlier recommendation: 100-120 GB or more for Windows is ideal. The larger the partition, the more Windows applications and updates you can install.
Once you’ve set the partition size, click Install.
Boot Camp Assistant will now start copying Windows files and creating the partition. This process can take some time. Your Mac might restart automatically multiple times.
Step 4: Windows 10 Installation
After Boot Camp Assistant finishes its preparation and potentially restarts your Mac, you’ll be greeted by the familiar Windows 10 setup screen. Follow the on-screen prompts:
- Choose your language, time, and keyboard input method.
- Click Next, then Install now.
- If prompted for a product key, you can enter it now or click “I don’t have a product key” to proceed and activate Windows later.
- When asked “Which type of installation do you want?”, choose Custom: Install Windows only (advanced).
- On the “Where do you want to install Windows?” screen, you will see several drives listed. Look for the drive labeled BOOTCAMP. Select it! It’s crucial to select the correct partition; selecting the wrong one could erase your macOS data.
- Click Format to format the BOOTCAMP partition. This prepares it for Windows installation.
- Click Next.
Windows will now begin installing. This is the longest part of the process and will involve several restarts automatically. Do NOT interrupt this process. When Windows asks you to restart, let it do so to continue the setup.
Step 5: Setting Up Windows 10
Once the Windows installation is complete, you’ll go through the initial Windows setup: creating a user account, setting up privacy settings, and configuring your personalized Windows experience.
Step 6: Install Boot Camp Support Software
After Windows 10 has finished its initial setup, it’s time to install Apple’s crucial support software (drivers). If Boot Camp Assistant didn’t automatically launch the installer, you might need to:
- Open File Explorer in Windows.
- Look for a drive labeled OSXRESERVED or a drive named after your Mac.
- Open this drive, and you should see a folder named BootCamp.
- Double-click on Setup.exe within the BootCamp folder to start the installation.
Follow the on-screen prompts to install the Boot Camp drivers. This will install all the necessary drivers for your Mac’s hardware, including Wi-Fi, sound, graphics, trackpad, keyboard, webcam, etc. This step is vital for a functional Windows experience on your Mac.
You will likely need to restart your computer after the Boot Camp support software installation is complete.
Switching Between macOS and Windows
Now that you have both operating systems installed, how do you switch between them?
Method 1: Using System Preferences/Settings (from within an OS)
To choose your startup disk:
- If you are in macOS: Go to System Preferences (or System Settings on newer macOS versions) > Startup Disk. Click the lock to make changes, select the “BOOTCAMP” (or “Windows”) drive, and click Restart.
- If you are in Windows: Open the Boot Camp control panel from the system tray (near the clock). Click on the “Boot Camp” icon, then go to the “Startup Disk” tab. Select your macOS drive and click Apply, then Restart.
Method 2: Using the Startup Manager (at boot time)
This is often the quickest way to choose which OS to boot into:
- Shut down your Mac completely. Ensure it’s powered off, not just sleeping.
- Turn on your Mac and immediately press and hold the Option (Alt) key on your keyboard. Keep holding it down.
- Continue holding the Option key until you see the Startup Manager screen, which displays icons for your available bootable drives (usually “Macintosh HD” or your macOS name, and “Windows” or “BOOTCAMP”).
- Use your mouse or arrow keys to select “Windows” or “BOOTCAMP” and press Enter to boot into Windows, or select your macOS drive to boot into macOS.
Important Note: For the Option key method to work, you might need to configure your Mac’s Startup Disk preference to point to your macOS drive. If you forget this, you might always boot into the last-used OS. Adjusting the Startup Disk in macOS to your main macOS partition is usually the simplest way to ensure the Option key method works as expected for selecting your other OS.
Troubleshooting Common Boot Camp Issues
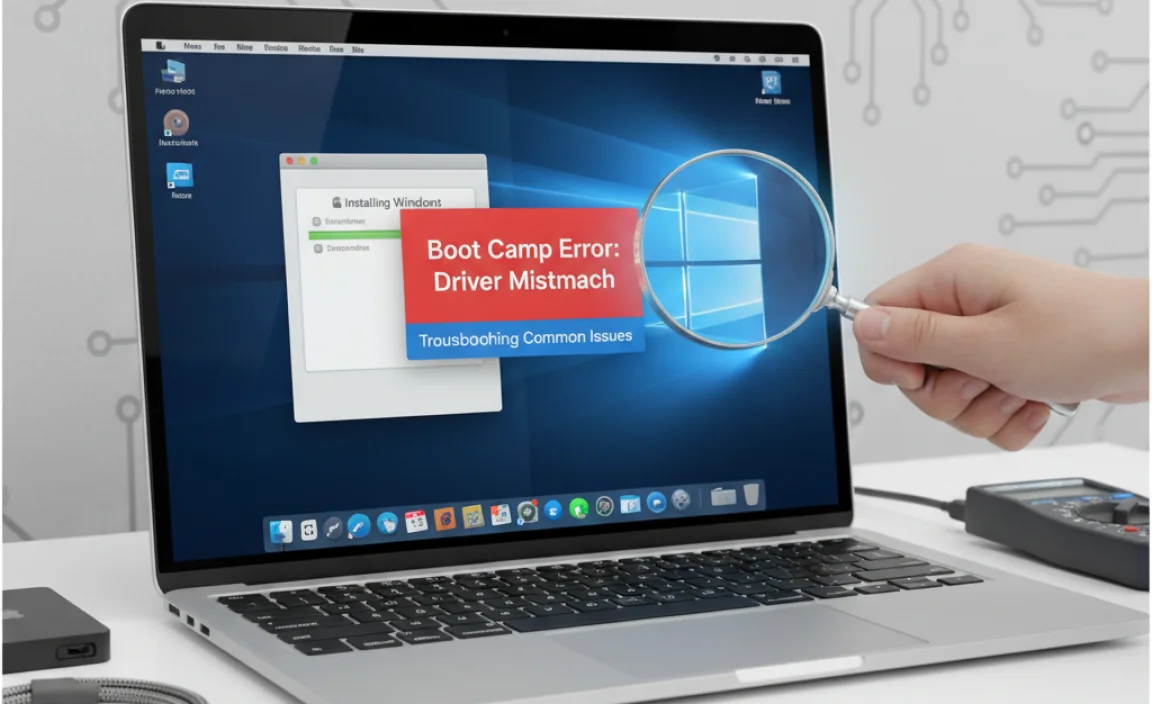
Even with meticulous preparation, you might encounter a hitch. Here are a few common problems and their fixes.
Issue: Wi-Fi or Bluetooth Not Working in Windows
Cause: The Boot Camp support software for wireless drivers wasn’t installed correctly or is missing.
Fix: Restart your Mac, and hold down the Option (Alt) key to boot into macOS. Open Boot Camp Assistant again. It should detect that you have Windows installed and offer to download the latest Windows support software. Save this to a USB drive. Then, boot back into Windows, open the USB drive, find the BootCamp folder, and run Setup.exe again.
Issue: Screen Resolution is Incorrect
Cause: Display drivers are not installed or not functioning properly.
Fix: Ensure the Boot Camp support software (especially graphics drivers) is installed from the Boot Camp folder on your USB drive (as described above). After reinstallation and a restart, Windows should automatically adjust to your Mac’s native screen resolution.
Issue: Trackpad and Keyboard Functionality Problems
Cause: Similar to Wi-Fi, the specific drivers for these input devices might not have installed correctly.
Fix: Reinstall the Boot Camp support software from the USB drive. This utility includes drivers for all your Mac’s integrated hardware.
Issue: Windows Update Fails or is Slow
Cause: Often related to network drivers or insufficient disk space.
Fix: First, ensure your network drivers are working correctly. If they are, check your Windows partition’s free space. If it’s tight, consider deleting unnecessary files or applications in Windows, or resizing the partition in macOS via Boot Camp Assistant (if you have ample free space at the end of your Mac’s drive). You may need to allocate more space to your Windows partition from macOS if it’s consistently too small.
Issue: Boot Camp Assistant Not Showing Install Option
Cause: Might be due to a corrupted download of the Windows ISO, a low-quality USB drive if you’re creating one, or it’s trying to use an unsupported Windows version.
Fix: Download a fresh copy of the Windows 10 ISO directly from Microsoft. Ensure you are using a supported version of Windows 10 (e.g., not an Insider build that’s very old or unstable). If you’re using a USB drive for installation media, try a different, reliable USB drive.
Essential Windows 10 Drivers for Mac
It’s worth reiterating the importance of the Boot Camp Support Software. These aren’t just random drivers; they are specifically designed by Apple to make your Mac’s hardware compatible with Windows. When you install them, you’re equipping your Windows environment with the necessary tools to recognize and utilize components like:
| Hardware Component | Boot Camp Driver Function |
|---|---|
| Graphics Card (GPU) | Enables high-resolution displays, smooth graphics, and hardware acceleration for games and video. |
| Wi-Fi and Bluetooth | Allows you to connect to networks and wireless peripherals. |
| Audio | Ensures sound works through your Mac’s speakers and headphone jack. |
| Webcam | Makes your built-in camera available for video calls and other applications. |
| Keyboard Backlight & Function Keys | Allows special keys (like brightness, volume, F-keys) to work correctly. |
| Trackpad | Enables multi-touch gestures and precise cursor control. |
| Thunderbolt/USB Ports | Ensures proper functionality of all your ports. |
Always prioritize installing the latest Boot Camp Support Software provided by Apple for your specific Mac model and Windows version. You can find more information and download links on Apple’s support site.
Security and Maintenance in Windows 10
Once Windows 10 is up and running, just like on any PC, you need to think about security and keeping it running smoothly.
Windows Security Essentials
Windows 10 comes with built-in security features that are quite robust:
- Windows Security (Defender Antivirus): This provides real-time protection against viruses, malware, and other threats. Ensure it’s turned on and running. It updates automatically through Windows Update.
- Windows Firewall: This helps protect your computer from unauthorized access over the internet. It should be enabled by default.
- User Account Control (UAC): This feature prompts you for permission before making changes that require administrator privileges, helping to prevent malicious software from making changes without your knowledge.
For extra peace of mind, consider supplementing with renowned security tools:
- Malwarebytes: Excellent for detecting and removing stubborn malware that traditional antivirus might miss. Windows users often use it as a second layer of defense. You can download directly from Malwarebytes.org.
- Reputable Password Manager: Tools like LastPass, Bitwarden, or 1Password can help you create and manage strong, unique passwords for all your online accounts, significantly enhancing your security.
It’s also smart to be cautious about what you download and which links you click, regardless of your operating system. When in doubt, don’t open it!
CISA: Phishing Awareness Resources
Keeping Windows 10 Updated
Regular updates are critical for both security and performance. Windows Update delivers:
- Security Patches: These fix vulnerabilities that could be exploited by attackers.
- Bug Fixes: These resolve glitches and improve system stability.
- Feature Updates: These introduce new functionalities and improvements to Windows.
You can find Windows Update in Settings > Update & Security > Windows Update. It’s a good practice to check for updates regularly and install them. You can even set Windows to install them automatically outside of your active hours.
Maintaining Your Windows Partition
Just like your macOS partition, your Windows partition benefits from occasional maintenance:
- Disk Cleanup: Use the built-in Disk Cleanup tool to remove temporary files, old update files, and other junk that accumulates over time. Search for “Disk Cleanup” in the Windows search bar.
- Defragmentation (for HDDs): If your Windows partition is on a traditional hard drive (not an SSD), defragmenting it can improve performance. Search for “Defragment and Optimize Drives.” SSDs do not need defragmentation.
- Uninstall Unused Programs: Regularly review your installed programs and uninstall anything you no longer need. This frees up disk space and can improve system responsiveness.
Frequently Asked Questions (FAQ)
Q1: Can I run Boot Camp on my newer Mac with an Apple silicon chip (M1, M2, etc.)?
A: No, Boot Camp is only supported on Intel-based Macs. For Apple silicon Macs, you’ll need to use virtualization software like Parallels Desktop, which is designed to run the ARM version of Windows.
Q2: Do I need to buy a license for Windows 10 if I install it with Boot Camp?
A: Yes, you need a valid Windows license. While Boot Camp Assistant helps you install the operating system, it doesn’t provide a license. You can enter your product key during or after installation to activate Windows.
Q3: How much disk space should I allocate for Windows?
A: Microsoft recommends a minimum of 32 GB, but for a comfortable experience with applications and updates, 100-120 GB or more is highly recommended. The more space, the better your Windows experience will be.
Q4: What happens if I accidentally erase my macOS partition while installing Windows?
A: If you have a recent backup using Time Machine or another method, you can restore your macOS data. During the Boot Camp installation, you must select the partition labeled “BOOTCAMP” and format it. Do NOT format any partition labeled “Macintosh HD” or similar if you wish to keep your macOS data.
Q5: Can I share files between macOS and Windows after installing Boot Camp?
A: Yes. When booted into Windows, you can access your macOS partition (though you can’t write to it without third-party tools). When booted into macOS, you can access your Windows partition (labeled “BOOTCAMP”) directly. However, it’s often easiest to use a shared folder or cloud storage (like Dropbox, Google Drive, iCloud Drive) for seamless file exchange.
Q6: Is it safe to update Windows 10 while it’s running in Boot Camp?
A: Yes, it is generally safe, but it’s wise to ensure you have a recent backup of your Mac. Major Windows updates can sometimes cause issues with Boot Camp drivers, so it’s always a good idea to download the latest Boot Camp Support Software from Apple after a significant Windows update, just in case.
Conclusion
Installing Windows 10 on your Mac using Boot Camp is a powerful way to expand your computing capabilities without needing a second computer. By following these straightforward steps, from preparing your Mac to the final driver installation, you can confidently set up a fully functional Windows environment. Remember the importance of backing up your data and ensuring you’ve allocated sufficient disk space. With its built-in security features and the habit of regular updates, your Windows 10 partition will be a reliable and secure addition to your Mac. You’ve got this!
.lwrp.link-whisper-related-posts{
margin-top: 40px;
margin-bottom: 30px;
}
.lwrp .lwrp-title{
}.lwrp .lwrp-description{
}
.lwrp .lwrp-list-container{
}
.lwrp .lwrp-list-multi-container{
display: flex;
}
.lwrp .lwrp-list-double{
width: 48%;
}
.lwrp .lwrp-list-triple{
width: 32%;
}
.lwrp .lwrp-list-row-container{
display: flex;
justify-content: space-between;
}
.lwrp .lwrp-list-row-container .lwrp-list-item{
width: calc(25% – 20px);
}
.lwrp .lwrp-list-item:not(.lwrp-no-posts-message-item){
max-width: 150px;
}
.lwrp .lwrp-list-item img{
max-width: 100%;
height: auto;
object-fit: cover;
aspect-ratio: 1 / 1;
}
.lwrp .lwrp-list-item.lwrp-empty-list-item{
background: initial !important;
}
.lwrp .lwrp-list-item .lwrp-list-link .lwrp-list-link-title-text,
.lwrp .lwrp-list-item .lwrp-list-no-posts-message{
}@media screen and (max-width: 480px) {
.lwrp.link-whisper-related-posts{
}
.lwrp .lwrp-title{
}.lwrp .lwrp-description{
}
.lwrp .lwrp-list-multi-container{
flex-direction: column;
}
.lwrp .lwrp-list-multi-container ul.lwrp-list{
margin-top: 0px;
margin-bottom: 0px;
padding-top: 0px;
padding-bottom: 0px;
}
.lwrp .lwrp-list-double,
.lwrp .lwrp-list-triple{
width: 100%;
}
.lwrp .lwrp-list-row-container{
justify-content: initial;
flex-direction: column;
}
.lwrp .lwrp-list-row-container .lwrp-list-item{
width: 100%;
}
.lwrp .lwrp-list-item:not(.lwrp-no-posts-message-item){
max-width: initial;
}
.lwrp .lwrp-list-item .lwrp-list-link .lwrp-list-link-title-text,
.lwrp .lwrp-list-item .lwrp-list-no-posts-message{
};
}