
Have you ever wondered why your PC sometimes feels slow? It could stem from the BIOS setting for Windows 11. Most people have heard of the BIOS, but they don’t know what it does. The Basic Input/Output System is like the brain of your computer before Windows starts up.
Imagine you’re a race car driver. You wouldn’t want your car running with settings below its best performance. The same goes for your PC. Optimizing the BIOS can speed up your computer and make it run smoother. Did you know that a simple tweak in the BIOS setting can make a big difference in how fast Windows 11 starts?
This article will guide you through the important BIOS settings. You’ll learn how to improve your computer’s performance with just a few simple steps. So, let’s dive in and unlock your PC’s full potential!
Essential Bios Setting For Windows 11 Performance Optimization
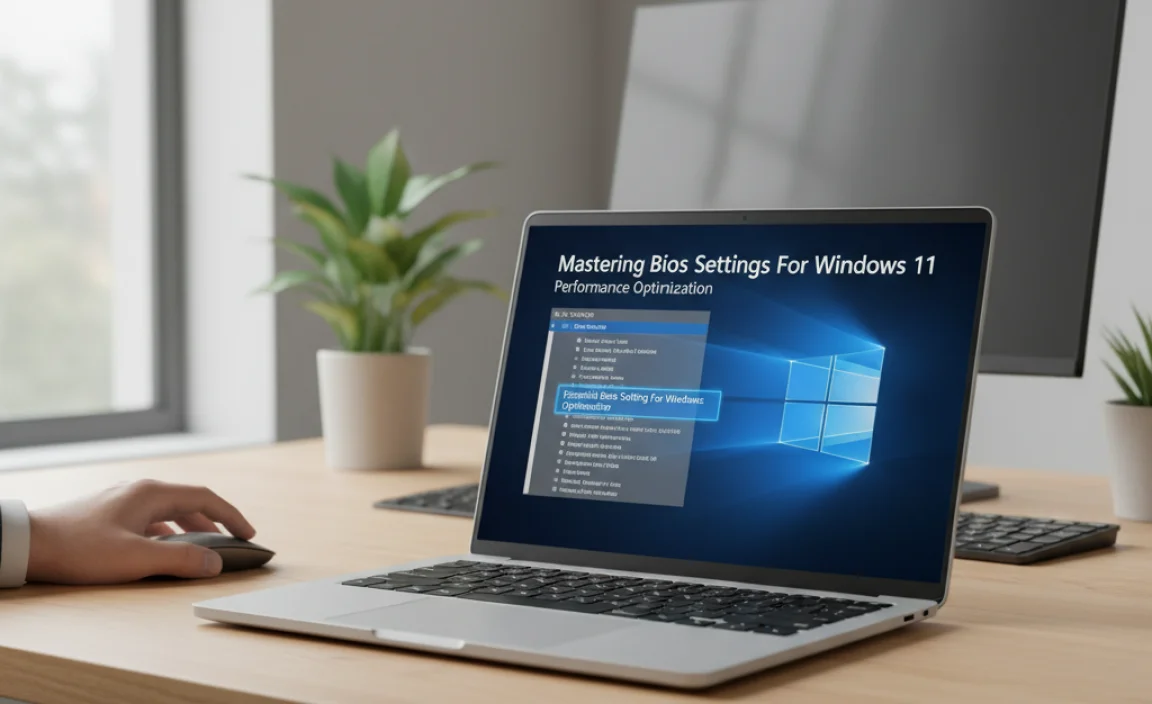
Bios Setting for Windows 11
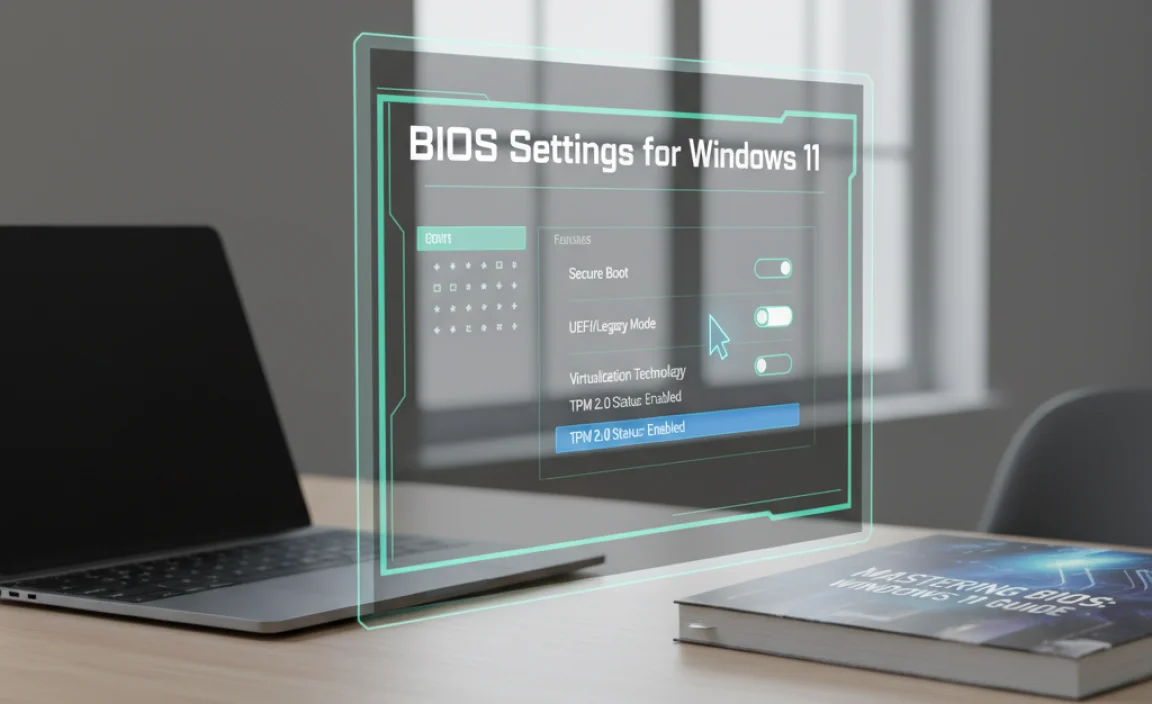
The BIOS setting for Windows 11 is a crucial step for every user. It helps manage hardware and system settings. Do you know that improper BIOS settings can cause startup issues? Users can access BIOS by pressing a specific key during boot. Here, they can enable virtualization for better gaming performance or secure boot for improved security. Understanding these settings can make your computer run smoother and safer. How cool is that?
Understanding BIOS and Its Importance for Windows 11

Definition and role of BIOS in computer systems. How BIOS interacts with Windows 11 at startup.
BIOS stands for Basic Input/Output System. It is the software that starts your computer. Before Windows 11 can run, BIOS checks the hardware, like the keyboard and hard drive, to make sure everything works. This process is called the boot process. Without BIOS, your computer cannot load the operating system.
Here are some key points about BIOS:
- It initializes computer hardware.
- It prepares your system for the operating system.
- It allows users to change hardware settings.
So, BIOS is vital for making sure Windows 11 starts up properly!
What does BIOS do for Windows 11?
BIOS helps Windows 11 load by checking the system parts are ready. It makes sure everything works correctly before Windows 11 takes over.
Accessing the BIOS Menu in Windows 11
Stepbystep guide to enter BIOS on different manufacturers (Dell, HP, Lenovo, etc.). Tips for navigating the BIOS interface.
Entering the BIOS menu varies by computer brand. Here’s how to do it for some popular manufacturers:
- Dell: Restart the computer and press F2 repeatedly as soon as you see the Dell logo.
- HP: Restart and press Esc key, then F10 to enter BIOS.
- Lenovo: Restart and press F1 or F2 quickly after turning it on.
To navigate the BIOS interface:
- Use arrow keys to move.
- Press Enter to select.
- Use Esc to go back.
Following these steps helps you access settings easily. Learning BIOS can improve your computer skills!
How do I know if I entered the BIOS successfully?
If you see a blue or gray screen with options for settings, you have entered BIOS successfully. Look for words like “Setup” or “Configuration.” This means you’re in the right place!
Key BIOS Settings for Optimal Windows 11 Performance
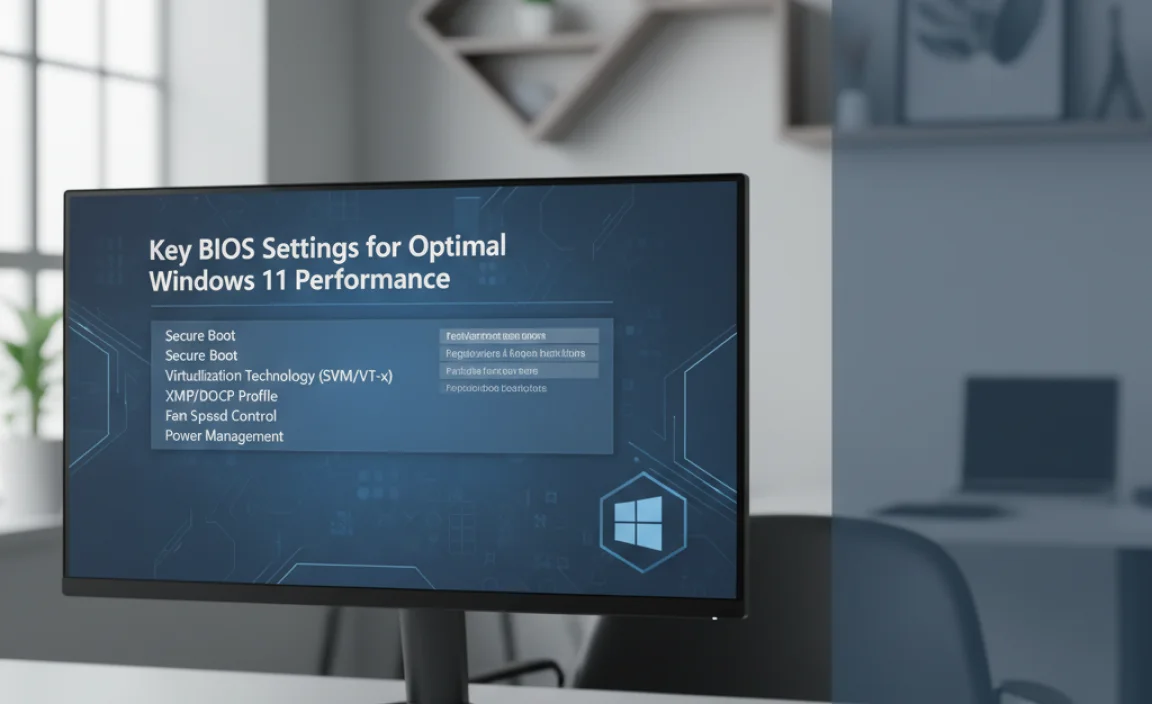
Recommended settings for optimal boot speed. Configuring memory settings for Windows 11.
For better boot speed, change the boot order in BIOS. Set your main drive to boot first. This makes your computer start faster. Next, adjust your memory settings. Ensure your RAM is set to its best speed. This supports Windows 11’s efficiency. Follow these simple steps:
- Set boot device priority to SSD or main hard drive.
- Enable Fast Boot option.
- Configure memory speed settings to match RAM specifications.
These changes help your PC run smoothly and quickly.
What BIOS settings improve Windows 11 performance?
For better performance, set your boot device priority to your SSD and adjust memory settings to optimal speeds.
Enabling Secure Boot in BIOS for Windows 11
Explanation of Secure Boot and its benefits. Instructions to enable Secure Boot and its requirements.
Secure Boot helps make your computer safer. It checks if the software is trustworthy when you start your PC. This feature prevents harmful programs from running. Enabling Secure Boot can protect your files and personal data.
To turn on Secure Boot, follow these steps:
- Restart your computer.
- Enter the BIOS settings by pressing a specific key (like F2 or Delete).
- Look for Secure Boot in the Boot or Security menu.
- Change the setting to “Enabled.”
- Save and exit the BIOS.
Make sure your computer supports UEFI mode. Secure Boot will not work on devices using the older BIOS system. Once enabled, enjoy a safer Windows 11 experience!
What is Secure Boot?
Secure Boot ensures that only known and trusted programs can load during startup, improving your computer’s security.
How to enable Secure Boot in BIOS?
Steps to Enable Secure Boot:
- Restart your device and access BIOS.
- Find the Secure Boot option.
- Set it to Enabled, then save the changes.
Adjusting Boot Order in BIOS for Windows 11
Importance of boot order for system performance. Detailed steps to change the boot priority list.
Managing the boot order is like deciding who gets the first slice of pizza. It’s important for making your system work faster. The right order helps your computer load Windows 11 smoothly. To change the boot priority, first, restart your PC and press the key to enter BIOS (usually F2 or Delete). Navigate to the Boot menu, then use the arrow keys to prioritize devices like your hard drive or USB. Save and exit. Easy-peasy!
| Step | Action |
|---|---|
| 1 | Restart your PC |
| 2 | Press F2 or Delete |
| 3 | Go to the Boot menu |
| 4 | Set your boot priority |
| 5 | Save and exit |
Troubleshooting Common BIOS Issues Related to Windows 11
Identifying signs of BIOS problems affecting Windows 11. Solutions for common BIOSrelated issues and errors.
Feeling like your computer has a mind of its own? It could be a BIOS issue. Watch for signs like strange error messages or trouble booting up. These can signal BIOS problems affecting Windows 11. Solutions are often simpler than they seem! A quick restart can sometimes do the trick. If not, check your BIOS settings. They can be tricky to find, like hiding from a game of hide and seek. Remember, the right settings can keep your PC happy!
| Problem | Solution |
|---|---|
| Strange error messages | Reset BIOS to default settings |
| Can’t boot Windows 11 | Check the boot order |
BIOS glitches? Don’t worry. With a little patience and these tips, you can get Windows 11 running smoothly!
Updating BIOS for Compatibility with Windows 11
Importance of keeping BIOS updated for optimal performance. Steps to check for BIOS updates and how to install them.
Updating BIOS is crucial for the best performance of your computer. An updated BIOS helps it work smoothly with Windows 11. Here’s how you can check and update it:
- Visit your computer or motherboard maker’s website.
- Look for the support or downloads section.
- Find your model number and check for BIOS updates.
- Download the latest version.
- Follow the provided instructions to install.
Keeping BIOS updated improves speed and compatibility. It’s like giving your computer a tune-up!
Why Is BIOS Update Important?
Updating BIOS boosts computer performance and fixes bugs. It ensures your hardware works well with new software. This is especially important with new systems like Windows 11.
How to Know If You Need an Update?
- Check if your PC runs slowly.
- Look for error messages during startup.
- New features might not work properly.
Remember, staying updated keeps your computer happy and fast!
Resetting BIOS to Default Settings
Situations where resetting BIOS is beneficial. Guidelines to revert to factory settings safely.
Sometimes, your computer gets a bit grumpy and needs a reset. Resetting the BIOS to factory settings can help solve issues like boot problems or strange hardware behavior. It’s like giving your computer a nice cup of hot cocoa! Follow these simple steps to get it right:
| Steps | Details |
|---|---|
| 1. Enter BIOS | Restart the computer and press the correct key (usually F2, DEL, or ESC). |
| 2. Find Reset Option | Look for ‘Load Setup Defaults’ or ‘Restore Factory Settings’. |
| 3. Confirm | Choose ‘Yes’ and save changes before exiting. Voila! |
This reset can be like a magic spell for fixing weird glitches. Just remember, it resets everything, so you might need to set your preferences again. Happy computing!
Safety Precautions While Configuring BIOS for Windows 11
Best practices and precautions to prevent damage. Importance of understanding settings before making changes.
Changing BIOS settings can feel a bit like juggling flaming torches—exciting but risky. First, always document what you change. This way, if things go sideways, you can easily revert to your original settings. Understanding your BIOS is crucial; each setting affects how your computer runs. Be gentle! A simple mistake can cause your system to stutter or crash. Remember: the last thing you want is a computer that acts worse than a toddler after nap time!
| Best Practices | Notes |
|---|---|
| Backup Data | Always save important files before tinkering. |
| Check Settings | Know what each option does to avoid mishaps. |
| Document Changes | Write down changes for easy recovery. |
Following these steps can help keep your computer safe and sound. Remember, curiosity is great, but safety first!
Conclusion
In summary, the BIOS settings for Windows 11 are important for your computer’s performance. You can manage startup options, boot order, and hardware settings here. Understanding these settings helps you troubleshoot issues. If you want to explore more, check online guides or videos for step-by-step instructions. Take charge of your PC and make it work better for you!
FAQs
Here Are Five Questions Related To Bios Settings For Windows 11:
Sure! Please share the specific questions about BIOS settings for Windows 11, and I’ll be happy to help you with short answers!
Sure! Please provide the question you would like me to answer.
**How Do I Access The Bios On My Computer To Configure Settings For Windows 11?**
To access the BIOS on your computer, restart your computer. As it starts up, keep pressing the right key. This key is usually F2, F12, or DEL. Check your computer’s manual or the screen for hints. Once you’re in the BIOS, you can change settings to help Windows 11 run better.
**What Specific Bios Settings Should I Enable Or Disable To Optimize Performance For Windows 11?**
To optimize performance for Windows 11, you can change a few settings in the BIOS. First, enable “XMP” to make your RAM (memory) work faster. You can also enable “Secure Boot” to keep your system safe. If there’s an option for “Fast Boot,” turn that on too; it helps your computer start quickly. Just remember to save your changes before you exit the BIOS!
**Is Secure Boot Necessary For Windows To Run Properly, And How Can I Enable It In The Bios?**
Secure Boot helps make sure your computer starts safely. It’s not absolutely necessary for Windows to run, but it adds extra protection. To enable it, you need to restart your computer and go into the BIOS settings. Look for “Secure Boot” in the menu and change it to “Enabled.” Save your changes and restart your computer again.
**Can Adjusting The Boot Order In The Bios Impact The Installation Of Windows On My Pc?**
Yes, changing the boot order in the BIOS can help install Windows on your PC. The boot order tells your computer where to look first for startup instructions. If you set it to your USB drive or DVD with Windows, it will start from there. This way, you can install Windows easily. If the order is wrong, your PC might not find the Windows installer.
**What Are The Implications Of Disabling Legacy/Csm Support In The Bios When Installing Windows 11?**
Disabling Legacy/CSM support in the BIOS means your computer will only use modern technology. This can make Windows 11 faster and safer. However, it may cause older programs or devices to stop working. You might need to update your software or hardware to make everything work well together.