Have you ever wondered how to store your data easily? If yes, you’re not alone! Many people want a simple way to manage their information on Windows 11. That’s where SQLite comes in. SQLite is a powerful tool that helps you save and retrieve data smoothly.
Downloading SQLite for Windows 11 is pretty easy, and it opens up a world of possibilities. Imagine being able to create your own apps or organize your files efficiently. Doesn’t that sound exciting? In fact, developers love using SQLite because it is lightweight and fast.
But what if you don’t know where to start? Don’t worry! This article will guide you on the best way to download and install SQLite on Windows 11. Get ready to unlock the full potential of your machine!
Sqlite Download For Windows 11: A Simple Guide
SQLite Download for Windows 11
Want to manage your data easily? Downloading SQLite for Windows 11 can help! This free tool lets you create and work with databases right on your computer. It’s lightweight and user-friendly, making it perfect for beginners. Did you know that SQLite is used in many popular apps, like WhatsApp and Firefox? With its simple setup, you can start exploring databases in no time. Enjoy the power of data management with SQLite!
What is SQLite?
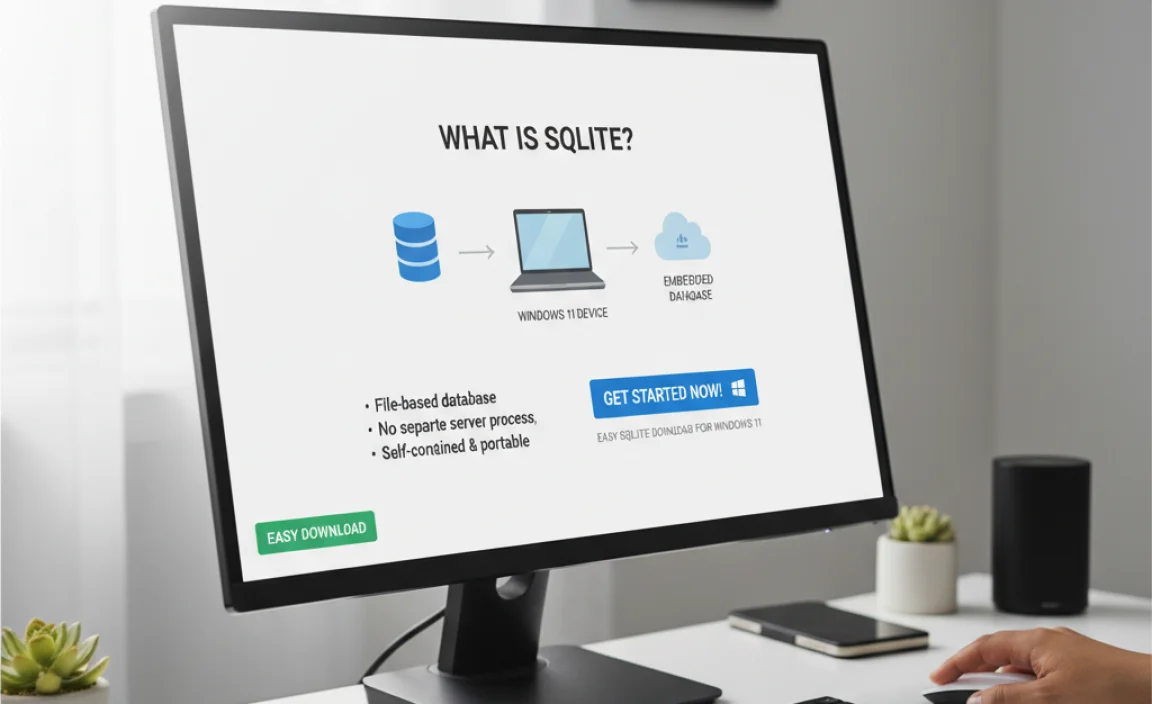
Definition and purpose of SQLite. Key features and benefits for developers.
SQLite is a clever little tool that helps apps store and manage data. It’s like a tiny library where information is kept in an organized way. Developers love it for its speed and ease of use! With SQLite, you get zero configuration, which means you can dive right into coding without wasting time setting things up. It’s lightweight, which is great for apps that don’t need a heavy server. Plus, it makes data handling feel as easy as pie!
| Key Feature | Benefit |
|---|---|
| Self-contained | No need for separate software! |
| Serverless | Less hassle for developers! |
| Cross-platform | Works on many devices! |
Why Use SQLite on Windows 11?

Advantages of using SQLite in Windows 11 environment. Use cases and applications of SQLite in modern software development.
Using SQLite on Windows 11 can be a game-changer for developers. This lightweight database runs smoothly without needing a server. It’s perfect for apps that require fast data storage. Programmers love its simplicity and speed. Plus, it’s great for mobile apps and games. So, if you want to create something cool without headaches, SQLite might just be your secret weapon!
| Advantages | Use Cases |
|---|---|
| Lightweight and easy to set up | Mobile apps |
| Fast data access | Web applications |
| No need for a server | Games |
System Requirements for SQLite on Windows 11
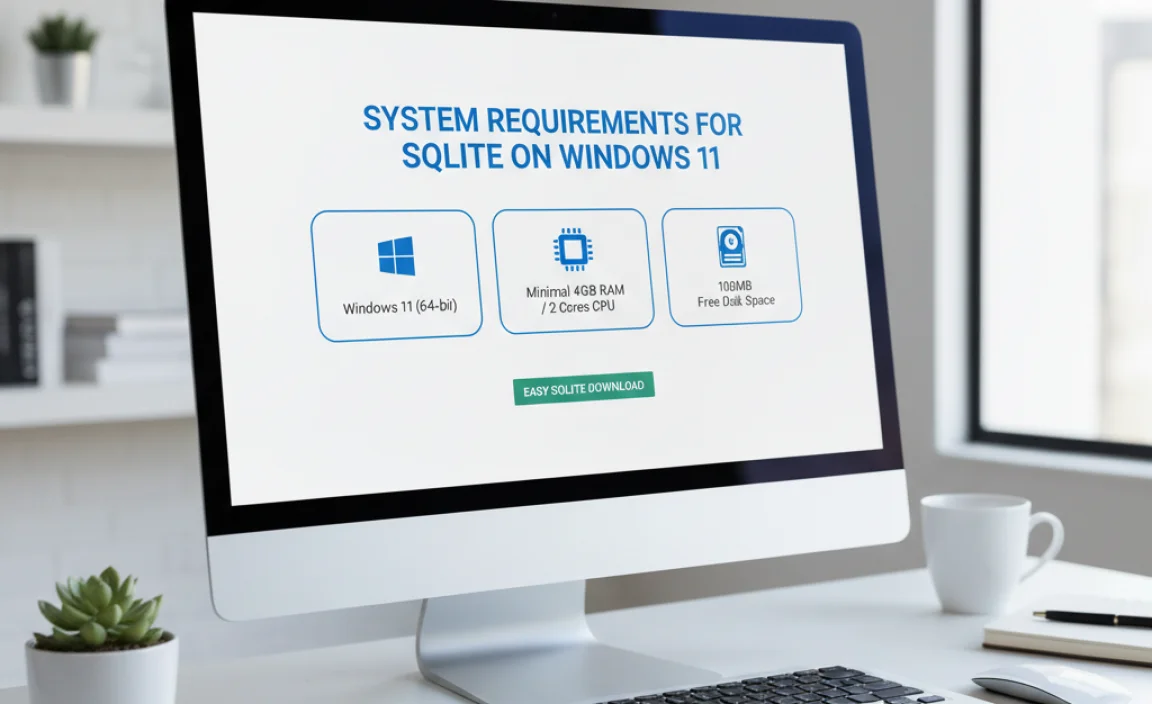
Minimum and recommended specifications. Compatibility considerations with Windows 11.
To use SQLite on Windows 11, you need to meet some system requirements. It’s important to check that your PC has the right specifications. Here are the minimum and recommended requirements:
- Minimum Requirements:
- 1 GHz processor
- 1 GB RAM
- 100 MB free disk space
- Recommended Requirements:
- 2 GHz processor
- 4 GB RAM
- 500 MB free disk space
SQLite works well with Windows 11. Still, it’s good to have up-to-date software and drivers. This helps avoid problems and makes everything run smoothly.
Is SQLite compatible with Windows 11?
Yes, SQLite is compatible with Windows 11. It works effortlessly on this system, allowing for efficient database management.
Steps to Download SQLite for Windows 11
Detailed stepbystep process for downloading SQLite. Tips for selecting the correct version.
First, head to the SQLite website and find the download page. Look for options like “Precompiled Binaries for Windows”. Pick the version that matches your system—32-bit or 64-bit. Can’t tell which one to pick? You can check your system type by right-clicking on “This PC” and selecting “Properties.”
Once you pick the right version, click to download it. Wait for it to finish, and don’t be tempted to play video games while it downloads! Finally, open the folder where the file is saved and install it. Voila! You’re on your way to becoming a SQLite wizard.
| Version | Description |
|---|---|
| 32-bit | For older systems. |
| 64-bit | For modern systems. |
Installing SQLite on Windows 11
Stepbystep installation guide. Common installation issues and troubleshooting tips.
First, let’s grab the setup file from the official SQLite website. It’s like finding the last slice of pizza—exciting! After downloading, double-click the file to start the setup wizard. Follow the steps, and soon, SQLite will be ready to roll.
If you hit a hiccup, don’t worry! Common issues can include permissions and missing components. Ensure you’re running as an admin, like the boss of your computer! If you keep facing problems, check online forums or the SQLite FAQ page. They’re packed with solutions!
| Problem | Solution |
|---|---|
| Install fails | Run as Administrator |
| File not found | Check your download folder |
With these simple steps, you’ll be using SQLite on Windows 11 in no time. Happy coding!
Verifying Your SQLite Installation
How to confirm a successful installation. Basic commands to test functionality.
After installing SQLite, it’s time to check if it works. First, open the Command Prompt on your Windows 11. Type sqlite3 and hit Enter. If you see a prompt with the SQLite version, installation was successful. Try these basic commands:
- .help – Shows available commands.
- SELECT sqlite_version(); – Displays your SQLite version.
- CREATE TABLE test(id INTEGER); – Creates a test table.
If these commands run without errors, your installation is good to go!
How do I confirm a successful SQLite installation?
To check your SQLite, type sqlite3 in the Command Prompt. If you see the SQLite version, it means installation was successful!
Using SQLite on Windows 11: Getting Started
Basic commands and functionalities for beginners. Examples of simple database creation and management.
Starting with SQLite on Windows 11 is easy and fun! First, you need to download and install SQLite. Once you do, you can create a simple database using a few basic commands. For example, you can create a new database with CREATE DATABASE my_db; and add a table using CREATE TABLE my_table (id INTEGER PRIMARY KEY, name TEXT);. Here’s a quick summary to get you going:
| Command | Description |
|---|---|
| CREATE DATABASE | Creates a new database |
| CREATE TABLE | Adds a new table to your database |
| INSERT INTO | Adds data to the table |
| SELECT | Retrieves data from the table |
With these commands, you can start your adventure in the world of databases. Think of it like building your Lego castle, one block (or command) at a time! Happy coding!
Best Practices for Using SQLite
Tips for effective database management. Common pitfalls to avoid when using SQLite on Windows 11.
Handling databases can feel tricky, but here are some fun tips to help you master SQLite. First, always back up your data. Think of it as saving your homework before taking a break—no one wants to do it all over again! Next, organize your tables well. It makes finding data easier and keeps you from pulling your hair out. Avoid writing complex SQL queries. Simplicity is your friend. If you mess up, don’t worry! You can always undo changes. Keep these points in mind, and let your database skills shine!
| Tip | Description |
|---|---|
| Backup Often | Save your work frequently to avoid data loss. |
| Organize Tables | Structure your tables for easy access. |
| Simplify Queries | Avoid complicated queries for better results. |
Resources for Learning More about SQLite
Recommended documentation and tutorials. Online communities and forums for support and discussions.
Learning about SQLite can feel like a big adventure! First, check out some handy documentation and tutorials that break down the basics. Websites like SQLite’s official page offer easy guides. Want to chat with others? Join online communities and forums. They’re full of friendly folks ready to help. You might even discover that some of them think databases are as fun as pizza! Here’s a quick table to help you find these resources:
| Resource Type | Website |
|---|---|
| Official Documentation | SQLite Docs |
| Tutorials | TutorialsPoint |
| Online Forum |
Conclusion
In summary, downloading SQLite for Windows 11 is simple and quick. You can get the installer from the official SQLite website. Once installed, you can start creating and managing databases easily. If you’re interested, explore tutorials online to learn more about using SQLite. Let’s get started on your database journey today!
FAQs
Where Can I Download The Latest Version Of Sqlite For Windows 11?
You can download the latest version of SQLite for Windows 11 from the official SQLite website. Go to sqlite.org. Look for the “Download” section. Choose the version marked for Windows. Click on the link, and it will download to your computer!
What Are The System Requirements For Installing Sqlite On Windows 11?
To install SQLite on Windows 11, you need a computer with Windows 11 already running. You also need at least 1 GB of free space to store the files. Make sure you have a decent internet connection to download SQLite. It’s good to have a modern web browser too. That’s all you need to get started!
How Do I Install And Set Up Sqlite After Downloading It On Windows 11?
To install SQLite on Windows 11, first, download the SQLite files from the official website. Next, find the downloaded file and unzip it. Then, move the unzipped files to a folder you like, such as “C:\sqlite.” After that, open the Command Prompt by typing “cmd” in the search bar. Finally, type “cd C:\sqlite” to go to the SQLite folder, and then type “sqlite3” to start using SQLite!
Are There Any Graphical User Interface (Gui) Tools Available For Sqlite On Windows 11?
Yes, there are GUI tools for SQLite on Windows 11. For example, you can use DB Browser for SQLite. It helps you see and work with your databases easily. Another option is SQLite Studio, which is also user-friendly. These tools make it simple to manage your data without typing commands.
How Do I Verify The Sqlite Installation On My Windows Machine?
To check if SQLite is installed on your Windows machine, first, open the Command Prompt. You can do this by typing “cmd” in the search box and pressing Enter. Next, type “sqlite3” and hit Enter. If you see a message about the SQLite version, it means it’s installed. If not, you might need to install it.