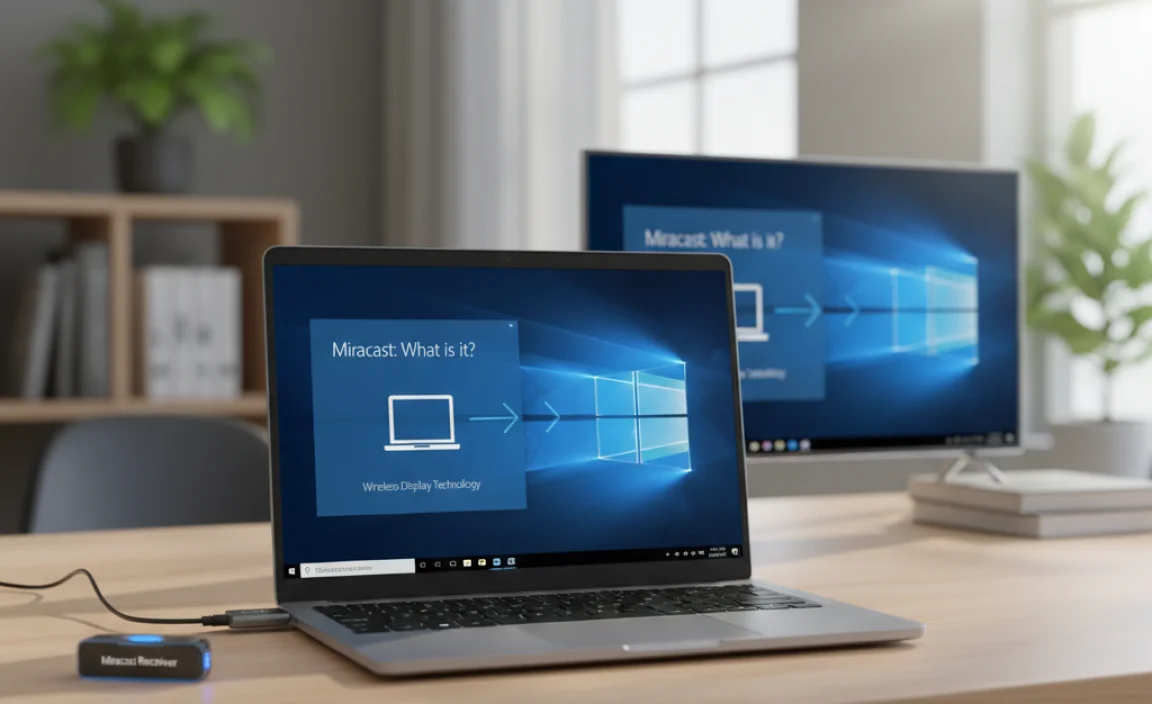
Have you ever wished to share what’s on your screen with friends or family easily? Miracast for Windows 10 makes that dream a reality. This technology lets you wirelessly project your computer screen to a TV or another display. Imagine showing off your favorite photos or videos without tangled wires and complicated setups.
Did you know that many people are still not aware of how simple it is to use Miracast? It’s like magic! With just a few clicks, you can enjoy your content on a larger screen. How cool is that? Whether you’re playing games, watching movies, or giving a presentation, Miracast can bring your experience to life.
In this article, we will explore how to use Miracast on Windows 10. You will discover easy steps to connect your devices. Soon, you’ll be able to amaze your friends and family with your new wireless projecting skills!
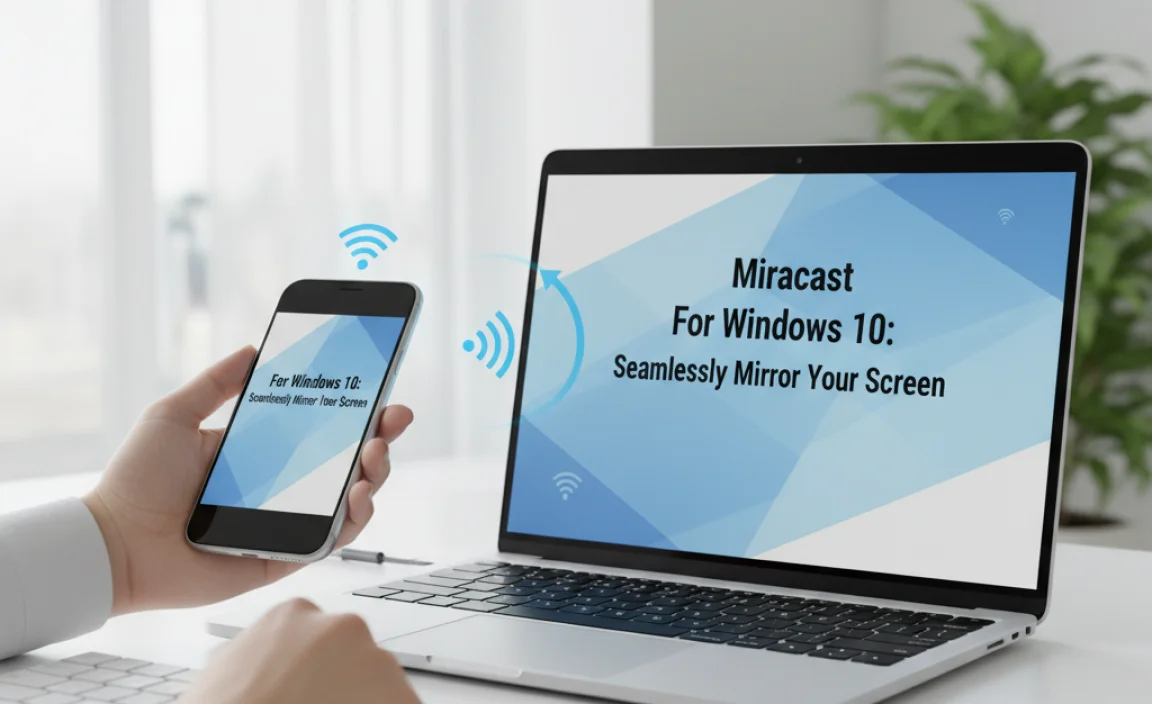
Miracast For Windows 10: Seamlessly Mirror Your Screen
Miracast for Windows 10
Do you want to mirror your screen without messy wires? Miracast for Windows 10 lets you do just that! This amazing feature allows you to project your laptop screen onto a TV or monitor wirelessly. Imagine watching your favorite videos or sharing photos on a big screen. Plus, it’s super easy to set up! Just check if your devices support Miracast, and you’re ready to connect. Unleash the power of wireless streaming today!
What is Miracast?
Definition and purpose of Miracast technology. Benefits of using Miracast for wireless display.
Miracast is a technology that lets you stream content from one screen to another without cables. Think of it like magic! You can watch videos, share photos, or show presentations wirelessly. This is great for making things easy and fun.
Here are some benefits of using Miracast:
- No wires needed!
- Simple to set up and use.
- Works with many devices like TVs and laptops.
- Enjoy high-quality picture and sound.
Imagine sharing your favorite show with family right on the big screen. That’s the power of Miracast!
What are the main uses of Miracast?
Miracast is primarily used for streaming videos, sharing presentations, and displaying photos wirelessly.
System Requirements for Miracast on Windows 10
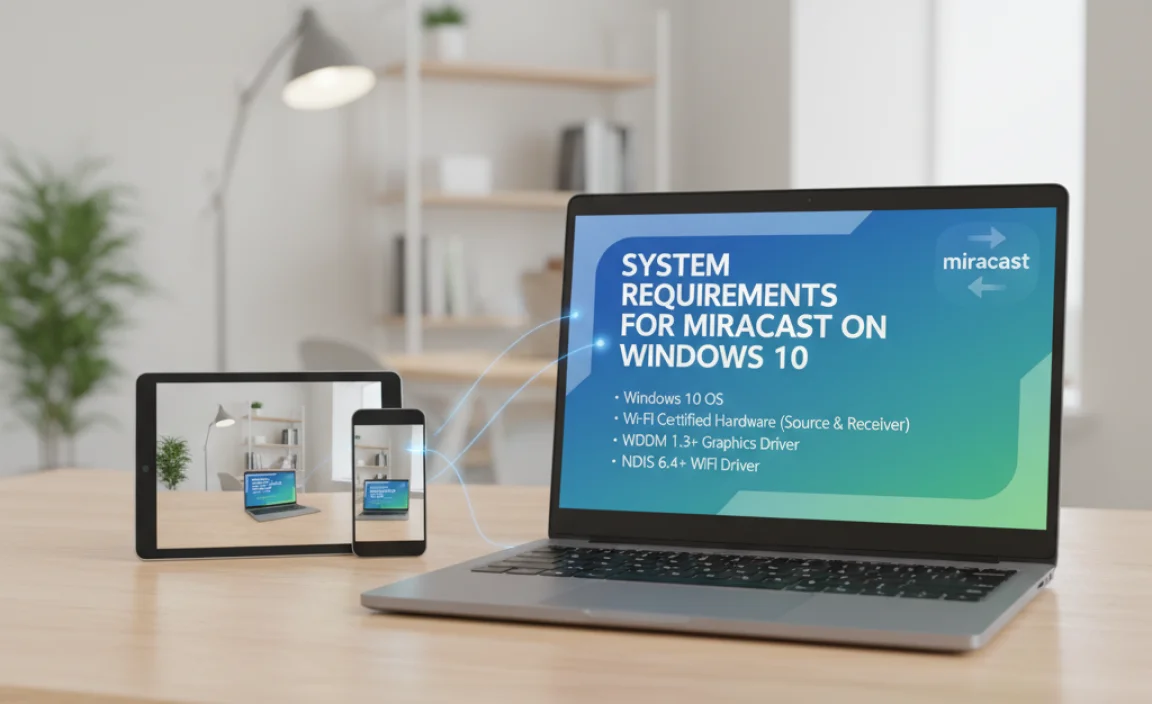
Hardware requirements for compatible devices. Software prerequisites for successful Miracast installation.
If you want to use Miracast on Windows 10, you need some specific tools. First off, ensure your device has Windows 8.1 or later. If you’re on an older system, it’s like trying to send a letter on a potato! For hardware, check your Wi-Fi adapter; it must support Wi-Fi Direct. Think of it as needing a golden ticket to access the chocolate factory! Lastly, make sure your graphics card is up to date. This ensures everything runs smoothly when mirroring your screen.
| Requirement Type | Details |
|---|---|
| Operating System | Windows 8.1 or newer |
| Wi-Fi Adapter | Must support Wi-Fi Direct |
| Graphics Card | Updated drivers needed |
Check these before you start. If your setup meets the criteria, you’re ready for a seamless screencasting experience! Happy casting!
How to Check If Your Windows 10 Device Supports Miracast
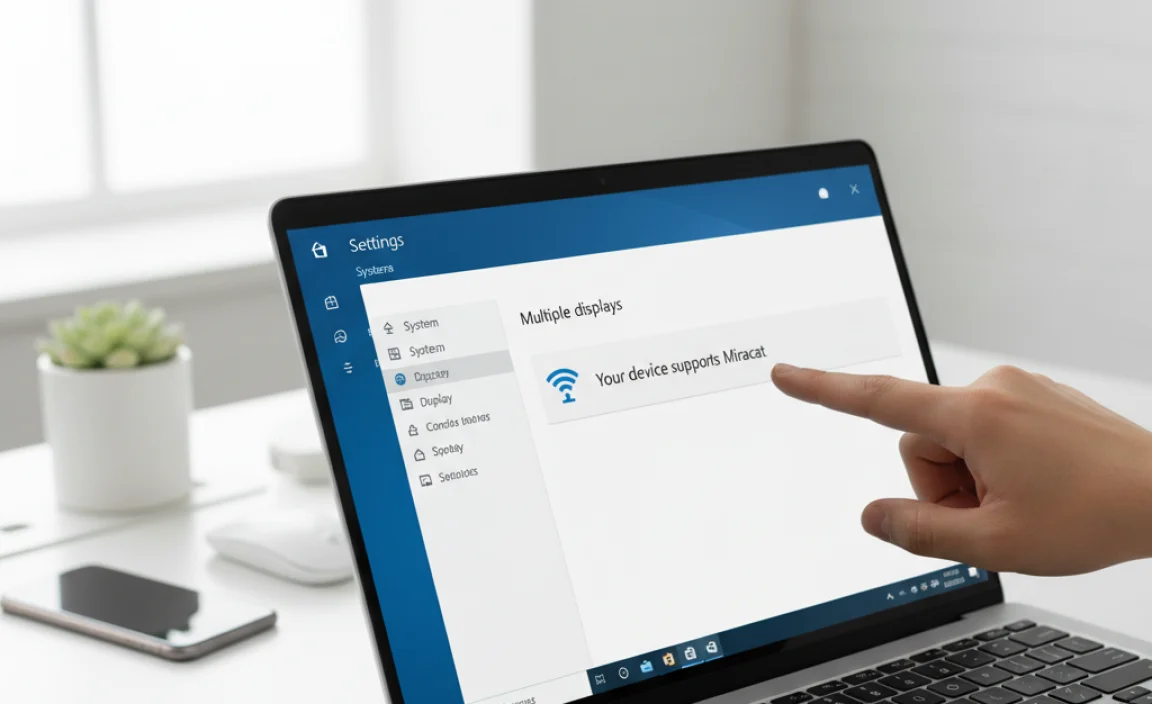
Stepbystep guide to using the DirectX Diagnostic Tool. Alternative methods to check Miracast compatibility.
Curious if your Windows 10 device can cast like a pro? Let’s start with the DirectX Diagnostic Tool! Simply press the Windows Key + R, type dxdiag, and hit Enter. Look for “Miracast” under the “Display” tab. If it says “Available,” you’re good to go! If not, don’t worry! You can also check settings by going to Settings > System > Display and clicking on “Connect to a wireless display.” It’s like looking for treasure, but without the map!
| Method | Details |
|---|---|
| DirectX Diagnostic Tool | Open with Windows Key + R, type dxdiag. |
| Settings Check | Go to Settings, then System, and find Display. |
Setting Up Miracast on Windows 10
Detailed instructions for enabling Miracast. Steps to connect to a Miracastcompatible display.
To start with Miracast on your Windows 10, check if your device supports it. Click on the Start menu and type “Connect.” If you see the app pop up, you’re in luck! Next, ensure your display is ready. Head to your display settings by right-clicking on the desktop and choosing “Display settings.” Now, click on “Connect to a wireless display.” Your device will search for available devices. When your Miracast-compatible display appears, click on it and watch magic unfold!
| Step | Action |
|---|---|
| 1 | Check if Miracast is supported |
| 2 | Open the Connect app |
| 3 | Go to display settings |
| 4 | Click on “Connect to a wireless display” |
| 5 | Select your Miracast display |
Remember, patience is key. Sometimes, connecting can feel like waiting for your toast to pop up—slow yet worth it!
Troubleshooting Common Miracast Issues
List of frequent problems and their solutions. Tips for optimizing the Miracast performance.
Miracast can sometimes be tricky. Here are some common problems and solutions to help you out. Connection issues often happen. Make sure both devices are on the same Wi-Fi. If you see a poor quality screen, reduce the distance between devices. Here are more tips for better performance:
- Update your drivers regularly.
- Ensure your device supports Miracast.
- Close other apps to free up resources.
- Restart both devices before connecting.
Following these steps can make your Miracast experience smoother and more enjoyable.
What should I do if Miracast is not connecting?
If Miracast is not connecting, check your Wi-Fi settings. Sometimes turning Wi-Fi off and on helps. You can also try restarting your devices to fix connection problems.
Using Miracast for Gaming and Streaming
Advantages of Miracast for gamers and streamers. Suggested settings for optimal performance during gaming.
Using Miracast can turn your gaming and streaming experience into a smooth ride! With Miracast, gamers can enjoy low-latency streaming, helping to keep that “game face” fresh. It’s like having a superhero for your gaming setup. For the best results, make sure to reduce interference by being close to your Wi-Fi router and avoid bandwidth-hogging apps. Check out the table below for quick tips!
| Setting | Recommended Value |
|---|---|
| Resolution | 1920×1080 |
| Wi-Fi Channel | 1, 6, or 11 |
| Bitrate | 5 Mbps or higher |
With these tips, you’ll be ready to conquer new worlds without a hitch! Happy streaming!
Comparison of Miracast with Other Wireless Display Technologies
Key differences between Miracast, Chromecast, and AirPlay. Use cases where one technology may outperform the others.
Different wireless display technologies have unique features. Here are the main differences:
- Miracast: Works without Wi-Fi. Perfect for screen mirroring.
- Chromecast: Needs Wi-Fi. Great for streaming content from apps.
- AirPlay: Best for Apple devices. Ideal for sharing videos and music.
In some cases, Miracast might be better. If you want to share your screen without a network, choose Miracast. For streaming movies, Chromecast stands out. And if you’re an Apple fan, AirPlay is your top choice.
What are the use cases for each technology?
Miracast: Use for direct screen sharing at school.
Chromecast: Perfect for watching Netflix with friends.
AirPlay: Ideal for playing music at a party.
Future of Miracast in Windows 10 and Beyond
Trends and advancements in wireless display technology. Predictions on the continued relevance of Miracast in upcoming Windows updates.
Wireless display technology is changing fast. People want to connect devices easily. Miracast plays a key role in this shift. What can we expect for the future?
More devices will support Miracast, making it easy to share screens. Windows updates may focus on improving its features. Here are some trends:
- Smart TVs will become more compatible.
- Performance will improve with faster connections.
- New apps will support Miracast, adding fun features.
Miracast’s relevance is likely to continue as more people use it. It will help keep our devices connected, even in future tech. It’s exciting to think about!
Will Miracast still matter in the future?
Yes, Miracast will remain important. As technology improves, its ease of use will keep it relevant in upcoming Windows updates.
Conclusion
In conclusion, Miracast for Windows 10 lets you wirelessly connect your computer to a TV or projector easily. You can share your screen without any cables, making presentations and movies more fun. Explore your device settings to enable Miracast. For more tips and troubleshooting, keep reading or check online resources. Enjoy seamless streaming and sharing!
FAQs
Here Are Five Related Questions On The Topic Of Miracast For Windows 10:
Miracast is a feature that lets you show your computer screen on another screen without any wires. It works with Windows 10, so you can easily share movies or games. To use it, both devices need to support Miracast. You can find it in the settings on your computer. It makes sharing fun and simple!
Sure! I can help you with that. Please give me the question you want me to answer.
What Is Miracast, And How Does It Work With Windows Devices?
Miracast is a way to share what’s on your computer screen to a TV or monitor without wires. It works with Windows devices, like laptops and tablets. You can connect them through Wi-Fi, which is a type of internet connection. Simply choose Miracast from the settings, and your screen will appear on the TV. It’s like magic!
How Can I Check If My Windows Pc Supports Miracast?
To check if your Windows PC supports Miracast, you can follow these steps. First, press the Windows key and the “R” key together. This opens a small box. Type “dxdiag” in the box and press “Enter.” A window will open. Look for “Miracast” in the list. If it says “Available,” your PC supports Miracast!
What Are The Steps To Connect My Windows Computer To A Miracast-Enabled Display?
To connect your Windows computer to a Miracast-enabled display, first, make sure both devices are turned on. Next, on your computer, click the Start button and go to Settings. Choose “Devices” and then click on “Bluetooth & other devices.” Now, click “Add Bluetooth or other device,” select “Wireless display or dock,” and choose your Miracast display from the list. Finally, follow any prompts that appear to complete the connection.
What Troubleshooting Steps Can I Take If I Encounter Issues While Using Miracast On Windows 10?
If Miracast isn’t working on your Windows 10, you can try a few things. First, make sure your TV or projector is ready to connect. Then, check if your computer connects to Wi-Fi. You can also update your graphics drivers for better performance. Restart both your computer and the TV to refresh the connection. If that doesn’t work, look for help online or ask an adult for assistance.
Are There Any Alternatives To Miracast For Wireless Screen Mirroring On Windows 10?
Yes, there are other ways to mirror your screen wirelessly on Windows 10. One option is Google Chromecast. It lets you stream shows and videos from your computer to a TV. Another choice is AirServer, which can work with many devices too. You can also try using apps like ApowerMirror or LetsView for easy screen sharing.