Let’s get your Java setup streamlined. This article will guide you through the process of downloading and installing the 64-bit version of Java, ensuring a smooth and efficient experience. Whether you’re a beginner programmer, a system administrator, or simply need Java for a specific application, this guide will break down the steps into manageable parts.
Why Choose Java Download 64-bit?

The choice between 32-bit and 64-bit Java often comes down to your operating system and the demands of your applications. Modern operating systems are predominantly 64-bit, and for good reason. A 64-bit system can address significantly more RAM than its 32-bit counterpart. This translates to better performance and the ability to run more memory-intensive applications without hitting performance bottlenecks. If your computer is running a 64-bit version of Windows, macOS, or Linux, then opting for the Java Download 64-bit is the logical and recommended choice. It allows Java applications to fully leverage your system’s capabilities, leading to faster execution and a more responsive user experience, especially for complex software, development environments, and large-scale data processing.
Before You Begin: Checking Your System

Before diving into the download process, it’s crucial to confirm your operating system’s architecture. This simple step will prevent you from downloading the wrong version and potentially encountering compatibility issues later.
How to Check Your System Architecture
For Windows Users:
1. Right-click on the “This PC” or “Computer” icon on your desktop or in File Explorer.
2. Select “Properties“.
3. Look for the “System type” under the “System” section. It will clearly state whether you have a “64-bit operating system” or a “32-bit operating system”.
For macOS Users:
Most modern Macs come with 64-bit processors. Even if your system is older, it’s highly likely to be 64-bit compatible. To be absolutely sure:
1. Click on the Apple menu in the top-left corner.
2. Select “About This Mac“.
3. In the overview tab, you’ll see information about your processor. Modern Intel and Apple Silicon processors are 64-bit.
For Linux Users:
1. Open a Terminal window.
2. Type the command: `uname -m` and press Enter.
3. If the output is `x86_64` or `amd64`, you have a 64-bit system. If it’s `i386`, `i486`, `i586`, or `i686`, you have a 32-bit system.
Once you’ve confirmed you need the 64-bit version, you’re ready to proceed with the download.
The Java Download 64-bit Process: Step-by-Step

The official source for Java downloads is Oracle. It’s always best practice to download software directly from the vendor’s website to ensure you’re getting the legitimate and latest version, free from any potential malware.
Step 1: Navigate to the Oracle Java Downloads Page
Open your web browser and go to the official Oracle Java SE Downloads page. You can usually find this by searching for “Java download” on your preferred search engine, and then clicking on the link that leads to `oracle.com`. Look for sections specifically for “Java SE Development Kit” (JDK) or “Java Runtime Environment” (JRE). For most users, the JDK is recommended as it contains everything needed for both running and developing Java applications.
Step 2: Select the Correct Version
On the downloads page, you’ll see various versions of Java available. It’s generally advisable to download the latest Long-Term Support (LTS) version. LTS versions are supported for a longer period, offering stability and consistent updates. You’ll likely see options for Windows, macOS, and Linux.
Step 3: Choose the 64-bit Installer
Within the download section for your chosen operating system, you will see different installer files. Look for the filename that explicitly indicates “x64” or mentions “64-bit”. For example, on Windows, you might see a `.exe` file. Make sure to select this over any files that might be labeled “i586” or “32-bit”.
Step 4: Download the Installer
Click on the link for the correctly identified 64-bit installer for your operating system. The download should begin automatically. The file size can vary, but typically ranges from several hundred megabytes to over a gigabyte for the JDK.
Effortless Install: Installing Java on Your System

With the download complete, the installation is typically a straightforward process.
Installing on Windows:
1. Locate the downloaded file: Find the `.exe` installer file in your Downloads folder.
2. Run the installer: Double-click the `.exe` file to launch the installation wizard.
3. Follow the prompts: The installer is user-friendly. You’ll likely be presented with a welcome screen, a license agreement to accept, and a choice of installation location (the default is usually fine).
4. Installation: Click “Install” or “Next” to begin the installation. The process might take a few minutes.
5. Completion: Once finished, you’ll see a confirmation message. You can then close the installer.
Installing on macOS:
1. Locate the downloaded file: Find the `.dmg` file in your Downloads folder.
2. Mount the image: Double-click the `.dmg` file to open it.
3. Run the installer package: Inside the mounted disk image, you’ll find a `.pkg` file. Double-click this file to start the installation.
4. Follow the prompts: Similar to Windows, you’ll accept the license agreement and confirm the installation.
5. Enter administrator password: You’ll likely be prompted to enter your administrator password to authorize the installation.
6. Completion: The installer will proceed and inform you when it’s done.
Installing on Linux:
Installation on Linux can vary slightly depending on your distribution (e.g., Ubuntu, Fedora, Debian).
Using a Package Manager (Recommended): Most Linux distributions have Java readily available in their repositories. This is the easiest and most recommended method.
For Debian/Ubuntu-based systems: Open a Terminal and run:
“`bash
sudo apt update
sudo apt install default-jdk
“`
For Fedora/RHEL-based systems: Open a Terminal and run:
“`bash
sudo dnf update
sudo dnf install java-17-openjdk (or the latest version)
“`
Manual Installation (for .tar.gz files): If you download a `.tar.gz` archive directly from Oracle:
1. Extract the archive to a suitable directory, such as `/usr/local/java/`.
2. You’ll then need to set up environment variables (like `JAVA_HOME`) and add the Java `bin` directory to your system’s `PATH`. This is a more advanced process and usually requires editing files like `.bashrc` or `.profile` in your home directory.
Verifying Your Installation

After the installation is complete, it’s essential to verify that Java has been installed correctly and that your system recognizes it.
For all operating systems:
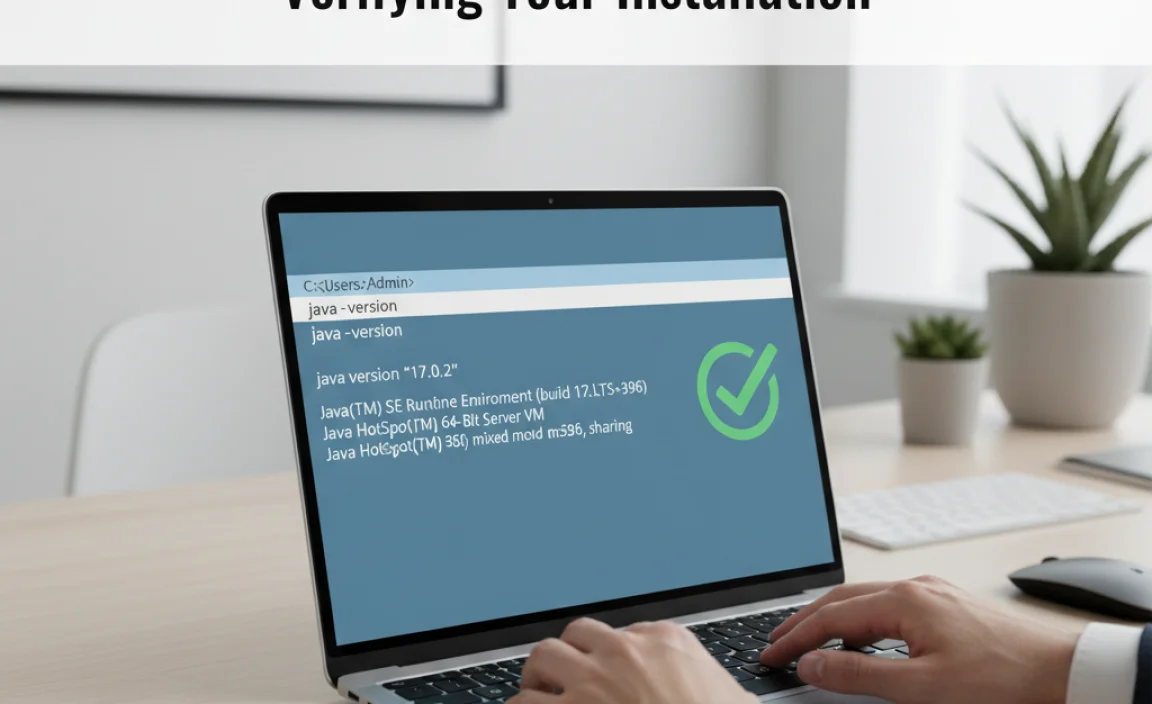
1. Open your command-line interface (Command Prompt or PowerShell on Windows, Terminal on macOS/Linux).
2. Type the following command and press Enter:
“`bash
java -version
“`
3. If Java is installed correctly, you will see output displaying the Java version and other details, confirming the 64-bit installation. For example, you might see something like `openjdk version “17.0.8” 2023-07-18 LTS`.
If you encounter any issues, double-check that you downloaded the 64-bit version and that your operating system is indeed 64-bit. Sometimes, a system restart might be necessary for the environment variables to be fully recognized.
By following these steps, downloading and installing the 64-bit version of Java becomes an effortless process, setting you up for all your Java-related needs.
