Installing Windows 10 on your Mac can unlock a world of possibilities, allowing you to run specialized software, play PC-exclusive games, or simply enjoy the familiar Windows environment alongside macOS.
Far from being a daunting task, the process of installing Windows 10 for Mac has become remarkably streamlined, primarily thanks to Apple’s built-in Boot Camp Assistant. This comprehensive guide will walk you through every step, ensuring a smooth and successful installation, whether you’re a macOS veteran or a newcomer to the Apple ecosystem.
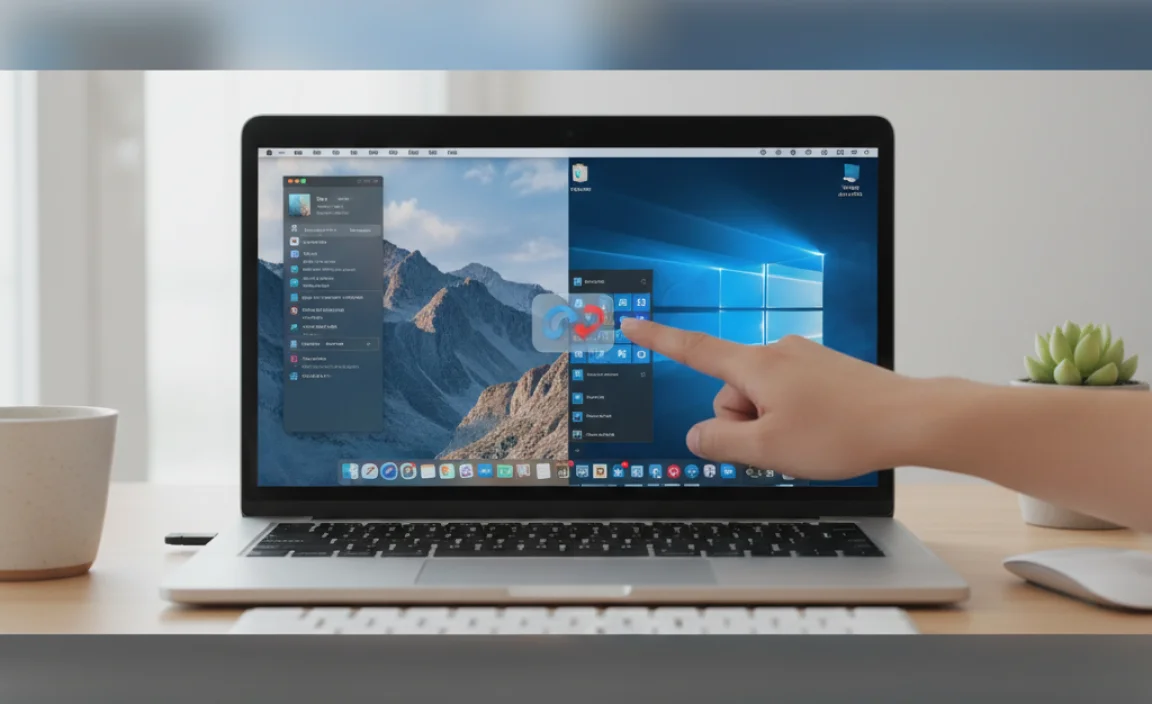
The primary advantage of using Boot Camp Assistant is its native integration with macOS. It’s designed by Apple specifically for this purpose, meaning it handles disk partitioning, driver downloads, and the installation process with minimal user intervention. This approach allows you to boot directly into either macOS or Windows, utilizing your Mac’s hardware at its full potential for each operating system.
Preparing Your Mac for Windows 10 Installation
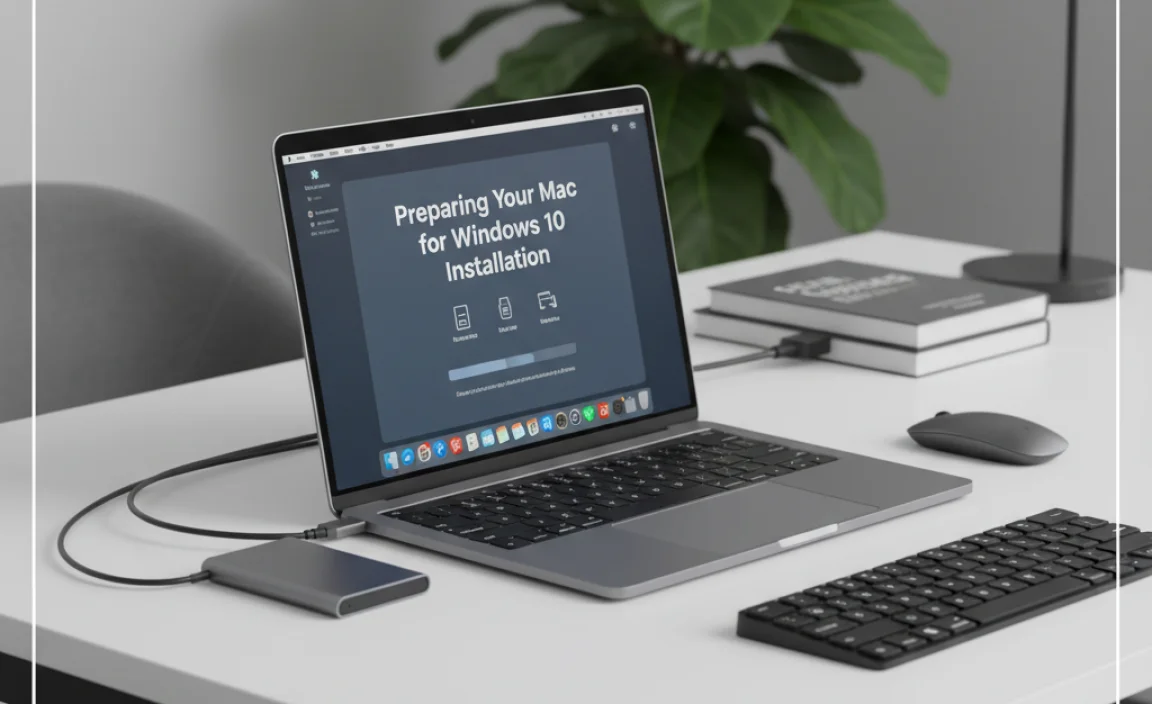
Before embarking on the installation journey, a few crucial preparation steps will pave the way for a trouble-free experience.
Gather Your Windows 10 Installation Media
To install Windows 10 for Mac, you’ll need a valid Windows 10 installation source. This typically comes in the form of a USB flash drive (at least 16GB is recommended) containing the Windows 10 ISO file.
You can download the official Windows 10 Media Creation Tool from Microsoft’s website to create this bootable USB drive. Alternatively, if your Mac has a DVD drive, you can use a Windows 10 installation DVD. Ensure you have your Windows 10 product key ready, as you’ll need it during the installation process.
Check System Requirements
While most relatively modern Macs are capable of running Windows 10, it’s always wise to confirm. Check Apple’s Boot Camp documentation for your specific Mac model to ensure compatibility and to understand any hardware limitations. Generally, having at least 64GB of free storage space on your Mac’s internal drive is recommended for the Windows partition.
Back Up Your Mac
This is perhaps the most critical preparatory step. While Boot Camp Assistant is designed to be safe, a full backup of your macOS system using Time Machine or another reliable backup solution is paramount. This ensures that, in the unlikely event of any data loss or unforeseen issues during the partitioning or installation, you can easily restore your Mac to its previous state.
Update macOS
Ensure your macOS is up to date. Newer versions of macOS often include updated versions of Boot Camp Assistant with improved compatibility for the latest Windows releases and hardware drivers.
Using Boot Camp Assistant to Install Windows 10
With your preparations complete, it’s time to engage Boot Camp Assistant and begin the core installation process.
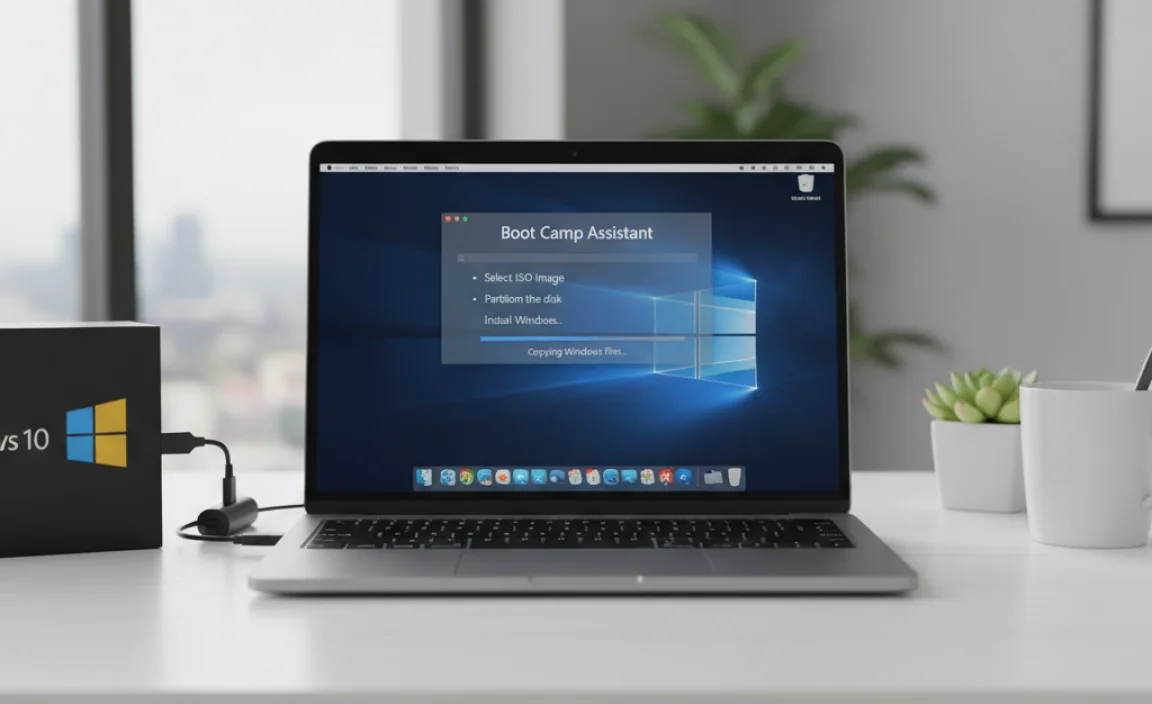
Launch Boot Camp Assistant
Locate Boot Camp Assistant in your Applications folder, specifically within the Utilities subfolder. Open it, and you’ll be greeted with a brief explanation of its function. Click “Continue” to proceed.
Partition Your Hard Drive
Boot Camp Assistant will present you with an option to create, partition, and format a drive for Windows. You’ll see a slider that allows you to allocate storage space between macOS and your new Windows partition. Drag the slider to assign the desired amount of space for Windows. Remember, a minimum of 64GB is recommended, but more is beneficial if you plan to install numerous applications or games. Once you’ve set the partition size, click “Install.”
Boot Camp Assistant will then download the necessary Windows support software (drivers) from Apple. These drivers are crucial for ensuring that your Mac’s hardware, such as the trackpad, Wi-Fi, Bluetooth, graphics card, and audio, functions correctly within Windows.
The Windows Installation Process
After partitioning, your Mac will restart, and the Windows 10 installer will begin.
1. Select Language and Keyboard Layout: The Windows setup will prompt you to choose your preferred language, time format, and keyboard input.
2. Enter Product Key: You’ll be asked to enter your Windows 10 product key. If you don’t have it immediately, you can often select “I don’t have a product key” and activate Windows later.
3. Choose Installation Type: Select “Custom: Install Windows only (advanced).”
4. Select the BOOTCAMP Partition: This is a critical step. You’ll see a list of drives and partitions. Carefully select the partition labeled “BOOTCAMP.” Do NOT select any other partition, especially your macOS partition (which may be unlabeled or named differently). Click “Format” to format the BOOTCAMP partition. This step is essential for Windows to install correctly. Once formatted, with the BOOTCAMP partition still selected, click “Next.”
5. Windows Installation: The Windows installer will now copy files, install features, and install updates. Your Mac will restart several times during this process. Do not interrupt it.
Completing Windows 10 Setup on Mac
Once the core Windows installation is finished, the Windows 10 welcome screen will appear, guiding you through the final setup steps. This includes creating a user account, setting up privacy settings, and configuring Cortana.
Install Boot Camp Drivers
After logging into Windows for the first time, the Boot Camp installer should launch automatically. If it doesn’t, navigate to the USB drive (usually E: or F:) that Boot Camp Assistant created, open the Boot Camp folder, and run `Setup.exe`. Follow the on-screen prompts to install all the essential Apple-provided drivers. This step is vital for your Mac’s hardware to work optimally within Windows.
Switching Between macOS and Windows
One of the most convenient aspects of using Boot Camp is the ability to switch between operating systems with ease.
Restarting and Holding Option Key: To choose which operating system to boot into, restart your Mac, and immediately press and hold the Option (Alt) key on your keyboard. A startup manager will appear, allowing you to select either macOS or Windows.
Setting Default Startup Disk: You can designate a default operating system from within each OS. In macOS, go to System Preferences > Startup Disk, select your desired OS, and click Restart. In Windows, open the Boot Camp Control Panel from the system tray, go to the Startup Disk tab, select your preferred OS, and click Apply.
By following these steps, you can successfully install Windows 10 for Mac, enjoying the best of both worlds on a single, powerful machine. Remember to proceed with care, especially during the partitioning phase, and always back up your data beforehand.
.lwrp.link-whisper-related-posts{
margin-top: 40px;
margin-bottom: 30px;
}
.lwrp .lwrp-title{
}.lwrp .lwrp-description{
}
.lwrp .lwrp-list-container{
}
.lwrp .lwrp-list-multi-container{
display: flex;
}
.lwrp .lwrp-list-double{
width: 48%;
}
.lwrp .lwrp-list-triple{
width: 32%;
}
.lwrp .lwrp-list-row-container{
display: flex;
justify-content: space-between;
}
.lwrp .lwrp-list-row-container .lwrp-list-item{
width: calc(25% – 20px);
}
.lwrp .lwrp-list-item:not(.lwrp-no-posts-message-item){
max-width: 150px;
}
.lwrp .lwrp-list-item img{
max-width: 100%;
height: auto;
object-fit: cover;
aspect-ratio: 1 / 1;
}
.lwrp .lwrp-list-item.lwrp-empty-list-item{
background: initial !important;
}
.lwrp .lwrp-list-item .lwrp-list-link .lwrp-list-link-title-text,
.lwrp .lwrp-list-item .lwrp-list-no-posts-message{
}@media screen and (max-width: 480px) {
.lwrp.link-whisper-related-posts{
}
.lwrp .lwrp-title{
}.lwrp .lwrp-description{
}
.lwrp .lwrp-list-multi-container{
flex-direction: column;
}
.lwrp .lwrp-list-multi-container ul.lwrp-list{
margin-top: 0px;
margin-bottom: 0px;
padding-top: 0px;
padding-bottom: 0px;
}
.lwrp .lwrp-list-double,
.lwrp .lwrp-list-triple{
width: 100%;
}
.lwrp .lwrp-list-row-container{
justify-content: initial;
flex-direction: column;
}
.lwrp .lwrp-list-row-container .lwrp-list-item{
width: 100%;
}
.lwrp .lwrp-list-item:not(.lwrp-no-posts-message-item){
max-width: initial;
}
.lwrp .lwrp-list-item .lwrp-list-link .lwrp-list-link-title-text,
.lwrp .lwrp-list-item .lwrp-list-no-posts-message{
};
}