
Have you ever wondered how to format an SSD for a Windows 11 install? Many new computer users find this step tricky. But don’t worry! It’s easier than you might think.
Imagine you just bought a shiny new SSD. You can’t wait to use it. But first, it needs to be formatted correctly. What does that mean? Formatting prepares the drive. It makes it ready for Windows 11. Just like how you prepare a clean canvas before painting.
Here’s a fun fact: an unformatted SSD can’t save any files! That’s why understanding how to format SSD for a Windows 11 install is so important. You want your computer to run fast and smooth, right? Getting the format right helps with that.
As we guide you through the steps, you will see that it’s not just for tech experts. Anyone can do it, even if you’re new to computers. So, let’s dive in and discover how to make your new SSD ready for Windows 11!
How To Format Ssd For Windows 11 Install: Step-By-Step Guide
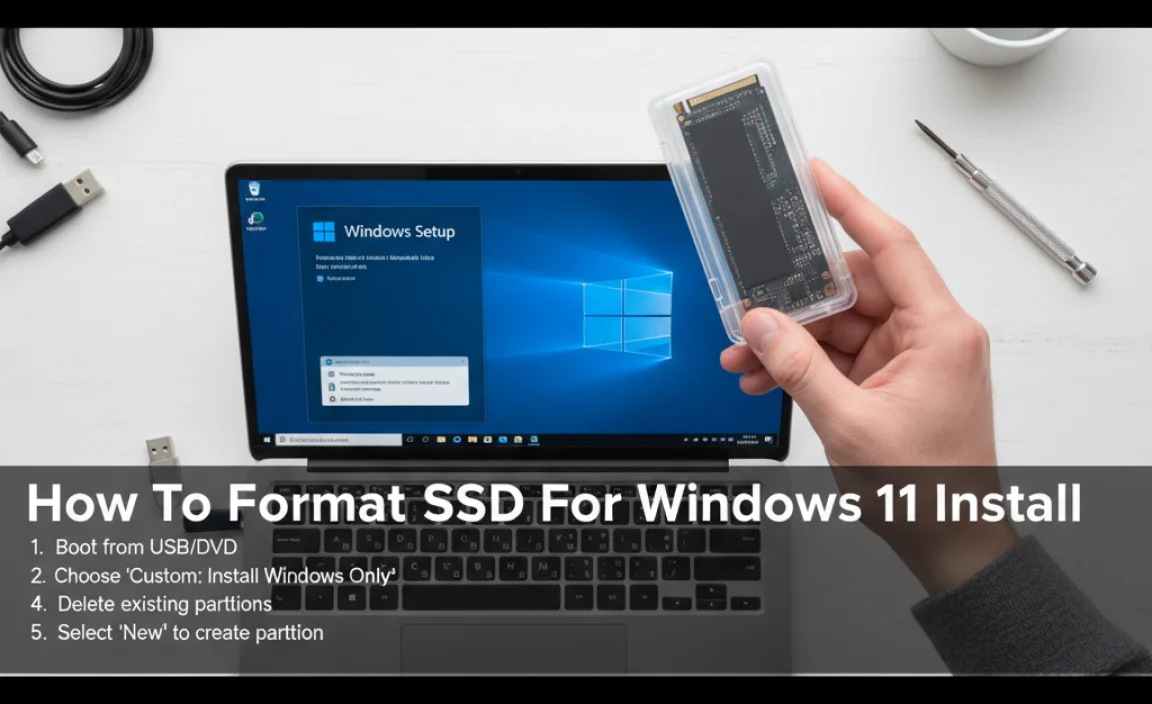
How to Format SSD for Windows 11 Install

Formatting an SSD for a Windows 11 install is simple. First, connect the SSD to your computer. Then, use the Disk Management tool to initialize it. Once initialized, create a new volume and format it as NTFS. This makes your SSD ready for Windows 11. Did you know that a formatted SSD can significantly speed up your computer? Proper formatting ensures files save quickly and efficiently. So, give your computer a fresh start with a well-prepared SSD!
Understanding SSD Types and Their Importance
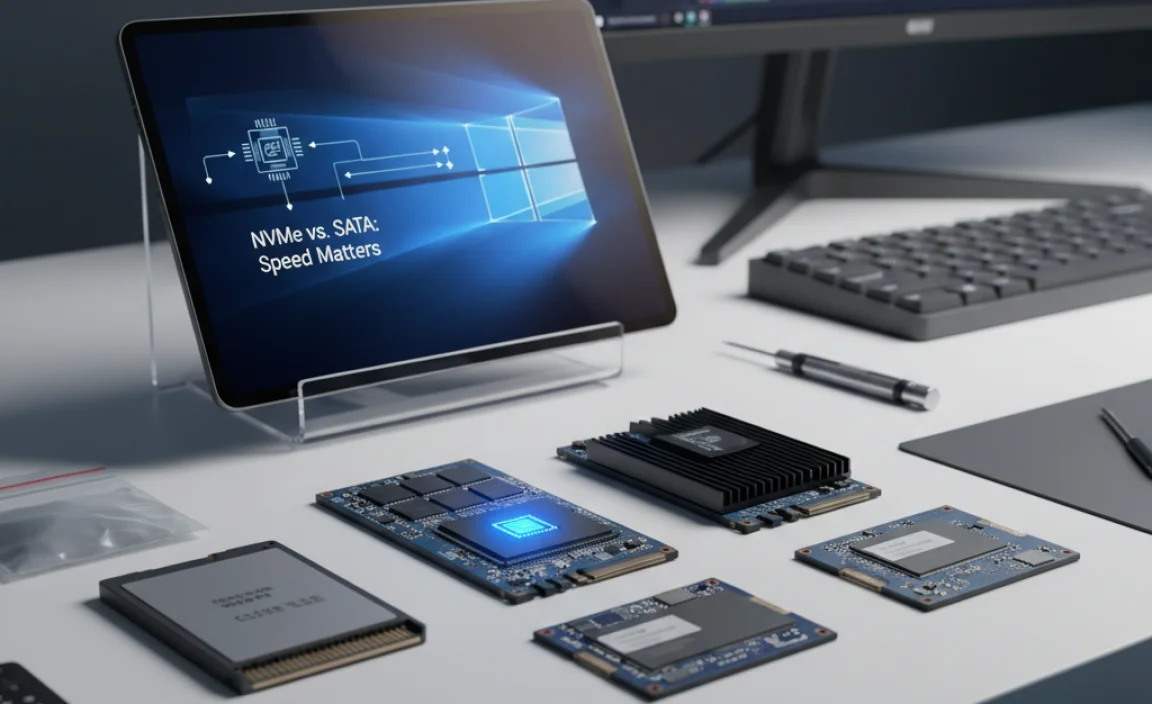
Explanation of different SSD types (SATA, NVMe, M.2). Importance of SSDs in Windows 11 performance and functionality.
Solid State Drives (SSDs) come in different types that affect how your computer works. Here are the main types:
- SATA: This is the most common type. It is slower than others but works well for basic tasks.
- NVMe: This type is much faster. It allows quicker data access, making your computer run smoother.
- M.2: This is a small form factor for NVMe drives. It saves space and fits directly on the motherboard.
SSDs are important for Windows 11 performance. They help your computer boot quickly and load apps fast. A good SSD can change how you experience your computer.
What is the most important factor to consider when choosing an SSD for Windows 11?
Speed is crucial. Faster SSDs improve your computer’s performance and the overall experience with Windows 11.
Why should I upgrade to an SSD?
Upgrading to an SSD can make your computer much faster. You’ll notice quicker startup times and faster application launches.
Preparing for the Format Process
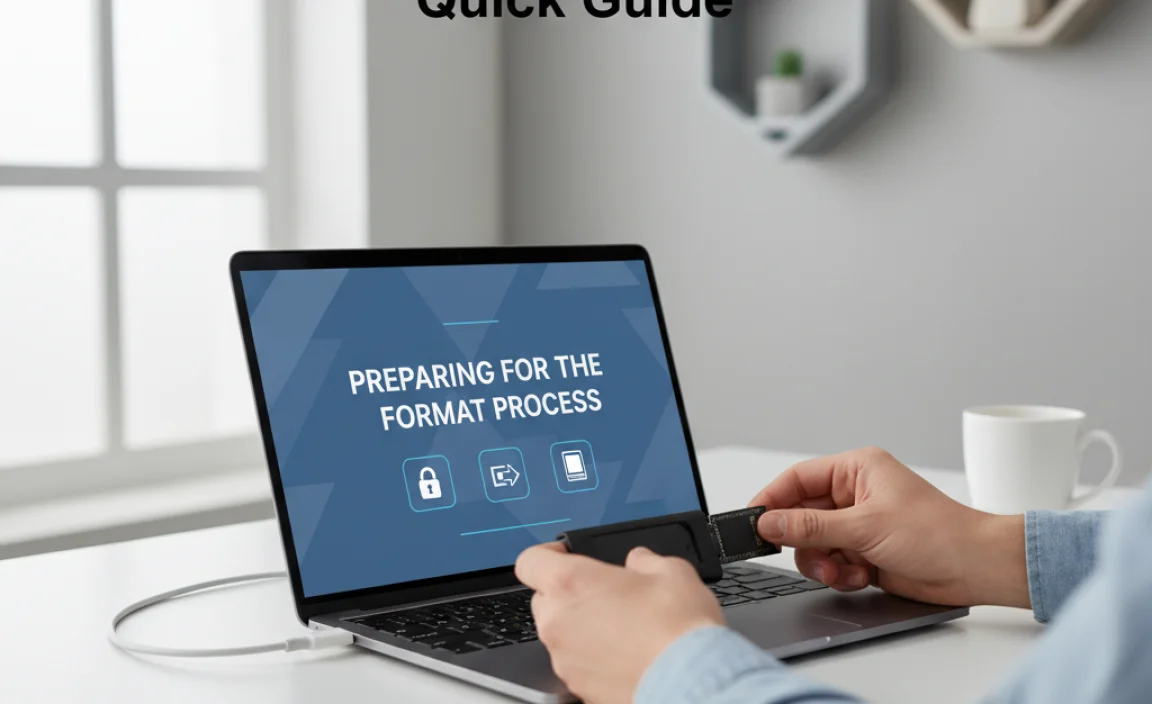
Necessary tools and software for formatting SSD. Backing up important data before formatting.
Before you start the format process, gather some important tools. You will need a working computer with Windows 11, a USB drive, and the SSD you want to format. Backup your important data before you begin. Formatting will erase everything on the SSD. Use an external hard drive or a cloud service like Google Drive to save your files. This way, you won’t lose anything valuable.
What tools do I need for formatting an SSD?
You will need:
- A computer with Windows 11
- A USB drive
- The SSD you want to format
Why is backing up data important?
Backing up data is crucial because formatting an SSD deletes all files. Make sure to save important documents, photos, and videos elsewhere first.
Step-by-Step Guide to Format SSD for Windows 11

Accessing Disk Management in Windows. Selecting the SSD and choosing the format option.
To format your SSD, first, you need to access Disk Management. Click the Start button and type “Disk Management” in the search bar. Then, select it from the list that appears. Next, find your SSD from the list of drives. Once you locate it, right-click on the SSD and choose the format option. Follow the prompts on the screen, and you’re all set!
How do I access Disk Management in Windows?
You can access Disk Management by clicking on the Start button and typing “Disk Management” in the search bar.
Steps to format your SSD:
- Type “Disk Management” in the search bar.
- Click on your SSD from the list.
- Right-click and select format.
Partitioning Your SSD for Optimal Performance
Explanation of SSD partitioning and benefits. Stepbystep guide to partitioning in Disk Management.
Partitioning your Solid State Drive (SSD) can supercharge its performance! Think of it like slicing a cake. When you partition, you create separate sections, making it easier for Windows 11 to find files. This can help your computer run faster and smoother. Ready to partition your SSD? Here’s how:
| Step | Action |
|---|---|
| 1 | Open Disk Management |
| 2 | Right-click your SSD |
| 3 | Select “Shrink Volume” |
| 4 | Follow the wizard steps |
| 5 | Create a new partition |
And voila! Your SSD is now neatly organized, like a closet that doesn’t look like a tornado hit it.
Troubleshooting Common Formatting Issues
Common errors encountered during formatting. Solutions and tips for overcoming these issues.
Formatting your SSD can be tricky sometimes. You might face some common errors, like the dreaded “drive not detected” message. It might feel like your computer is playing hard to get! To solve this, check the connection and try a different port. Another issue is “format failed.” This can happen if you don’t have the right permissions. You can fix this by running the formatting tool as an administrator. If things still don’t work, a quick restart can work wonders!
| Error | Solution |
|---|---|
| Drive Not Detected | Check connections and try different ports. |
| Format Failed | Run the tool as an administrator. |
Remember, a little patience goes a long way! Formatting should be smooth, like butter on warm toast.
Finalizing Your SSD Setup for Windows 11
Verifying successful format and partitioning. Installing Windows 11 on the formatted SSD.
After formatting your SSD, it’s time to make sure it’s ready for Windows 11. First, check that the format and partitioning worked. You should see your SSD listed in Disk Management. If it’s there, you’re good to go! Now, install Windows 11 on your fresh SSD. Follow the prompts on your screen. This setup will help your computer run faster and smoother.
How do I check if my SSD is formatted correctly?
To check if your SSD is formatted correctly, open Disk Management on your PC. Look for your SSD in the list. If it shows a healthy status and is assigned a letter, it’s ready to use!
Post-Installation Tips for SSD Maintenance
Best practices for maintaining SSD health. Tools for monitoring SSD performance.
Keeping your SSD healthy is important for speed and storage. Here are some best practices to follow:
- Regular updates: Always update your device software.
- Avoid full storage: Leave some space free, ideally around 10-20%.
- Use TRIM: This helps your SSD clean up unused data.
- Monitor temperatures: Keep your SSD cooler to extend its life.
For monitoring performance, tools like CrystalDiskInfo or SSD-Z can help. They show how fast your SSD is and if it needs help. Regular checks keep your SSD running well.
What tools can I use to monitor my SSD?
Tools like CrystalDiskInfo and SSD-Z are easy to use. They help check your SSD’s health and speed. Regular monitoring keeps your SSD in top shape!
Conclusion
In summary, formatting an SSD for a Windows 11 install is simple. First, connect your SSD to your computer. Then, use Disk Management to format it to NTFS. Remember to back up important files before you start. Now, you’re ready to install Windows 11! For more tips, check online guides or ask a tech-savvy friend for help.
FAQs
Here Are Five Related Questions On The Topic Of Formatting An Ssd For A Windows Installation:
Sure! To format an SSD for a Windows installation, you first need to connect it to your computer. Then, we go to a special program called “Disk Management.” Here, you find your SSD. You can right-click on it and choose “Format.” Make sure you choose the right settings, and then click “OK.” This helps prepare the SSD so you can install Windows on it.
Sure! Please provide the question you’d like me to answer.
What File System Should I Choose When Formatting My Ssd For A Windows Installation?
You should choose NTFS when formatting your SSD for a Windows installation. NTFS stands for New Technology File System. It works well with Windows and helps keep your files safe. It also allows you to use big files easily. So, NTFS is the best choice!
How Do I Access The Disk Management Tool To Format My Ssd Before Installing Windows 11?
To access the disk management tool, first, start your computer. Next, right-click on the “Start” button. Then, choose “Disk Management” from the menu that appears. Find your SSD in the list, right-click on it, and select “Format.” Follow the prompts to finish formatting your SSD. Now, it’s ready for Windows 11!
Can I Format My Ssd Using The Windows Installation Media, And If So, How?
Yes, you can format your SSD using the Windows installation media. First, you need to boot your computer from the Windows USB or DVD. When the setup appears, choose “Repair your computer.” Then, click on “Troubleshoot,” and choose “Advanced options.” Finally, select “Command Prompt” and type the command `diskpart`, followed by `list disk`, then `select disk X` (replace X with your SSD number), and type `clean`. This will format your SSD!
What Are The Steps To Properly Wipe My Ssd To Prepare It For A Fresh Installation Of Windows 11?
To wipe your SSD (Solid State Drive) before installing Windows 11, first, back up any important files. Then, use a special tool called DiskPart. To do this, search for “Command Prompt” and run it as an administrator. Type “diskpart,” then “list disk” to find your SSD. Select it with “select disk X,” where X is your SSD’s number. Finally, type “clean” to wipe it completely. Now, it is ready for a fresh Windows installation!
Are There Any Specific Ssd Manufacturer Tools That I Should Use To Format My Drive Before Installing Windows 11?
Yes, some SSD makers have their own tools. For example, Samsung has a program called Samsung Magician. Crucial has a tool called Storage Executive. You can use these tools to format your SSD easily. They help make sure your new drive works well with Windows 11.