
Keep your Windows 10 running smoothly and securely by understanding and managing its feature updates. This guide shows you how to prepare, install, and troubleshoot updates with simple, easy-to-follow tips so you can enjoy the latest features and protections without the hassle.
Feature Update for Windows 10: Essential Tips for a Smooth Experience
Is the thought of a Windows 10 feature update making you a little nervous? You’re not alone! Many people worry about updates interrupting their work, causing new problems, or just being too complicated to handle. But keeping your Windows 10 up-to-date is super important. It brings you cool new features, big security improvements, and makes your computer run better. Don’t let update anxiety get you down! This guide is here to help. We’ll walk through this step-by-step, making it easy to understand and manage. Get ready to learn how to handle your next feature update with confidence!
Why Feature Updates Matter (and What They Are)

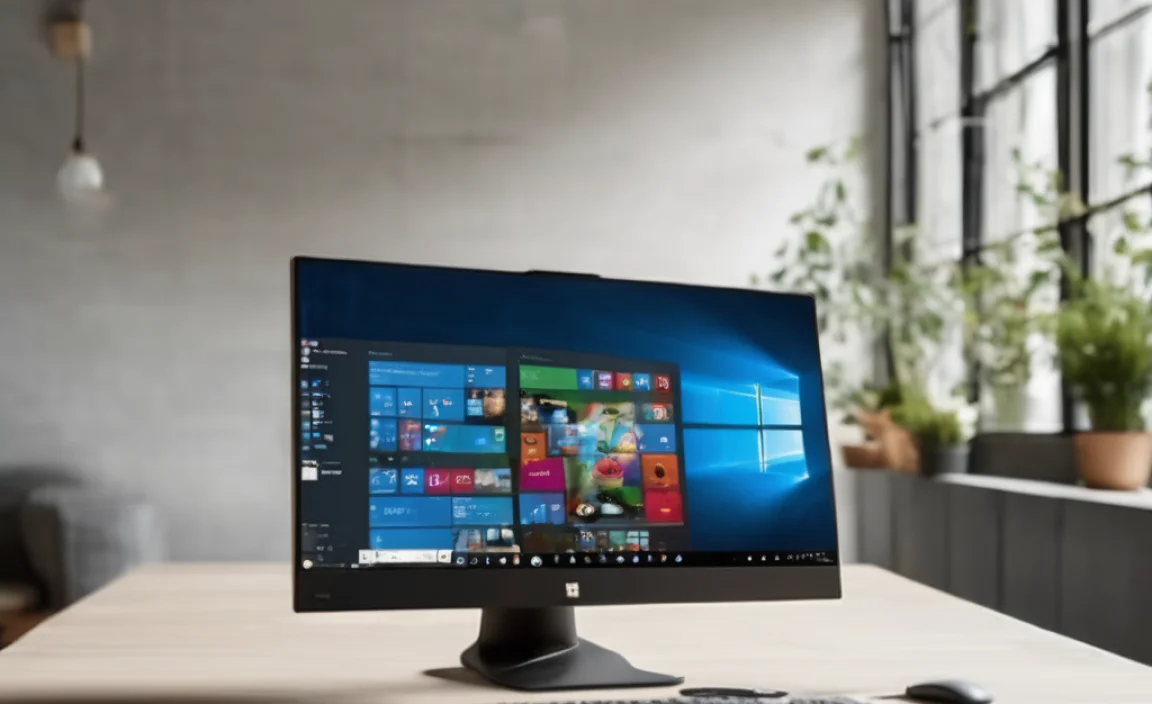
Think of Windows 10 feature updates as major check-ups for your computer’s operating system. Unlike smaller “quality” updates that fix bugs and security holes, feature updates are bigger. They introduce significant new capabilities, redesign parts of the interface, and often enhance the overall performance and security of your system. Microsoft releases these major updates about twice a year. They are designed to keep Windows modern, protected against the latest threats, and packed with the newest tools to help you get things done.
Ignoring these updates can leave your computer vulnerable to security risks and prevent you from accessing new features that could make your life easier. Plus, older versions of Windows 10 eventually stop receiving support, which means no more security patches at all – and that’s a big no-no for protecting your data.
Before You Update: Getting Ready is Key

Just like you wouldn’t start a big project without a little planning, preparing for a Windows 10 feature update is crucial. A little bit of groundwork can save you a lot of headaches later. Let’s cover the essentials:
1. Back Up Your Important Data
This is hands-down the most important step. While feature updates are generally very reliable, there’s always a tiny chance something could go wrong during the installation process that might affect your files. A backup ensures that even in the unlikely event of a problem, your precious photos, documents, and other important information are safe.
- External Hard Drive: Connect an external drive and copy your important folders (Documents, Pictures, Desktop, etc.) over.
- Cloud Storage: Services like OneDrive, Google Drive, or Dropbox are fantastic. Ensure your key files are syncing to the cloud.
- Built-in Windows Backup: Windows has a “Backup and Restore (Windows 7)” tool. While it sounds old, it still works! Search for “Backup and Restore” in the Windows search bar to find it.
Take a few minutes to make sure your photos from that last vacation or your critical work files are copied somewhere safe. It’s a small effort that provides huge peace of mind.
2. Check Your Disk Space
Feature updates can be quite large, sometimes several gigabytes in size. Your computer needs enough free space to download the update files and then install them. A good rule of thumb is to have at least 20-30 GB of free space on your main drive (usually C:).
How to check your disk space:
- Open File Explorer (the folder icon on your taskbar).
- Click on “This PC” on the left-hand side.
- You’ll see your drives listed. Look at your “Local Disk (C:)” and see how much free space is available.
If you’re low on space, there are a few things you can do:
- Disk Cleanup: Search for “Disk Cleanup” in the Windows search bar. This handy tool can help you remove temporary files, old Windows update files, and other junk you don’t need.
- Uninstall Unused Programs: Go to Settings > Apps > Apps & features. Review the list and uninstall any programs you no longer use.
- Move Files: If you have a lot of large files (like videos or music), consider moving them to an external hard drive or cloud storage to free up space on your main drive before the update.
3. Update Your Drivers
While not strictly mandatory for the update process itself, ensuring your hardware drivers are up-to-date can prevent compatibility issues after the feature update. Drivers are small software programs that allow Windows to communicate with your hardware (like your graphics card, sound card, or Wi-Fi adapter). Outdated drivers can sometimes cause glitches after an OS update.
How to update drivers:
- Windows Update: Often, Windows Update will find and install the latest drivers automatically. Go to Settings > Update & Security > Windows Update and click “Check for updates.” Look for optional updates, which often include driver updates.
- Device Manager: Search for “Device Manager” in the Windows search bar. Expand the categories (like “Display adapters” or “Network adapters”), right-click on a device, and select “Update driver.” You can choose to let Windows search automatically or browse your computer if you’ve downloaded a driver yourself.
- Manufacturer Websites: For the most up-to-date drivers, especially for graphics cards (NVIDIA, AMD, Intel) or network adapters, it’s best to visit the manufacturer’s official website.
We’ll talk more about drivers later, but a quick check now is a smart move.
4. Ensure Your PC Meets System Requirements
Windows 10 feature updates are designed to run on systems that can already run Windows 10. However, if your hardware is very old and struggling to keep up now, a major update might make performance worse. While there isn’t a specific hardware check for each feature update, ensuring your system is generally performing well before an update is advisable. Older components might struggle more with newer features.
If your PC is slow or having issues before the update, it’s a good idea to address those first. This might involve cleaning up your system, checking for malware, or even considering hardware upgrades if your machine is quite old.
Installing the Feature Update: Step-by-Step

Now that you’re prepared, let’s get that update installed! Microsoft often tries to make this process as seamless as possible.
Method 1: Via Windows Update (The Easiest Way)
This is the most common and recommended way to get feature updates. Microsoft pushes these updates out to eligible devices automatically.
- Go to Settings: Click the Start button (Windows icon) and then click the gear icon to open Settings.
- Navigate to Update & Security: Click on “Update & Security.”
- Check for Updates: On the “Windows Update” tab, click the “Check for updates” button.
- Download and Install: If a feature update is available for your device, it will appear here. You’ll see a button to “Download and install.” Click it! Windows will start downloading the update. This can take a while depending on your internet speed.
- Restart Your PC: Once downloaded, Windows will prompt you to restart your computer to finish the installation. It’s best to do this when you’re not actively using your PC, as it can take some time (typically 30 minutes to a couple of hours, depending on your system and the size of the update). You might see a “Restart now” button, or you can schedule it for a time that suits you.
During the restart, you’ll see screens indicating that Windows is installing updates. It might restart a few times. Don’t turn off your PC during this process!
Method 2: Using the Windows 10 Update Assistant
Sometimes, a feature update might not appear automatically in Windows Update, or you might want to get it sooner rather than later. The Windows 10 Update Assistant is a tool from Microsoft that forces the update.
- Download the Assistant: Go to the official Microsoft support page for the latest Windows 10 feature update. You can usually find this by searching “Windows 10 download” on Google and looking for the official Microsoft site. On that page, look for a button like “Update now” or download the “Windows 10 Update Assistant.”
- Run the Assistant: Once downloaded, run the Update Assistant executable file.
- Check for Updates: The assistant will check if your device is eligible and if a newer version is available than what you currently have.
- Start the Update: If an update is found, click “Update Now.” The assistant will download and install the latest feature update.
- Restart: Like the Windows Update method, you’ll need to restart your PC to complete the installation.
Using the Update Assistant is a straightforward way to manually trigger a feature update if it’s not showing up on its own.
Method 3: Using the Media Creation Tool
The Media Creation Tool is a versatile tool from Microsoft. It’s primarily used to create Windows installation media (like a USB drive or DVD) for a clean install or to upgrade another PC. However, it can also be used to perform an in-place upgrade on your current PC.
- Download the Tool: Go to the official Microsoft download page for Windows 10. Search for “Download Windows 10” and find the official Microsoft site. Look for the “Download tool now” button and run the Media Creation Tool.
- Accept Terms: Accept the license terms.
- Choose “Upgrade this PC now”: When prompted, select “Upgrade this PC now” and click Next.
- Preparation: The tool will download the latest version of Windows 10. This can take a significant amount of time.
- Keep Files and Apps: You’ll be given the option to “Keep personal files and apps.” Make sure this is selected if you want to upgrade without losing your data and programs.
- Install: Click “Install.” Your PC will restart, and Windows will be updated.
This method is a bit more involved but is also a reliable way to get the latest feature update, and it ensures you have a fresh copy of the latest Windows build.
After the Update: What to Do Next
The update is installed! Congratulations! But your job isn’t quite done. A little post-update TLC can ensure everything is running smoothly.
1. Reboot Again (Just in Case)
Sometimes, a second reboot after the initial installation can help Windows finalize some settings and clear out any temporary data. It’s a quick and easy step that can sometimes resolve minor lingering issues.
2. Run Windows Update Again
After a major feature update, Windows Update is the first place to check for any smaller “cumulative” or quality updates that might have been released to iron out any immediate post-upgrade bugs. You might also find important driver updates here.
- Go to Settings > Update & Security > Windows Update.
- Click “Check for updates.”
- Install any available updates and restart if prompted.
3. Test Key Hardware and Software
Take a few minutes to test the things you use most often:
- Internet Connection: Browse a few websites.
- Sound and Microphone: Play a video or try a quick voice recording.
- Printer: Print a test page from a document.
- Essential Software: Open your most-used applications (e.g., web browser, office suite, email client) to ensure they’re working correctly.
If something isn’t working, don’t panic! The next section covers troubleshooting.
4. Review Privacy Settings
New Windows feature updates sometimes reset or change privacy settings. It’s a good habit to quickly review them:
- Go to Settings > Privacy.
- Go through each category (General, Location, Camera, Microphone, etc.) and ensure your settings are as you prefer.
5. Clean Up Old Windows Files (Optional, but Recommended)
After a successful feature update, Windows keeps a backup of your old system files for about 10 days. This allows you to roll back to the previous version if you encounter major problems. Once you’re confident the new update is stable, you can remove these files to reclaim disk space.
- Search for “Disk Cleanup” in the Windows search bar and open it.
- Select your C: drive and click OK.
- Once it scans, click “Clean up system files.”
- Disk Cleanup will scan again. Look for “Previous Windows installation(s)” or “Windows.old folder.” Check the box next to it.
- Click OK and then “Delete Files.”
Important: Only do this if you are absolutely certain you won’t need to roll back. Once deleted, they are gone!
Troubleshooting Common Update Issues

Even with the best preparation, sometimes things don’t go perfectly. Here are solutions for common problems:
Issue 1: Update Fails to Download or Install
Cause: Corrupted download, insufficient disk space, interfering third-party software, or Windows Update service issues.
Fixes:
- Run the Windows Update Troubleshooter: Go to Settings > Update & Security > Troubleshoot > Additional troubleshooters. Select “Windows Update” and run the troubleshooter. It can automatically find and fix many common problems.
- Check Disk Space: Ensure you have at least 20-30 GB free.
- Disable Antivirus Temporarily: Some overzealous antivirus programs can interfere. Try disabling it temporarily and then try the update again. Remember to re-enable it afterward!
- Use the Media Creation Tool or Update Assistant: These tools can often bypass issues with the standard Windows Update service.
Issue 2: PC is Stuck on “Getting Windows ready” or a specific percentage
Cause: Slow performance, a corrupt update file, or conflicts with hardware/drivers.
Fixes:
- Be Patient: Sometimes, this stage just takes a really long time, especially on older or slower hardware. Let it run for at least 2–3 hours if you can.
- Force a Restart (as a last resort): If it’s truly stuck for many hours, you might need to force a shutdown. Press and hold the power button until the PC turns off. Then, turn it back on. Windows will attempt to undo the changes or boot normally. If it boots, immediately run Windows Update and try again.
- Disconnect Peripherals: Unplug all non-essential USB devices (printers, external drives, webcams) before starting the update.
Issue 3: Problems After the Update (e.g., “Blue Screen of Death,” specific hardware not working)
Cause: Driver conflicts, corrupted system files.
Fixes:
- Check for Driver Updates: As mentioned before, go to Device Manager and check for any devices with a yellow exclamation mark. Update their drivers.
- Run System File Checker (SFC): Open Command Prompt as an administrator (search “cmd,” right-click, “Run as administrator”). Type
sfc /scannowand press Enter. This tool scans for and repairs corrupted Windows system files. - Roll Back the Update: If the problems are severe and started immediately after the update, you have a 10-day window to roll back. Go to Settings > Update & Security > Recovery. Under “Go back to the previous version of Windows 10,” click “Get started.”
- System Restore: If rolling back isn’t an option or doesn’t help, you can try a System Restore point created before the update. Search for “Create a restore point,” click “System Restore,” and follow the prompts.
For serious issues, Microsoft’s support pages are a great resource. You can often find detailed guides and solutions for specific error codes.
Drivers: Your Hardware’s Best Friend
We touched on drivers earlier, but they are so important for a smooth system, especially after major updates. Think of them as translators that let Windows and your hardware speak the same language.
Why Drivers Need Updates
- Bug Fixes: Manufacturers release driver updates to fix issues discovered after their initial release.
- Performance Improvements: New drivers can optimize how your hardware performs, sometimes significantly. For gamers, graphics driver updates are crucial for better frame rates and new game support.
- Compatibility: Newer operating system features might require newer drivers to function correctly.
- Security Patches: While less common than OS security updates, some