
Finding the right fax software for Windows 10 is easier than you think! This guide breaks down the best options and how to set them up, ensuring you can send and receive faxes reliably from your PC. Get ready to ditch the old fax machine for good.
Hey there! Mike Bentley here, your go-to guide for all things Windows. Ever feel like you’re stuck in the past, needing to send a fax but only having a modern Windows 10 computer? It can be frustrating, right? That bulky fax machine taking up space, the endless paper jams, and the uncertainty of whether your important document actually made it. Well, I’ve got good news! You don’t need that old machine anymore. Your Windows 10 PC can handle faxing, and it’s simpler than you might imagine. In this guide, I’ll walk you through everything you need to know, from what fax software is to how to get it up and running smoothly. Let’s get you faxing like a pro in no time!
Why You Need Fax Software for Windows 10
In today’s digital world, you might be wondering why faxing is still relevant. The truth is, many industries, especially legal, medical, and government sectors, still rely heavily on faxed documents. This is often due to security requirements and the need for a verifiable paper trail. Trying to send a fax without the right software can feel like trying to build a house without tools – impossible and downright annoying.
For Windows 10 users, integrating faxing capabilities into your computer means:
- Convenience: Send and receive faxes directly from your desk without needing a separate fax machine.
- Efficiency: Integrate faxing into your digital workflow, saving time and reducing the risk of errors.
- Cost-Effectiveness: Eliminate the need for a dedicated fax line, paper, ink, and maintenance of a physical fax machine.
- Record Keeping: Easily store, organize, and search for your sent and received faxes electronically.
- Reliability: Ensure your documents are sent and received accurately with digital tracking and notifications.
Understanding the Basics: How Faxing Works on Your PC
Before we dive into specific software, let’s quickly touch on how faxing on a computer actually works. There are a few ways your Windows 10 PC can communicate with the traditional phone lines used for faxing:
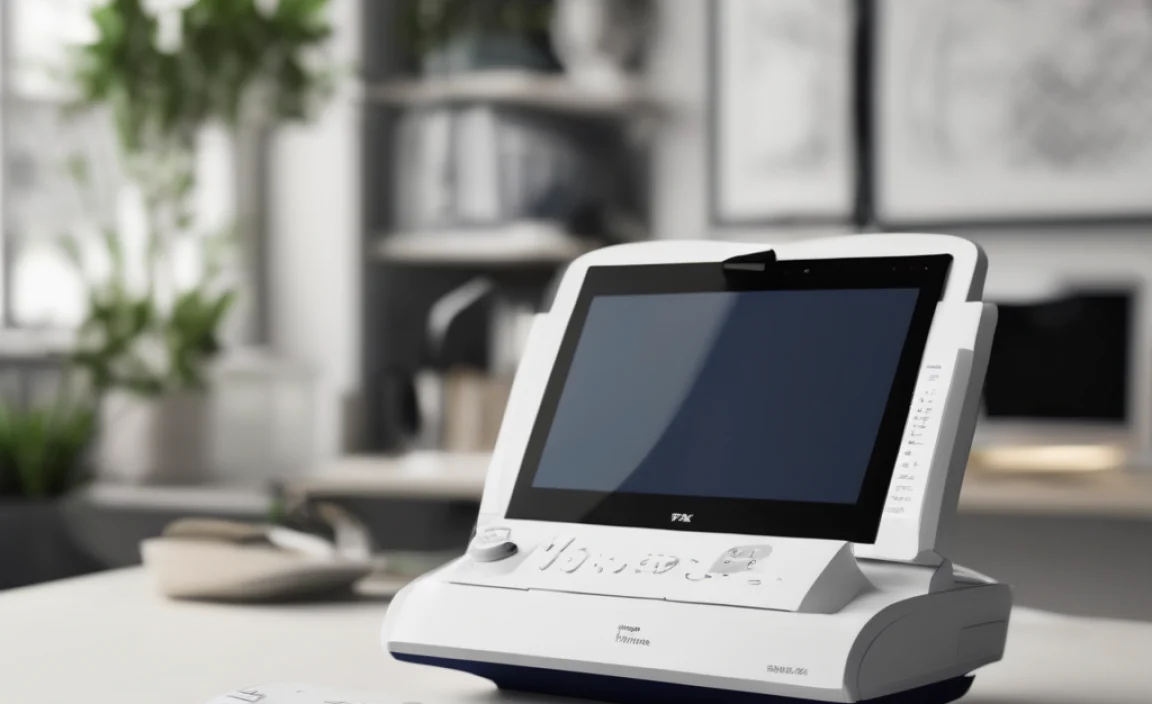
- Built-in Windows Fax and Scan: Yes, Windows 10 has a built-in utility that can handle faxing, though it requires a compatible fax modem (either internal or external). This is the most “native” solution.
- Internet Fax Services (VoIP Faxing): This is the most popular and modern method. Instead of using a physical modem and phone line, you use an internet-based service. You upload your document to the service, and it sends it over the internet to a fax server, which then dials the recipient’s fax number. Receiving faxes works in reverse, with the service sending them to your email or an online portal.
For most users today, especially those looking for a simple and setup-free solution, internet fax services are the way to go. They completely bypass the need for any hardware beyond your PC and an internet connection.
Option 1: Using the Built-in Windows Fax and Scan
Windows 10, surprisingly, still includes a faxing utility. It’s a bit of a hidden gem and requires a physical fax modem. If you have one or can easily acquire one, this can be a cost-effective solution.
What You’ll Need:
- A fax modem (internal PCI card or external USB modem).
- A phone line that can be dedicated to faxing (or you’ll need to be mindful of using it for calls).
- The Windows Fax and Scan feature installed.
How to Install and Set Up Windows Fax and Scan:
First, you need to make sure the feature is enabled. It’s not on by default for everyone.
- Open Control Panel: Search for “Control Panel” in the Windows search bar and open it.
- Navigate to Programs: Click on “Programs” or “Programs and Features.”
- Turn Windows Features On or Off: On the left pane, click “Turn Windows features on or off”.
- Enable Fax and Scan: In the Windows Features window, scroll down and find “Microsoft Fax and Scan”. Check the box next to it and click “OK”.
- Install Your Fax Modem: If you have a physical modem, connect it to your PC and your phone line. Windows should automatically detect and install the drivers. If not, you’ll need to use the driver disc that came with the modem or download them from the manufacturer’s website.
- Launch Windows Fax and Scan: Search for “Fax” in the Windows search bar and open “Windows Fax and Scan”.
- Set Up a Fax Account: The very first time you open it, you’ll likely be prompted to set up a fax account. Click “Set up a fax modem” (or similar).
- Configure Modem: Follow the on-screen instructions to configure your modem. This usually involves selecting your modem from a list and entering your sender information (name, fax number, company, etc.).
- Send a Test Fax: To verify it’s working, you can send a test fax. In Windows Fax and Scan, click “New Fax.” Enter a valid fax number (you can find online fax test numbers if you don’t have one handy) and attach a simple document. Click “Send.”
- Receive a Fax: To receive faxes, your modem needs to be connected to an active phone line, and the Windows Fax and Scan application needs to be running. You can configure automatic receiving in the Fax Settings.
Pros and Cons of Windows Fax and Scan:
Pros:
- Free (if you already have a modem and phone line).
- Directly integrated into Windows.
- Good for occasional, low-volume faxing.
- Can be more secure if you are concerned about third-party services handling your documents.
Cons:
- Requires a physical fax modem and a phone line.
- Can be complicated to set up and troubleshoot.
- Not ideal for high-volume faxing.
- Less reliable than modern internet fax services.
- May not offer features like cloud storage, mobile apps, or advanced scheduling.
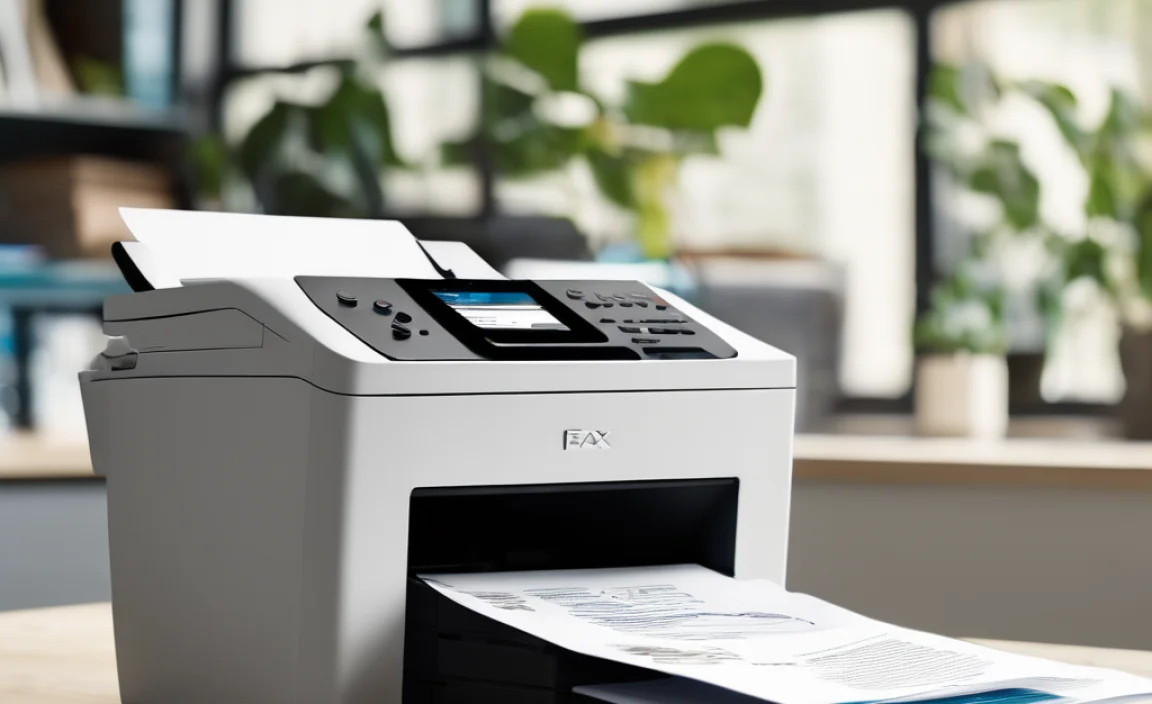
Option 2: Internet Fax Services (Recommended for Most Users)
Internet fax services are the modern solution. They allow you to send and receive faxes using your existing internet connection, eliminating the need for any special hardware. You typically pay a monthly subscription fee based on your faxing volume and desired features.
How Internet Fax Services Work:
These services act as an intermediary. You use their app or web portal to send a fax by uploading a document and entering the recipient’s number. The service handles dialing the number and transmitting the fax. For incoming faxes, the service receives them and forwards them to you, usually via email as a PDF attachment, or through their secure online portal.
Key Features to Look For:
When comparing services, consider what’s most important for your needs:
- Pricing and Plans: Look for plans that match your expected fax volume. Many offer tiered pricing.
- Number of Pages/Month: How many faxes can you send and receive before incurring extra charges?
- Local/Toll-Free Number: Do you need a dedicated fax number? Can you choose a local number or a toll-free one?
- Email Integration: Can you send faxes from your email client and receive faxes as email attachments?
- Mobile App: Is there a mobile app for faxing on the go?
- Security Features: Look for encryption, HIPAA compliance (if handling medical records), and secure portals.
- Cloud Storage and Organization: How are faxes stored? Can you easily search and manage them?
- International Faxing: If you need to fax internationally, check their rates and availability.
- Customer Support: What kind of support do they offer?
Top Internet Fax Services for Windows 10
Here are a few of the most popular and reliable internet fax services that work seamlessly with Windows 10. I’ve highlighted some key aspects to help you choose:
| Service Name | Best For | Key Features | Starting Price (Approx.) |
|---|---|---|---|
| RingCentral Fax | Businesses needing integrated communication | Cloud-based, mobile app, unified communications, unlimited pages on some plans, local/toll-free numbers. | $19.99/month (for 1500 incoming/outgoing pages) |
| eFax | Users seeking ease of use and broad compatibility | Large page limits, email-to-fax, eFax Messenger for annotations, HIPAA compliant options, 1700+ supported formats. | $18.95/month (for 200 pages) |
| MyFax | Individuals and small businesses needing a simple solution | User-friendly interface, mobile apps, email-to-fax, cloud storage, HIPAA compliant plans. | $12.00/month (for 100 pages) |
| SRFax | Healthcare professionals requiring HIPAA compliance | Fully HIPAA compliant, secure portal, email notifications, unlimited pages for incoming faxes, transparent pricing. | $9.95/month (for features and 650 pages) |
| Fax.Plus | Users needing cross-platform access and advanced features | Cross-platform (Windows, Mac, iOS, Android), cloud integration, advanced security, team management, API available. | $4.99/month (for 100 pages) |
Note: Pricing and features are subject to change. It’s always best to visit the service’s website for the most current information.
Setting Up an Internet Fax Service (General Steps):
The exact steps will vary slightly by provider, but the general process is usually quite straightforward:
- Visit the Service’s Website: Go to the website of the internet fax service you’ve chosen.
- Choose a Plan: Select the subscription plan that best fits your needs and budget. Most offer free trials!
- Sign Up: Create an account. You’ll typically need to provide your email address, create a password, and enter billing information.
- Select a Fax Number: Choose a local or toll-free fax number from the available options. This will be your dedicated fax number.
- Configure Settings: Set up your sender information and decide how you want to receive faxes (e.g., email notifications, PDF attachments).
- Download the App (Optional): If you plan to fax from your smartphone or tablet, download the provider’s app from your device’s app store.
- Start Faxing!
How to Send a Fax Using an Internet Service:
There are usually a few ways to send a fax:
- Web Portal: Log in to your account on the service’s website. Upload your document (PDF, DOCX, etc.), enter the recipient’s fax number, add a cover page if needed, and click send.
- Email: Compose a new email. In the “To” field, enter the recipient’s fax number followed by the service’s designated email address (e.g., `[email protected]`). Attach the document you want to fax. Send the email, and the service will convert it into a fax.
- Desktop App or Mobile App: If your provider has a dedicated app, you can usually send faxes directly from within the application.
How to Receive a Fax Using an Internet Service:
Incoming faxes are automatically routed to your dedicated fax number. You will typically receive them:
- Via Email: As a PDF attachment in your inbox.
- In the Online Portal: Log in to your account to view, download, or print received faxes.
This is incredibly convenient, as you don’t need anything running on your PC to receive faxes; the service handles it all in the cloud.
Best Practices for PC Faxing
Whether you’re using the built-in Windows tool or an internet fax service, following these best practices will ensure smooth and secure faxing:
For Sending Faxes:
- Use Electronic Documents: Whenever possible, start with a digital document. This avoids the need to scan and saves time.
- Check File Formats: Ensure your documents are in a format supported by your fax software or service (PDF and DOCX are usually safe bets).
- Use a Clear Cover Page: Always include a cover page with your name, company, phone number, the recipient’s name and fax number, and the total number of pages. This ensures the recipient knows who the fax is from and what it’s about.
- Confirm Delivery: Most services and Windows Fax and Scan provide delivery confirmation. Always check this to ensure your fax was sent successfully.
- Send at Off-Peak Hours (for modem faxing): If using Windows Fax and Scan with a modem, consider sending faxes during off-peak phone hours to ensure line quality and avoid long-distance charges if applicable.
- Verify Fax Numbers: Double-check the fax number before sending to avoid errors.
For Receiving Faxes:
- Keep Your Email Inbox Organized: If you receive faxes via email, set up a dedicated folder or label to keep them easily accessible and prevent them from getting lost in your inbox.
- Secure Your Faxes: Treat faxed documents with the same security as any other sensitive information. Store them securely and delete them when no longer needed.
- Regularly Check Your Fax Archive: If using an online service with an archive, periodically review your sent and received faxes.
Ensuring Security and Privacy:
Faxing often involves sensitive information, so security is paramount. The U.S. Cybersecurity & Infrastructure Security Agency (CISA) offers guidance on protecting sensitive information, which applies to faxing as well. You can find valuable tips on their website:
CISA: Protecting Sensitive Information and Systems
- Choose Reputable Services: Opt for well-known internet fax providers with strong security protocols and clear privacy policies.
- Look for Encryption: Ensure the service uses encryption to protect documents during transmission and storage.
- HIPAA Compliance: If you handle Protected Health Information (PHI), ensure your chosen service is HIPAA compliant.
- Secure Your Account: Use strong, unique passwords for your internet fax service accounts and enable two-factor authentication if available.
- Dispose of Sensitive Faxes Properly: If you ever need to print a fax, shred it securely when no longer needed.
Troubleshooting Common Faxing Issues
Even with the best software, occasionally things don’t go perfectly. Here are some common issues and how to fix them.
Issue: Fax Won’t Send (Windows Fax and Scan)
Cause: Modem issue, phone line problem, incorrect fax number, or busy signal.
Fix:
- Check if the modem is properly connected to your PC and the phone line.
- Ensure the phone line has dial tone and isn’t in use for a voice call (if it’s a shared line).
- Redial the fax number, ensuring it’s entered correctly (include area code and country code if necessary).
- Try sending to a different fax number to rule out a problem with the original recipient.
- Restart your computer and the fax modem.
Issue: Fax Won’t Send (Internet Fax Service)
Cause: Invalid fax number, issue with the document, service outage, or billing problem.
Fix:
- Double-check the recipient’s fax number for accuracy, including country and area codes.
- Try sending a different