Master your PC’s cooling by learning how to use a fan controller for Windows 10. This guide offers simple, step-by-step instructions for easy setup and adjustment, ensuring your computer stays cool and runs smoothly without any hassle.
Ever feel like your computer is working a little too hard? That constant hum of the fans can be a tell-tale sign that your PC is getting warm. If you’re not a tech expert, the idea of controlling your computer’s fans might sound complicated. But what if I told you it’s actually quite straightforward? Keeping your computer cool is super important for its health and performance. When fans run efficiently, your system can avoid overheating, which means fewer slowdowns and a longer lifespan for your hardware. We’re going to walk through how to get a fan controller set up on your Windows 10 machine, making it easy for you to manage your PC’s temperature. Get ready to feel more in control and enjoy a quieter, cooler computer!
Understanding Your PC’s Fans and Why Control Matters
Think of your computer’s fans as its personal air conditioning system. They’re crucial for pushing hot air away from sensitive components like the CPU (the computer’s brain) and GPU (the graphics powerhouse), and drawing in cooler air from outside. Without them, your PC would quickly overheat, leading to performance issues, unexpected shutdowns, and even permanent damage to your hardware. Sometimes, the default fan settings aren’t quite right. They might be too loud when your PC is idle, or not powerful enough when you’re really pushing your system with gaming or heavy tasks.
This is where a fan controller comes in. It’s essentially a tool that lets you tell your fans exactly how you want them to behave. You can adjust their speed based on how hot your computer is, how much load it’s under, or even just how quiet you want it to be. This kind of control is fantastic because it optimizes your PC’s cooling while minimizing noise, giving you a better computing experience overall. You’re not just passively accepting how your computer runs; you’re actively making it work better for you.
Types of Fan Controllers for Windows 10

When we talk about controlling fans on Windows 10, there are a few main ways to go about it. Each has its own advantages, and the best choice for you will depend on your setup and what you want to achieve. Let’s break them down:
1. Software-Based Fan Controllers
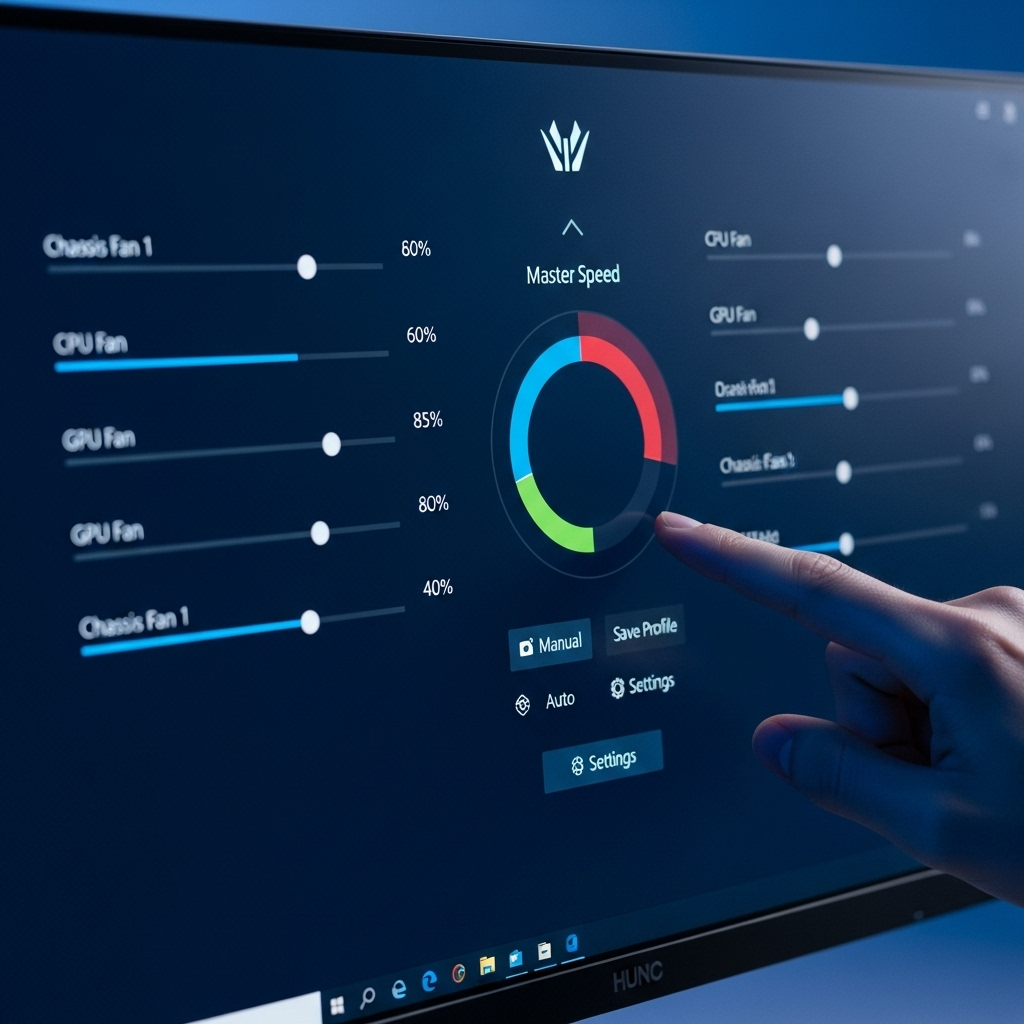
This is the most common and beginner-friendly method. Many modern motherboards come with their own software that allows you to control fan speeds directly from within Windows 10. If your motherboard manufacturer provides diagnostic or utility software, it often includes fan control features. You’ll typically see sliders or preset profiles that let you manage your fan curves (how fan speed changes with temperature).
Even if your motherboard software is limited, there are many third-party applications that can offer more robust control over your system’s fans. These programs read your system’s temperatures and allow you to set custom fan speeds based on those readings. They are ideal if you want fine-grained control without opening up your computer case or adding new hardware.
2. BIOS/UEFI Fan Control
The BIOS (Basic Input/Output System) or UEFI (Unified Extensible Firmware Interface) is the foundational software that boots up your computer before Windows loads. Most modern motherboards allow you to access and adjust fan settings directly from the BIOS/UEFI. This method offers a very stable way to manage your fans, as the settings are applied at a fundamental level. You can often set specific fan curves or choose preset modes (like “Silent” or “Performance”).
Accessing the BIOS/UEFI is usually done by pressing a specific key (like Delete, F2, F10, or F12) repeatedly right after you turn on your computer, before the Windows logo appears. Look for sections labeled “Fan Control,” “Hardware Monitor,” or “Q-Fan” (an ASUS term, but other brands have similar features).
3. Hardware Fan Controllers
These are physical devices that you install inside your computer case. They typically connect to various fan headers on your motherboard and often have their own dedicated power source for more demanding fans. Hardware controllers usually come with a front-facing panel that you can mount in a drive bay, giving you physical knobs or buttons to adjust fan speeds on the fly. Some higher-end models even offer digital displays and sophisticated software interfaces.
While they offer direct, often tactile control, hardware controllers require a bit more technical skill to install, involving opening your PC and connecting cables. They are a good option for enthusiasts who want full control independent of the operating system or have many fans to manage.
How to Set Up a Software Fan Controller in Windows 10
For most beginners, using software to control fans is the easiest and most accessible route. You likely already have the tools you need! Here’s how to get started:
Step 1: Identify Your Motherboard or Graphics Card
The first step is to know what hardware you’re working with. Your motherboard is the central component that all your other parts connect to, and it usually dictates how you control your case fans. Your graphics card (GPU) often has its own fans that you might want to manage separately.
How to find this information:
- System Information: Type “System Information” into the Windows search bar and open the app. Under “System Summary,” look for “BaseBoard Manufacturer” and “BaseBoard Product” for your motherboard, and “Display Provider,” “Display Adapter Type,” and “Display Model” for your graphics card.
- DirectX Diagnostic Tool: Press Windows Key + R, type
dxdiag, and press Enter. Go to the “System” tab for motherboard details and the “Display” tab for graphics card information. - Task Manager: Open Task Manager (Ctrl+Shift+Esc), go to the “Performance” tab, and click on “CPU” and “GPU.” The names of your CPU and GPU are displayed there, and often the motherboard model is listed under CPU.
Step 2: Download and Install Your Manufacturer’s Software (Recommended)
Most major motherboard manufacturers provide their own utility suites. These often include fan control, RGB lighting control, and other system monitoring tools. It’s usually the best place to start because it’s designed specifically for your hardware.
Visit the support or downloads section of your motherboard manufacturer’s website (e.g., ASUS, MSI, Gigabyte, ASRock). Enter your motherboard model to find the latest drivers and software. Look for software related to “Fan Control,” “System Utility,” “Command Center,” or similar. If you also want to control your graphics card fans separately, check your graphics card manufacturer’s website (e.g., NVIDIA, AMD, ASUS, MSI) for their specific software (like NVIDIA GeForce Experience, AMD Radeon Software, or specific partner utilities).
Popular Manufacturer Software Examples:
- ASUS: AI Suite/Armoury Crate
- MSI: MSI Center/Dragon Center
- Gigabyte: SIV (System Information Viewer) / RGB Fusion
- ASRock: A-Tuning/Phantom Gaming Tuning
- NVIDIA: GeForce Experience (limited fan control), EVGA Precision X1
- AMD: AMD Radeon Software
Install the software and follow the on-screen prompts. You might need to restart your computer after installation.
Step 3: Navigate to the Fan Control Section
Once installed, launch the software. The interface can vary greatly between manufacturers, but you’re generally looking for a section labeled “Fan Control,” “Fan Tuning,” “Smart Fan,” “Hardware Monitor,” or something similar. It might be a main tab or a subsection within a larger utility.
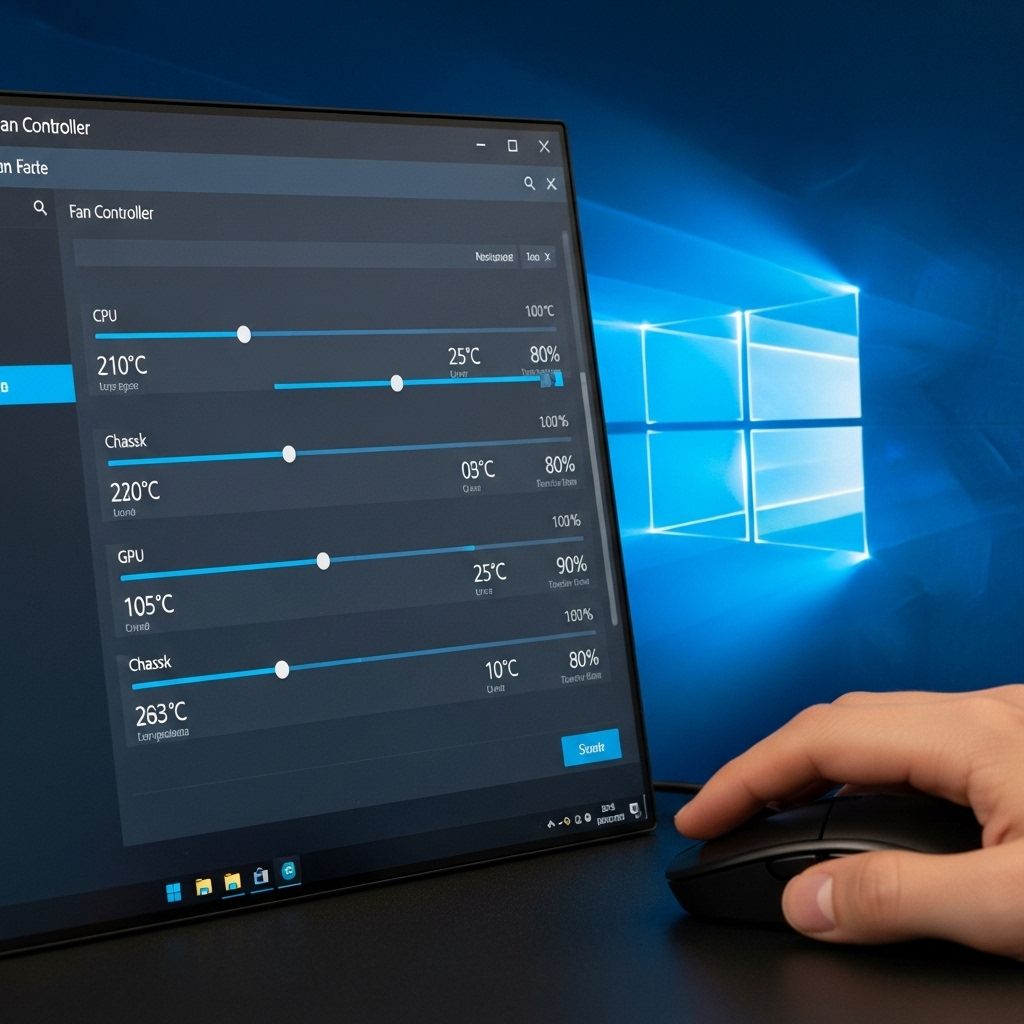
In this section, you should see a list of the fans detected in your system. This will typically include your CPU fan, graphics card fans (if supported by the software), and case fans connected to your motherboard’s fan headers. Each fan will usually show its current speed (RPM – Revolutions Per Minute) and its current temperature reading, often from a nearby sensor (like the CPU temperature or motherboard temperature).
Step 4: Adjust Fan Curves or Presets
This is where you gain control. You’ll likely have a couple of options:
- Preset Modes: Many programs offer pre-configured profiles like “Silent,” “Standard,” “Performance,” or “Full Speed.” These are great for a quick adjustment. “Silent” mode prioritizes lower noise by keeping fans at lower speeds when temperatures are cool, while “Performance” mode keeps fans spinning faster to maximize cooling.
- Manual Control / Custom Fan Curves: This gives you the most flexibility. You’ll see a graph where the X-axis represents temperature and the Y-axis represents fan speed (usually as a percentage). You can click and drag points on this graph to create your own fan curve.
Creating a Custom Fan Curve:
- Identify Target Temperatures: Know what temperatures are considered normal for your components. For example, idle CPU temps might be 30-50°C, while load temps might go up to 70-85°C. GPU temps can vary more. Consult reviews for your specific hardware or use resources like TechPowerUp for general temperature guidelines.
- Set Low-Temperature Behavior: For a quiet experience, set the fan speed very low (e.g., 0-20%) when temperatures are below, say, 50°C. Some fans may not spin at all below a certain RPM (this is called “zero-RPM mode” and is great for silence).
- Define Cruising Speed: As temperatures rise into the moderate range (e.g., 50-70°C), you’ll want the fans to start spinning faster to keep things under control. Gradually increase the fan speed.
- Set High-Temperature Behavior: When your CPU or GPU approaches higher temperatures (e.g., 70-80°C and above), you want the fans to ramp up significantly to prevent overheating. Set a steeper curve here so fans reach 80-100% speed.
- Use Multiple Points: You can add multiple points to your curve. A common setup might be:
- 0% fan speed below 40°C
- 30% fan speed at 60°C
- 70% fan speed at 75°C
- 100% fan speed at 85°C
Experiment to find a balance that works for you. You can always tweak it later.
Step 5: Apply and Save Your Settings
Once you’re happy with your fan curve or selected preset, make sure to click “Apply,” “Save,” or “OK” to implement the changes. Most software will have an option to “Apply at Startup” or “Run in Background” so your custom fan settings are active every time you boot into Windows.
Important Note: Some manufacturer software requires you to save profiles to the motherboard’s hardware (if supported) for them to work outside of Windows or if the software isn’t running. Check your specific software’s documentation.
Using BIOS/UEFI for Fan Control

Controlling fans through your motherboard’s BIOS/UEFI is a robust way to ensure your cooling settings are applied system-wide, even before Windows loads. It’s a great fallback if Windows-based software is unreliable or if you prefer a more fundamental level of control.
Step 1: Accessing Your BIOS/UEFI
Restart your computer. As soon as it begins to boot up (before the Windows logo appears), repeatedly press the designated key for your motherboard. This key is usually displayed on the screen during the initial boot sequence or is one of the following:
- Delete (Del) – Very common
- F2 – Common on many brands
- F10
- F12
If you miss the window, Windows will boot normally. Just restart and try again. You can also access UEFI settings from within Windows 10 by going to Settings > Update & Security > Recovery > Advanced startup > Restart now. After the PC restarts, select Troubleshoot > Advanced options > UEFI Firmware Settings.
Step 2: Locating Fan Control Settings
Once inside the BIOS/UEFI, you’ll need to navigate to the fan control section. The exact location and names vary significantly between motherboard manufacturers. Look for menus or sections titled:
- “Hardware Monitor”
- “Fan Control”
- “Smart Fan”
- “Q-Fan Control” (ASUS)
- “System Monitor”
- “PC Health Status”
You might find these options within a main menu, or sometimes they are nested under “Advanced,” “Overclocking,” or “Monitoring” sections.
Step 3: Configuring Fan Settings
In the fan control section, you’ll typically see:
- Fan Speed Control: This is where you select how you want fans to be controlled. Options might include:
- Auto/Default: The motherboard’s default, often a balanced profile.
- PWM/DC Mode: Selects the control method for the fan header (PWM is more precise, DC is simpler). Your motherboard usually auto-detects this, but you can sometimes manually select it if a fan isn’t behaving correctly.
- Silent/Standard/Performance/Full Speed: Preset profiles similar to software controls.
- Manual/User Defined: Allows you to set a custom fan curve.
- Fan Curves: If you select Manual or User Defined, you’ll be presented with a graph or a set of temperature/speed points. Similar to software, you’ll define how fan speed changes based on temperature readings (usually CPU temperature, but sometimes system temperature).
- Temperature Source: You can often choose which sensor’s temperature the fan speed should respond to (e.g., CPU, motherboard).
- Fan Stop/Zero RPM: Some BIOS/UEFI versions allow you to configure fans to stop completely below a certain temperature threshold for ultimate silence.
Configure your settings carefully. Use the on-screen instructions (usually displayed on the right side of the screen) for help. Many BIOS/UEFI interfaces use the arrow keys and Enter key for navigation; mouse support is common on newer systems.
Step 4: Saving and Exiting
After making your adjustments, you need to save them. Navigate to the “Save & Exit” tab or menu. Select “Save Changes and Exit” (or a similar option). Confirm your choice. Your computer will restart with the new fan settings applied.
Tip: Before making changes, take a photo of the original settings or write them down. This way, you can easily revert if your new settings don’t work as expected.
Understanding Fan Curves and Temperature Thresholds
A fan curve is your secret weapon for balancing performance and noise. It’s a visual representation of how your fan speed will ramp up as your computer’s temperature increases. Think of it like a thermostat for your fans.
Here’s a breakdown of the components of a fan curve:
- X-Axis (Horizontal): This represents the temperature, usually measured in degrees Celsius (°C). It starts from the lowest possible idle temperature and goes up to the maximum safe operating temperature for your components (often around 90-100°C for CPUs, though sustained high temps are not ideal).
- Y-Axis (Vertical): This represents the fan speed, usually shown as a percentage of its maximum speed (0% to 100%) or sometimes in RPM.
- Data Points: These are specific points on the graph that you can set. For example, you might set a point at 50°C and 40% fan speed.
Common Fan Curve Strategies:
Here’s a simple table showing a typical fan curve setup and its rationale:
| Temperature (°C) | Fan Speed (%) | Reasoning |
|---|---|---|
| < 40°C | 20% (or 0% if Zero RPM supported) | Idle or very light tasks. Keep fans quiet or off. |
| 55°C | 40% | Light to moderate tasks. Fans start spinning gently. |
| 70°C | 65% | Moderate to heavy tasks. Increased cooling needed. |
| 80°C | 85% | High-performance tasks (gaming, rendering). Aggressive cooling. |


