Epson WiFi Driver: Easy Windows 10 (32-bit) Download
Downloading and installing the correct Epson WiFi driver for your Windows 10 (32-bit) operating system can sometimes feel like a quest, but it doesn’t have to be a frustrating one. With the right approach, you can ensure your printer connects seamlessly to your network, allowing for effortless wireless printing. This guide will walk you through the process, empowering you to get your Epson printer up and running wirelessly on your 32-bit Windows 10 machine.
The first thing to understand is the importance of using the exact driver for your specific printer model and operating system. Microsoft’s Windows 10, even in its 32-bit iteration, relies on precise software instructions to communicate with hardware. Using a generic driver or one intended for a different operating system version can lead to connectivity issues, printing errors, or a complete inability to connect to your WiFi network. Therefore, identifying your printer model is the critical first step.
Finding Your Epson Printer Model
Before you even think about downloading, take a moment to locate the precise model number of your Epson printer. This is usually found on the front, top, or back of the device itself. It might be something like “Epson Expression Premium XP-610,” “Epson EcoTank ET-2760,” or “Epson WorkForce WF-3720.” Jot this down carefully, as it’s your golden ticket to finding the right software.
Once you have your model number, the easiest and most reliable way to obtain the correct driver is to visit the official Epson support website. Navigate to their “Support” or “Downloads” section. Here, you’ll typically find a search bar or a dropdown menu to select your printer model. It’s crucial to stick to the official Epson site to avoid downloading potentially malicious software from third-party websites.
Navigating the Epson Support Website for Your Driver
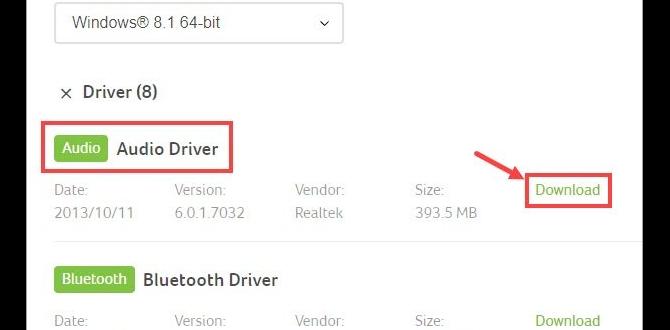
After selecting your printer model, the website will usually present you with a list of available downloads. You’ll then need to specify your operating system. Look for “Windows 10 (32-bit)” or a similar designation. It’s vital to ensure you’re selecting the 32-bit version if that’s what your system is running. You can verify your Windows 10 version by right-clicking on “This PC” or “Computer” (depending on your Windows version and how it’s displayed), selecting “Properties,” and looking under “System type.” It will clearly state either “32-bit operating system” or “64-bit operating system.”
On the Epson download page, you’ll likely see several driver options. For WiFi connectivity, you’re primarily looking for the “Full Driver and Software Package” or “Printer Driver and Utilities.” This comprehensive package usually includes all the necessary components for network setup, scanning (if applicable), and general printing functionality. Sometimes, there might be a separate “Wireless Setup Utility,” which is also highly recommended for simplifying the WiFi connection process. Download the recommended full package.
The Download and Installation Process
With the correct file downloaded, it’s time to initiate the installation. Locate the downloaded file (usually in your “Downloads” folder) and double-click it to run the installer. The process is generally straightforward and guided by on-screen instructions.
During the installation, you will likely be prompted to choose your connection type. Select “Wireless Network Connection” or “WiFi.” The installer will then guide you through connecting your printer to your WiFi network. This often involves:
Temporarily connecting your printer to your computer via USB: This allows the software to communicate with the printer initially to configure its wireless settings.
Accessing your WiFi network: The utility will either scan for available networks or allow you to manually enter your WiFi network name (SSID) and password. Ensure you have your WiFi password readily available.
Disconnecting the USB cable: Once the wireless connection is successfully established, the installer will instruct you to disconnect the USB cable.
Follow each step carefully. If you encounter any issues, such as the installer not finding your printer or failing to connect to the network, don’t panic. Sometimes, a simple restart of your computer and printer can resolve minor glitches. Ensure your printer is powered on and within a reasonable range of your WiFi router during the setup process.
Troubleshooting Common Issues
Should you find yourself in a bind, several common troubleshooting steps can help resolve Epson WiFi driver issues on Windows 10 (32-bit):
Restart both your router and printer: This is often the simplest fix for network connectivity problems.
Verify your WiFi password: A single incorrect character can prevent a connection.
Check printer proximity to the router: Weak signals can cause intermittent issues.
Run the Windows Network Troubleshooter: Windows has built-in tools that can diagnose and sometimes automatically fix network problems. You can find this by searching “Troubleshoot settings” in the Windows search bar.
Reinstall the drivers: If the initial installation was interrupted or corrupted, uninstalling the existing driver package and then reinstalling it from scratch can be effective. You can uninstall printers via the “Printers & scanners” settings in Windows.
* Consult the Epson support documentation: The Epson website often has detailed FAQs and troubleshooting guides specific to your printer model and its wireless capabilities.
By following these steps and diligently seeking the correct Epson WiFi driver for your Windows 10 (32-bit) download, you can overcome any installation hurdles and enjoy the convenience of a wirelessly connected printer. Remember, patience and accuracy in identifying your printer model and operating system are key to a smooth and successful setup.