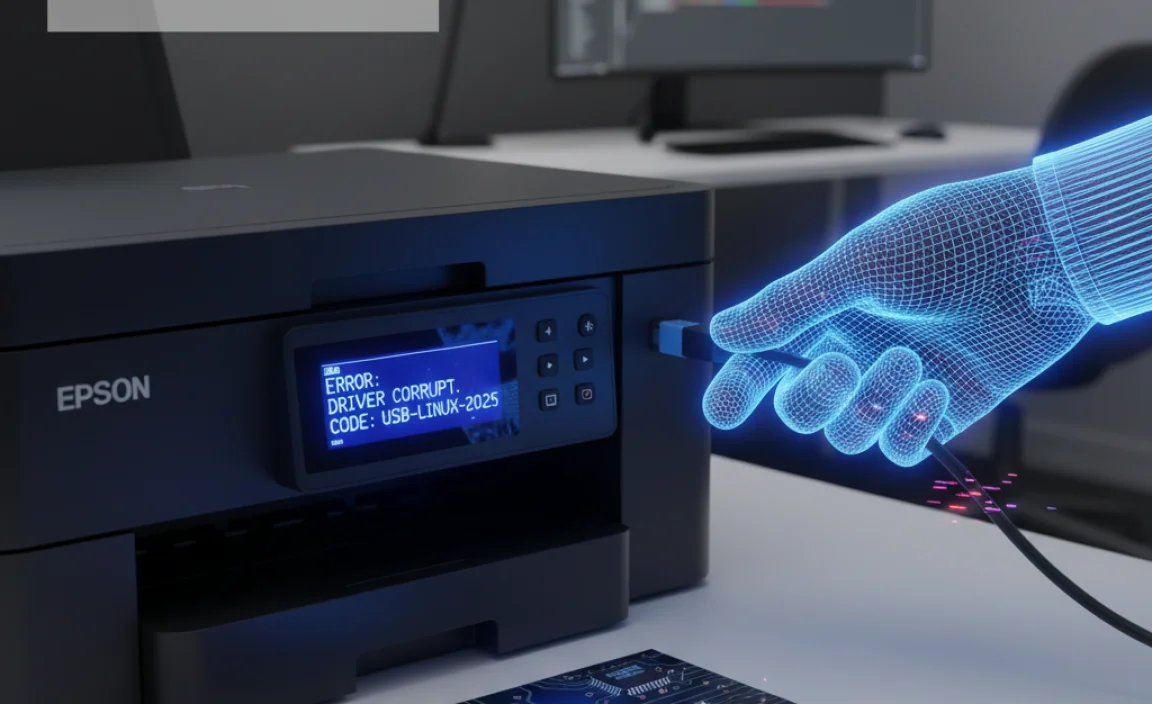
Encountering an Epson Linux driver corruption can transform a smooth printing experience into a frustrating roadblock. Whether you’ve just attempted a new installation, updated your system, or simply found your printer unresponsive, a corrupted driver can leave you feeling helpless.
Fortunately, for users of Linux, there are often straightforward solutions to overcome this common technical hurdle, and this guide is designed to walk you through them. We’ll explore the typical causes of such issues and provide a step-by-step approach to restoring your Epson printer’s functionality.
The first sign of an Epson Linux driver corrupt issue might be error messages popping up when you try to print, or the printer simply refusing to acknowledge print jobs.
This can be particularly vexing when you rely on your printer for daily tasks, whether for home use or in a professional environment. Understanding the underlying reasons can help prevent future occurrences. Common culprits include incomplete or interrupted installations, conflicts with other software or system updates, and even minor system errors that can corrupt critical driver files.
Diagnosing the Epson USB Corrupted Driver for Linux 2025 Issue
Before diving into solutions, it’s crucial to accurately diagnose the problem. A corrupted driver is often indicated by specific symptoms.
Common Symptoms of a Corrupt Epson Driver
Error Messages: You might see messages like “CUPS Filter Error,” “Device Busy,” or cryptic numerical codes when trying to print.
Printer Unresponsive: The printer may appear offline or simply not react to print commands.
Garbled Output: If you do manage to print, the output might contain unusual characters, lines, or missing sections.
System Crashes: In rare cases, a severely corrupted driver can lead to system instability or even crashes.
Initial Troubleshooting Steps
Before considering a full reinstall, try these simpler checks:
1. Restart Everything: A simple reboot of both your computer and the Epson printer can often resolve temporary glitches.
2. Check Connections: Ensure your USB cable is securely connected to both the printer and the computer. Try a different USB port if available.
3. Verify Printer Status: Confirm that the printer itself is powered on, has paper, and that there are no error lights blinking on the printer’s control panel.
The Solution: Reinstalling Your Epson Linux Driver
When basic troubleshooting fails, the most effective solution is often to remove the existing, potentially corrupt, driver and install a fresh copy. This process can vary slightly depending on your Linux distribution (e.g., Ubuntu, Fedora, Debian), but the general steps remain consistent.
Step 1: Remove Existing Epson Drivers and Printers
This is a critical first step to ensure no remnants of the old, corrupted driver interfere with the new installation.
Using CUPS (Common UNIX Printing System): CUPS is the de facto printing system on most Linux distributions.
Open your web browser and navigate to `http://localhost:631/printers`.
If you see your Epson printer listed, click on its name.
From the “Administration” dropdown menu, select “Delete Printer.” Confirm the action.
Next, go to the “Printers” tab in CUPS, and if you see your printer again, select it and click “Delete Printer.”
Command Line Removal (Advanced Users): You can also use the terminal for a more thorough cleanup.
First, list your printers: `lpstat -p`
To delete a printer (replace `printer_queue_name` with the actual name from `lpstat -p`): `sudo lpadmin -x printer_queue_name`
You may also need to remove driver packages. The exact command depends on your distribution’s package manager. For example, on Debian/Ubuntu: `sudo apt remove –purge ` (You might need to search for the package name, e.g., `dpkg -l | grep epson`).
Step 2: Download the Latest Epson Driver
It’s crucial to download the driver directly from the official Epson support website for your specific printer model and operating system. Searching for terms like “epson usb corrupted driver for linux 2025″ on generic download sites can lead to outdated or even malicious software.
Visit the Epson website for your region.
Navigate to the “Support” or “Downloads” section.
Enter your printer model number.
Select your Linux distribution and architecture (e.g., Ubuntu 22.04 64-bit).
Look for the “Driver” or “Printer Driver” section. Epson often provides `.deb` packages for Debian-based systems or generic `.tar.gz` archives. Download the recommended driver package.
Step 3: Install the Downloaded Driver
The installation method will depend on the file type you downloaded.
For `.deb` packages:
Open a terminal.
Navigate to the directory where you downloaded the file (e.g., `cd ~/Downloads`).
Install the package using: `sudo dpkg -i epson-driver-package.deb` (replace `epson-driver-package.deb` with the actual filename).
If there are dependency errors, run: `sudo apt –fix-broken install`
For `.tar.gz` archives: These usually contain installation scripts.
Extract the archive: `tar -xvzf epson-driver-archive.tar.gz`
Navigate into the extracted directory: `cd epson-driver-archive-folder`
Look for a script named `install.sh` or similar.
Run the installer: `sudo ./install.sh` (or follow any specific instructions provided in a README file).
Step 4: Add Your Epson Printer
Once the driver is installed, you need to add your printer through your distribution’s printing settings.
Graphical Interface:
Open your system settings.
Find the “Printers” or “Printing” section.
Click “Add Printer.”
Your system should detect the printer connected via USB. Select it.
The system will likely prompt you to select a driver. Choose the Epson model you just installed. If it’s not listed automatically, you might need to browse for it or select the driver manually.
Follow the on-screen prompts to name the printer and set it as the default if desired.
CUPS Web Interface:
Navigate to `http://localhost:631/`.
Go to the “Administration” tab and click “Add Printer.”
Select your Epson printer from the list of detected local printers.
Provide a name, description, and location for your printer.
For the “Make/Manufacturer,” select “Epson.”
For the “Model/Driver,” choose the specific model you installed.
Set default printing options.
Step 5: Test Print
After adding the printer, send a test page to ensure everything is working correctly.
In the printer settings, you should find an option to “Print Test Page.”
* Alternatively, try printing a simple document from a text editor or web browser.
Keeping Your Drivers Updated
Even after successfully fixing a corrupt Epson Linux driver, it’s good practice to keep your system and drivers updated. Periodically check the Epson website for newer driver versions, especially if you encounter any new printing anomalies after system updates.
Regularly running system updates for your Linux distribution (e.g., `sudo apt update && sudo apt upgrade` on Debian/Ubuntu) also helps maintain system stability and can preemptively resolve potential driver conflicts.
By following these steps, you should be able to resolve most instances of an Epson Linux driver corrupt issue and get your printer back online and functioning as expected. Remember to always download drivers from official sources to ensure security and compatibility.