Seamlessly Integrating Your Epson Printer with Linux: Unlocking Effortless Setup
Setting up your Epson printer on a Linux system might seem like a daunting task for some, but with the right approach, it’s a surprisingly straightforward process. This guide will walk you through the essential steps for an Epson Linux driver install, ensuring a smooth and hassle-free experience. We’ll cover everything from identifying your printer model to troubleshooting common issues, empowering you to print from your Linux desktop with confidence. Forget the frustration; embrace the effortless setup.
For many Linux users, the initial thought of connecting a peripheral like a printer can bring a flicker of apprehension. Historically, driver support for certain hardware on open-source operating systems has been a point of concern. However, the landscape has evolved considerably, and Epson, like many other major manufacturers, offers robust support for Linux. The key lies in understanding where to find the correct drivers and how to install them effectively.
Finding the Right Epson Linux Driver
The first and most crucial step in your Epson Linux driver install journey is to accurately identify your printer model. This information is typically found on the front or top of your Epson printer. Once you have the model number (e.g., “Epson EcoTank ET-2800,” “Epson WorkForce WF-7820,” or “Epson L3150”), navigate to the official Epson support website for your region. Look for a “Support,” “Downloads,” or “Drivers” section.
On the Epson support page, you’ll be prompted to enter your printer model. After selecting your model, you should see a list of available operating systems. Ensure you choose “Linux” or a specific Linux distribution if offered (e.g., Ubuntu, Fedora, Debian). It’s generally recommended to download the latest stable driver version. Sometimes, Epson offers a unified driver package that supports multiple printer models, which can simplify the process. Be mindful of whether you need a “driver” or a “scanner driver” if your Epson device is an all-in-one.
The Installation Process: A Step-by-Step Approach
Once you’ve downloaded the driver package, its format will typically be an `.rpm` file (for Red Hat-based distributions like Fedora and CentOS) or a `.deb` file (for Debian-based distributions like Ubuntu and Mint). You might also encounter a compressed archive like a `.tar.gz` file containing installation scripts.
For .deb files (Ubuntu, Debian, Mint):
The easiest way to install a `.deb` file is to double-click it. Your system’s package manager should automatically open and offer to install the driver. If this doesn’t happen, you can open a terminal, navigate to the directory where you downloaded the file, and run the following command:
“`bash
sudo dpkg -i .deb
sudo apt –fix-broken install
“`
The second command is important as it resolves any potential dependency issues.
For .rpm files (Fedora, CentOS, RHEL):
Similar to `.deb` files, you can often double-click an `.rpm` file to install it. Alternatively, open a terminal, navigate to the download directory, and use this command:
“`bash
sudo rpm -ivh .rpm
“`
Or, for modern Fedora systems:
“`bash
sudo dnf install .rpm
“`
For .tar.gz archives:
If you downloaded a `.tar.gz` file, you’ll typically need to extract it first. Open a terminal, navigate to the download directory, and use:
“`bash
tar -xvzf .tar.gz
“`
Navigate into the extracted directory. Inside, you’ll often find a `README` or `INSTALL` file that contains specific instructions. This usually involves running a script like `./install.sh` or a similar command. Always read these instructions carefully.
Configuring Your Printer within Linux
After the driver installation is complete, you’ll need to add your printer to your Linux system. The exact steps can vary slightly depending on your desktop environment (GNOME, KDE Plasma, XFCE, etc.), but the general process is consistent.
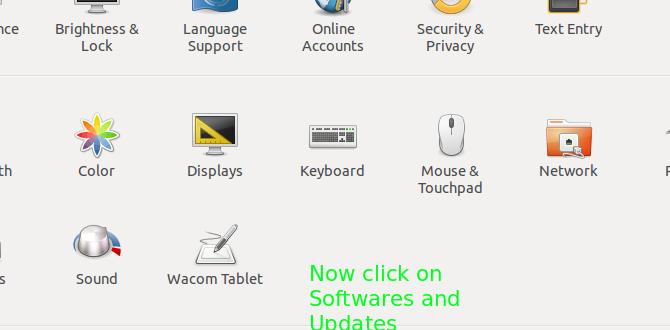
1. Open Printer Settings: Go to your system’s settings or control panel and find the “Printers” or “Devices” section.
2. Add Printer: Click on the option to “Add Printer” or a “+” icon.
3. Detect Printer: Your system will attempt to detect connected printers. If your Epson printer is connected via USB or is on your network (and properly recognized), it should appear in the list.
4. Manual Selection: If automatic detection fails, you might need to select the printer model manually from a list of installed drivers. This is where the drivers you just installed come into play.
5. Connection Type: Choose the appropriate connection type (USB, Network Printer/IPP, etc.).
6. Test Print: Once configured, send a test page to your printer to confirm that everything is working correctly.
Troubleshooting Common Epson Linux Driver Install Issues
While the process is generally smooth, occasional hiccups can occur. Here are a few common issues and their solutions:
Printer Not Detected:
Check Connections: Ensure your USB cable is securely plugged in, or if it’s a network printer, verify it’s connected to your network and that your Linux machine can reach it.
Restart Services: Sometimes, restarting the CUPS (Common Unix Printing System) service can help. Open a terminal and run: `sudo systemctl restart cups`
Firewall: If it’s a network printer, ensure your firewall isn’t blocking the necessary ports for printing.
Driver Not Found:
Correct Model: Double-check that you downloaded the driver for the exact Epson model.
Distribution Specifics: Ensure you downloaded the driver package compatible with your specific Linux distribution and version.
Printing Fails After Setup:
Test Page: Try printing a test page from the printer settings. If that works, but regular documents don’t, the issue might be with the application you’re printing from.
CUPS Logs: Examine the CUPS error logs for clues. You can typically find them in `/var/log/cups/error_log`.
Scanner Issues (for All-in-One printers):
If your scanner isn’t working, you might need to install a separate scanner driver package, often referred to as SANE drivers. Epson usually provides these on their download page. After installing, you may need to configure your scanning application (like Simple Scan or XSane) to recognize the scanner.
By following these steps and paying attention to the details of your specific Epson model and Linux distribution, you can achieve an Epson Linux driver install that is both efficient and long-lasting. Embrace the power of open-source and enjoy seamless printing from your Linux environment.