Epson Mac Audio Driver: Fix Corrupted File
Experiencing audio issues on your macOS device can be incredibly frustrating, especially when it comes to your Epson devices. While printers are Epson’s main claim to fame, they also produce a range of other peripherals. If you’ve recently encountered a problem with your Epson audio driver on your Mac, and suspect a corrupted file, you’re in the right place. This article will guide you through the process of identifying, troubleshooting, and resolving these often-vexing audio driver issues, empowering you to get your sound back to its full glory.
The world of device drivers can sometimes feel like a cryptic maze. These small pieces of software act as crucial intermediaries, allowing your operating system to communicate effectively with your hardware. When a driver becomes corrupted, it’s akin to a language barrier forming between your Mac and your Epson audio device, leading to a host of problems ranging from no sound at all to distorted or intermittent audio. Fortunately, many of these issues have straightforward solutions.
Identifying Symptoms of an Epson Audio Driver Problem
Before diving into fixes, it’s important to recognize the signs that your Epson Mac audio driver might be corrupted. Common symptoms include:
No Sound Output: The most obvious indicator is a complete lack of audio from your Epson speakers or connected headphones. You might see volume controls grayed out or receive error messages when trying to play audio.
Distorted or Choppy Audio: Sound that is crackly, static-filled, or cuts in and out frequently can point to a driver issue.
Device Not Recognized: Your Mac may not be detecting your Epson audio device at all, preventing you from selecting it as an audio output.
System Instability or Crashes: In more severe cases, a corrupted driver can lead to overall system instability, causing your Mac to freeze or unexpectedly restart.
Error Messages: Specific error messages related to audio devices or drivers appearing on your screen are a direct clue.
Why Do Epson Mac Audio Drivers Become Corrupted?
Driver corruption isn’t necessarily a sign of a faulty device. Several factors can contribute to this problem:
Incomplete or Failed Updates: Sometimes, software updates, both for macOS and for the Epson driver itself, can be interrupted or fail to install correctly, leaving the driver in a partially corrupted state.
Software Conflicts: Interference from other installed software, particularly audio enhancement tools or security programs, can sometimes corrupt existing drivers.
Malware or Viruses: While less common, malicious software can sometimes target and damage system files, including device drivers.
Improper Shutdowns: If your Mac or the Epson device loses power unexpectedly during driver operation, it can lead to file corruption.
Disk Errors: Underlying issues with your Mac’s hard drive or SSD can also affect the integrity of installed files, including drivers.
Troubleshooting Your Epson Mac Audio Driver for Windows and macOS
While this article focuses on macOS, it’s worth noting that users seeking an epson audio corrupted driver for macos offline installer might also encounter similar issues on Windows. The core principles of troubleshooting remain similar, involving identification, removal, and reinstallation. For macOS, the steps are tailored to the operating system’s architecture.
Step 1: Basic Checks and Restarting
Before delving into complex solutions, always start with the simplest steps:
Check Physical Connections: Ensure all cables are securely plugged into both your Epson device and your Mac. Try a different USB port if applicable.
Test with Another Device: If possible, connect a different audio device to your Mac to rule out a general macOS audio problem. Conversely, connect your Epson audio device to another computer if available.
Restart Your Mac: A simple restart can often resolve temporary glitches and refresh system processes, including audio drivers.
Step 2: Verifying Audio Device Settings in macOS
macOS has a built-in system for managing audio devices. Incorrect settings can mimic driver issues:
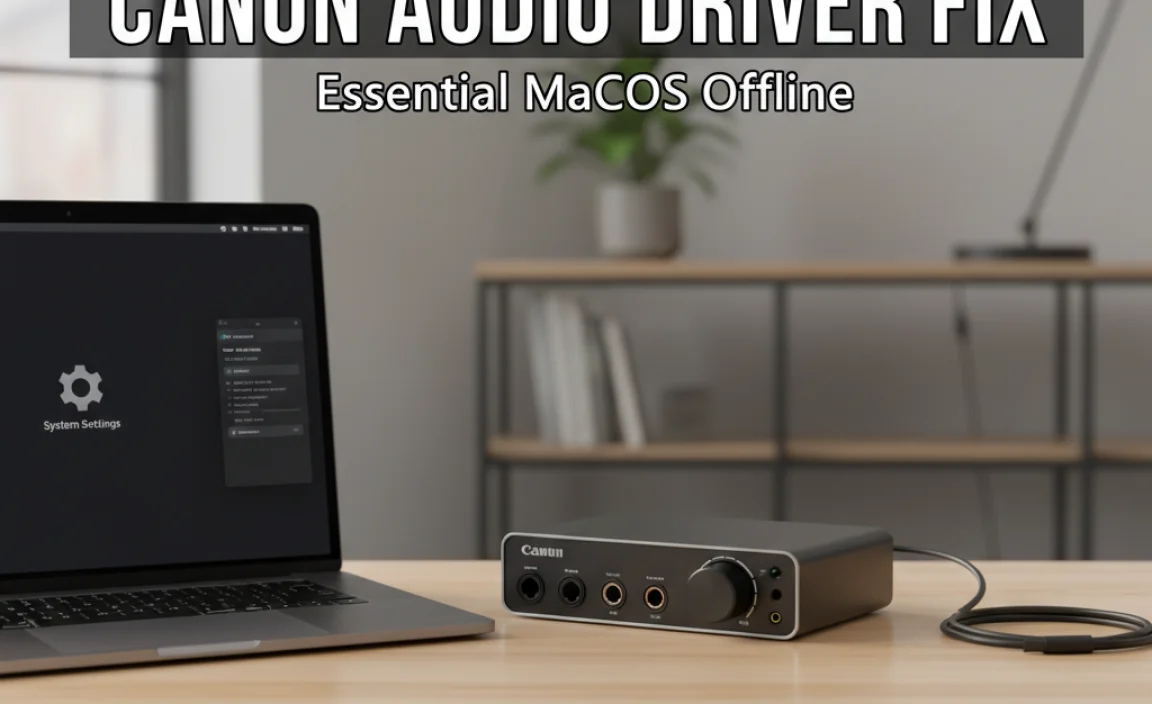
1. Go to System Settings (or System Preferences on older macOS versions).
2. Click on Sound.
3. Under the Output tab, ensure your Epson audio device is selected as the output device. If it’s not listed, this points to a deeper connection or driver issue.
4. Check the volume levels and ensure “Mute” is not checked.
Step 3: Reinstalling the Epson Mac Audio Driver
This is often the most effective solution for corrupted driver files.
1. Uninstall Existing Driver:
Open Finder.
Navigate to Applications > Utilities.
Look for an Epson-specific uninstaller application. Some manufacturers include these.
If no dedicated uninstaller is found, you may need to manually remove driver files. This is more advanced and less recommended for average users as it can be complex. A safer approach is often to rely on macOS’s own driver management or the official installer that also handles removal.
Alternative: Sometimes, the official installer allows you to perform a repair or clean install, which effectively overwrites corrupted files with fresh ones.
2. Download the Latest Driver:
Visit the official Epson support website.
Navigate to the support or downloads section.
Enter your specific Epson device model number.
Select macOS as your operating system.
Download the latest audio driver package. Look for a specific audio driver if available, or the main driver package that includes audio functionality. For users seeking an epson audio corrupted driver for macos offline installer, downloading the package directly from the manufacturer’s site ensures you have a legitimate and untouched version.
3. Install the New Driver:
Once the download is complete, run the installer package.
Follow the on-screen prompts carefully.
You may be required to restart your Mac after installation.
Step 4: Using an Offline Installer
For users who prefer or require an epson audio corrupted driver for macos offline installer, the process involves downloading the full driver package from Epson’s website to your Mac before you need it, or when you have a stable internet connection. This allows for installation without an active internet connection, which can be useful in situations where online access is unreliable or when dealing with a system that has no network connectivity. The installation steps remain the same as outlined above: download, locate the `.dmg` or `.pkg` file, and run the installer.
Step 5: Checking for macOS Updates
Keeping your macOS operating system up-to-date is crucial for driver compatibility and stability.
1. Go to System Settings (or System Preferences).
2. Click on General.
3. Select Software Update.
4. If any updates are available, download and install them. This can sometimes resolve underlying system issues that affect driver performance.
Step 6: Resetting the NVRAM/PRAM
NVRAM (Non-Volatile Random-Access Memory) on Macs stores certain settings that are accessed quickly, including audio settings. Resetting it can sometimes clear up persistent audio glitches. The process varies slightly depending on your Mac model (Intel vs. Apple Silicon). You can find specific instructions on Apple’s support website.
When to Seek Further Assistance
If you’ve gone through all these steps and are still experiencing problems with your Epson Mac audio driver, it might be time to contact Epson support directly or consult with a professional Mac technician. There’s a possibility of a more complex hardware issue with your Epson device or your Mac itself.
By systematically addressing potential causes and following the outlined troubleshooting steps, you can effectively tackle corrupted Epson Mac audio driver issues and restore optimal audio performance to your system. Remember, patience and a methodical approach are key to resolving these technical challenges.