Is your Windows 10 PC overflowing with duplicate files, slowing it down and causing clutter? This guide shows you the best ways to find and remove them easily, freeing up space and boosting performance quickly.
Hey everyone, Mike Bentley here! Ever feel like your computer is drowning in clutter? You’re not alone. It’s super common for Windows 10 PCs to end up with tons of duplicate files – the same photo saved in three places, that same document you accidentally downloaded twice, or music tracks that are exact copies.
This digital mess doesn’t just look bad; it eats up precious storage space, can make your computer run slower, and sometimes even leads to confusing errors.
But don’t worry! Today, we’re going to tackle this problem head-on. I’ll walk you through exactly how to find and safely get rid of these duplicate files. We’ll explore different tools and methods, and by the end, you’ll have a much cleaner, faster, and more organized Windows 10 PC. Ready to declutter? Let’s dive in!
Why You Need a Duplicate Cleaner for Windows 10
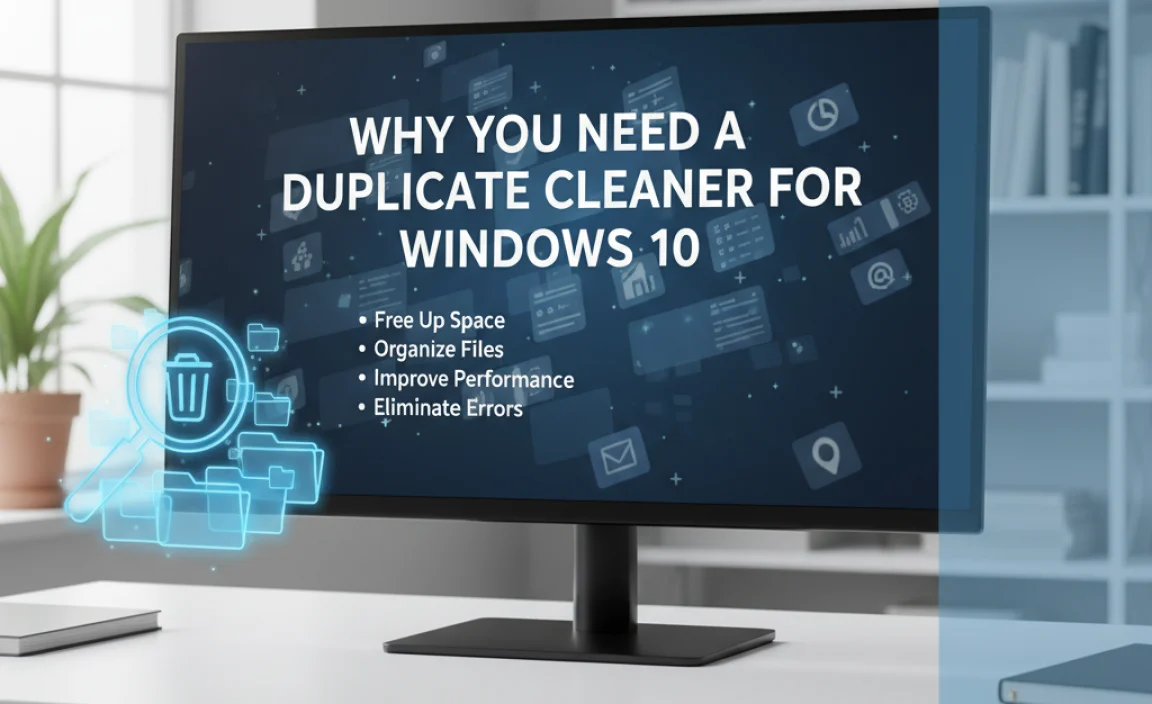
Dealing with duplicate files on your Windows 10 computer can feel like an endless chore. You might notice your hard drive filling up faster than usual, or perhaps you’re struggling to find that one important file because multiple versions are scattered around. These duplicates can hide in your Downloads folder, your Pictures, your Documents, or even in the hidden corners of your system.
The impact of these uninvited guests goes beyond just wasted space. When your storage is nearly full, Windows 10 can significantly slow down. Applications might take longer to open, and your entire system can feel sluggish. Plus, having multiple copies of the same file increases the risk of accidentally editing the wrong one, leading to confusion and potential data loss.
Understanding Duplicate Files

Before we get into cleaning, let’s quickly understand what we’re looking for. Duplicate files are simply identical copies of the same file. They can be byte-for-byte exact matches, or they might be files with the same name but different content (though most duplicate cleaners focus on the exact content matches).
These duplicates can arise from several common scenarios:
- Accidental Downloads: Downloading the same file multiple times from the internet or email attachments.
- Copying Data: When copying files from one folder to another, or from an external drive, you might inadvertently create duplicates.
- Software Installations: Some software might install the same libraries or components in different locations.
- Cloud Syncing Issues: If you use cloud storage services like OneDrive or Google Drive, sync conflicts can sometimes lead to duplicate files.
- Backups: While backups are essential, inefficient backup strategies can sometimes result in multiple copies of the same data.
The goal of a duplicate cleaner is to intelligently scan your storage and identify these redundant files so you can decide which ones to remove.
Methods to Find and Remove Duplicate Files
Thankfully, Windows 10 offers a few ways to tackle duplicate files. We can start with built-in options, though they are limited, and then move on to more powerful third-party tools.
Method 1: Manual Searching (Not Recommended for Large-Scale Cleaning)
For a few specific files, manual searching is an option. You can use File Explorer’s search function. For example, if you suspect you have multiple copies of a document named “Project Report FINAL,” you can type that into the search bar. However, this method is extremely time-consuming and error-prone for discovering widespread duplicates.
Method 2: Using Storage Settings (Limited Scope)
Windows 10 has a Storage section in Settings that can help you identify large files and folders, and sometimes, duplicate files within specific app data. It’s not a dedicated duplicate finder, but it can give you an idea of where space is being taken up.
- Go to Settings (press Windows key + I).
- Click on System.
- Select Storage from the left-hand menu.
- Windows will scan your drive and show you a breakdown of what’s using space (Apps & features, Temporary files, Documents, Pictures, etc.).
- Click on a category, like Temporary files, to see what can be removed. This might include old Windows update files or deleted files in the Recycle Bin, which can free up a surprising amount of space.
While this helps with general cleanup, it won’t effectively find duplicate photos, music, or documents scattered across your drive.
Method 3: Third-Party Duplicate Cleaner Software (Recommended)
This is where you’ll get the best results. Dedicated duplicate cleaner tools are designed to scan your drives thoroughly, compare files based on content (not just name), and provide clear options for removal. There are many options available, both free and paid. Let’s look at some popular and effective choices.
Popular Duplicate Cleaner Software for Windows 10
When choosing a duplicate cleaner, look for features like:
- Content Matching: Ensures it finds true duplicates, not just files with the same name.
- File Type Filters: Ability to scan for duplicates of specific file types (e.g., only photos, only music).
- Exclusion Options: To avoid scanning certain folders or system files.
- Preview Functionality: To view found duplicates before deleting.
- Safe Deletion Options: Such as moving duplicates to the Recycle Bin or a specific folder.
Here are a few highly-rated options:
| Software Name | Type | Key Features | Best For |
|---|---|---|---|
| CCleaner | Freemium (Free version available) | Disk Cleaner (finds temp files, history), Duplicate Finder, Registry Cleaner, program uninstaller. | General PC cleanup, including duplicate files. Simple interface. |
| Duplicate Cleaner Pro | Paid (with free trial) | Advanced duplicate finding (content, name, date, size), image comparison, audio tag matching, flexible selection assistants. | Users needing powerful, customizable duplicate detection and removal. |
| Auslogics Duplicate File Finder | Free | Easy-to-use interface, scans by content, flexible search criteria, rescue center for deleted files. | Beginners looking for a straightforward, free duplicate finder. |
| Wise Duplicate Finder | Freemium (Basic free version, paid Pro) | Scans for identical files and similar files (by name, size, or content), can find duplicates in cloud storage. | Good balance of features and usability for home users. |
For this guide, we’ll walk through the general process using a tool similar to Auslogics Duplicate File Finder or CCleaner’s duplicate finder, as they are very beginner-friendly.
Step-by-Step Guide: Using a Duplicate Cleaner (Example: Auslogics Duplicate File Finder)
Let’s get your PC cleaned up!
Step 1: Download and Install Your Chosen Software
First, you’ll need to download a duplicate cleaner. I recommend starting with a free, reputable tool like Auslogics Duplicate File Finder or the duplicate finder built into CCleaner. Always download software directly from the developer’s official website to avoid malware.
- For CCleaner: Visit ccleaner.com.
- For Auslogics Duplicate File Finder: Visit auslogics.com.
Follow the on-screen instructions to install the program. Be mindful during installation to uncheck any bundled extra software you don’t want.
Step 2: Launch the Duplicate Cleaner and Select Scan Locations
Once installed, open the program. The interface is usually straightforward.
- Look for an option to “Scan for duplicates” or a similar button.
- You’ll then be prompted to choose which drives or folders you want to scan. For a thorough cleanup, select your main drive (usually C:). You can also choose specific folders like your Pictures, Documents, or Downloads if you suspect duplicates are concentrated there.
- Tip: It’s usually best to avoid scanning system folders like C:Windows or C:Program Files, as deleting duplicates from these locations can harm your operating system. Most tools have options to exclude system folders.
Step 3: Configure Scan Settings (File Types & Match Criteria)
This is a crucial step to ensure you find only what you’re looking for.
- File Types: Many programs allow you to specify which file types to search for. You can choose “All Files” for a comprehensive scan, or select specific categories like “Images,” “Music,” “Videos,” or “Documents.”
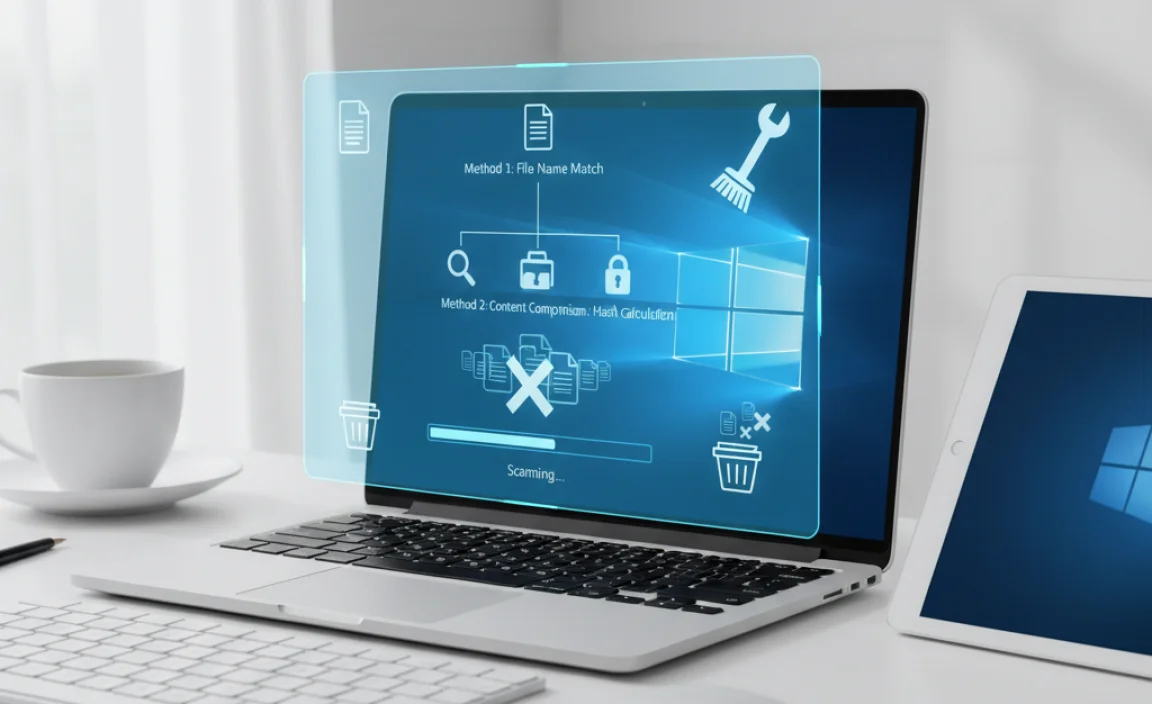
- Match Criteria: Ensure the software is set to find duplicates by content. This is the most reliable method. Some tools also offer matching by name, size, or date modified, but content is king for finding true duplicates.
- Minimum Size: You can often set a minimum file size to ignore very small files, which are less likely to be of concern.
Click the “Scan” or “Start Scan” button.
Step 4: Review the Scan Results
The scan can take anywhere from a few minutes to a couple of hours, depending on the size of your drives and the number of files. Once it’s done, you’ll see a list of detected duplicate files, usually organized by group.
- Each group will contain identical files. The program will highlight one file in each group as the “original” and the others as duplicates.
- Take your time here. Most duplicate cleaners offer a preview function. You can click on a file to see its details or even open it to confirm it’s what you think it is.
Step 5: Select Files for Deletion
This is the part where you need to be careful. The duplicate cleaner will offer tools to help you select files for deletion. Common options include:
- Select All Duplicates: Selects all files in a group except the first one (the assumed original).
- Select Older/Newer Files: Choose the oldest or newest copy to keep automatically.
- Select By Name: If you want to keep a file with a specific name within a group.
- Manual Selection: You can click on individual files to check or uncheck them.
Crucial Advice: Always review your selections carefully. If you’re unsure about a file, it’s better to leave it than to accidentally delete an important original. Many users prefer to select all duplicates and then manually deselect any they are unsure about.
Step 6: Delete the Selected Duplicates
Once you are confident with your selections, find the “Delete,” “Remove,” or “Clean Up” button. Most duplicate cleaners offer a few removal options:
- Send to Recycle Bin: This is the safest option. Deleted files go to your Recycle Bin, where you can restore them if you made a mistake.
- Move to Folder: You can move duplicates to a specific folder for later review before final deletion.
- Permanent Delete: Use this with extreme caution, as files deleted this way cannot be recovered easily.
I highly recommend using the “Send to Recycle Bin” option first. After you’ve run the cleaner and confirmed everything is working well, you can empty your Recycle Bin.
Step 7: Run Again (Optional but Recommended)
After the initial cleanup, you might want to run the duplicate cleaner again, perhaps focusing on specific folders or file types. This can help catch any duplicates you might have missed or that were created during the process of managing other files.
Important Considerations for Maximum Safety
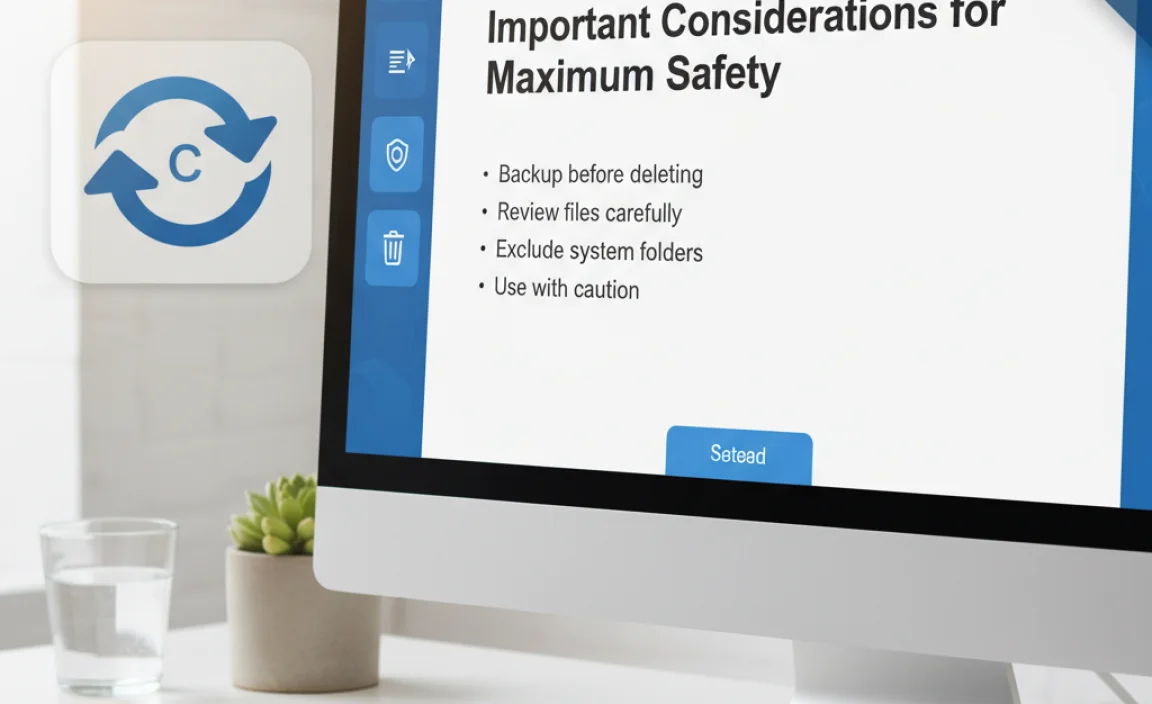
Cleaning duplicate files is a great way to declutter, but we need to be smart and safe about it. Here are key points to keep in mind:
1. Always Back Up Your Data
Before undertaking any major file deletion, especially with tools that automate selections, ensure you have a recent backup of your important data. This is your ultimate safety net. If something goes wrong, you can restore your files.
2. Understand What You Are Deleting
Never blindly trust automated selections. Always review the files marked for deletion. If you’re unsure what a file is, do a quick search online for its name or extension, or leave it be.
3. Avoid System and Program Files
As mentioned, never scan or attempt to clean files in folders like `C:Windows`, `C:Program Files`, or `C:Program Files (x86)`. These folders contain essential operating system and application files. Deleting even a single important file from these locations can cause Windows or your programs to crash or stop working entirely.
4. Use the Recycle Bin
Always opt for deleting files to the Recycle Bin instead of permanent deletion. This gives you a chance to recover files if you realize you made a mistake.
Can Windows 10 Automatically Delete Duplicate Files?
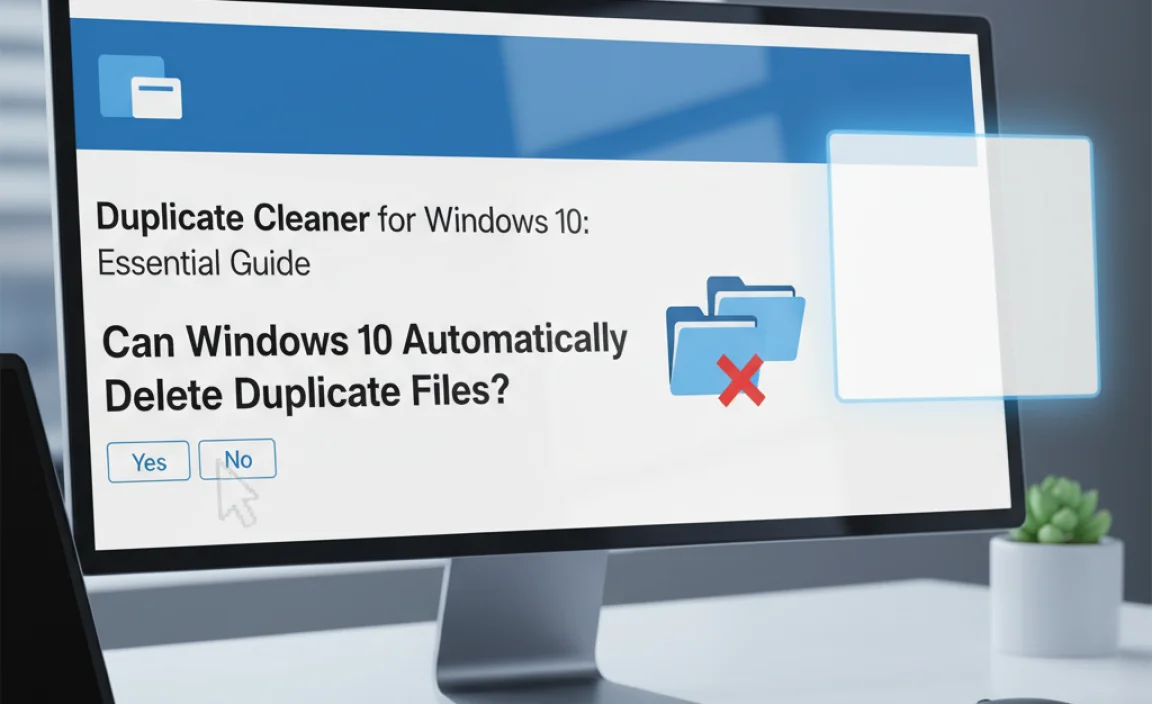
Windows 10 doesn’t have a built-in feature that automatically scans for and deletes all types of duplicate files scattered across your system. While Storage Sense can automatically clear temporary files and free up space, it doesn’t perform comprehensive duplicate detection for your personal files like photos, documents, or music.
For complete duplicate file management, relying on reputable third-party software is the most effective and safest approach.
How to Keep Your Windows 10 PC Clean Going Forward
Once you’ve performed a thorough duplicate cleanup, you’ll want to maintain that tidiness. Here are some tips:
- Be Mindful of Downloads: Regularly clear out your Downloads folder. Don’t let it become a dumping ground.
- Organize Your Files: Develop a clear folder structure for your documents, pictures, and other personal files. This makes it easier to find things and less likely to create accidental duplicates.
- Use Cloud Storage Wisely: If you use cloud services, ensure your sync settings are correct and that you’re not inadvertently saving multiple copies of files.
- Schedule Regular Cleanups: Make it a habit to run your duplicate cleaner (or at least review your storage) every few months.
- Uninstall Unused Programs: Programs can sometimes leave behind duplicate data. Regularly uninstalling software you no longer need is also a good practice.
Frequently Asked Questions About Duplicate Cleaners
Here are some common questions users have about dealing with duplicate files:
What is the best free duplicate cleaner for Windows 10?
For a free option, Auslogics Duplicate File Finder is excellent for beginners. CCleaner’s built-in duplicate finder is also very effective for general cleanup. Both offer user-friendly interfaces and reliable scanning.
Is it safe to delete duplicate files?
Yes, it is generally safe to delete duplicate files, provided you are using a reliable duplicate cleaner and carefully reviewing the files before deletion. The key is to ensure you are deleting redundant copies and not essential system or program files.
Can duplicate files slow down my computer?
Yes, having a large number of duplicate files can contribute to a slower computer. This is because a full hard drive operates less efficiently, and the system has to sift through more data to find what it needs.
How does a duplicate cleaner find duplicates?
Most good duplicate cleaners compare files based on their content using hashing algorithms (like MD5 or SHA-1). This means they calculate a unique fingerprint for each file and compare these fingerprints. Files with identical fingerprints are considered duplicates, regardless of their name or location.
Can I just delete files that have the same name?
No, this is not recommended. Files can have the same name but different content, or vice-versa. A true duplicate cleaner must compare the actual data within the files.
Should I delete duplicates from cloud storage (like OneDrive, Google Drive)?
Yes, you can use duplicate cleaners on your local copies of cloud storage folders. However, be cautious and ensure your cloud service is not actively syncing the files you delete. Some cloud services have their own duplicate detection or version history features that might be more integrated.
What happens if I delete a duplicate file that Windows needs?
If you are only deleting personal files (like photos, documents, music) that are true duplicates, it’s highly unlikely you’ll delete a file Windows needs. If you accidentally delete a system file, it can cause issues. This is why sticking to cleaning user data folders and avoiding system folders is critical, and always using the Recycle Bin is a good safety measure.
Conclusion
Getting your Windows 10 PC organized and running smoothly is absolutely achievable, and tackling those pesky duplicate files is a big part of that. By following the steps outlined in this guide, you can confidently use a duplicate cleaner to free up valuable disk space, improve your computer’s performance, and reduce digital clutter.
Remember, the best approach involves choosing a reliable tool, carefully selecting scan locations to avoid system files, and always reviewing your selections before hitting delete. Using the Recycle Bin is your best friend for safe removal. With a little effort, you can transform your cluttered hard drive into a well-organized and efficient space, giving you peace of mind and a faster computing experience.
Don’t let digital mess hold you back! You’ve got the knowledge and the tools now to keep your Windows 10 system clean and running at its best. Keep up the great work, and happy computing!