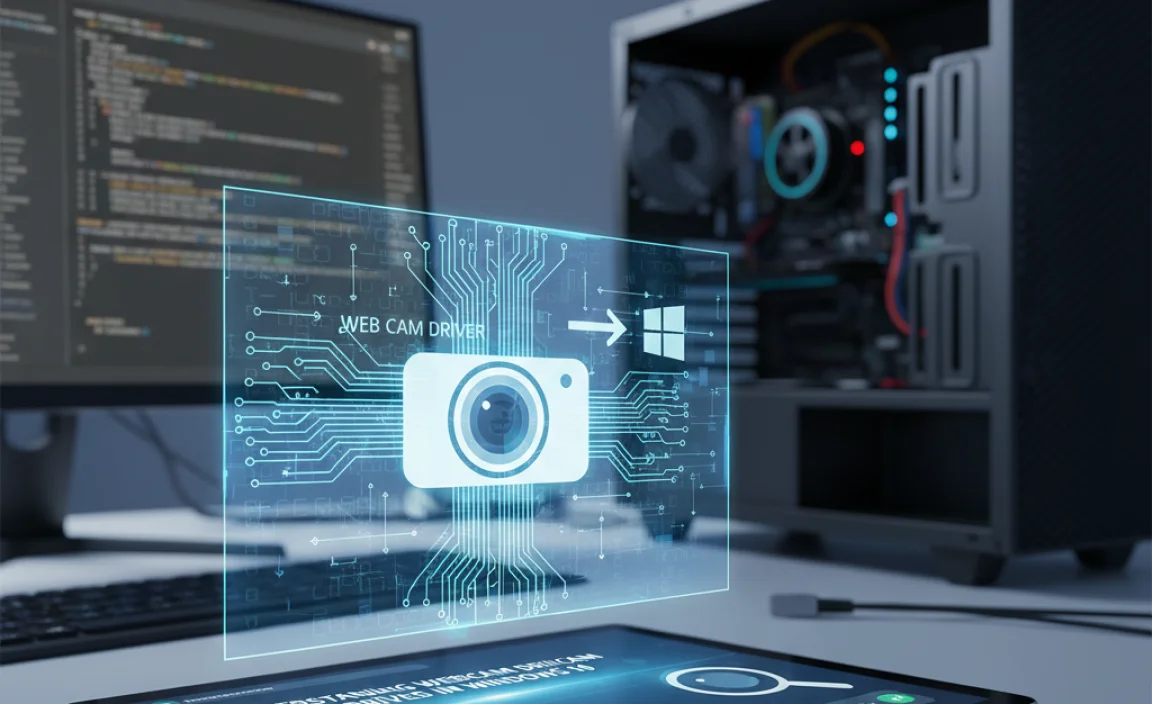
If your webcam isn’t working on Windows 10, the most common fix is updating or reinstalling its driver. This guide provides simple, step-by-step instructions to get your webcam back up and running reliably.
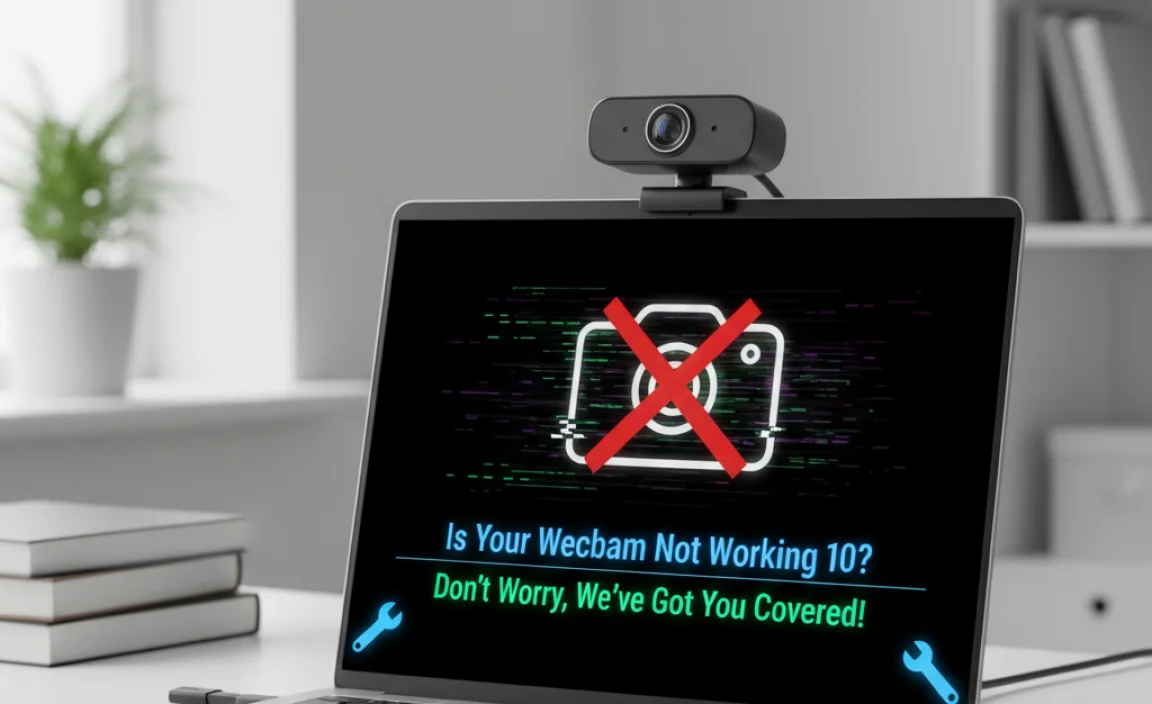
Is Your Webcam Not Working on Windows 10? Don’t Worry, We’ve Got You Covered!
It’s super frustrating when your webcam suddenly stops working on your Windows 10 computer. Whether you’re trying to join a video call for work, chat with family, or even just take a quick photo, a broken webcam can really throw a wrench in your day. You might see error messages, or perhaps your webcam just won’t show up at all in your apps.
This often happens because of a problem with the ‘driver’ – that little piece of software that lets Windows talk to your webcam. But don’t sweat it! In this guide, Mike Bentley will show you exactly how to find and fix the right driver for your webcam in Windows 10 with easy, step-by-step instructions. We’ll make sure your webcam is ready to go in no time!
Understanding Webcam Drivers in Windows 10
Think of a driver as a translator. Your webcam is a piece of hardware, and Windows 10 is the operating system. Without the correct driver, Windows doesn’t know how to interpret the signals from your webcam, and your webcam doesn’t know how to send them in a way Windows understands. This is why a missing, outdated, or corrupted driver is almost always the culprit when your webcam fails.
Why Do Webcam Drivers Cause Problems?
- Updates Gone Wrong: Sometimes, Windows updates can unintentionally conflict with existing drivers, causing them to malfunction.
- Software Conflicts: Installing new software, especially applications that use webcams, can sometimes overwrite or corrupt existing driver files.
- Driver Corruption: Over time, driver files can become corrupted due to system errors, malware, or improper shutdowns.
- Outdated Drivers: Manufacturers release updated drivers to improve performance, fix bugs, and ensure compatibility with new Windows versions. If your driver is too old, it might stop working.
- New Hardware: If you’ve just installed a new webcam, Windows 10 might not have the correct driver built-in and needs you to install it.
Proven Fix: Updating Your Webcam Driver in Windows 10
The most common and effective solution is to update or reinstall your webcam driver. Windows 10 has built-in tools to help you do this. Let’s walk through it step-by-step.
Step 1: Accessing the Device Manager
The Device Manager is your command center for all hardware connected to your PC. Here’s how to open it:
- Click the Start button (the Windows logo) in the bottom-left corner of your screen.
- Type “Device Manager” in the search bar.
- Click on “Device Manager” from the search results to open the window.
Step 2: Locating Your Webcam
Once Device Manager is open, you need to find your webcam. Webcams usually fall under a few categories:
- Cameras: This is the most common place to find your integrated or external webcam.
- Imaging devices: Some older webcams might be listed here.
- Sound, video and game controllers: Occasionally, particularly with older hardware, it might appear here.
Click on the arrow next to each category to expand it and look for your webcam’s name. It might be listed as “Integrated Webcam,” “USB Video Device,” or the specific brand name (e.g., “Logitech Webcam C920”).
Step 3: Updating the Driver
Once you’ve found your webcam, right-click on its name and select “Update driver”.
You’ll then see two options:
- “Search automatically for drivers”: This is the easiest option. Windows will search your computer and the internet for the latest compatible driver. Let Windows do its thing! If it finds a new driver, follow the on-screen prompts to install it.
- “Browse my computer for drivers”: Use this option if you’ve already downloaded a driver file from the manufacturer’s website.
For most users, “Search automatically for drivers” is the best starting point. If that doesn’t work, we’ll explore other methods.
Step 4: What If Automatic Update Doesn’t Find a Driver?
If Windows says the best driver for your device is already installed, but your webcam is still not working, it’s time to try uninstalling and reinstalling the driver.
Alternative Fix: Uninstalling and Reinstalling the Webcam Driver
Sometimes, a driver can become corrupted, and a fresh installation is needed. This process also forces Windows to re-detect the hardware.
Step 1: Uninstall the Device
- In Device Manager, right-click on your webcam’s name.
- Select “Uninstall device”.
- You might see a checkbox that says “Delete the driver software for this device.” If available, check this box. This is important because it removes the potentially problematic driver files.
- Click “Uninstall” to confirm.
Step 2: Scan for Hardware Changes
After uninstalling, the webcam will disappear from the list. Now, you need Windows to scan for hardware again so it can detect the webcam and attempt to install a generic or a new driver.
- In Device Manager, click on the “Action” tab at the top.
- Select “Scan for hardware changes”.
Windows will scan your system and should re-detect your webcam. It will then try to install a driver automatically. Check if your webcam is now working.
Step 3: Restart Your Computer
If Windows reinstalled a driver but your webcam still isn’t appearing in applications, a simple restart can often resolve lingering issues and finalize driver installations.
- Click the Start button.
- Click the Power icon.
- Select “Restart”.
After your computer restarts, open an application that uses your webcam (like the Camera app) and check if it’s working.
The Manual Driver Download: When All Else Fails
If the automatic methods in Windows 10 don’t resolve your webcam driver issue, the next best step is to manually download the driver from the manufacturer’s website. This ensures you’re getting the most reliable and up-to-date driver specifically for your webcam model.
Step 1: Identify Your Webcam Make and Model
This is crucial. If you don’t know the exact model of your webcam, you won’t be able to find the right driver.
- Integrated Webcams: For laptops, the model is usually printed on a sticker on the bottom of the device, or you can find it in your system information. Press Windows key + R, type msinfo32, and press Enter. Look for “System Model.”
- External Webcams: The model number is almost always printed on the webcam itself, its original box, or its manual.
Step 2: Visit the Manufacturer’s Official Website
Once you have the make and model, go to the official support or download page for that manufacturer. Some common manufacturers and their support links include:
- Logitech: Logitech Support
- Microsoft: Microsoft Surface Support (for Surface devices)
- Dell: Dell Support
- HP: HP Support
- Lenovo: Lenovo Support
Search for your specific webcam model on their support site.
Step 3: Download the Correct Driver for Windows 10
On the manufacturer’s support page for your webcam, look for a “Downloads,” “Drivers,” or “Software” section. Ensure you select the driver specifically for Windows 10 and the correct version (32-bit or 64-bit, though most modern Windows 10 systems are 64-bit). Download the installer file.
Security Tip: Always download drivers directly from the manufacturer’s official website. Avoid third-party driver update utilities, as these can sometimes install incorrect drivers or even malware.
Step 4: Install the Downloaded Driver
- Locate the downloaded file (usually in your “Downloads” folder).
- Double-click the installer file to run it.
- Follow the on-screen instructions. You may need to accept terms, choose an installation location, and restart your computer after installation.
Once the installation is complete and your computer has restarted, test your webcam again.
Troubleshooting Other Webcam Issues
Sometimes, the webcam driver isn’t the only problem. Here are a few other things to check if your webcam is still not working after updating the driver.
Check Webcam Privacy Settings
Windows 10 has privacy settings that control which apps can access your camera. If these are misconfigured, your webcam might appear to be broken.
- Go to Settings (Windows key + I).
- Click on Privacy.
- Under “App permissions,” select Camera.
- Make sure “Allow apps to access your camera” is turned On.
- Scroll down to “Choose which Microsoft apps can access your camera” and “Choose which desktop apps can access your camera” and ensure that the specific apps you want to use your webcam with are also enabled.
Check the Physical Connection and Hardware
This might sound obvious, but it’s easy to overlook!
- External Webcams: Ensure the USB cable is securely plugged into both the webcam and your computer. Try a different USB port. If you have a USB hub, try plugging the webcam directly into the computer to rule out the hub as the issue.
- Integrated Webcams: For laptops, sometimes the internal connection can become loose, but this is less common and usually requires professional attention if it’s the cause.
- Physical Shutter: Many modern webcams, especially on laptops, have a physical shutter or a small slider that covers the lens. Make sure this is open!
Test the Webcam in Different Applications
To pinpoint if the issue is with the webcam itself or a specific program, try testing it in multiple applications.
- Windows Camera App: This is built into Windows 10. Search for “Camera” in the Start menu.
- Microsoft Teams or Skype: These popular communication apps have built-in camera testing features in their settings.
- Online Webcam Test Sites: Websites like WebcamTests.com can quickly tell you if your webcam is detected and working.
Run the Hardware and Devices Troubleshooter
Windows has built-in troubleshooters that can automatically detect and fix many common problems.
- Go to Settings (Windows key + I).
- Click on Update & Security.
- Select Troubleshoot from the left-hand menu.
- Click on “Additional troubleshooters”.
- Look for “Camera” or “Hardware and Devices” (if available in your version of Windows 10).
- Click on it and then click “Run the troubleshooter”.
- Follow any on-screen prompts.
Driver Update Methods: At a Glance
Here’s a quick comparison of the methods we’ve discussed:
| Method | Pros | Cons | Best For |
|---|---|---|---|
| Windows Update (Automatic) | Easiest, integrated into Windows. | Might not always find the latest or specific driver. | Quick fixes, routine updates. |
| Device Manager (Update Driver) | Direct control, can search automatically or manually. | Still relies on Windows Update or manually downloaded drivers. | Troubleshooting specific hardware issues. |
| Device Manager (Uninstall/Reinstall) | Forces a fresh installation, can clear corruption. | Requires a restart, might need a manual driver afterward. | When automatic updates fail. |
| Manual Download (Manufacturer Website) | Guaranteed to be the correct, latest driver. Highly reliable. | Requires identifying exact hardware model, more time-consuming. | When all other methods have failed. |
Frequently Asked Questions About Webcam Drivers
Q1: Why is my webcam not detected in Windows 10?
Most often, this is due to a driver issue. The driver might be missing, outdated, corrupted, or disabled. Also, check your privacy settings and physical connections to ensure the hardware is recognized by your system.
Q2: How do I know if I need to update my webcam driver?
If your webcam suddenly stopped working, you’re getting error messages, or it’s performing poorly (e.g., fuzzy image, not connecting), it’s a good time to check for driver updates. Windows Update or the Device Manager can help identify if an update is available.
Q3: Can a driver update fix a blurry webcam image?
Yes, an updated driver can sometimes resolve performance issues like a blurry image. Drivers often include improvements and bug fixes that can enhance camera quality and stability.
Q4: Is it safe to update webcam drivers?
Yes, updating drivers from official sources (like Windows Update or the webcam manufacturer’s website) is safe and recommended. It helps ensure your hardware functions correctly and securely.
Q5: What does “Windows has stopped this device because it has reported problems” mean for my webcam?
This error code (Code 43) from Device Manager usually indicates a driver problem that Windows can’t resolve. Uninstalling and then reinstalling the driver, or downloading the latest driver from the manufacturer, is the best fix.
Q6: My webcam driver won’t install. What should I do?
Ensure you’ve downloaded the correct driver for your specific webcam model and your version of Windows 10. Try uninstalling any previous driver versions first via Device Manager. Running the installer with administrator privileges might also help.
Conclusion: Get Your Webcam Working with Confidence!
Dealing with a non-working webcam can be a real headache, but as you’ve seen, updating or reinstalling the driver is almost always the key to fixing it. We’ve covered how to use Windows Device Manager, download drivers directly from manufacturers, and even check those crucial privacy settings. By following these steps, you can get your webcam back online and ready for all your video calls and recording needs.
Remember, keeping your drivers up-to-date is a fundamental part of keeping your Windows 10 system running smoothly and securely. Don’t be afraid to dive into Device Manager or visit manufacturer websites – you have the knowledge now to tackle these issues yourself. You’ve successfully navigated a common PC fix. Keep up the great work in managing your technology!
“`