
Have you just bought a new PC? Are you excited to set it up with Windows 11? If so, you may wonder how to download Windows 11 to USB for easy installation. Setting up a new computer can feel like a treasure hunt. You want your new machine to have the best software, right?
Many people find it tricky to figure out the steps. But don’t worry! Downloading Windows 11 to USB is a simple process. Once you have it, you can start using all the cool features of Windows 11.
Here’s a fun fact: Did you know that nearly 1 billion devices now run on Windows 10 and Windows 11? This means lots of users trust Microsoft’s software for their computers. Imagine being part of that number! The sooner you download Windows 11 to USB, the sooner you can enjoy a fresh start with your new PC.
So, are you ready to dive in and discover how to get Windows 11 on your USB drive? Let’s explore the steps together!
Download Windows 11 To Usb For New Pc: A Step-By-Step Guide
Download Windows 11 to USB for New PC
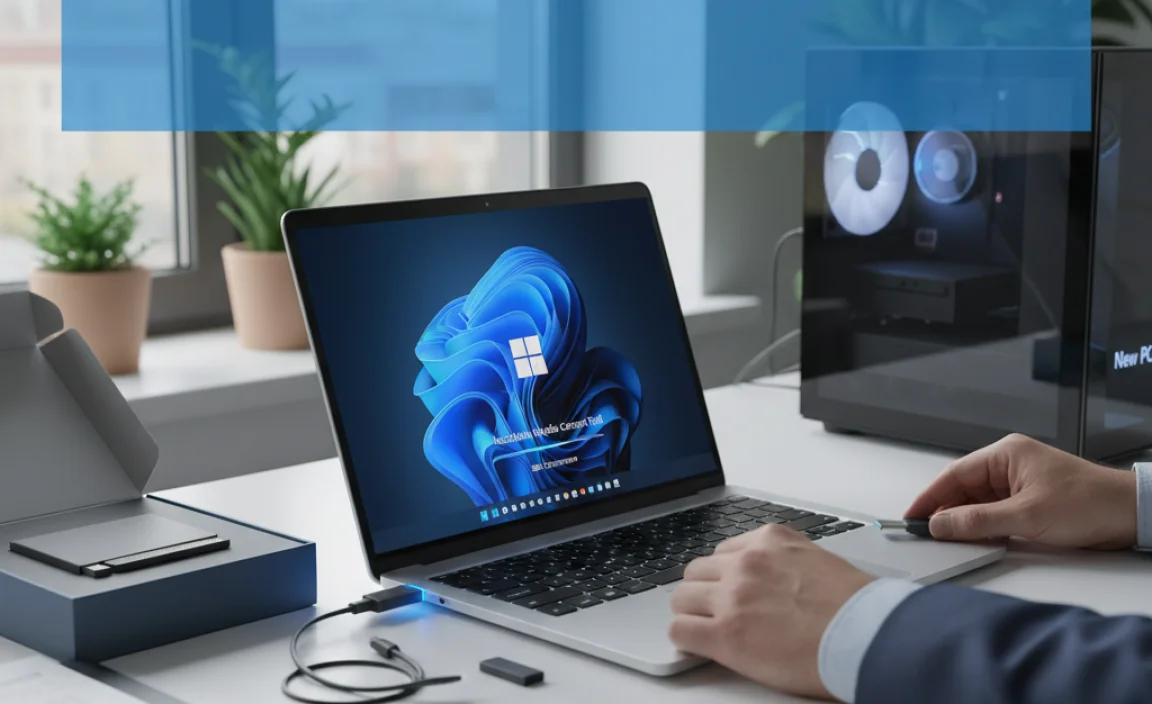
Want to set up Windows 11 on your new PC? First, you need to download it to a USB. It’s easy! Start by visiting the Microsoft website. You’ll find the Media Creation Tool, which helps you create a bootable USB drive. This is super handy if your new computer doesn’t have an operating system yet. With just a few clicks, you can have Windows 11 ready to go. Imagine booting up your new computer perfectly! Isn’t that exciting?
Preparing Your USB Drive
Steps to format the USB drive correctly.. Recommended USB drive size for Windows 11 installation..
To get ready for your Windows 11 installation, you need to format your USB drive the right way. Here are the steps:
- Plug in your USB drive.
- Open “This PC” and find your USB drive.
- Right-click and choose “Format.”
- Select FAT32 as the file system.
- Click “Start” to format.
A USB drive size of at least 8 GB is recommended. This size is perfect for downloading Windows 11. With these simple steps, your USB will be ready to go!
How big does the USB drive need to be for Windows 11?
The USB drive should be at least 8 GB.
Downloading the Windows 11 Installation Media
Instructions on accessing the Microsoft website.. Different methods to download (Media Creation Tool vs. Direct ISO)..
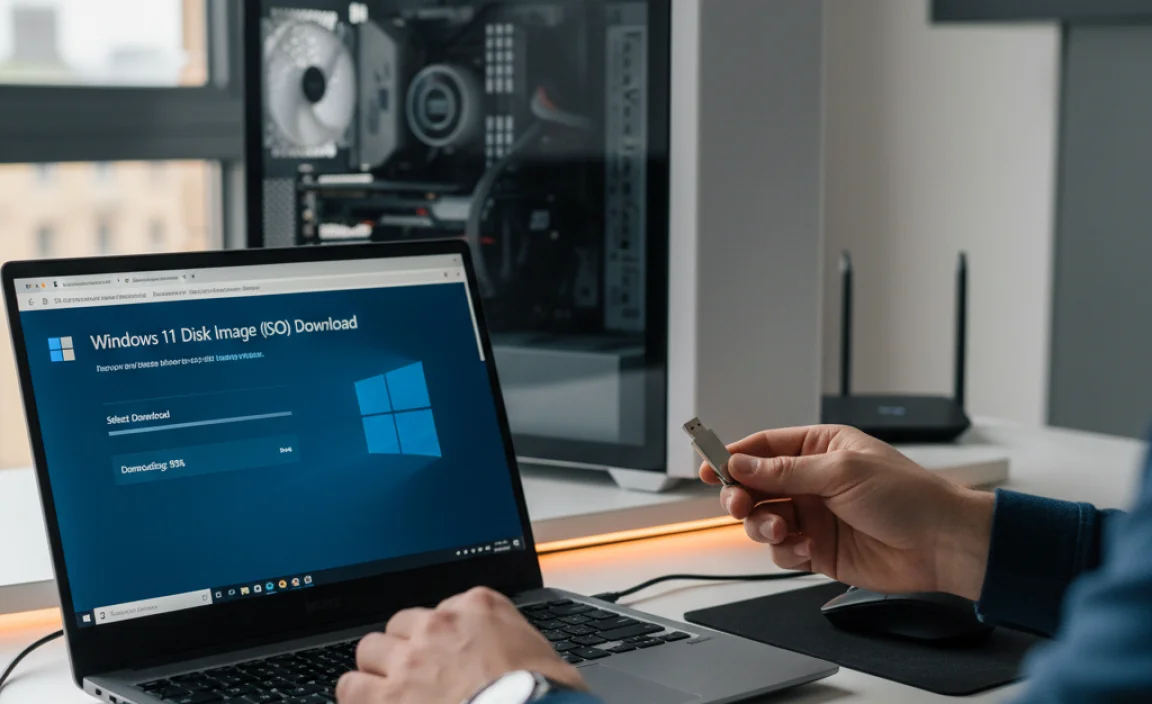
To get started, hop over to the Microsoft website. It’s like a treasure map, leading you to all things Windows 11! You’ll find two main options for downloading: the Media Creation Tool and the Direct ISO file. If you’re feeling adventurous, the Media Creation Tool gets you set up with just a few clicks! On the other hand, if you prefer the straightforward route, grab the Direct ISO file. Here’s a quick comparison:
| Method | Pros | Cons |
|---|---|---|
| Media Creation Tool | Easy to use! | Requires an internet connection. |
| Direct ISO | Download anytime! | Needs more steps for setup. |
Pick your favorite method, grab your USB, and you’re all set to install Windows 11 on your new PC! Happy downloading!
Creating a Bootable USB Drive
Using the Media Creation Tool for USB creation.. Alternative software options for creating bootable drives (Rufus, etc.)..
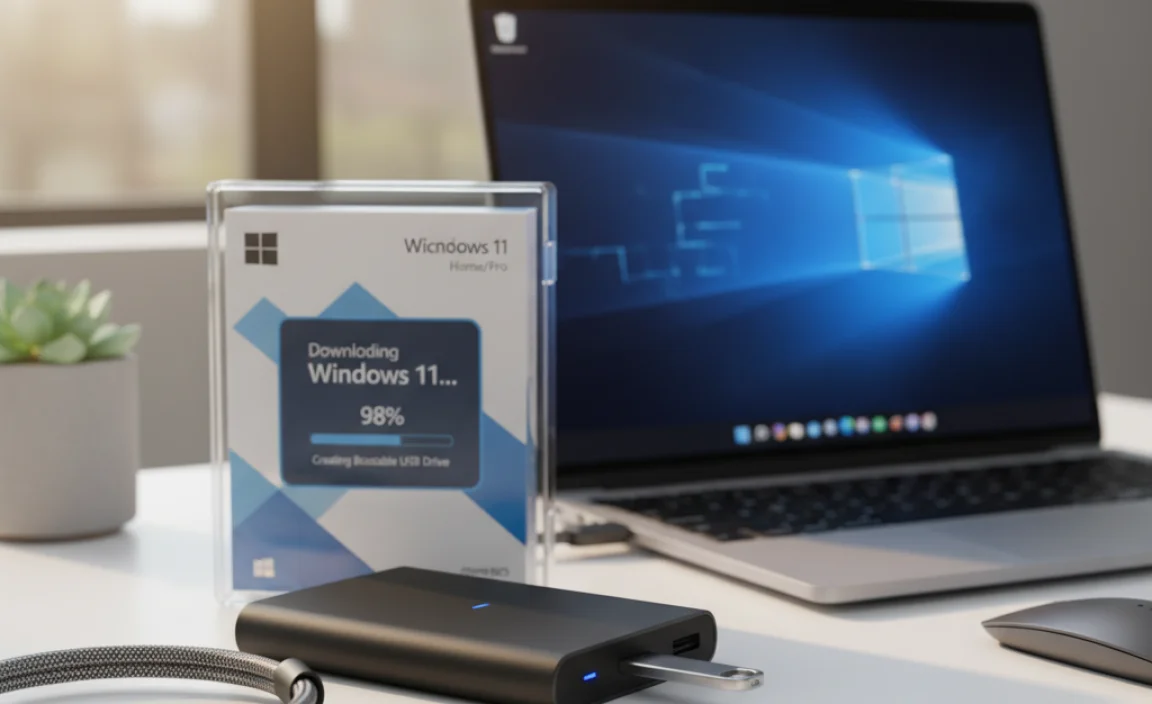
To create a bootable USB drive, you can use the Media Creation Tool. This tool is easy and safe. Simply download it from Microsoft’s website. Follow the prompts, and it will guide you through the steps to create a bootable USB for Windows 11.
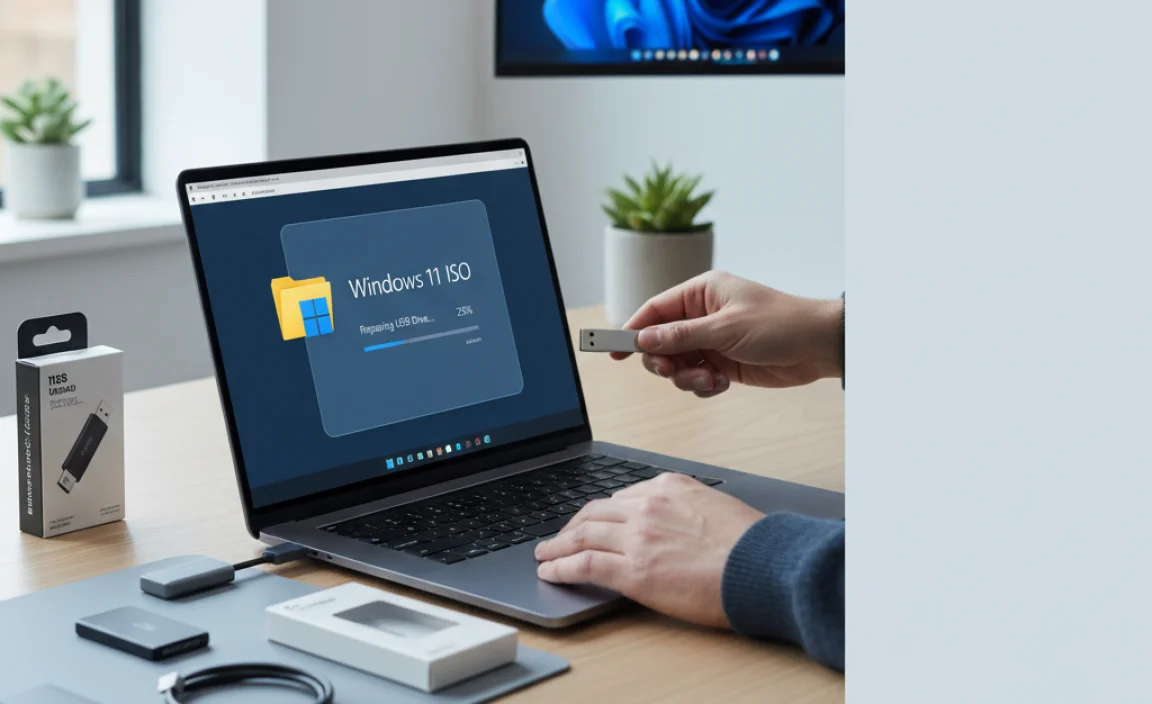
There are also alternative software options, like Rufus. Rufus is fast and works well with various file formats. Here’s how you can use it:
- Download Rufus from its official site.
- Select your USB drive and the Windows 11 ISO file.
- Click Start to begin the process.
In minutes, your USB drive will be ready for installation.
Why Use the Media Creation Tool?
The Media Creation Tool is simple and reliable. It ensures you get the correct files for your new PC. Plus, it updates automatically, so you have the latest version!
BIOS/UEFI Settings for Booting from USB
How to access BIOS/UEFI settings on different PC brands.. Steps to enable USB booting and adjust boot order..
To start, you will need to access the BIOS or UEFI settings on your PC. This is often done by pressing a specific key when the computer powers on. Different brands use different keys:
- Dell: Press F2 or DEL
- HP: Press F10 or ESC
- Lenovo: Press F1 or F2
- Acer: Press DEL or F2
Once in the BIOS/UEFI, find the Boot menu. There, you can enable USB booting. Make sure to adjust the boot order so the USB drive is first. This way, your new PC will boot from the USB with Windows 11.
How to enable USB booting?
To enable USB booting, navigate to the Boot section in BIOS. Change the Boot Order settings to place the USB drive at the top of the list. This allows the PC to read from the USB first.
Installing Windows 11 from USB
Detailed steps for initiating the installation process.. Options during installation (Upgrade vs. Clean Install)..
Ready to kick off your adventure with Windows 11? First, plug in that USB stick you loaded with the magic magic files. Follow the prompts on your screen to start the wizard; it’s like launching a spaceship, but way less complicated! Now, here’s the big choice: do you want to upgrade what’s already there or go for a clean install? Upgrading keeps your files, but a clean install? Well, that’s like starting fresh, with no messy leftovers!
| Installation Option | Description |
|---|---|
| Upgrade | Retains your files and apps. |
| Clean Install | Wipes everything and starts anew. |
Choose wisely, and remember, like deciding on pizza toppings, it’s all about what suits your taste!
Troubleshooting Common Issues
Solutions for USB drive not detected during installation.. Tips for error messages during the installation process..
It can be frustrating if your USB drive is not detected during installation. Here are a few quick solutions:
- Check the USB port. Try a different one if needed.
- Ensure the USB drive is properly plugged in. Sometimes a loose connection can cause issues.
- Reformat the USB drive if it’s not recognized.
If you see error messages, follow these tips:
- Restart the installation process. Often, a fresh start helps.
- Make sure your PC meets the requirements for Windows 11.
- Look for updates. Ensure that your current system is up to date.
What should I do if my USB drive is not working?
Try using a different USB port or cable. Unplug and plug it back in to see if it gets recognized.
With these troubleshooting tips, you can overcome common issues while downloading Windows 11 to USB for a new PC. Don’t give up; a simple fix can help you continue with your installation!
Post-Installation Setup
Essential settings and configurations after installation.. How to install drivers and updates for optimal performance..
After installing Windows 11, some essential settings will make your computer sparkle like a new toy. First, check your privacy settings. Nobody wants an uninvited guest peeking through your files. Then, update your system to avoid pesky bugs. A well-updated PC is a happy PC! Installing drivers is next. This helps your computer communicate better with its hardware, just like how we need to chat to stay friends.
| Essential Actions | Description |
|---|---|
| Privacy Settings | Adjust who can see your files and apps. |
| System Updates | Install updates for the latest features and bug fixes. |
| Driver Installation | Download drivers for hardware to improve performance. |
Remember, a little setup now means smooth sailing later. So grab a snack, kick back, and make your new PC feel right at home!
Conclusion
In conclusion, downloading Windows 11 to a USB for your new PC is simple. You need a USB drive and an internet connection. Follow the steps carefully to create your bootable USB. Once you’ve done that, install Windows 11 without a hitch! For more help, check out guides and videos online. Happy computing!
FAQs
Sure! Here Are Five Related Questions On The Topic Of Downloading Windows To A Usb For A New Pc:
Sure! If you want to put Windows on a USB stick, first, you need a USB that has enough space. Then, you can download the Windows tool from the Microsoft website. This tool helps you get Windows onto your USB. After that, you can use the USB to install Windows on your new computer. It’s like making a special key to open your new PC!
Sure! Please provide me with the specific question you’d like answered.
What Are The System Requirements For Installing Windows On A New Pc?
To install Windows on a new PC, you need a few important things. First, your computer should have at least 4 GB of RAM. This helps it run smoothly. You also need at least 64 GB of storage space for Windows. Make sure your PC has a compatible processor, which is the brain of the computer. Finally, it’s good to have a screen and a way to connect to the internet.
How Can I Create A Bootable Usb Drive For Windows Using The Windows Media Creation Tool?
To create a bootable USB drive for Windows, start by downloading the Windows Media Creation Tool. Open the tool once it’s downloaded. You will need a USB drive with at least 8 GB of space. Select the option that says “Create installation media.” Then, choose your USB drive and follow the steps to finish. Now, you have a bootable USB drive ready to use!
What Steps Do I Need To Follow To Download The Windows Iso File Directly To My Usb Drive?
To download the Windows ISO file to your USB drive, start by plugging your USB drive into your computer. Next, go to the Microsoft website and find the Windows ISO download page. Choose the version you want and click to download it. When asked, select your USB drive as the destination. Finally, wait for the download to finish, and you’re all set!
Can I Use Third-Party Software To Create A Bootable Usb For Windows 1And If So, Which Ones Are Recommended?
Yes, you can use third-party software to make a bootable USB for Windows. Some good options are Rufus, balenaEtcher, and UNetbootin. These tools help you put Windows on a USB stick. They are easy to use and free. Just follow the instructions they give!
How Do I Check If My New Pc Is Compatible With Windows Before Proceeding With The Installation?
To check if your new PC can run Windows, start by looking at the system requirements on the Windows website. These include the processor, memory, and storage you need. You can also use a tool called the Windows Update Assistant. It will help you see if your PC is ready. If everything matches, you’re good to go!