
Docker install for Windows 10 is a straightforward process that unlocks the power of containerization for developers and IT professionals. Docker revolutionizes how applications are built, shipped, and run by packaging them into self-sufficient units called containers.
These containers ensure that your applications run consistently across different environments, eliminating the dreaded “it works on my machine” problem. For Windows 10 users, getting Docker up and running is surprisingly accessible, paving the way for more efficient development workflows, simplified deployment, and robust testing. This guide will walk you through the essential steps, making the installation process smooth and hassle-free.
Before diving into the installation, it’s crucial to understand what Docker is and why it’s become an indispensable tool. At its core, Docker provides a platform for developing, shipping, and running applications using containerization. Imagine a container as a lightweight, standalone, executable package of software that includes everything needed to run an application: code, runtime, system tools, system libraries, and settings.
This isolation ensures that each container runs independently of others and the underlying infrastructure, promoting portability and reliability. For Windows 10, Docker leverages the power of the Windows Subsystem for Linux 2 (WSL 2) or Hyper-V, depending on your system configuration, to achieve this.
Preparing Your Windows 10 System for Docker
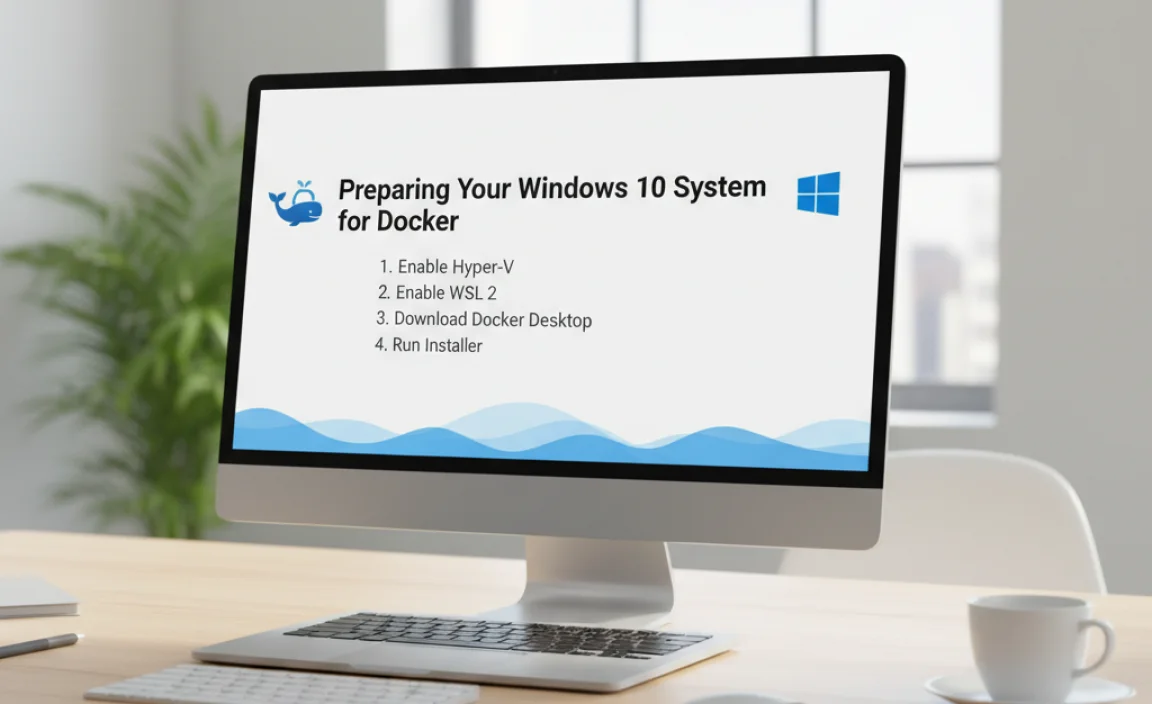
Before initiating the docker install for Windows 10 process, a few prerequisites need to be met to ensure a smooth and successful setup. Verifying these can save you considerable troubleshooting time down the line.
System Requirements
Operating System: Windows 10 64-bit: Pro, Enterprise, or Education (Build 19041 or higher) or Windows 11 64-bit: Pro, Enterprise, or Education (Build 22000 or higher). Home editions of Windows 10 and Windows 11 are not natively supported for Docker Desktop without some workarounds, which can be less stable.
Hardware:
64-bit processor with Second Level Address Translation (SLAT).
4GB system RAM (8GB or more recommended for better performance).
Hardware virtualization support enabled in the BIOS. This is a common setting, but if you encounter issues, you might need to reboot your computer and enter the BIOS/UEFI settings to enable it. Look for options like “Intel VT-x,” “AMD-V,” or “Virtualization Technology.”
For WSL 2 backend: enabled WSL 2, which requires Windows 10 version 2004 or higher (Build 19041 or higher).
Enabling Virtualization and WSL 2
The Docker Desktop installer for Windows utilizes either WSL 2 or Hyper-V for its backend. For modern Windows 10 installations (version 2004 and later, Build 19041+), WSL 2 is the preferred and recommended option.
Enabling WSL 2:
1. Open PowerShell as an administrator.
2. Run the following command to enable the necessary Windows features:
“`powershell
dism.exe /online /enable-feature /featurename:Microsoft-Windows-Subsystem-Linux /all /norestart
dism.exe /online /enable-feature /featurename:VirtualMachinePlatform /all /norestart
“`
3. Restart your computer.
Setting WSL 2 as the default:
1. After restarting, open PowerShell as an administrator again.
2. Run the command:
“`powershell
wsl –set-default-version 2
“`
If you encounter errors related to kernel components, you might need to manually install the WSL2 Linux kernel update package, which can be downloaded from the official Microsoft documentation.
Ensuring Hardware Virtualization is Enabled:
As mentioned earlier, hardware virtualization must be enabled in your system’s BIOS/UEFI. The exact steps vary by motherboard manufacturer, but generally, you’ll need to restart your computer, press a specific key during boot (like Del, F2, F10, or F12), and navigate to the CPU configuration or advanced settings to find and enable the virtualization option.
The Docker Install for Windows 10 Process

With your system prepared, the actual docker install for Windows 10 is primarily a matter of downloading and running the installer.
Downloading Docker Desktop
1. Navigate to the official Docker website: https://www.docker.com/products/docker-desktop/
2. Click on the download button for Docker Desktop for Windows. This will download an executable file (e.g., `Docker Desktop Installer.exe`).
Running the Installer
1. Locate the downloaded installer file and double-click it to run.
2. The Docker Desktop setup wizard will launch. Ensure that “Install required Windows components for WSL 2” is checked (if applicable to your system).
3. If you have older versions of Windows 10 that require Hyper-V, you might see an option to use Hyper-V instead of WSL 2. For most modern installations, WSL 2 is the preferred choice.
4. Click “Ok” or “Install” to begin the installation.
5. The installer will download and configure the necessary components. This may take a few minutes.
6. Once the installation is complete, you will be prompted to close and restart your system to finalize the setup.
7. After restarting your computer, Docker Desktop should launch automatically. You’ll see the Docker whale icon in your system tray.
Initial Setup and Verification
Upon the first launch, Docker Desktop might guide you through a quick tutorial or a container walkthrough.
To verify that your docker install for Windows 10 was successful, open your command prompt or PowerShell and run the following command:
“`bash
docker –version
“`
This should display the installed Docker version. You can also run a simple test container like this:
“`bash
docker run hello-world
“`
If this command successfully pulls and runs the `hello-world` image, printing a confirmation message, then your Docker installation is working correctly.
Managing Docker on Windows 10
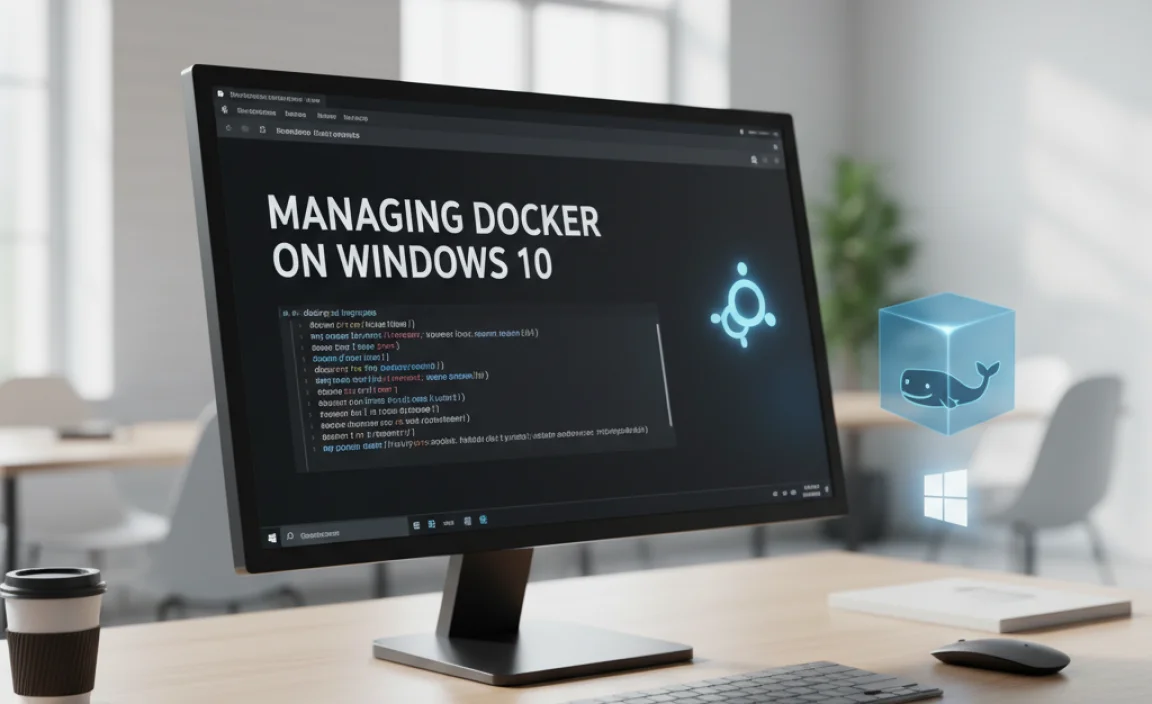
Docker Desktop provides a user-friendly interface and command-line tools for managing your containers, images, and other Docker resources.
Docker Desktop Application
The Docker Desktop application, accessible from your system tray, offers a graphical interface to:
Monitor Containers: View running containers, their logs, and resource usage.
Manage Images: Browse and manage pulled Docker images.
Access Settings: Configure various Docker settings, including the backend (WSL 2 or Hyper-V), resource allocation, and updates.
Docker Compose: Manage multi-container Docker applications.
Kubernetes: Enable and manage a local Kubernetes cluster for development.
Command-Line Interface (CLI)
The Docker CLI, accessed via PowerShell or Command Prompt, is powerful and widely used. Essential commands include:
`docker pull `: Download an image from a registry (like Docker Hub).
`docker run `: Create and start a new container from an image.
`docker ps`: List currently running containers.
`docker ps -a`: List all containers (running and stopped).
`docker stop `: Stop a running container.
`docker rm `: Remove a stopped container.
`docker images`: List local images.
`docker rmi `: Remove an image.
Troubleshooting Common Issues
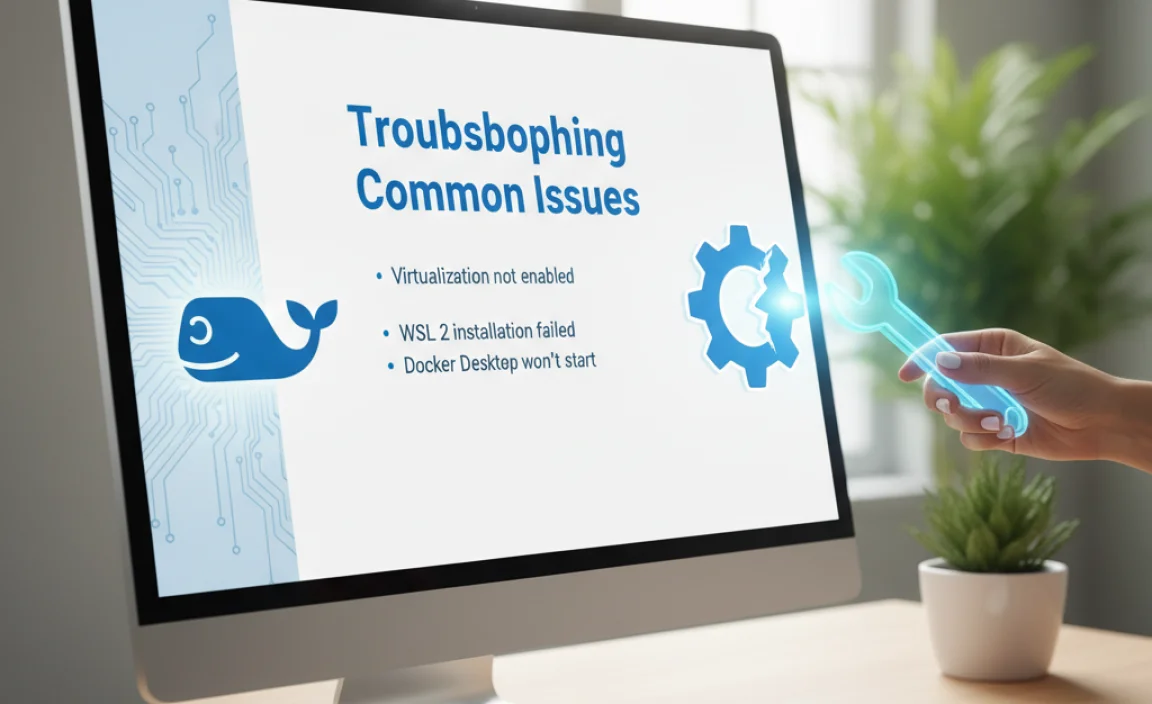
While the docker install for Windows 10 is generally smooth, you might encounter occasional hiccups.
Virtualization Not Enabled: If Docker fails to start or run containers, double-check that hardware virtualization is enabled in your BIOS.
WSL 2 Errors: Ensure your Windows 10 version meets the WSL 2 requirements and that the kernel update package is installed. Sometimes, running `wsl –update` in an administrator PowerShell can resolve issues.
Firewall Issues: Your firewall might block Docker’s network communications. Ensure Docker Desktop is allowed through your firewall.
* Outdated Versions: Always ensure you are using the latest stable version of Docker Desktop. Check for updates through the Docker Desktop application itself.
By following these steps, you should have a fully functional Docker environment on your Windows 10 machine, ready for you to explore the vast possibilities of containerization. Happy containerizing!
Related Posts
- Fix Broadcom Bluetooth Driver on Windows 11 Easily

Windows 10 WiFi Password: Easy View
Download Acer Graphics Latest Driver For Ubuntu Offline- Paint Download For Windows 10: Essential Guide
- Sticky Notes App Windows 10: Best & Easy

Proteus 8 Pro Download: Best for Win 10- Broadcom Scanner Driver Setup: Essential Chromebook Guide
iTunes Download Windows 10: Essential 64-Bit