Have you ever worried about losing your files? Imagine that feeling when your computer slows down or suddenly crashes. It can be scary! This is where creating a restore disk for Windows 10 comes in handy. A restore disk is like a safety net for your computer. If things go wrong, you can quickly fix them.
Did you know that a restore disk can save you from hours of frustration? It’s true! With just a little preparation, you can protect your important documents and photos. This easy guide will show you how to create a restore disk for Windows 10. Whether it’s for a family computer or your own, you’ll feel more secure knowing you’ve taken this simple step.
So, are you ready to learn how to keep your computer safe? Let’s dive in and discover how simple it can be to create your own restore disk!
Creating A Restore Disk For Windows 10: Step-By-Step Guide

Creating a Restore Disk for Windows 10
Making a restore disk for Windows 10 is a smart move. It helps you quickly fix your computer if something goes wrong. You’ll learn how to gather the right tools and ensure your files stay safe. Imagine your computer crashes and you can easily recover it. Sounds great, right? A restore disk is like a safety net for your valuable data. With just a few steps, you can create your very own restore disk and gain peace of mind.Why You Need a Restore Disk
Importance of backup and recovery for system stability. Benefits of having a restore disk readily available.Having a restore disk can be a real lifesaver for your computer. Think of it like a safety net for your digital adventures. If your system goes haywire, a restore disk helps you get back on track. About 40% of computer users face software issues that could have been avoided with a backup. With a restore disk handy, you can recover lost files and fix glitches without breaking a sweat—or your bank!
| Benefits of a Restore Disk | Why It Matters |
|---|---|
| Quick Recovery | Get your system back to normal in no time! |
| File Protection | Safeguard your important documents with ease. |
| Peace of Mind | Worry less knowing you’re prepared for surprises. |
So, keeping a restore disk ready is like having a superhero for your computer—battling villains like viruses and system errors!
Preparing Your System for Restoration
Steps to check system requirements for creating a restore disk. Ensuring your system is up to date before creating a restore disk.Before making a restore disk, you should check a few things. First, see if your system meets the requirements. This means checking your computer’s storage space and system type.
Next, make sure your Windows 10 is up to date. Updates improve performance and security. Here are steps to prepare:
- Check system specifications. Look for storage and memory.
- Go to Settings and click on “Update & Security.”
- Click “Check for updates” to see if anything new is available.
Keeping your system updated helps your restore disk work well. It can save you from losing important files!
Why is it important to check system requirements?
Checking your system requirements ensures that your computer can handle the restore disk effectively. This helps avoid any errors during the creation process.
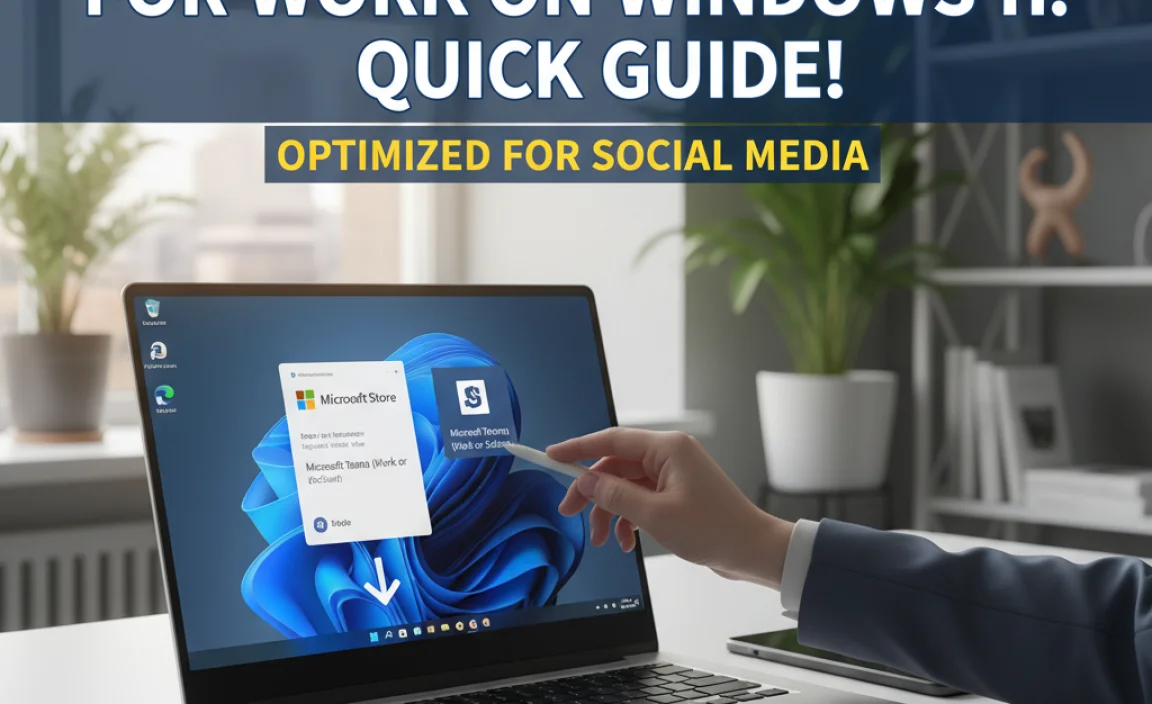
How to Create a Restore Disk Using Built-in Windows Tools
Stepbystep guide to using the Windows 10 Recovery Media Creation Tool. Tips for selecting the right storage device.Creating a restore disk for Windows 10 is easy with the built-in Recovery Media Creation Tool. Follow these steps:
- Open the tool from the Start menu.
- Choose “Create a recovery drive.”
- Select the storage device you want to use.
- Follow the on-screen instructions to finish.
For your storage device, pick one with at least 16 GB of space. USB drives are great because they are fast and portable. Make sure to back up any files on the drive, as it will be erased.
What should I consider when choosing a storage device?
Select a storage device that is reliable and has enough space. For USB drives, high-speed options work best for faster data transfer. Pay attention to the brand and read reviews to ensure you get a good one for your restore disk.
Testing Your Restore Disk
Importance of testing for functionality and reliability. How to run a test restore to ensure the disk works properly.Before you rely on your restore disk, it’s super important to test it out. Think of it as making sure your parachute opens before you jump! A quick test will show if everything’s working like a charm.
Here’s how to run a test restore:
| Step | Action |
|---|---|
| 1 | Plug in the restore disk. |
| 2 | Restart your computer. |
| 3 | Enter recovery mode. |
| 4 | Select “Restore” and follow the prompts. |
Testing ensures your disk is functional and reliable. If something goes wrong, now’s the time to fix it—not during a disaster! Remember, “A stitch in time saves nine,” so don’t skip this step!
Common Issues and Troubleshooting Tips
Typical problems encountered when creating a restore disk. Solutions and workarounds for common issues.Making a restore disk for Windows 10 can be tricky, and users often run into a few bumps along the way. Sometimes, you might see an error message pop up. Other times, the process can take longer than expected, leaving you wondering if your computer is stuck in a time loop. Don’t panic! Here are some common issues and their fixes:
| Problem | Solution |
|---|---|
| Error messages | Check your USB drive for space and try again. |
| Slow process | Clear junk files and make sure you’re not using the computer for anything else. |
| Disk not recognized | Try a different USB port or check if the drive is formatted. |
With a bit of patience and the right tricks, you’ll have that restore disk ready before you can say “blue screen of death!”
What to Do if You Need to Use Your Restore Disk
Steps for using a restore disk to recover your system. Understanding the restore process and potential data loss.Using your restore disk can help fix problems on your computer. First, insert the restore disk into your computer. Then, reboot your device. Follow the on-screen instructions. Be careful! Using a restore disk may erase some files. Back up important data first. It’s smart to check if you need any other help during this process.
What if I need to back up my files before using the restore disk?
Back up your files by following these steps:
- Use an external hard drive or USB flash drive.
- Copy important documents, pictures, and videos.
- Ensure your backup is complete before proceeding.
Understanding this process can make recovery smoother. Remember, a restore disk is a helpful tool, but it’s best to be safe and save your essential files.
Regular Maintenance and Updating Your Restore Disk
Importance of keeping your restore disk updated. Tips on how often to create a new restore disk and why.Keeping your restore disk updated is crucial. It ensures your computer can recover effectively if problems arise. A forgotten backup can lead to lost files. Create a new restore disk every six months or after big updates. This way, you always have the latest tools to fix your system.
- **Why update?** Protect your data from loss.
- **When to update?** Every six months or after major changes.
- **How to update?** Use Windows built-in tools.
How often should you create a new restore disk?
It’s important to create a new restore disk every six months or right after significant updates. This keeps your restore options current and reliable.
Conclusion
In conclusion, creating a restore disk for Windows 10 is smart. It helps you recover your system if something goes wrong. Remember to use a USB drive for easy access. We recommend setting this up now to stay prepared. For more details, check Microsoft’s official guide or explore helpful videos online. Taking these steps ensures your data is safe!FAQs
Here Are Five Related Questions On The Topic Of Creating A Restore Disk For Windows 10:To create a restore disk for Windows 10, you need a USB drive. First, plug the USB drive into your computer. Next, go to the search bar and type “Create a recovery drive.” Follow the steps on your screen. This way, you can fix your computer if something goes wrong!
Sure! Please provide me with a question you would like me to answer.
What Are The Steps To Create A Windows Restore Disk Using Built-In System Tools?To create a Windows restore disk, first, go to the Start menu. Then, search for “Control Panel” and open it. Next, look for “Backup and Restore” and click on it. After that, find the option that says “Create a system repair disc” and choose it. Finally, follow the on-screen instructions and insert a blank CD or DVD to finish.
What Is The Difference Between A System Restore Point And A Restore Disk In Windows 10?A system restore point is like a safety snapshot of your computer’s settings and files. You can go back to it if something goes wrong. A restore disk is a special disc you can use to fix your computer or start it fresh. So, one helps you stay safe, and the other helps you repair.
Do I Need A Specific Type Of External Storage Device To Create A Restore Disk For Windows 10?You need an external storage device, like a USB flash drive or an external hard drive, to make a restore disk for Windows 10. It should have enough space to hold the files. Usually, at least 16 GB will work fine. Just make sure the device is connected to your computer when you start the process.
How Can I Use A Restore Disk To Recover My System If I Encounter A Serious Issue With Windows 10?To use a restore disk to fix your Windows 10, first, insert the disk into your computer. Then, restart your computer and press any key when you see a message. This will take you to a special menu. From there, choose “Repair your computer.” Follow the on-screen instructions to restore your system. This helps get your computer back to how it was before the problem.
Are There Any Considerations Or Prerequisites I Should Be Aware Of Before Creating A Restore Disk For Windows 10?Before making a restore disk for Windows 10, you should have a USB drive ready. It needs to be at least 8 gigabytes (GB) big. Make sure to back up your important files, as making the disk may erase everything on it. Also, check that your computer is plugged in so it doesn’t run out of power. Lastly, stay calm; we can do this step by step!