
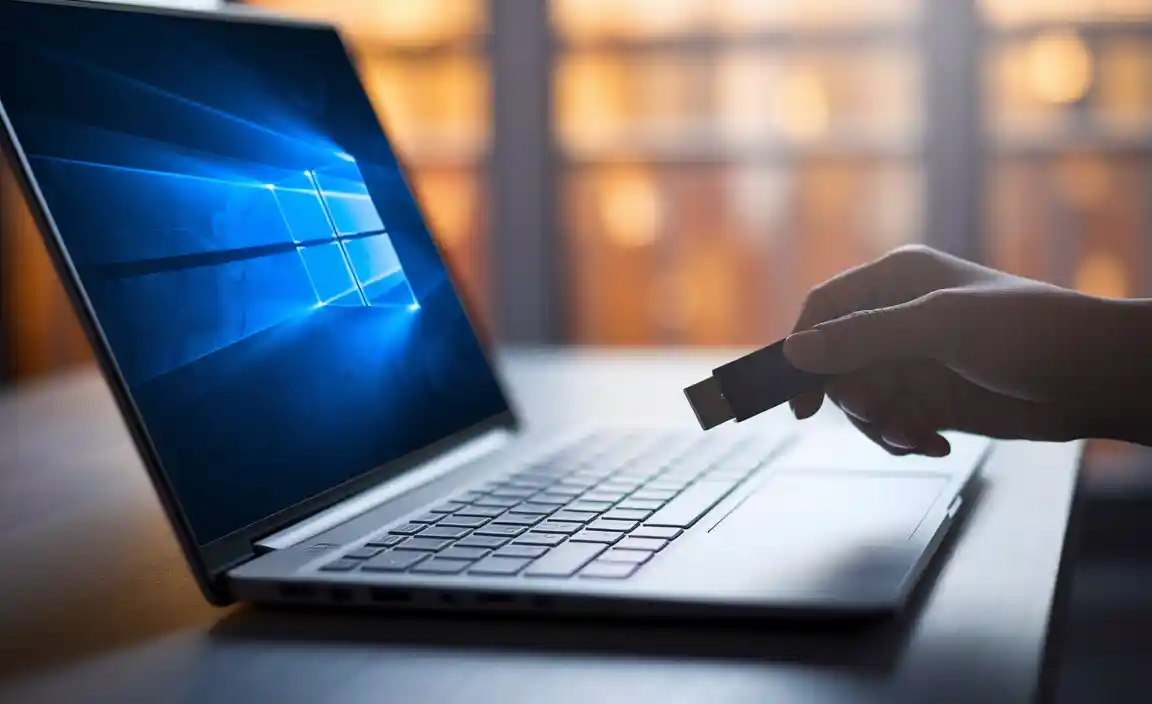
Have you ever faced a problem where your computer wouldn’t start? It can be scary. A recovery USB for Windows 10 can save your day. With just a few steps, you can create one yourself. Imagine having a tiny tool that could bring your computer back to life!
Creating a recovery USB is not as hard as it sounds. Many people don’t realize how easy it is. You won’t need any special skills. Just a USB drive and a little time is all you need. Did you know that this small device can help restore your system or fix issues?
If you follow along, you can learn how to make your own recovery USB. It’s a handy skill to have. So, let’s dive in and get started!
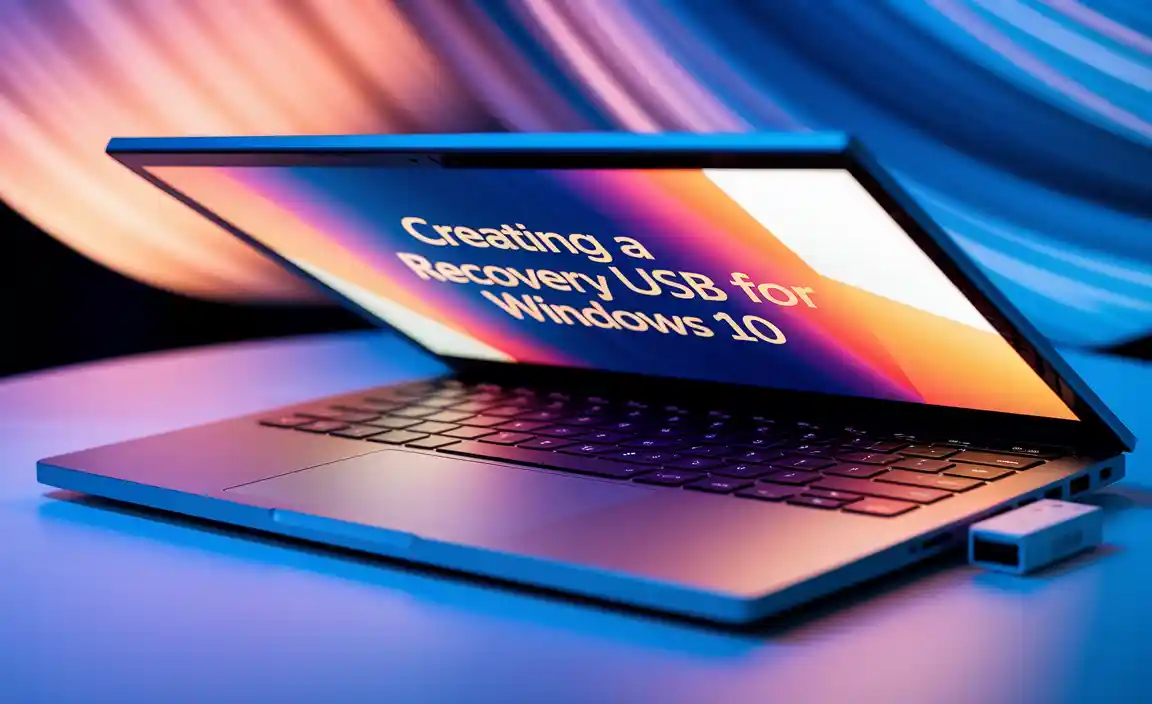
Creating A Recovery Usb For Windows 10: A Step-By-Step Guide
Creating a recovery USB for Windows 10 is a smart way to protect your computer. Imagine your PC crashes and you can’t access important files. A recovery USB can rescue you! You’ll learn how to format a USB drive and use the built-in recovery tool. This process allows you to fix issues and even reinstall Windows easily. Did you know that having a recovery USB can save you hours of frustration? It’s a simple, yet powerful tool every computer user should have.
Understanding the Importance of a Recovery USB
Explanation of recovery USB and its purpose in system recovery. Benefits of having a recovery USB for Windows 10 users.
A recovery USB is like your computer’s superhero cape. It helps save the day when things go wrong. If your Windows 10 gets a nasty virus or just won’t start, this little gadget can rescue it! Having a recovery USB means quick fixes and less stress.
Imagine your computer throwing a tantrum. Instead of crying, you whip out your recovery USB, and voila—it’s back to work! Not only does it help fix problems, but it also lets you reset your system or recover important files. Trust me, being prepared is way better than waiting for tech support!
| Benefits of a Recovery USB | Why You Need It |
|---|---|
| Quick Recovery | Get back to work faster! |
| File Safety | Save important documents from disaster! |
| Easy Reset | Fix the system with a couple of clicks! |
Prerequisites for Creating a Recovery USB
Required hardware: USB drive specifications and capacity. Software requirements: Windows 10 version updates and tools needed.
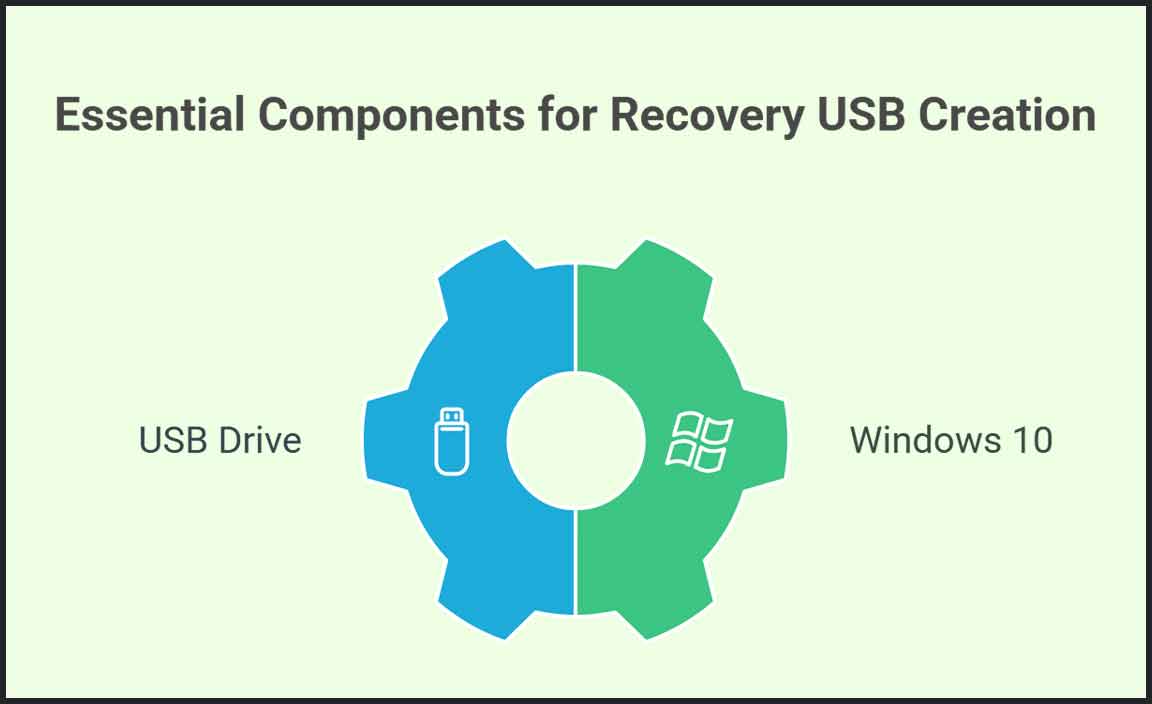
Before diving into the exciting world of creating a recovery USB for Windows 10, let’s gather our supplies. First, you need a USB drive. Make sure it has at least 8 GB of space; less than that, and you’ll be left with a sad, lonely drive! Next, check your computer. You must have Windows 10 installed, preferably the latest version. Old versions are like trying to surf the internet on a flip phone—it’s just not a good idea!
| Required Hardware | Specifications |
|---|---|
| USB Drive | At least 8 GB |
| Computer | Windows 10 (latest updates) |
Lastly, grab a tool called Windows Media Creation Tool. It’s free. No, it’s not a tool for your toolbox, but it’s still pretty handy!
Step-by-Step Guide to Create a Recovery USB
Detailed instructions using Windows builtin tools. Alternatives: Thirdparty software options for recovery USB creation.
Creating a recovery USB can help you fix problems with your Windows 10 system. Here’s a simple guide to do it using built-in tools:
- Plug in a USB drive (at least 16 GB).
- Search for “Recovery Drive” in the Start menu.
- Open the tool and follow the prompts.
- Select “Back up system files” for extra help.
- Click “Next” and choose your USB drive. Then, click “Create.”
If you like third-party software, tools like Rufus or EaseUS Todo Backup can also create a recovery USB. These programs may offer extra features, making the process easier and faster.
What are the steps to create a recovery USB drive?
To create a recovery USB drive, use Windows built-in Recovery Drive tool. Plug in your USB, search for “Recovery Drive,” and follow the instructions to create it.
With these steps, you will have a handy recovery tool to help keep your computer running smoothly.
Troubleshooting Common Issues during Creation
Errors that may occur and how to resolve them. Tips for ensuring the USB is correctly formatted and ready for recovery use.
Creating a recovery USB can sometimes feel like trying to teach a cat to fetch. Problems can pop up, but don’t worry! First, watch out for errors like “USB not detected.” This usually means the drive isn’t plugged in properly. Try another port—it’s like giving it a second chance! Next, ensure your USB is formatted correctly. Without this, it won’t save anything. Use the table below to help you fix common problems:
| Error | Solution |
|---|---|
| USB not detected | Try a different USB port. |
| Formatting error | Reformat the USB using FAT32. |
| Insufficient space | Use a larger USB drive. |
By paying attention to these tips, your USB will be all set for recovery tasks! Remember, patience is key, even when things seem as tricky as finding a needle in a haystack!
Using the Recovery USB for Windows Troubleshooting
Stepbystep process of booting from the recovery USB. Common recovery options available through the USB.
Booting from the recovery USB is simple. First, plug the USB into your computer. Then restart it. As it starts, press the correct key to enter the boot menu. This key is often F12, ESC, or DEL. Once in the menu, select the USB device to start. Now, you can choose from options to fix problems:
- Startup Repair: fixes issues that keep Windows from starting.
- System Restore: returns your computer to an earlier time.
- Command Prompt: lets advanced users run commands to troubleshoot.
- Reset this PC: reinstalls Windows while keeping your files or removing them.
This tool can help you quickly get your computer back on track.
What should I do if my recovery USB doesn’t work?
If your recovery USB doesn’t work, check if it’s properly created and try a different USB port or computer. You may need to recreate the USB using the Windows Media Creation Tool.
Maintaining Your Recovery USB for Future Use
Best practices for storing and updating your recovery USB. How to create an updated recovery USB as Windows 10 receives updates.
To keep your recovery USB ready for action, treat it like a secret agent. First, store it in a cool, dry place. Avoid putting it in your pocket with loose change, or it might be singing the blues with scratches! Next, as Windows 10 gets updates, it’s wise to refresh your USB. Simply plug it in and use the “Recovery Media Creation” tool. This way, your USB stays smart and works like a charm. Remember, a happy USB is a well-updated USB!
| Best Practices for Your Recovery USB | How to Update |
|---|---|
| Store in a cool, dry spot | Plug in and run the “Recovery Media Creation” tool |
| Keep away from coins and keys | Repeat every time Windows 10 updates |
| Label it clearly | Check it every few months |
Following these steps ensures your recovery USB is always ready, just like a trusty sidekick! Don’t forget, even heroes need to recharge!
Conclusion
In conclusion, creating a recovery USB for Windows 10 is a smart way to protect your computer. It allows you to fix problems or reinstall the system easily. You can do this by using the built-in tools in Windows. So, gather a USB drive and start making your recovery disk today! For more tips, check out Microsoft’s support page.
FAQs
What Are The Essential Steps To Create A Recovery Usb For Windows 1
To create a recovery USB for Windows, first, you need a USB drive. Make sure it has enough space, like 8 GB or more. Next, plug the USB drive into your computer. Then, search for “Create a recovery drive” in the start menu and open it. Follow the instructions on the screen to make your recovery USB. This USB can help you fix your computer later if needed!
What Minimum Requirements Must Be Met For The Usb Drive To Be Used As A Recovery Disk?
To use a USB drive as a recovery disk, it needs to be at least 8 gigabytes (GB) big. You should also make sure it’s empty because it will erase everything on it. The drive should be connected to a working computer. Lastly, you must have the right tools or software to create the recovery disk.
How Can I Access The Windows Recovery Tools From The Usb Drive Once It Is Created?
To use the Windows recovery tools from your USB drive, first plug the drive into your computer. Next, restart your computer. While it’s starting up, press a special key like F12 or Esc to choose where to boot from. When you see the menu, select the USB drive. This will take you to the Windows recovery tools.
Are There Any Differences Between A Recovery Usb And A Windows Installation Usb?
Yes, there are differences between a recovery USB and a Windows installation USB. A recovery USB helps fix problems on your computer. It can restore your system to an earlier time or reset it. An installation USB installs Windows on your computer from scratch. So, you use a recovery USB for fixing, and an installation USB for starting fresh.
How Can I Troubleshoot Issues If My Recovery Usb Is Not Booting Properly?
If your recovery USB isn’t booting, first check if it’s plugged in correctly. Next, make sure your computer is set to boot from USB. You can usually change this in the settings. If it still doesn’t work, try using a different USB port or another computer. If none of this helps, you might need to make a new recovery USB.
Resource:
-
Microsoft Official Support – Recovery Drive Overview: https://support.microsoft.com/en-us/windows/create-a-recovery-drive-abb4691b-5324-6d63-8d4a-4de8e7f318bf
-
How-To Geek – How to Create a Windows 10 Recovery Drive: https://www.howtogeek.com/233809/how-to-create-a-windows-10-recovery-drive/
-
Lifewire – What Is a Recovery Drive and How to Make One: https://www.lifewire.com/what-is-a-recovery-drive-2625913
-
TechRepublic – Best Tools for Windows Backup and Recovery: https://www.techrepublic.com/article/best-windows-backup-and-recovery-tools/